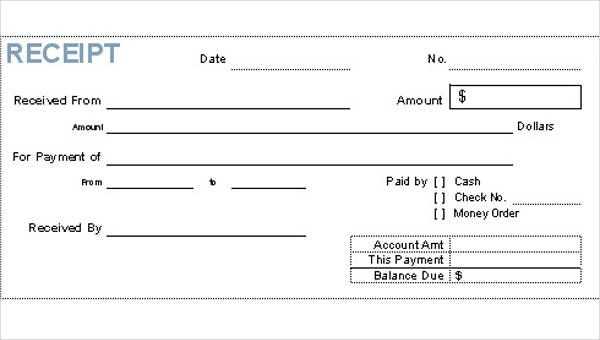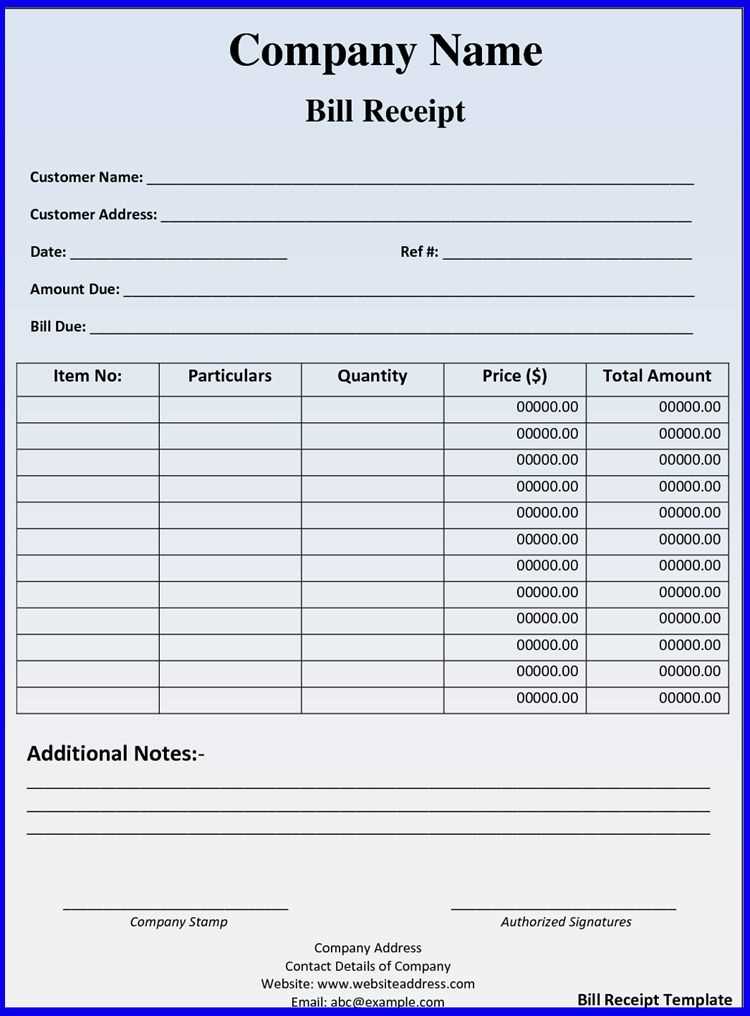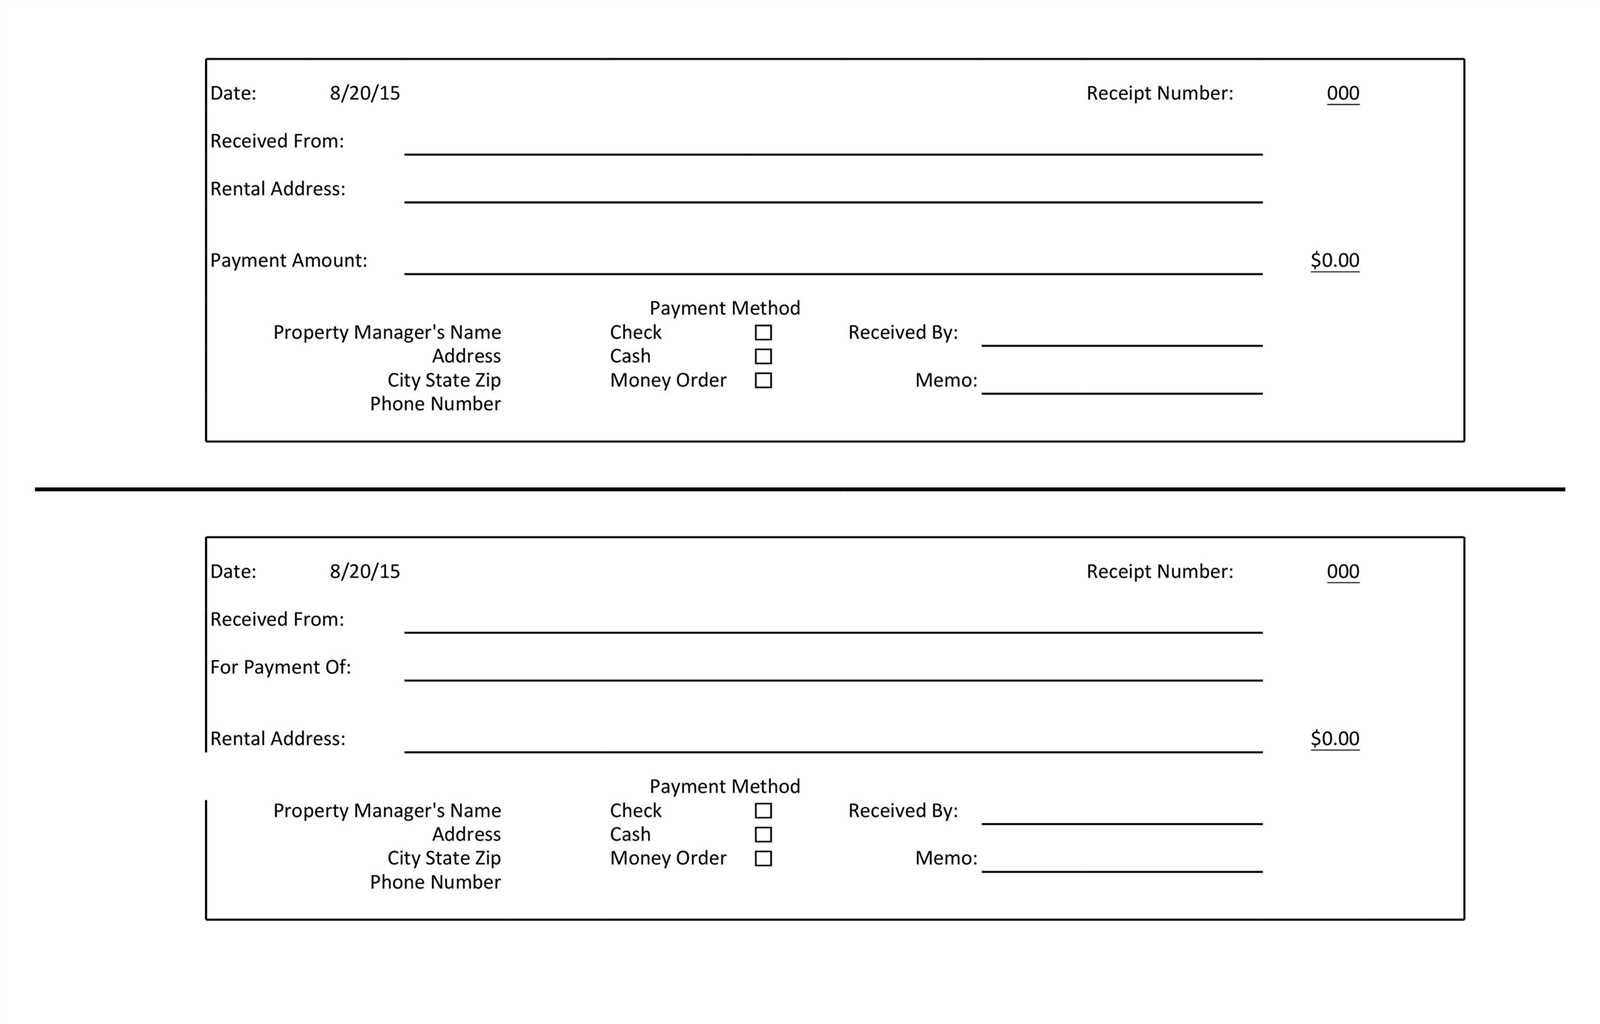
If you need a straightforward and organized way to manage receipts, using an Excel template is one of the best options. This method allows for quick tracking of expenses, making it easier to monitor and categorize your spending. A well-structured template can help save time while ensuring accuracy in record-keeping.
A simple check receipt template in Excel typically includes columns for date, amount, description, and payment method. By filling out these fields, you can instantly sort and analyze your data. It’s also possible to create formulas that automatically sum up totals, giving you a clear overview of your expenditures.
To make the most out of your template, use conditional formatting to highlight specific entries, such as large purchases or recurring expenses. This can help you identify patterns and make more informed financial decisions. You can also add custom fields to suit your specific needs, such as vendor details or purchase categories.
How to Create a Custom Check Receipt Template in Excel
Open a new Excel document and start by adjusting the page layout. Go to the “Page Layout” tab and set the paper size to “Letter” or “A4,” depending on your preference. Adjust margins to narrow for more space to work with. This provides a clean base for creating your template.
Set Up Basic Structure
Create a simple grid for your check receipt. Start by defining key sections: Date, Payee, Amount, Purpose, and Notes. Use borders to outline these sections, ensuring each field has enough space for easy data entry. Apply bold formatting for headers to make them stand out.
Formatting the Fields
To ensure consistent data entry, format the fields appropriately. Use “Number” formatting for the Amount field to display currency. You can also use “Date” format for the Date field to make data input more streamlined. Apply text alignment options to keep the information neat and readable.
Save the file as a template once the layout and formatting are complete. You can now reuse this template to create new receipts whenever needed.
Designing a User-Friendly Layout for Check Receipts
Keep the design clean and structured. Place essential details like the date, amount, payee, and check number in clearly separated sections for easy readability.
Prioritize Key Information

- Date: Position this at the top right, making it easy to locate. Use a larger font size for quick visibility.
- Check Number: Place this near the top or alongside the payee’s information for consistency.
- Amount: Use bold formatting and a larger font to make the total amount stand out.
- Payee Name: This should be placed near the top left to match the natural reading flow.
Maintain Alignment and Consistency
- Align all text to the left for readability, ensuring no information appears crowded.
- Use horizontal lines to separate different sections, such as the date, check number, and amount fields.
- Consider color-coding sections for easy identification (e.g., highlighting the amount in a subtle shade).
Avoid clutter by limiting the use of unnecessary borders or excessive design elements. Each section should be clearly defined but not overdone. This simple approach enhances user experience and readability.
Adding Formulas for Auto-Calculation of Totals and Taxes
To automatically calculate totals and taxes in your Excel receipt template, begin by using the SUM function for total amounts. For example, in the “Total” column, enter the formula: =SUM(B2:B10), where B2:B10 represents the range of cells containing item prices. This will provide a running total as you update your prices.
Calculating Taxes
For tax calculations, apply the formula: =Total * Tax Rate, replacing “Total” with the cell reference of the sum total and “Tax Rate” with the applicable tax percentage. For example, if the total is in cell C2 and the tax rate is 10%, the formula would be =C2 * 0.10. This will automatically calculate the tax amount based on the total.
Dynamic Updates
When adding new items or modifying existing ones, Excel will automatically adjust the totals and tax amounts without needing manual recalculation. Be sure to check your formulas regularly to ensure they are correctly referencing the right cells. This will save time and reduce errors.
Incorporating Check Number and Date Fields

Include distinct fields for the check number and date to keep accurate records. The check number field helps to quickly identify specific payments and track them effectively. Set the check number field to accept only numerical values, ensuring consistency. This will prevent errors and confusion during data entry.
The date field should be formatted in a standard way, such as MM/DD/YYYY, to avoid discrepancies. It’s crucial to apply a consistent date format across all receipts for clarity. Use Excel’s date functions to automate the input of the current date, which can reduce human error and save time. Additionally, consider highlighting or color-coding overdue checks, making it easier to identify them at a glance.
Ensure both fields are positioned near the top of the template, making them easy to locate and fill out. This allows quick reference and minimizes the chances of overlooking these critical details. Keep the layout simple and functional, focusing on these key fields to enhance usability and streamline data entry.
Using Conditional Formatting to Highlight Missing Information
Apply conditional formatting to highlight missing data in your receipt templates. Select the range of cells you want to check, then go to the “Home” tab and choose “Conditional Formatting.” Choose “New Rule,” and in the rule type, select “Format only cells that contain.” Set the rule to identify blank cells by selecting “Blanks” under “Cell Value.” Choose a format, such as a color fill, to make the missing information stand out. This way, you can quickly spot any incomplete data without manually scanning each entry.
Another option is to use a formula-based rule. For example, use the formula =ISBLANK(A1) to highlight missing information in a specific column. You can adjust the formula based on your template’s structure. Applying these rules ensures you won’t miss any incomplete entries, streamlining the process of checking receipts.
Saving and Sharing the Template for Future Use
Save your receipt template by clicking “File” and selecting “Save As.” Choose a location on your device, such as a specific folder, for easy access. Name the file clearly, like “Receipt Template” to avoid confusion later.
Sharing Your Template

For sharing, open the saved file and select “File” then “Share” to send it via email or share a link if stored on cloud services like Google Drive or OneDrive. Ensure the file permissions are set so that others can view or edit as needed.
Using Templates on Different Devices
If you plan to use the template on multiple devices, upload it to a cloud service. This ensures you can access it anywhere, on any device with an internet connection. Ensure the template is compatible with the software you use across different platforms.


