To create a clear and organized donations list with receipts in Office, begin by setting up a template that aligns with your needs. Choose an Excel or Word template that allows for tracking donor information, donation amounts, and dates. Modify the template to include additional fields such as donation type or specific notes to suit your particular requirements.
Ensure the donation list is easy to update by leaving room for new entries and designing it for quick data entry. Each entry should include the donor’s name, donation amount, method of donation (cash, check, online, etc.), and the date received. This will streamline the process for both recording and referencing donations.
For the receipt, use a separate section of your template to generate a printable confirmation for donors. Include the same key details–donor name, amount, and date–and make it professional by adding a thank-you note or any legal information if necessary. It’s helpful to set up an auto-populated system to pull details from the donation list, ensuring that receipts are generated swiftly and accurately.
Save and back up your templates regularly to prevent data loss. You can also share them with team members who may be responsible for tracking donations, ensuring consistency across all records. With a well-organized template, handling donations becomes a simpler and more efficient task.
Here are the corrected lines:
Make sure to organize the donation details clearly to ensure both transparency and ease of reference. Here’s a simple way to structure the list:
- Donor’s name
- Donation amount or item description
- Date of donation
- Receipt number (for record-keeping)
- Any special instructions or notes (optional)
For receipts, be concise yet informative. Include the following information:
- Receipt number for identification
- Date of issue
- Details of the donation (amount, description)
- Confirmation of receipt (signed if possible)
Ensure the list is updated regularly and cross-checked for accuracy. This helps avoid mistakes in financial tracking and makes the process smoother for both parties.
- Office Template Donations List and Acknowledgment
To create an organized list of donations, start by collecting information for each donation, including the donor’s name, template type, quantity, and any special notes. Include the donation’s value, if applicable, for record-keeping and future acknowledgment.
Steps to Include in the Donation List:

Ensure each entry in the list follows a consistent format for easy referencing. Record the donor’s name and contact information. For templates, categorize them by type (e.g., project management, finance, marketing) and include details like version numbers or specific modifications made. Track any additional items that may come with the donation, such as instructions or customization services provided.
How to Acknowledge Donations:

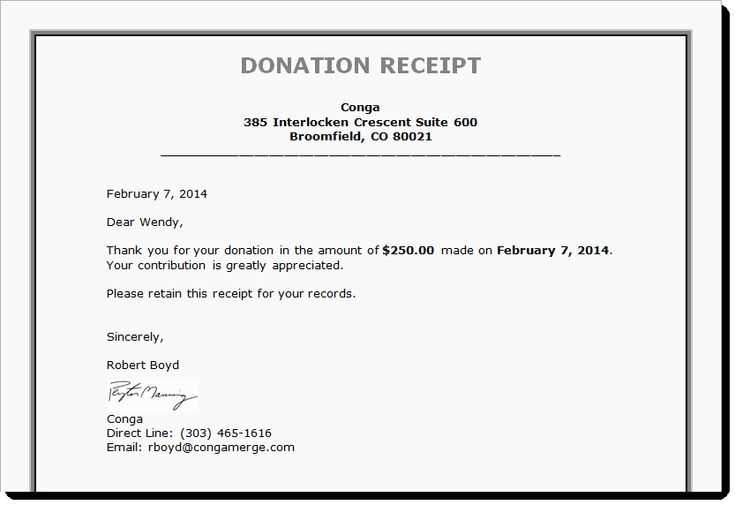
Once you have received the donations, send a personalized acknowledgment to each donor. The acknowledgment should express appreciation for their contribution and clarify how their donation will be used. Include the template details and mention any specific improvements made possible by their generosity. A formal thank-you letter or email will help maintain good relationships with the donors and encourage further support.
Don’t forget to maintain this list in a secure location, whether digitally or physically, to ensure accurate records are kept for reference in the future. Regularly update it as new donations come in.
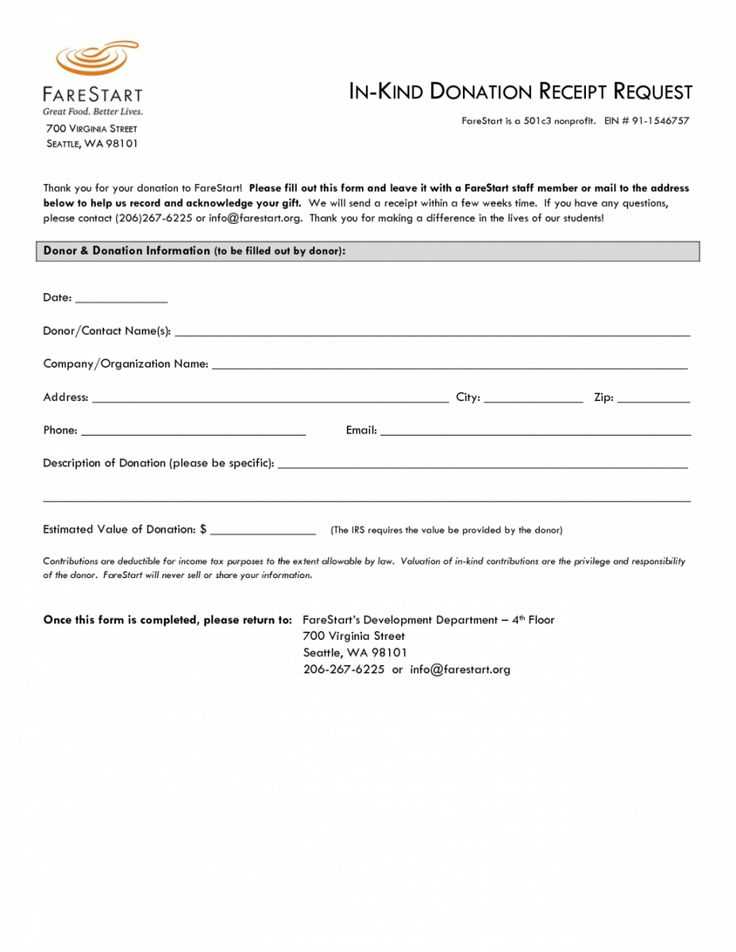
To create a donation format for office use, begin by outlining the key details that should be included in each receipt. This will ensure clarity and consistency for both donors and the organization receiving the donation.
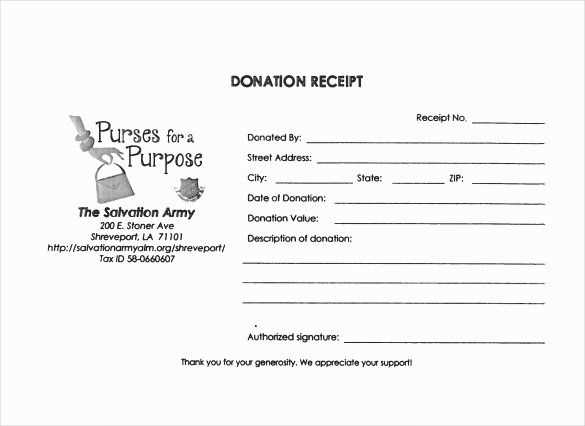
- Donor Information: Include the donor’s full name, address, and contact details. This is necessary for tracking donations and providing official receipts.
- Donation Amount: Specify the monetary value or an accurate description of goods donated. Ensure that the amount or value is clearly listed.
- Date of Donation: Clearly indicate the date when the donation was made. This helps maintain an organized record and can be used for tax purposes.
- Purpose of Donation: If applicable, mention the specific purpose or project the donation supports. This adds transparency and shows the impact of the contribution.
- Receipt Number: Assign a unique receipt number for each transaction. This allows easy referencing and auditing.
Ensure the format is easy to read and professional. The receipt should be printed or electronically sent to the donor, confirming their contribution in a clear, formal manner. Make the format customizable, so it can be adapted for different types of donations, whether monetary or material.
Adjust the layout to reflect your brand identity. First, replace the default logo with your company’s logo. Upload an image file in the layout settings and position it where you prefer–top left or center works best for most designs.
Next, modify the color scheme. Choose colors that match your company’s branding. Update background colors, font colors, and text highlights to create a cohesive look. Ensure readability by selecting contrasting colors for text and background.
Change the fonts to align with your brand’s style guide. Pick a font that is clear and professional, ensuring it is easy to read on both digital and printed receipts. Use the settings to adjust the font size for clarity.
Customize the text fields. Adjust the text formatting for sections like “donor name,” “amount,” and “receipt number.” You can also add custom messages or disclaimers relevant to your organization. Ensure that the content remains concise and clear.
Finally, update the footer with your contact information or any legal disclaimers. Adjust margins, padding, and alignment to ensure everything is neatly spaced. Preview the receipt layout to confirm that all elements are aligned properly before finalizing.
To efficiently track contributors and their donations, include dedicated sections in your templates where data can be entered and updated easily. Begin by setting up a table with columns for donor names, donation amounts, dates, and any specific instructions or restrictions. This keeps the information clear and accessible.
Make use of dropdown menus to categorize donations, such as monetary, in-kind, or volunteer hours. This streamlines data entry and ensures consistency across different donation types. Additionally, integrate a section for donor recognition preferences, such as whether they wish to remain anonymous or receive a receipt.
To enhance tracking, link donor data to an automatic receipt generation system. This will allow templates to populate receipt details, reducing manual input and the risk of errors. For more detailed records, add space for notes, such as donation milestones or event attendance, to provide context for future reference.
Finally, incorporate date filters to sort donations by time periods or events, making it easier to analyze and report contributions during specific campaigns or periods. This approach will ensure that all donation data is organized and accessible for reporting and follow-ups.
Clearly state the donation’s tax-deductible status in the acknowledgment letter. Specify whether the donor’s contribution is eligible for tax benefits and include the organization’s tax-exempt status number if applicable. This allows the donor to claim deductions, ensuring transparency in the process.
Include a disclaimer that the donor should consult a tax advisor for personalized advice. This ensures that both parties understand their responsibilities and avoid potential misunderstandings. If the donation exceeds a certain amount, mention any IRS forms or additional documentation that may be required for tax purposes.
Provide a breakdown of the donation amount if relevant, such as whether it was a cash or non-cash donation. For non-cash gifts, include an estimated value if possible, but clarify that the organization does not provide appraisals. This will help both parties with proper recordkeeping for tax filing.
Use a consistent format to record donations. Each entry should include the donor’s full name, donation amount, date, and any relevant notes. This ensures easy identification and tracking of donations. Double-check each entry for accuracy before submitting to prevent discrepancies later on.
Maintain a separate log for monetary and in-kind donations. For in-kind gifts, include a description, estimated value, and condition of the item. If possible, attach supporting documents, such as invoices or receipts, to each record.
Update records regularly and back them up on a secure system. Avoid relying on paper logs alone; digital tracking systems offer more flexibility and security. Use software that allows for quick searches and easy updates to donor information.
Provide receipts promptly. Receipts should include the donor’s details, donation specifics, and your organization’s tax-exempt status. The clarity and timeliness of receipts foster trust and transparency with donors.
Use Office templates to quickly create acknowledgment letters that are easy to share and print. Begin by selecting a template that suits your needs from the available options in Microsoft Word, Excel, or PowerPoint. Templates are designed to include placeholders for donor information, making the process seamless and less time-consuming.
Once the template is open, customize it by entering the donor’s details, including name, donation amount, and any additional messages or notes. If you have a list of donors, you can use the mail merge feature to automate the process and fill in the details for multiple recipients at once. This saves time while ensuring consistency in your acknowledgments.
After completing the customization, preview the document to make sure everything looks accurate. When you’re ready, print the acknowledgments on your preferred paper or export the document as a PDF for digital sharing. To share electronically, you can attach the PDF to an email or upload it to your website or donor portal. Using templates helps maintain a professional appearance and ensures that all necessary information is included in each acknowledgment.
When organizing a donation list, using an office template can save you time and ensure consistency in your records. Begin by creating a structured list that includes essential details such as donor names, donation amounts, and the date of contribution. A simple and clear layout helps track donations efficiently and provides transparency for both the donors and your organization.
Key Information to Include

| Donor Name | Amount Donated | Donation Date | Receipt Number |
|---|---|---|---|
| John Doe | $100 | 01/15/2025 | R12345 |
| Jane Smith | $200 | 01/16/2025 | R12346 |
Receipt Format Recommendations
Ensure each receipt contains the donor’s name, donation amount, and the transaction date. The receipt number should be unique for tracking purposes. The format should also clearly state whether the donation is tax-deductible, especially if you are handling large amounts or if the donors require this information for tax filings.