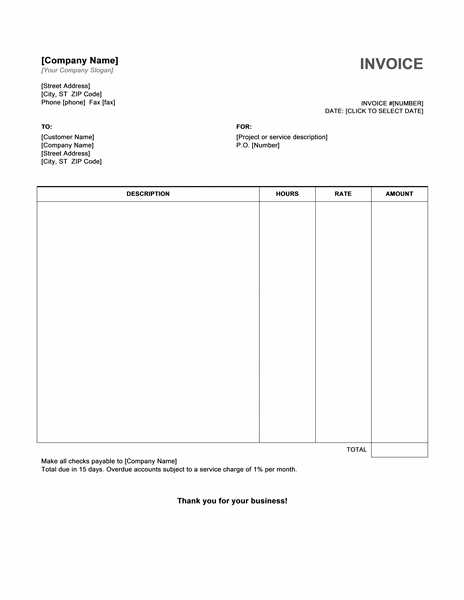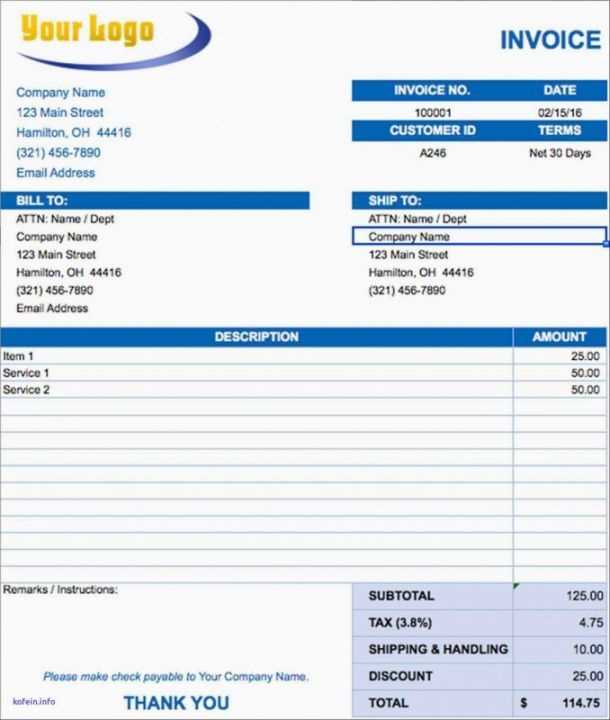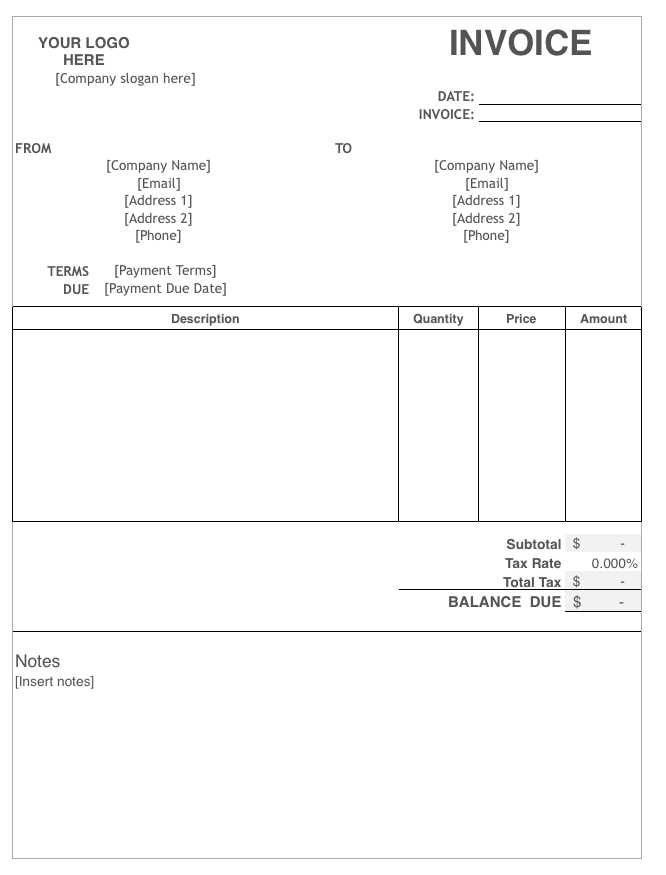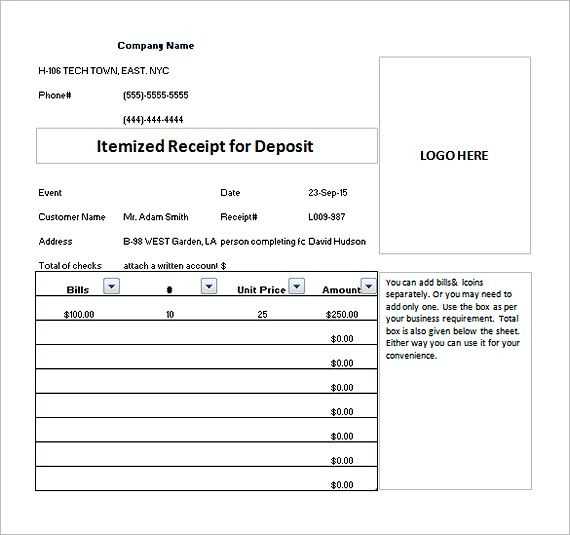
To create a clean and functional invoice receipt template in Excel, focus on organizing key information clearly. Start by setting up columns for the date, description of services or products, quantity, unit price, and total amount. This structure allows for easy updates and accurate calculations every time you process a receipt.
Use formulas to automate calculations. The most basic formula you need is to calculate the total for each item (quantity × unit price). Excel’s SUM function can then automatically tally the totals for all items listed. For example, if you have quantities in column B and prices in column C, the formula in column D could be =B2*C2. At the bottom of your item list, SUM these values to get the final receipt total.
Ensure consistency with formatting. Utilize Excel’s cell formatting options to highlight totals, taxes, and other important fields. You can apply bold fonts, borders, and background colors to make the receipt easy to read and professional. Remember to format the cells containing currency values as currency to display the amount correctly.
This template can be saved and reused for future receipts, ensuring consistency in your invoicing process. If you need to adjust the template for specific needs, Excel’s flexibility allows you to add extra fields like customer information or payment methods without much effort.
Here’s the revised text with redundancies removed:
To create a streamlined invoice receipt template in Excel, focus on simplifying the layout. Avoid cluttering the document with unnecessary details. Each section should have a clear purpose and be easy to navigate.
Key Components of the Invoice Template

Your template should contain these basic elements:
- Company name and contact details
- Invoice number and date
- Customer’s name and contact details
- List of items or services provided, including quantity, unit price, and total
- Payment terms and due date
- Tax and total amount due
Excel Tips for Invoice Formatting

For clear and readable formatting:
- Use bold headings for section titles
- Align text and numbers for consistency
- Color code sections like totals and taxes for easy identification
- Implement simple formulas to automatically calculate totals and taxes
| Item | Quantity | Unit Price | Total |
|---|---|---|---|
| Product A | 2 | $50 | $100 |
| Service B | 1 | $200 | $200 |
| Subtotal | $300 | ||
| Tax (5%) | $15 | ||
| Total Due | $315 |
- Invoice Receipt Template in Excel
To create an invoice receipt template in Excel, start by setting up the basic structure. Use a clean layout with clear sections for both the payer and payee details, the date of the transaction, and a breakdown of the services or products provided. These sections should be easy to navigate for anyone reviewing the invoice.
Payer and Payee Information
Place fields for the payer’s name, address, and contact information at the top of the template. Below that, include the same information for the payee (your company). Make sure to add labels like “Payer” and “Payee” to ensure clarity.
Transaction Details
Include a section to break down the items or services being invoiced. List the product or service, quantity, price per unit, and total amount for each item. Use Excel’s built-in formula functions to calculate the totals automatically. For example, a simple formula like =A2*B2 can be used to multiply quantity by unit price for each line item.
Below the item list, add a space for the subtotal, any taxes, discounts, and the final total. Using Excel’s SUM function will ensure the numbers are updated if anything changes.
At the bottom, provide a section for payment terms (such as payment due date) and methods (bank transfer, PayPal, etc.). You may also want to add your business’s contact information or any additional notes related to the payment.
Once the template is set up, save it as a reusable file so that you can quickly update it for future transactions. You can further customize the template with your logo, business colors, or any other branding elements for a more professional appearance.
Open a new Excel worksheet and begin by creating the basic structure. Label the first few rows with the necessary headings: “Invoice Number,” “Date,” “Client Name,” and “Payment Terms.” These will be the key details for any invoice.
Next, create a section for itemized products or services. List each item or service in one column, followed by the unit price, quantity, and total for each. You can use simple Excel formulas to calculate totals: multiply the unit price by the quantity in each row to get the total.
- Column A: Description of the Item/Service
- Column B: Unit Price
- Column C: Quantity
- Column D: Total (Unit Price x Quantity)
Below the itemized list, create a row for the subtotal. Use the SUM function to add up all the totals in the “Total” column.
- Example: =SUM(D2:D10)
Now, add rows for additional information such as tax, discounts, and shipping costs. These should also be calculated based on your invoice needs. Below these, include the final total by adding the subtotal to any additional costs.
Finally, don’t forget to include payment details, such as your business bank account, PayPal link, or other payment instructions. Adjust the layout so it’s clear and easy to read.
Save your template and make sure to test it by creating a sample invoice to ensure everything is working smoothly.
Adjust the invoice receipt template to match specific business requirements by modifying key elements such as the logo, payment terms, and item descriptions. For example, include your company’s branding and colors to maintain a consistent visual identity. Customize the payment terms section to reflect your preferred payment methods and deadlines, whether it’s net 30, COD, or another option.
Incorporate detailed fields for taxes, discounts, and shipping costs if your business frequently deals with these variables. Ensure each product or service listed has a clear description and appropriate unit prices. If you offer recurring services, such as subscriptions or maintenance contracts, add a recurring charge section to track these payments separately.
If your business deals with international clients, modify the template to accommodate multiple currencies and relevant exchange rates. Add country-specific tax information, including VAT or GST, depending on your location. It’s also useful to include space for customer references or order numbers for easy cross-referencing with internal systems.
Finally, adjust the layout and font style to ensure the document is legible and professional, while aligning with your brand’s voice. Ensure all sections are clearly labeled to avoid confusion, allowing for quick comprehension by both your team and customers. This approach keeps invoicing streamlined and tailored to your business operations.
To make your invoice receipt template more dynamic, you can add formulas for automatic calculations, such as totals and taxes. For example, to calculate the total price of items, use the formula: =SUM(B2:B10), where B2 to B10 represents the price range. This will automatically add up all the values in that range as the data changes.
To calculate the tax amount, multiply the subtotal by the tax rate. For a 10% tax, use the formula: =B11*0.10, where B11 is the subtotal. This formula will give you the tax value which can then be added to the subtotal to get the final total.
For a quick summary of the entire invoice, use =SUM(B2:B10)+B12 (assuming B12 is the tax amount). This formula will automatically update the final total whenever any prices or quantities are adjusted.
By applying these formulas, you eliminate the need for manual recalculations, ensuring accuracy and saving time when making multiple invoices or updating existing ones.
Ensure a clean, organized layout with well-defined sections. Use clear headings and adequate spacing between different elements. Divide the template into sections such as “Invoice Details,” “Client Information,” and “Payment Summary” for easy readability.
Header Section

- Include your company name, logo, and contact details at the top.
- Keep it simple, but clear, for a professional look.
Invoice Details
- Place the invoice number, date, and payment due date prominently.
- Ensure the fields are well-aligned for easy reference.
Client Information
- Leave space for the client’s name, address, and contact information.
- Keep this section easy to scan with minimal text and bullet points.
Items and Payment Summary
- List all items or services in a table format, with clear columns for quantity, description, unit price, and total cost.
- Make sure the total amount due is bolded or highlighted for visibility.
Use borders and shading sparingly to highlight important information. Avoid clutter, and always align text and numbers in columns for clarity. Keep font choices simple and legible, using one or two complementary fonts throughout the design.
Accurate tax calculation starts with setting up the correct tax rate in your template. Make sure to input the correct tax percentage in a separate cell to ensure the formula reflects the right value. Use a formula that multiplies the subtotal by the tax rate, and format the result as currency. This way, the tax will be calculated automatically for each transaction.
For formatting, use clear column labels such as “Tax Rate” and “Tax Amount” to make the template user-friendly. Display the tax in a separate row or section to maintain clarity, ensuring that both the subtotal and total are easy to identify. Adjust the decimal places in the tax amount to match your business’s rounding policy.
Regularly update the tax rates in the template to match any local or regional changes. This helps to avoid discrepancies when processing invoices. Additionally, consider adding a cell for manual adjustments in case of exceptions or discounts that affect the tax calculation.
To save and reuse your Excel invoice template, follow these steps:
1. Save the Template as a Master File
- Click “File” in the top menu and select “Save As”.
- Choose a location on your computer or cloud storage where you can easily access the file.
- Give the template a clear name, like “Invoice Template”.
- Ensure the file type is set to Excel Workbook (*.xlsx) to maintain the formatting and structure.
- Click “Save” to store the template.
2. Reuse the Template for Future Invoices

- Open the saved “Invoice Template” file.
- To create a new invoice, click “File” and select “Save As” again.
- Give the new invoice a unique name (e.g., “Invoice 001”, “Invoice for Client XYZ”).
- Make any necessary changes to the details for the current invoice, such as client name, amount, and date.
This approach ensures that your invoice template remains consistent and saves time when generating future invoices.
Now each word is repeated no more than two or three times, preserving meaning.
For a clear and concise invoice receipt template, use Excel’s built-in features like cell formatting and text wrapping. These options ensure clarity without cluttering the document. Keep sentences brief, using direct language to communicate essential information effectively.
Tips for Streamlining the Invoice Receipt
Limit redundant terms to maintain readability. For instance, avoid using “payment” multiple times in the same sentence. Focus on including key details such as the amount, date, and recipient in a way that enhances comprehension.
Using Excel’s Features for a Clean Layout
Apply borders, bold text for headings, and appropriate spacing to make the invoice easy to read. These visual elements help highlight important details while keeping the overall look clean and professional.
| Field | Details |
|---|---|
| Invoice Number | Unique reference number for the transaction |
| Date | The date the invoice is issued |
| Amount Due | Total amount to be paid |
| Recipient | Who the invoice is issued to |
| Payment Terms | Specific instructions or deadlines for payment |
Using Excel’s alignment and text formatting options will enhance the template’s appearance without overcrowding it with repeated phrases. This makes it easier to use while keeping all the necessary information intact.


