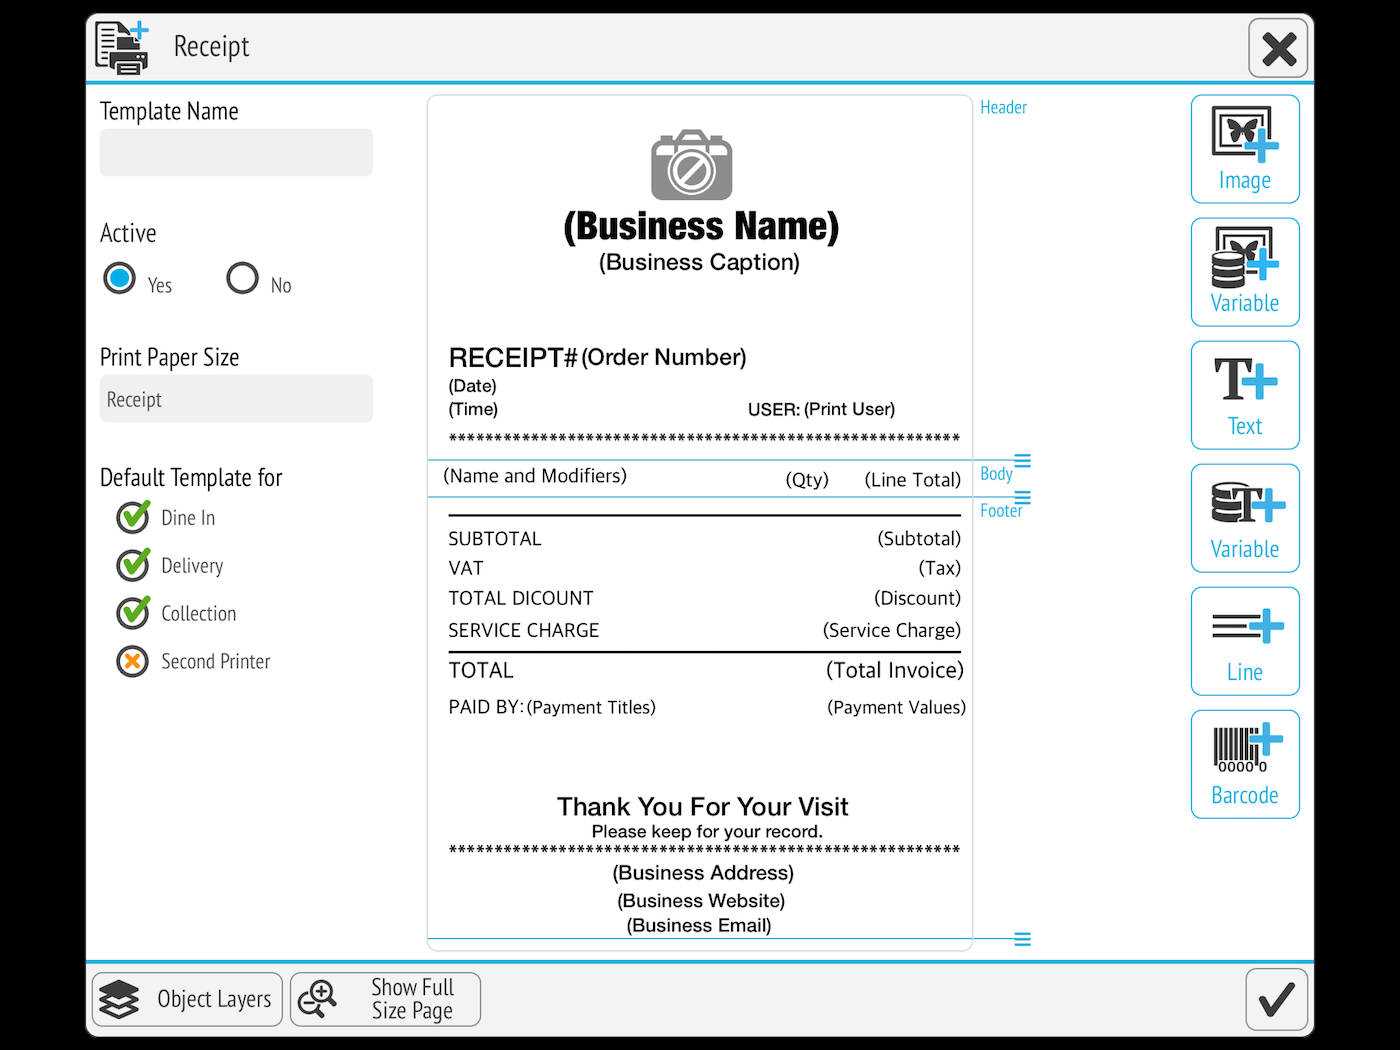
To create a thermal printer receipt, start with a simple, well-structured HTML template. The key to a readable receipt is clear and concise formatting. Use basic tags like <div>, <p>, and <span> to organize information such as the store name, items purchased, and totals. It’s crucial to keep text at a manageable size to ensure that it fits neatly onto the narrow paper rolls commonly used by thermal printers.
Next, focus on the layout. Thermal printers work best with minimal formatting, so avoid using heavy styles or complex elements like tables or background images. Instead, utilize <style> for quick adjustments such as font size, weight, or alignment. For example, you might use font-size set to 12px for item descriptions and 16px for totals to highlight important information. This helps the customer easily identify the purchase details without overcrowding the receipt.
Keep in mind that a thermal printer typically prints in black and white, so choosing high-contrast colors for text ensures readability. Use <strong> or <em> to emphasize key figures, like the total amount or the store name, and consider adding line breaks to separate sections for visual clarity. Avoid overcomplicating the design–focus on simplicity and directness to maintain a clean, professional appearance.
With these strategies, you’ll have an HTML receipt template optimized for thermal printers. The simplicity of HTML ensures compatibility across different devices while maintaining readability, even on small receipt paper rolls.
Here are the corrected lines with duplicates removed:
Remove any repeated content that doesn’t add value to the receipt. Check your text blocks for redundancy, like repeating store names or item descriptions. Each line should convey a unique piece of information to ensure clarity and avoid clutter.
Make sure product descriptions are concise. Avoid repeating information such as prices or quantities that have already been mentioned elsewhere in the receipt. This keeps the document clean and easy to read.
Double-check your date and time fields. If you’re listing the same date multiple times, consider keeping it in one spot rather than duplicating it throughout the template.
If you use item codes, ensure each item is only listed once with its unique code. Avoid restating this information under different headings or in separate sections unnecessarily.
Ensure that footer content such as disclaimers, contact details, and tax information are mentioned just once. This helps to focus the attention on important transaction data.
Always review your final template for any accidental redundancy before sending the document to print.
- Thermal Printer Receipt Template HTML
To create a thermal printer receipt template in HTML, structure your layout with a focus on simplicity. Avoid complex styles or excessive HTML elements, as these may not render well on thermal printers. Below is a sample template, tailored for printing receipts using a basic HTML setup.
Receipt Layout Structure
The template should include the essential details like store information, transaction details, item list, and total amount. Using a clear structure will ensure the receipt is easy to read. Use CSS for basic formatting but keep it minimal.
Sample Code for Thermal Printer Receipt
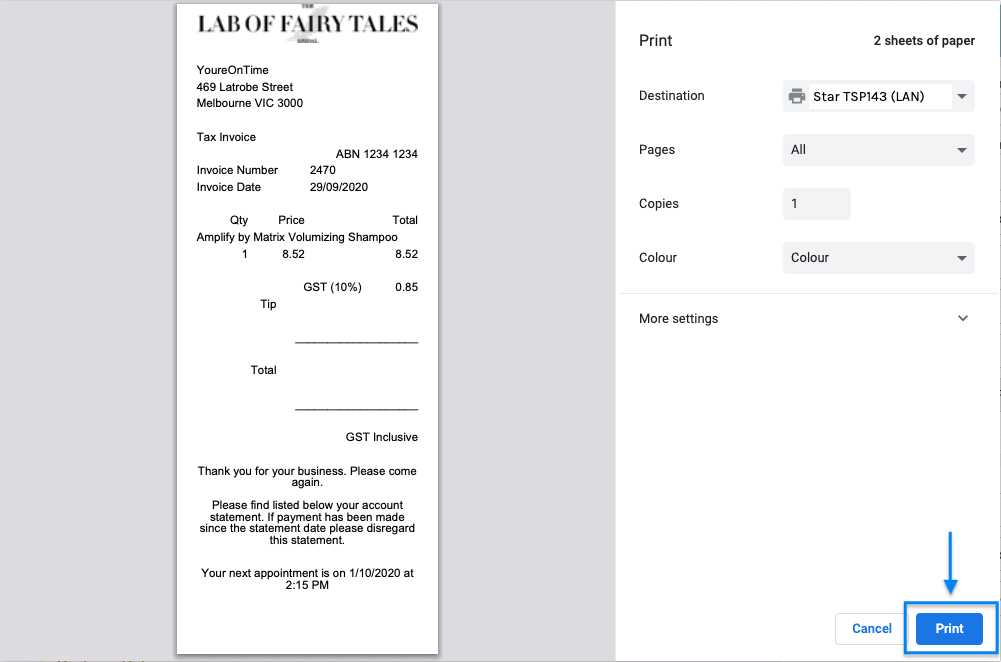
The following HTML template is designed to work well with thermal printers. It includes placeholders for store name, address, transaction date, item list, and total amount.
<!DOCTYPE html>
<html>
<head>
<title>Receipt</title>
<style>
body {
font-family: "Arial", sans-serif;
margin: 0;
padding: 0;
}
.receipt {
width: 100%;
padding: 10px;
text-align: center;
}
.store-info {
font-size: 16px;
font-weight: bold;
}
.item-list {
margin-top: 10px;
}
.item-row {
display: flex;
justify-content: space-between;
padding: 5px 0;
}
.total {
margin-top: 10px;
font-size: 18px;
font-weight: bold;
}
</style>
</head>
<body>
<div class="receipt">
<div class="store-info">
Store Name

Address Line 1

City, Zip Code

</div>
<p>Date: [Transaction Date]</p>
<div class="item-list">
<div class="item-row">
<span>Item 1</span>
<span>$10.00</span>
</div>
<div class="item-row">
<span>Item 2</span>
<span>$15.00</span>
</div>
</div>
<div class="total">
Total: $25.00
</div>
</div>
</body>
</html>
Key Formatting Tips
For thermal printers, avoid large images and complex layouts. Stick to a simple font like Arial or Helvetica, as these are commonly supported. Keep the font size small enough to fit the receipt area but large enough to remain legible. Ensure that the spacing between items and sections is consistent for a neat printout.
Customizing the Template
To personalize the template, replace placeholders like “Store Name” and “Transaction Date” with dynamic values from your server or database. Adjust the item list and pricing format to match your store’s needs.
Testing the Template
Before deploying the receipt template, test it on your thermal printer. Print a few test receipts to ensure proper alignment and readability. Adjust margins, font sizes, or line breaks as needed for the best output on your specific printer model.
Conclusion
With a simple, clean HTML structure, you can create a functional receipt template optimized for thermal printers. Keep the design minimal, use standard fonts, and ensure proper alignment for clear, readable receipts.
Keep the HTML minimal and efficient. Thermal printers are typically limited to narrow paper widths, so ensure the layout fits within those constraints. Standard thermal receipt printers often print on a width of 80mm or 58mm, so the content should be centered and avoid excessive horizontal spacing.
Use inline styles to avoid complications with external CSS files. This simplifies the rendering process and ensures compatibility with a wide range of thermal printers. Inline CSS styles should focus on text alignment, font size, and margins to optimize readability.
Here’s an example of a basic structure for a receipt:
| Store Name |
| Address: 123 Example St |
| Phone: (123) 456-7890 |
| Date: 04/02/2025 |
|
|
| Item Description – Price |
| Item 1 – $10.00 |
| Item 2 – $15.00 |
|
|
| Total: $25.00 |
|
|
| Thank you for shopping with us! |
Keep the layout simple: use basic HTML elements like <table> for alignment and <hr> for separation. Avoid complex styling, as most thermal printers only support basic formatting.
For text, use monospace fonts like Courier or Courier New to ensure even spacing and legibility. Avoid using web fonts, as they may not be supported by the printer. Set font size to around 12px for clarity.
Margins should be set to 0 to maximize space, and padding can be used sparingly. Keep text concise and avoid long paragraphs, as this can make the receipt difficult to read.
To ensure proper printing, always test the output on the target thermal printer. Small adjustments to spacing and font sizes might be necessary based on the specific model of the printer.
To set the correct paper size for a thermal printer, first confirm the printer’s specifications. Most thermal printers use either 80mm or 58mm width paper rolls. Adjust the HTML layout to match these dimensions, ensuring the content fits well on the receipt without being cut off. In CSS, you can set the page size with the following rule:
@page {
size: 80mm 200mm;
}
If your printer uses 58mm paper, change the width in the rule to 58mm. This will set the receipt dimensions to match the paper size exactly, avoiding any unnecessary scaling issues.
Setting Margins for Optimal Printing
Margins ensure that text and images are properly aligned and don’t get cut off at the edges. In CSS, use the margin property to create space around the content. For instance:
body {
margin: 10mm;
}
This example sets a 10mm margin on all sides of the receipt. You may adjust the margins based on your specific printer’s printable area. Check the printer’s manual for the exact printable width and adjust the margins accordingly.
Testing and Adjusting
Once the paper size and margins are configured, print a test receipt. Verify that all text and images are within the printable area and that no content is cut off. If necessary, tweak the margins or adjust the page size further. Always keep the printer’s capabilities in mind to ensure proper fit and alignment for consistent results.
Choose simple, sans-serif fonts like Arial or Helvetica for readability. These fonts are clean, easy to read, and don’t distort under low resolution or small sizes. Avoid decorative fonts that may look stylish but can reduce legibility.
Set an appropriate font size to ensure the text is legible without overwhelming the layout. A typical font size for receipts ranges from 8px to 12px, depending on the printer’s capabilities and the available space.
Maintain consistent line spacing and character spacing to avoid cluttering the receipt. Tight spacing can cause characters to merge, making it hard for customers to read the information accurately.
Use bold text sparingly for important details such as totals or product names. Overuse of bold text can create visual clutter and make it harder to distinguish between different sections of the receipt.
Consider using a monospace font for numeric data or amounts. Monospace fonts align numbers neatly, which is especially helpful for items like price totals and transaction numbers.
- Stick to common fonts to ensure compatibility across different devices and thermal printers.
- Test the readability on different printer models to ensure consistent output.
- Avoid using italics or underlined text as they may be harder to read on thermal paper.
By focusing on simple, readable fonts and consistent formatting, you ensure your receipts are clear and easily interpreted by customers and systems alike.
To implement barcode generation in thermal printer templates, use a barcode generation library like JsBarcode or Barcode4J. Start by adding the necessary script or CDN link to your template to integrate barcode functionality.
Next, define the barcode type, such as Code 128 or QR Code. Choose the type that best suits your requirements. For instance, Code 128 works well for alphanumeric data, while QR codes are ideal for storing more detailed information. Configure the barcode settings, including width, height, and format, to match the printer’s specifications.
Generate the barcode using a JavaScript function that renders it to a canvas element. For Barcode4J, you can convert the barcode into an image format and embed it directly into the template using an `` tag. If using JsBarcode, the barcode can be generated in real-time and displayed on the receipt using a `
Ensure the barcode’s size and position fit within the receipt layout. Modify the width and height properties using CSS to avoid distortion. Test the generated barcode to ensure that it scans properly and adjusts the layout for the best print quality.
For printers that support barcode printing natively, consult the printer’s manual for any specific commands or settings to optimize the print quality. Make sure the printed barcode is clear and scannable with the appropriate scanner hardware.
Dynamic data integration is key to creating flexible and accurate receipt templates. The most common approach is to bind variables directly within the HTML structure of the receipt. This allows the data to adjust based on user actions or database updates, such as displaying item names, quantities, prices, or totals that change per transaction.
1. Using JavaScript for Real-Time Data Updates
Leverage JavaScript to populate the receipt dynamically. For instance, you can define an array of items purchased and loop through it to display each one on the receipt.
- Example: Use JavaScript to iterate over an array of products in the shopping cart and append them to the receipt layout.
- Ensure the data is formatted correctly (e.g., prices with two decimal places) before displaying it.
- Consider using templating engines like Handlebars.js for a more structured approach to managing dynamic content.
2. Server-Side Data Injection
Another approach is to fetch data server-side and inject it into the HTML template before it’s sent to the client. This can be particularly useful when dealing with sensitive data or large datasets that shouldn’t be exposed on the client-side.
- Utilize PHP, Node.js, or other server-side languages to pull transaction data from a database and inject it into the receipt HTML template.
- This method allows for a more controlled environment and can enhance security for sensitive payment information.
- Ensure data sanitization before injecting dynamic content to avoid cross-site scripting (XSS) vulnerabilities.
Incorporating dynamic data improves both the user experience and the accuracy of receipts, allowing businesses to provide tailored information with each transaction. By using a combination of client-side and server-side techniques, you can easily adjust receipt templates to reflect real-time changes in purchase data.
Check the printer’s power connection. If the printer doesn’t turn on, ensure that it is plugged into a functioning outlet and that the power button is pressed. If it remains unresponsive, try restarting it or testing with a different power cable.
Print Quality Issues
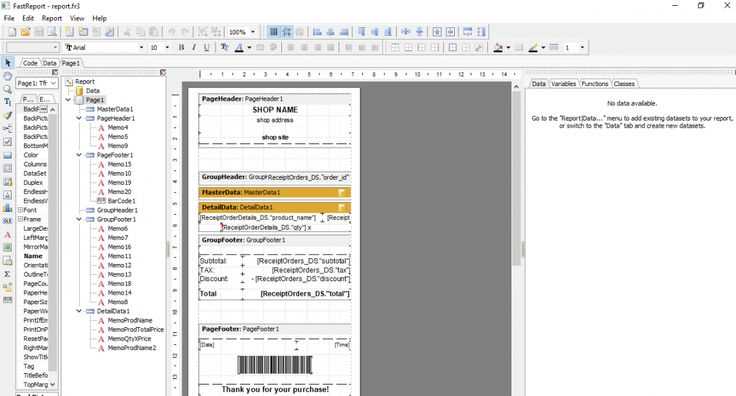
For poor print quality, begin by inspecting the print head. Dirt or dried ink can clog it, causing faded or incomplete prints. Clean the print head following the manufacturer’s instructions. If the printout is unclear or missing text, verify that the paper is loaded properly and check that you’re using the correct paper type for your printer model.
Paper Jam
If the paper gets stuck inside the printer, turn off the device and gently remove the paper. Check for any small pieces left inside that might cause further jams. Be sure to use the correct paper size and weight, as inappropriate paper can cause frequent jams.
Tip: Keep your paper dry and store it in a controlled environment to avoid humidity causing paper curling or jamming issues.
Connection Problems
If your printer is not responding, check the cable connections or Wi-Fi status. For wired printers, ensure the USB cable is properly connected. For wireless printers, confirm that both the printer and your device are connected to the same network. If using Bluetooth, make sure the devices are paired correctly.
Incorrect or Missing Text
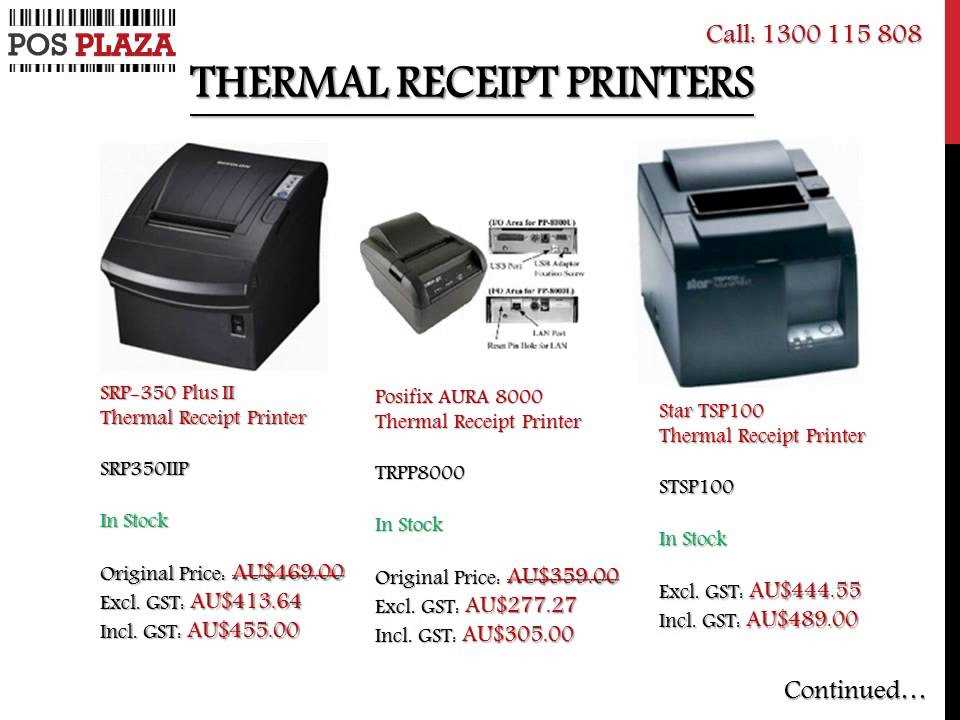
If the receipt prints with missing characters or distorted text, check the printer’s font settings. Ensure the correct character encoding is selected, and the template you’re using is compatible with the printer’s language. Re-check the HTML/CSS formatting to confirm it meets the thermal printer’s requirements.
Tip: Adjust the printer’s print density if text appears too faint. Increasing the contrast setting can improve visibility.
Software and Driver Conflicts
Outdated printer drivers can cause issues. Make sure the printer drivers are up to date by visiting the manufacturer’s website for the latest version. If problems persist after an update, reinstall the driver and check for conflicts with other software.
By systematically troubleshooting these areas, you can efficiently resolve common printing issues and ensure smooth operation.
Receipt Template Customization for Thermal Printers
Customize your thermal printer receipt template by focusing on clarity and simplicity. Keep the content concise, use a clean structure, and avoid overloading the template with unnecessary information.
1. Use Simple HTML Elements
When designing your receipt, opt for basic HTML elements such as <ul>, <ol>, <li>, and <p>. These elements allow for easy formatting, ensuring the text is legible on small thermal paper rolls.
2. Organize Content Effectively
Structure the receipt content logically. Start with essential details like the store name, address, and transaction date. Follow with a list of purchased items and their respective prices, and end with the total amount and payment method.
- Store Information: Include store name, address, and contact info at the top.
- Itemized List: List items with a concise description and price.
- Total and Payment: Clearly display the total price and payment method.
Adjust the font size and line spacing to fit the content appropriately on the small thermal paper. This will help ensure the receipt is easy to read without requiring a magnifying glass.
3. Use Simple CSS Styling
For thermal printer receipts, use minimal styling. Stick to basic text formatting like font-size and text-align to ensure compatibility with the printer’s limitations.
- Font Size: Keep the font size small, around 10-12px, to fit the text on the receipt without overcrowding.
- Text Alignment: Align text to the left for better readability.
By focusing on a simple, clean template, your thermal receipts will be easy to print, clear to read, and professional-looking, enhancing your customer experience.
