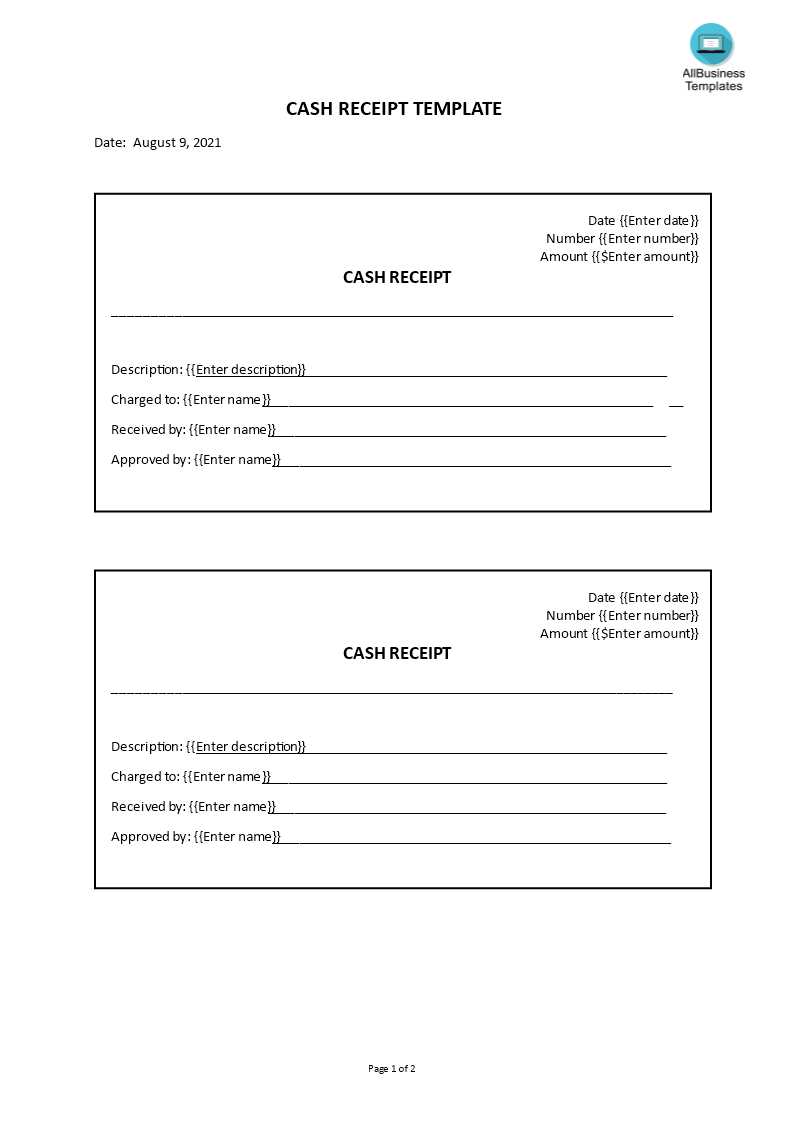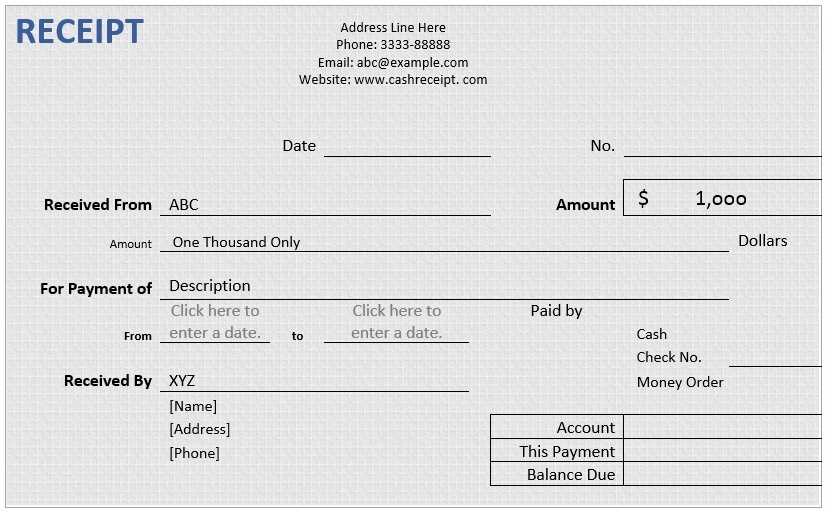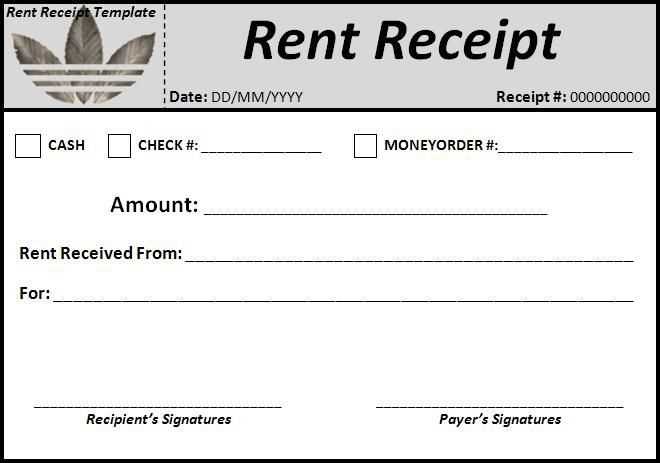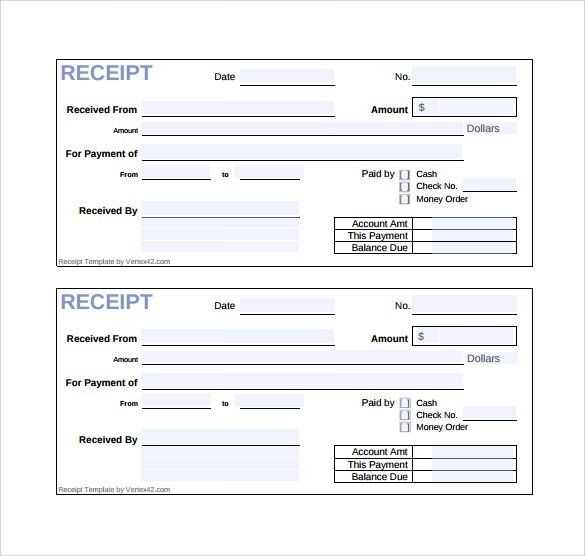
Creating a receipt note template is straightforward and can save time in many business situations. Use a simple layout with clear headings to make it easy to understand. Include details like the date, the transaction amount, and a description of the goods or services exchanged. This ensures both parties have a record for reference.
For an organized approach, add sections for the buyer’s and seller’s information. These details, along with a unique reference number, ensure that each receipt is traceable. A receipt note serves as a proof of transaction and should be structured to provide all necessary information without excess. Keep your template flexible to accommodate different types of transactions.
A good template is customizable but keeps consistency in its format. It should be straightforward and easy to print or store digitally. Create clear fields for signatures and terms if necessary. By using this structure, you can ensure a professional approach that meets your needs without complicating the process.
Receipt Note Template Guide
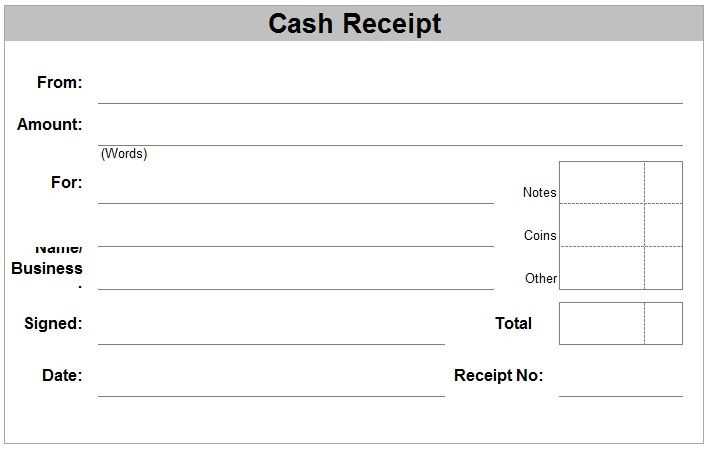
To create a functional receipt note, focus on clarity and detail. Include the following key elements:
- Receipt Number: A unique identifier for the transaction.
- Date: Specify the exact date of the transaction.
- Seller Information: Name, address, and contact details of the seller.
- Buyer Information: Name, address, and contact details of the buyer.
- Itemized List: A breakdown of goods or services provided, including quantities and prices.
- Total Amount: Clearly indicate the total payment due.
- Payment Method: Specify how the transaction was paid (e.g., cash, credit, bank transfer).
- Signature: A space for signatures of both parties if required.
Formatting Tips
Keep the receipt neat and well-organized. Use tables or bullet points for clarity. Ensure all figures are easy to read and verify. A professional layout can help avoid confusion and ensure the document is legally sound.
Additional Considerations
- Company Logo: If applicable, add your company logo for branding.
- Terms & Conditions: Include any specific terms related to the sale, returns, or warranties.
Understanding the Purpose of a Receipt Note
A receipt note serves as a written acknowledgment of goods or services received. It confirms that a transaction has occurred, and the item or service is in satisfactory condition. It helps track deliveries, verify inventory, and establish a clear record of what was exchanged. The note typically includes details such as the quantity, description, and date of receipt, offering clarity for both the buyer and seller.
This document can be used as evidence in case of disputes, proving that the items were received as agreed. It also serves as a reference for return or warranty claims, ensuring both parties have a clear understanding of the transaction’s specifics. By keeping a copy of the receipt note, businesses can maintain accurate records of stock levels, which helps in managing inventory effectively.
Key Elements to Include in Your Template
Ensure your receipt note template includes these key components: the name of your business, the transaction date, and the unique transaction number for tracking. These details make your records clear and easy to reference.
Transaction Details
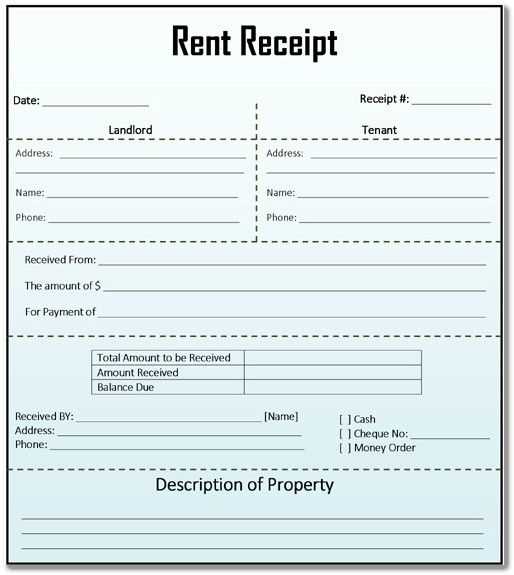
Clearly list the products or services provided. Include quantities, unit prices, and total amounts to avoid confusion later. For easy understanding, group similar items together if needed. Accuracy here prevents disputes and makes it simple to verify later.
Payment Information
Include the method of payment (cash, credit card, etc.) and any payment references. This helps both parties confirm how the transaction was completed. If applicable, also note any discounts or taxes applied to the transaction.
Designing a User-Friendly Layout
A clean and intuitive layout is key to making your receipt note easy to read and navigate. Focus on clear sectioning of important details. Use headings to group related information, like product details, price, and payment method. Make sure each section has enough white space to avoid clutter, helping users scan the note effortlessly.
Clarity and Readability
Choose a simple, legible font. Avoid overly decorative fonts that can distract from the main content. Stick to one or two font types for consistency, with varying weights to create a visual hierarchy. Ensure text size is large enough to be easily readable without strain.
Logical Flow
Arrange information in a natural, logical order. Start with the basics–store name, date, and receipt number–followed by a breakdown of the purchased items, prices, and totals. Keep the most critical information, like total amounts, in a bold or larger font to highlight them.
Customizing Receipt Notes for Different Businesses
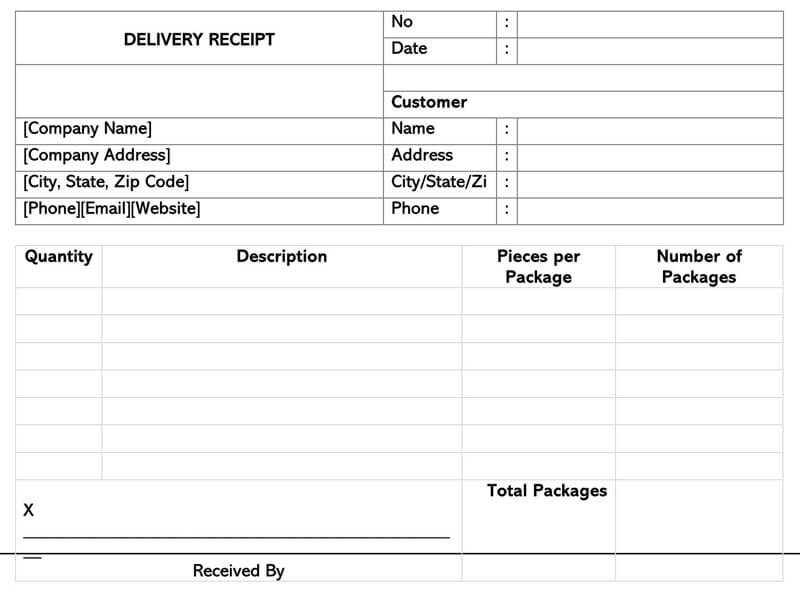
Tailor receipt notes to match the specific needs of your business by adjusting the layout, content, and details. For retail stores, include product descriptions, quantities, and prices. Adding a return policy or warranty information can improve the customer experience and provide clarity on after-sales services. Consider incorporating your logo and branding colors for a professional look that aligns with your brand identity.
Service-based Businesses
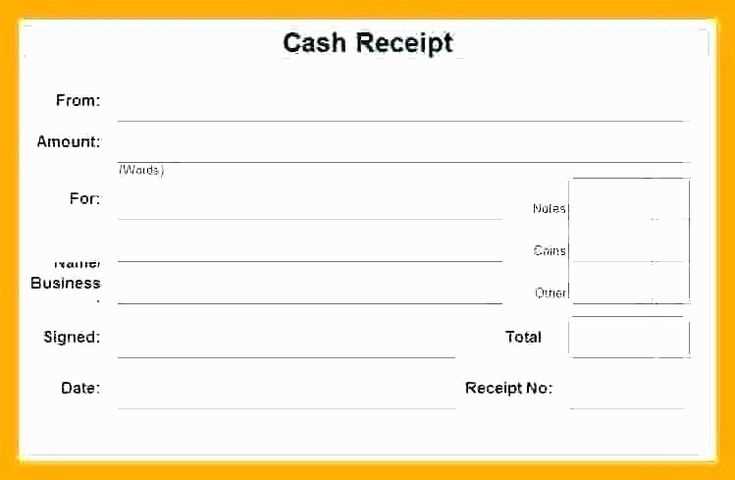
For businesses offering services like consulting or repairs, focus on the service description, hourly rates, and any materials used. Break down the charges clearly so clients understand what they’re paying for. Including a breakdown of service hours or a description of work done builds trust and transparency.
Online Stores
In e-commerce, receipts should list all items, including shipping details and taxes. It’s also helpful to add order tracking numbers and customer service contact information. Integrate an option for customers to view or print their receipt for their records, enhancing the convenience for remote transactions.
Common Mistakes to Avoid When Creating Templates
Ensure consistency in layout. Avoid varying fonts, colors, and spacing that might confuse users or make the template look unprofessional. Stick to a uniform style throughout.
Another key mistake is neglecting clear labeling. Each field and section of your template should be clearly identified. Users should immediately understand what information goes where without second-guessing.
Ignoring User Needs
Templates that don’t consider user needs often fail. Always think about the user experience. Prioritize simplicity and convenience. For example, don’t add unnecessary fields that add complexity.
Overcomplicating the Design
Avoid creating a template that is visually overloaded. Excessive graphics or intricate layouts can distract from the core purpose. Keep the design clean and intuitive.
- Minimize unnecessary elements
- Focus on the purpose of the template
- Limit use of bold and italics to key information
Lastly, always test your template. A well-tested template identifies issues such as inconsistent alignment, confusing instructions, or fields that don’t function correctly. Collect feedback before finalizing any template.
How to Implement and Share Your Template
Begin by selecting a platform that suits your needs for creating and editing your receipt note template. You can use popular word processors, spreadsheet software, or online tools designed specifically for template creation. Once you’ve chosen your tool, customize the template layout to match your business needs, such as adding fields for date, customer name, product details, and pricing. Ensure that the design is clear and easy to follow for both the user and the customer.
Implementing the Template
After setting up the template, test it to ensure all fields are functional. Input sample data to check that the layout displays correctly and that all calculations, if any, are accurate. If the template is intended for recurring use, create a system for saving and reusing it. Depending on your tool, you might save it as a reusable file or upload it to a cloud service for easy access.
Sharing the Template
To share your template, export it into a widely used format such as PDF, Excel, or Word. This ensures compatibility with most systems. If you’re using an online tool, take advantage of sharing features like generating a link or directly emailing the template. Ensure the template is accessible to the recipient, with clear instructions on how to edit or use it for their needs.
| Format | Platform | Purpose |
|---|---|---|
| Universal | For easy viewing and printing | |
| Excel | Spreadsheet software | For templates with calculations |
| Word | Word processors | For text-heavy templates with customization options |
