Need a quick and professional way to create receipts? Microsoft offers customizable receipt form templates that simplify the process. These templates work seamlessly with Word and Excel, allowing you to generate detailed receipts in minutes. Whether you’re running a small business or need personal transaction records, these templates save time and ensure accuracy.
Why use a Microsoft receipt template? It eliminates the hassle of designing receipts from scratch. With pre-formatted sections for date, amount, description, and payment details, you can fill in the necessary information and have a polished receipt ready instantly. Many templates also include automatic calculations, reducing the risk of errors.
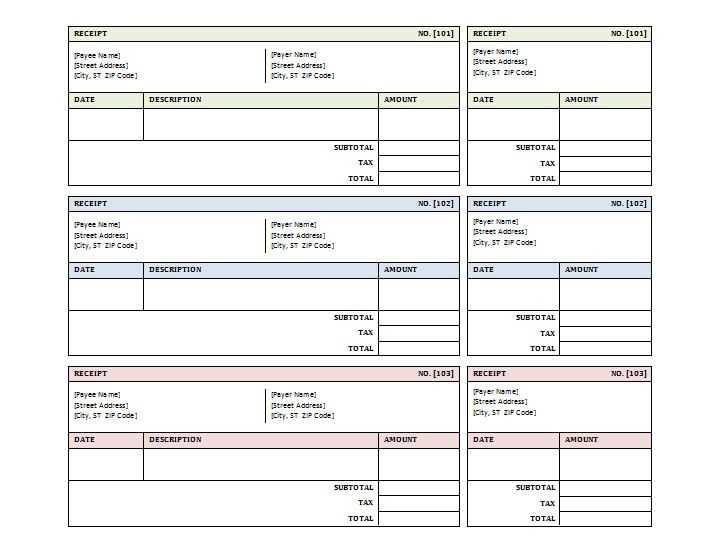
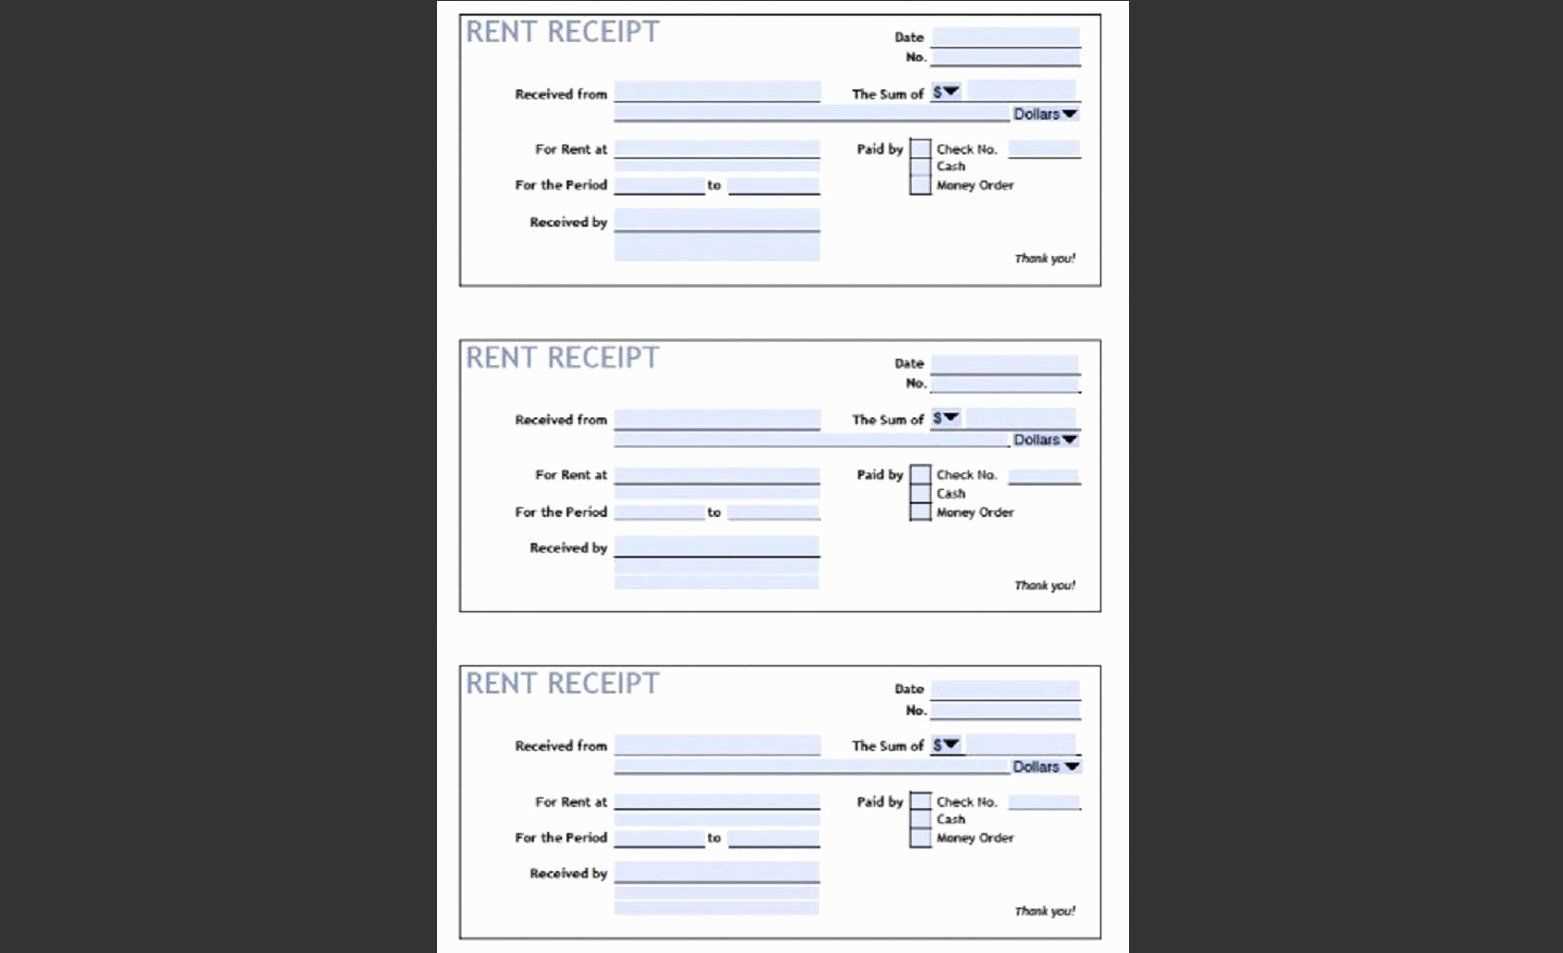
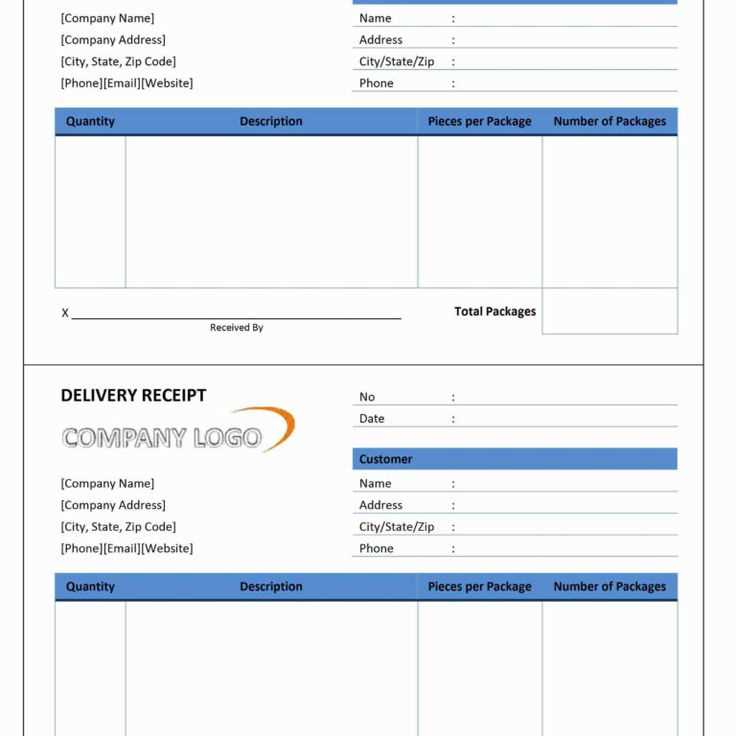
Microsoft provides a variety of receipt formats, including cash payment receipts, sales receipts, and donation receipts. You can personalize them by adding your company logo, adjusting colors, or modifying fields to suit your needs. Downloading a template takes seconds, and with basic editing, you’ll have a professional receipt ready to print or email.
Here’s the revised version without unnecessary repetitions:
Download a Microsoft receipt form template directly from the official source to ensure compatibility and accuracy. Open the file in Excel or Word, depending on the format, and customize the fields to match your business needs. Adjust the company name, address, and payment details before saving a reusable version. Automate calculations by enabling formulas in Excel, reducing manual entry errors. For frequent use, create a template folder for quick access. Always verify the final document before sending it to ensure all details are correct and formatted properly.
- Microsoft Receipt Form Template
Download a ready-to-use Microsoft receipt form template to simplify your transaction records. Choose a format that matches your needs, such as Word for easy customization or Excel for automated calculations.
Customize the template by adding your business name, logo, and contact details. Modify the table layout to include payment methods, tax rates, and item descriptions. Ensure the receipt includes a unique number for tracking and compliance purposes.
Use Microsoft 365’s cloud features to store and share receipts securely. Save templates in OneDrive for quick access and collaborate with team members in real-time. Convert completed receipts into PDFs to maintain a professional appearance.
Automate receipt creation with built-in formulas in Excel. Set up fields for subtotal, tax, and total amounts to reduce manual input errors. Use conditional formatting to highlight overdue payments or incomplete transactions.
Ensure compliance with financial regulations by including all required details, such as transaction date, seller information, and payment confirmation. Keep digital backups to prevent data loss and improve record-keeping efficiency.
Open Microsoft’s official website and navigate to the templates section. Use the search bar to find a receipt form template by entering relevant keywords. Once located, review the available options to ensure the format suits your needs.
Steps to Download

- Click on the template to open its details page.
- Select the preferred format if multiple options are available.
- Press the download button and save the file to your device.
Alternative Access Points
- Check Microsoft Word’s built-in templates by opening the application and selecting “New.”
- Browse the Microsoft 365 template gallery for additional variations.
- Explore OneDrive or SharePoint if your organization provides shared templates.
After downloading, open the file in Microsoft Word or Excel and customize it as needed. Ensure all fields are filled accurately before saving or printing.
Adjust the layout to match your branding by modifying fonts, colors, and logo placement. A clear, well-structured format improves readability and ensures a professional look.
Include Key Business Details
Add your company name, address, and contact information in a prominent position. This not only builds trust but also makes it easy for customers to reach you if needed.
Modify Fields for Better Tracking
Customize fields based on your transaction types. For instance, include payment method options, tax calculations, or specific service descriptions to create a tailored receipt that captures essential data.
Automate Calculations by adding formulas for subtotals, taxes, and totals. This reduces errors and saves time when generating receipts.
Enhance Digital Usability by converting the template into a fillable PDF or integrating it with accounting software. This simplifies record-keeping and improves efficiency.
Include tax, discounts, and payment details directly in the Microsoft receipt form to ensure clarity and accuracy. Use predefined formulas in spreadsheet-based templates or custom fields in Word-based templates to automate calculations.
Configuring Tax and Discounts
Calculate tax using a percentage-based formula applied to the subtotal. In Excel, use =Subtotal*TaxRate to generate the tax amount automatically. For discounts, apply a negative percentage adjustment before tax calculation.
Adding Payment Details

Include multiple payment methods by adding fields for cash, credit, or digital payments. Ensure the form calculates the total due after applying tax and discounts.
| Item | Price | Discount | Tax | Total |
|---|---|---|---|---|
| Service A | $100 | 10% | 5% | $94.50 |
Customize labels and adjust tax rates as needed to align with local regulations. For automation, consider Excel’s built-in formulas or conditional formatting to highlight discrepancies.
Save as PDF for universal access: Click File > Save As, choose PDF, and confirm. This ensures compatibility across devices and prevents formatting issues.
Export to Excel for further editing: Select File > Save As, pick XLSX, and save. This keeps all table structures intact for easy modifications.
Print with specific settings: Go to File > Print. Adjust margins, orientation, and scaling for optimal layout. Choose Print to PDF for a digital copy or select a physical printer for hard copies.
Save as an image for quick sharing: Use the Snipping Tool (Windows) or Screenshot (Mac) to capture the receipt. This method is ideal for sending via messaging apps or embedding in reports.
Use OneDrive for Quick Sharing
Upload the receipt form to OneDrive and generate a shareable link. Adjust permissions to allow viewing or editing, depending on the recipient’s needs. Copy the link and send it via email or messaging apps for instant access.
Send via Outlook with Direct Access
Attach the file directly in Microsoft Outlook or use the built-in OneDrive integration. This method ensures the recipient always accesses the latest version without the need for re-sending updated copies.
Convert to PDF and Share Securely
Save the form as a PDF in Microsoft Word or Excel before sharing. This locks the content, preventing unintended modifications. Attach the file to an email or upload it to OneDrive with restricted access for extra security.
Formatting Errors

Ensure that the template maintains consistent alignment and spacing. If text shifts unexpectedly, check the margin settings and use table structures where applicable. When exporting to PDF, verify that fonts remain embedded to prevent distortions.
Incorrect Calculations
If totals are incorrect, verify formula integrity in calculated fields. Use absolute cell references in spreadsheet-based templates to prevent unintentional changes. Double-check tax and discount formulas to ensure they apply only to the intended fields.
For missing data, confirm that required fields are not empty. If auto-fill features fail, inspect permissions and enable macros if necessary. Regularly update the template to avoid compatibility issues with newer software versions.
Ensure your receipt form maintains clarity and structure by properly closing lists. An incorrectly formatted list can disrupt readability and create confusion in financial records. When finalizing a receipt template in Microsoft software, follow these key steps:
- Check that every
<ul>or<ol>tag has a corresponding</ul>or</ol>closure. - Keep nested lists structured correctly to maintain logical formatting.
- Use indentation to enhance readability when working with code-based templates.
- Verify the formatting in print preview mode to ensure consistency across different devices.
Closing lists properly helps prevent formatting errors and ensures a polished, professional look for receipts.