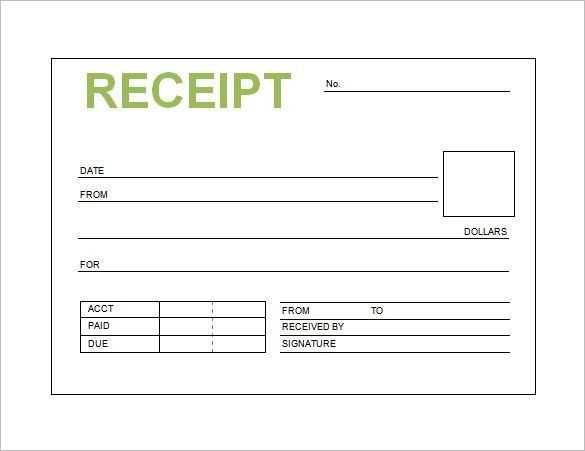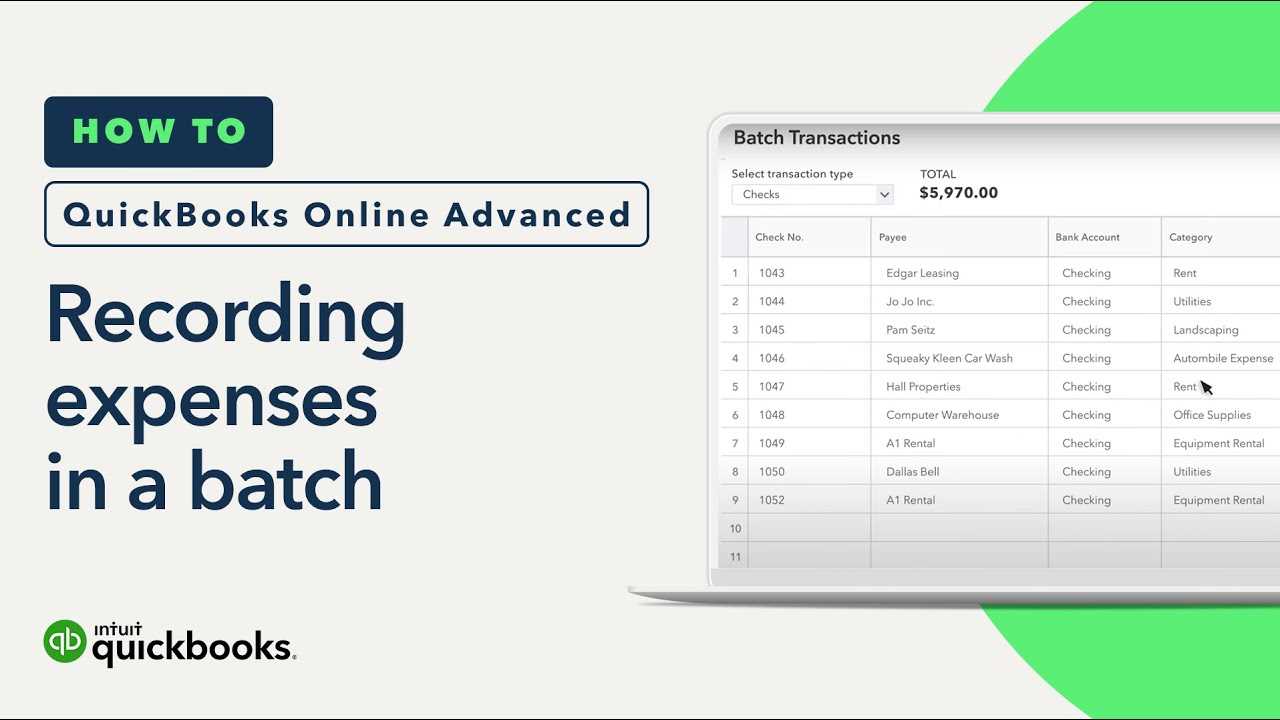
Customizing sales receipts in QuickBooks makes your invoices look more professional and aligned with your brand. To modify the template, open QuickBooks and go to Lists > Templates. Find the sales receipt template you want to update, then click Edit to access the customization options.
Adjust the layout, fonts, and colors to match your business style. Use the Additional Customization section to modify field placements, add a company logo, or remove unnecessary details. For more advanced changes, go to the Layout Designer, where you can fine-tune spacing and positioning.
If you need a new template from scratch, click Templates > New and select Sales Receipt. Customize it to fit your needs, then set it as the default under Preferences. Once saved, all new sales receipts will follow the updated format.
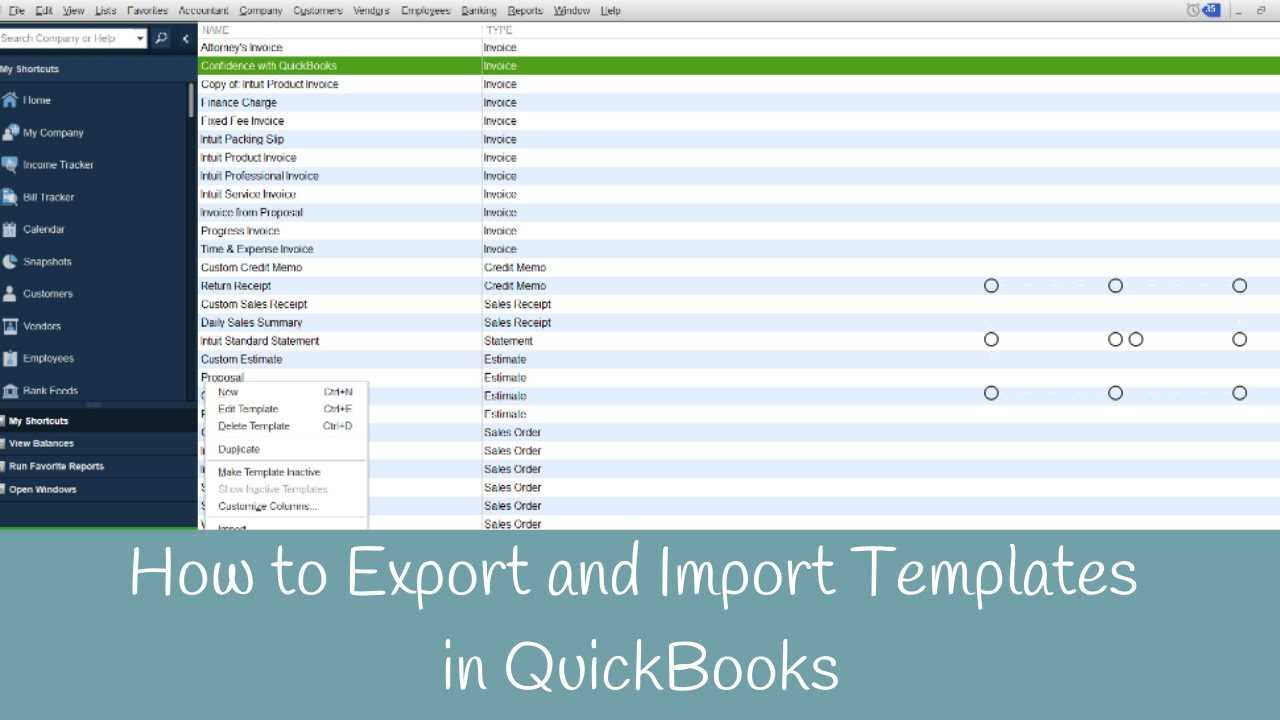
QuickBooks also allows exporting and importing templates, so you can reuse designs across multiple company files. To do this, go to Templates > Export, save the file, then import it into another QuickBooks setup when needed.
With a few adjustments, you can ensure your sales receipts reflect your brand and provide clear, organized details for customers.
How to Change Sales Receipt Template in QuickBooks
To change your sales receipt template in QuickBooks, follow these steps:
- Go to the Gear icon at the top right of the screen and select Custom Form Styles.
- Click on New Style and select Sales Receipt from the dropdown menu.
- Choose a template from the available options or click on Edit to customize an existing one.
- Make changes to the layout, fonts, colors, and logo as needed. You can adjust the header, footer, and other elements of the receipt.
- After customizing the template, click Done to save your changes.
- If you wish to apply the new template, go to the Sales Receipt page and select the template you just created from the Template dropdown.
Now, your sales receipts will reflect the new template every time you create one.
Accessing the Sales Receipt Customization Settings
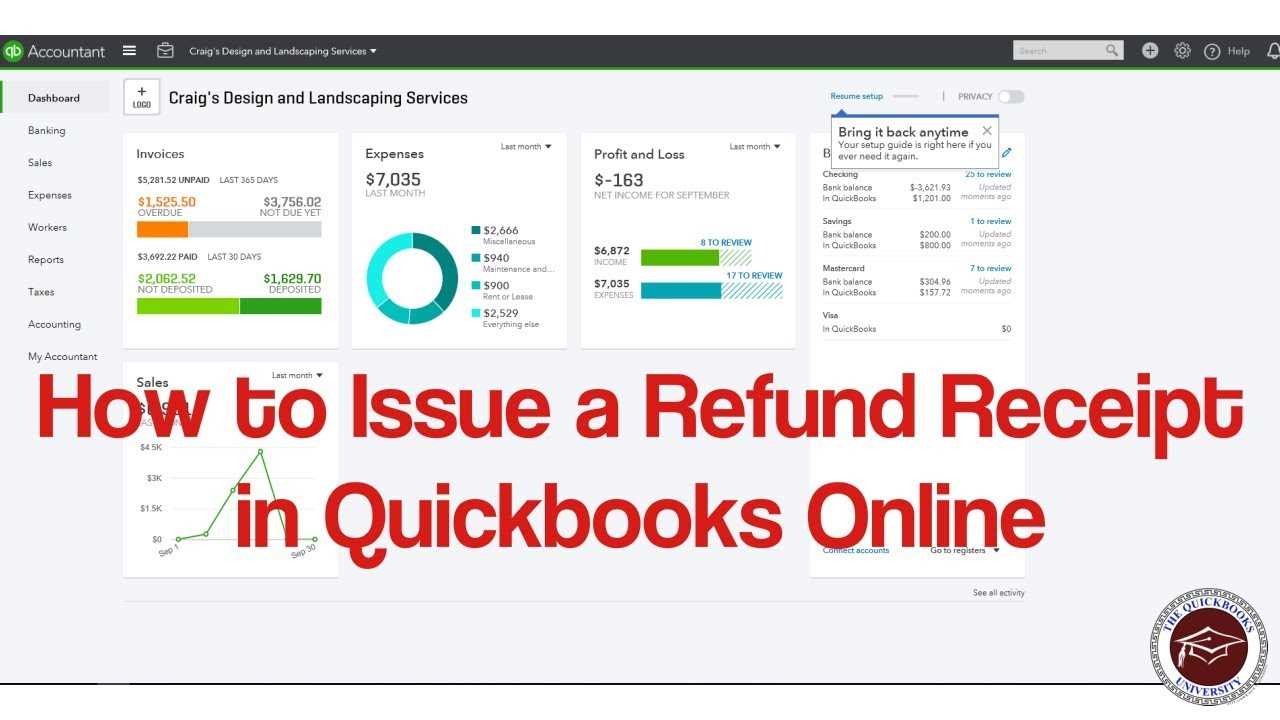
To customize your sales receipt template in QuickBooks, follow these steps:
- Open QuickBooks and navigate to the “Gear” icon in the top right corner.
- Select “Custom Form Styles” under the “Your Company” section.
- Click on “New Style” and choose “Sales Receipt” from the dropdown list.
- This will open the customization window where you can modify the template settings.
In this window, you can access various customization options, such as design, layout, and content. The options are organized into different tabs for easy navigation.
Design Tab
- Choose a layout template that fits your business needs.
- Modify colors, fonts, and logos to match your branding.
Content Tab
- Add or remove fields like customer details, payment methods, and terms.
- Customize the appearance of these fields to match your preferences.
After making the desired changes, click “Done” to save your new sales receipt template. You can now apply it to your transactions.
Modifying Layout and Design Elements
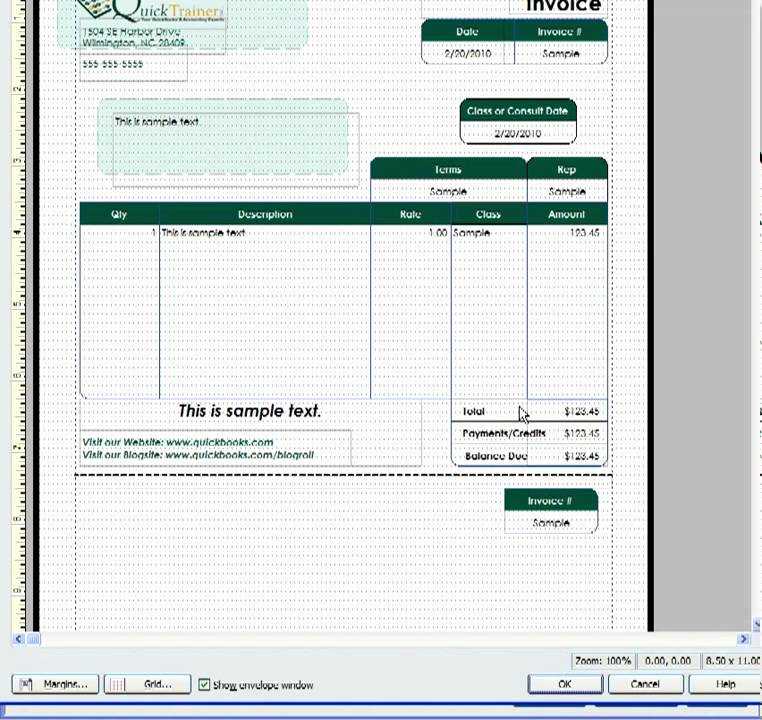
To adjust the layout and design of your QuickBooks sales receipt template, follow these steps:
First, access the “Custom Form Styles” section under the “Gear” icon. Select the template you want to modify or create a new one. From here, you can easily change the layout, font, colors, and placement of various elements on the receipt.
When modifying the design, focus on the following key areas:
- Logo and Branding: Add or replace the logo by clicking on the “Edit” option under the “Design” tab. Ensure it aligns with your brand’s visual identity.
- Text and Font Styles: Customize the fonts and sizes of labels, item descriptions, and other text to make the receipt clear and professional.
- Field Arrangement: Rearrange the placement of fields such as the customer’s name, address, and item details. This helps improve readability and clarity.
- Color Scheme: Modify the background color, text color, and borders to match your business’s color palette.
QuickBooks allows you to drag and drop elements within the template to fit your preferred design. Experiment with different configurations to see what looks best for your receipts.
| Element | Action |
|---|---|
| Logo | Select “Edit” to upload or replace your logo. |
| Fonts | Choose from various fonts and adjust sizes under “Text” settings. |
| Field Position | Drag and drop to change the placement of fields. |
| Colors | Customize text and background colors to match your brand. |
Once you finish modifying the template, preview it to ensure everything is positioned properly. Save the changes when you’re satisfied with the layout.
Adding or Removing Fields in the Sales Receipt
To customize your sales receipt in QuickBooks, go to the “Sales Receipt” template and select “Edit” under the template options. Here, you can add or remove fields based on your business needs.
To add a field, click on the “Add” button and choose the field you want to include, such as “Sales Tax,” “Shipping,” or “Discount.” QuickBooks will automatically place it in the appropriate section of the receipt. You can drag and drop fields to reposition them as desired.
To remove a field, simply click on the field you want to delete and press the “Delete” button. This action will remove the field from the template, but it won’t affect any past transactions.
Make sure to save your changes by clicking on “Save” or “Done” after adjusting the fields to ensure your customized template is applied to future sales receipts.
Updating Company Logo and Branding Details
To update your company logo in QuickBooks, open the “Sales Form” customization settings. Locate the “Company Logo” section and click “Edit.” Here, you can upload a new logo by selecting the appropriate image file from your computer. Make sure the logo meets the recommended file size and format for optimal display.
Adjusting Your Branding Colors
In the same customization menu, you can modify your company’s branding colors. This option allows you to select custom colors for headers, footers, and other elements on your sales receipts. Choose the color palette that aligns with your brand’s identity to maintain consistency across all your documents.
Updating Company Details
Ensure your company’s contact information is up-to-date. QuickBooks enables you to edit the business name, address, phone number, and website URL, which will appear on your sales receipts. Simply enter the correct details in the respective fields under the “Company Information” section.
Adjusting Default Message and Footer Content
To customize the default message and footer in your QuickBooks sales receipt template, open the template editor. Navigate to the “Customize” button and select “Edit Labels and Layout.” This will bring up the settings where you can modify text in the header, message, and footer sections of the receipt.
Modify the Default Message
Click on the “Message” section to adjust the default message. You can replace the standard text with a personalized message, such as a thank-you note or payment reminder. Simply type in the desired text and save your changes. QuickBooks allows you to preview the modifications in real-time to ensure they appear as expected.
Customize the Footer
To update the footer content, locate the footer section within the editor. Here, you can add contact details, disclaimers, or special instructions for your customers. Ensure the text aligns with your branding and provides clear, helpful information. After updating, preview the changes to confirm the footer displays correctly on your receipts.
Saving, Previewing, and Applying the Custom Template
After making changes to your sales receipt template in QuickBooks, save your work by clicking the “Save” button in the upper-right corner of the customization screen. This ensures that all adjustments are stored and ready for use. You can rename your template to keep track of different versions if needed.
Preview the Template
To check how your custom template looks before applying it, click the “Preview” button. This gives you a chance to review the layout and ensure all elements are correctly positioned. If something looks off, simply go back to the customization screen to make further adjustments.
Applying the Template
Once satisfied with your custom template, apply it by selecting it from the list of templates available in the “Sales Receipts” section. Click “Apply” to make it the default for future sales receipts. This ensures that your new template will automatically appear whenever you generate a receipt.
