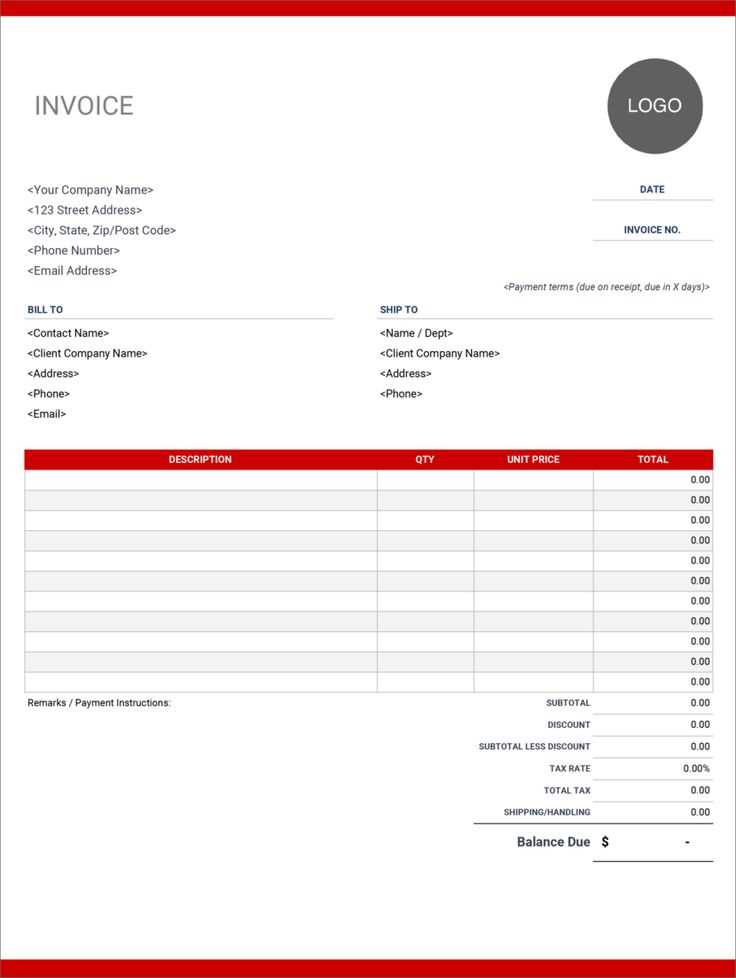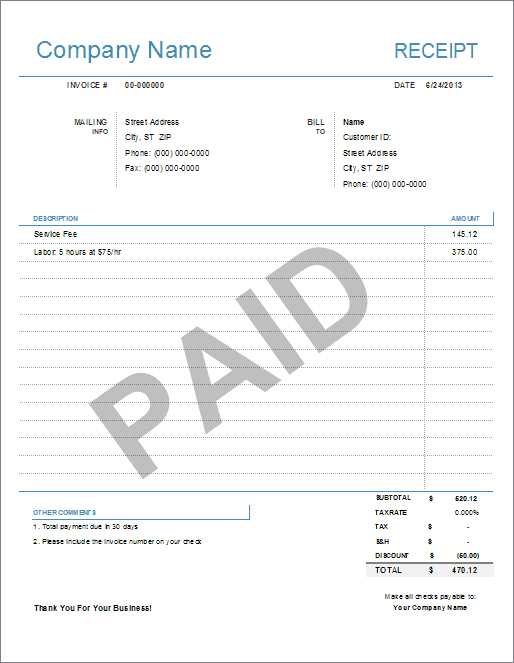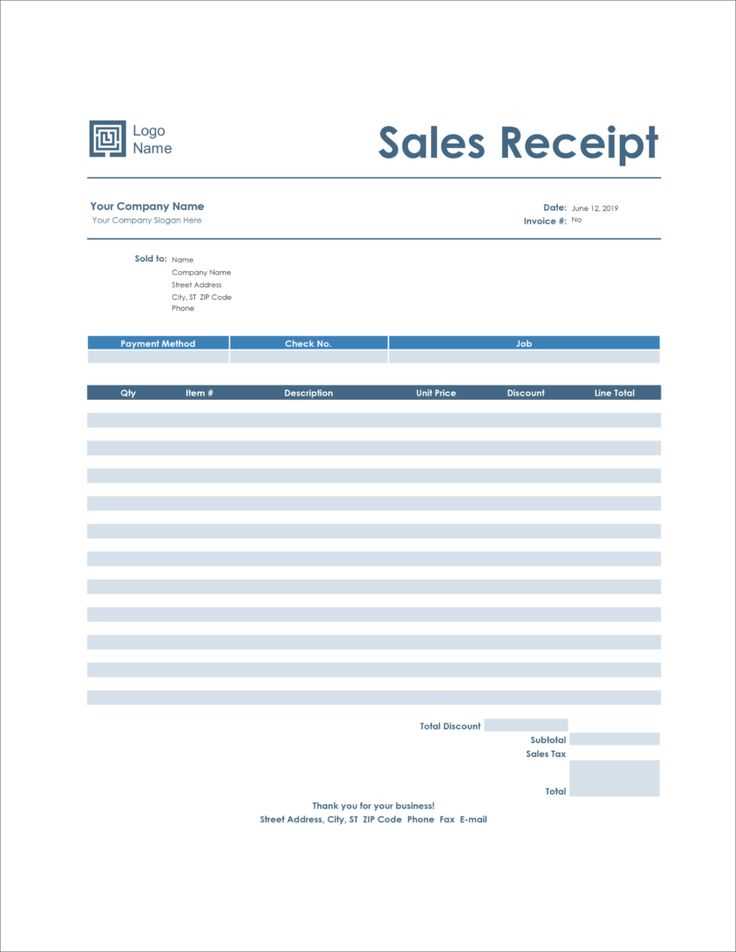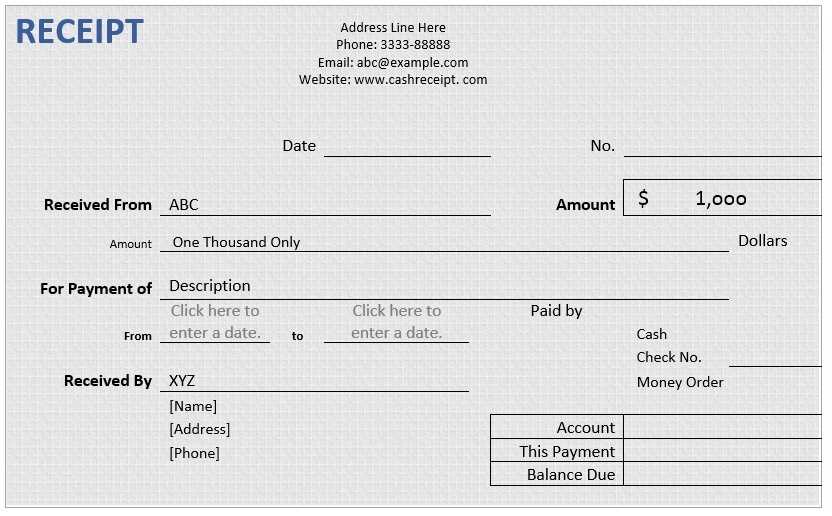
A well-designed receipt does more than confirm a transaction–it enhances brand identity and improves customer experience. To make yours stand out, focus on layout, typography, and color choices that align with your business style. A modern, minimalistic design works best for tech-savvy brands, while a vintage or handwritten look suits artisanal and boutique businesses.
Customization is key. Add a logo, adjust fonts to match your brand voice, and incorporate subtle design elements like icons or borders. If your business offers loyalty rewards, include a personalized thank-you message or a QR code linking to discounts or surveys.
Clarity should never be sacrificed for aesthetics. Structure your receipt logically, ensuring key details like item descriptions, prices, and payment methods are easy to read. White space improves readability, while contrast between text and background ensures accessibility for all customers.
To enhance functionality, consider digital receipts with interactive features. A clickable email receipt can direct customers to track orders, reprint invoices, or contact support. If printing is necessary, use eco-friendly paper and ink to align with sustainable business practices.
Creative Receipt Template

Choose a unique layout that aligns with your brand’s identity. A minimalist design with clean lines works well for modern businesses, while a vintage aesthetic suits boutique stores. Experiment with borders, icons, or subtle background patterns to enhance readability without overwhelming the document.
Incorporate a custom logo and a distinct font combination to make receipts instantly recognizable. Sans-serif fonts ensure clarity, while decorative elements like script fonts add personality. Keep headings bold and legible, ensuring customers can quickly locate key details.
Enhance usability by organizing sections logically. Place the business name, date, and receipt number at the top. List purchased items with clear descriptions, individual prices, and a subtotal. Use subtle color coding to separate tax, discounts, and total cost, making financial details easy to scan.
Integrate a QR code for instant access to return policies, customer support, or loyalty rewards. This small addition reduces clutter while providing extra value. For printed receipts, consider perforated edges for detachable coupons or feedback sections to encourage engagement.
Offer both digital and printable formats. A well-structured PDF with interactive fields improves convenience, while thermal printing settings optimize clarity for physical copies. A dynamic, well-crafted receipt leaves a lasting impression and reinforces brand trust.
Choosing the Right Layout for Your Needs
Pick a structure that highlights key details without clutter. If speed is the priority, use a minimal design with bold headings, clear itemization, and ample white space. This ensures easy readability and quick scanning.
For businesses handling multiple transactions daily, opt for a tabular format with distinct sections for taxes, discounts, and totals. Align numbers consistently to prevent misinterpretation and streamline calculations.
Custom branding matters. A header with your logo, business name, and contact details makes receipts look polished. If including promotional messages, place them at the bottom to avoid distraction from essential figures.
Mobile-friendly designs work best for digital receipts. A single-column layout prevents horizontal scrolling, while well-spaced elements enhance legibility on small screens. For print, maintain margins that prevent text from getting cut off.
Test before finalizing. Print a sample to check spacing, alignment, and readability under different lighting conditions. A well-structured layout not only looks professional but also reduces customer disputes by making all charges clear.
Customizing Fonts and Colors for Branding
Choose a font that reflects your brand’s personality. A minimalist receipt benefits from clean, sans-serif typefaces like Arial or Roboto, while a boutique store might prefer an elegant serif like Garamond. Avoid using more than two fonts to maintain readability.
Stick to a color palette that reinforces your identity. A restaurant may opt for warm, inviting tones, whereas a tech company might prefer cool blues and grays. Ensure contrast between text and background for clarity, especially for printed receipts.
Align typography with branding guidelines. Adjust font size and weight to highlight key details such as totals and discounts. Bold headers improve scannability, while subtle shades for secondary text create a structured hierarchy.
Test readability across different mediums. What looks sharp on a screen may not print well. Check how colors and fonts appear on thermal and inkjet printers to avoid fading or smudging.
Adding Logos and Graphics Without Clutter
Place the logo in a corner or above the business name to keep the receipt clean. Avoid placing it in the middle, where it can disrupt readability.
- Use a monochrome version of the logo to prevent distraction and ensure print clarity.
- Limit the logo size to no more than 10% of the receipt width to maintain balance.
- Opt for vector graphics to avoid pixelation and keep the file size small.
- Use light gray or low-opacity icons for watermarks instead of bold images.
- Ensure brand colors match the text for a seamless look without excessive contrast.
For promotional graphics, position them at the bottom or as a subtle border element. Keep images minimal to maintain a professional and easy-to-read format.
Structuring Itemized Details for Clarity
Use consistent alignment to make each item easy to scan. Position descriptions, quantities, and prices in distinct columns, ensuring uniform spacing. This prevents misinterpretation and enhances readability.
Group related items together. If multiple products belong to the same category, place them in a logical order. This makes the receipt easier to follow and helps with inventory tracking.
Limit descriptions to concise yet informative wording. Instead of vague labels, specify key details such as size, model, or variant. This minimizes confusion and provides clear documentation.
Include subtotals for grouped items before displaying the final amount. If discounts apply, list them near the affected items rather than at the bottom, making adjustments transparent.
Use separators or subtle visual cues like dotted lines to distinguish sections. This helps differentiate itemized details from tax calculations and total costs.
Incorporating Digital Payment Links

Add a seamless payment experience by embedding digital payment links directly into your receipts. This reduces friction and encourages immediate transactions. Choose a platform that supports secure, one-click payments and integrates with your preferred accounting software.
| Payment Provider | Supported Methods | Integration Options |
|---|---|---|
| PayPal | Cards, Bank Transfers, PayPal Balance | Direct Link, QR Code |
| Stripe | Cards, Apple Pay, Google Pay | API, Embedded Button |
| Square | Cards, Contactless, ACH Transfers | Payment Link, Invoice |
For easy integration, include a clickable link or QR code in the receipt footer. Ensure the link directs customers to a pre-filled payment page to minimize manual entry. For recurring transactions, set up automated payment requests within your invoicing system.
Verify that each link remains active until payment is received. Expired links can lead to failed transactions and delays. Regularly update your templates to reflect any changes in payment processing policies or provider terms.
Printing and Exporting for Various Formats

To print or export a receipt template, first ensure the design is optimized for your chosen output format. Use high-resolution images and clear, readable fonts for better print results.
- PDF Export: Export your receipt as a PDF to ensure consistent formatting across different devices. Most design tools offer a “Save as PDF” option, which preserves fonts and images.
- PNG or JPEG for Web: For web use, export the template in PNG or JPEG format. Choose PNG for transparent backgrounds and high-quality images.
- Excel or CSV for Data: If the template includes fields that users can fill out, exporting as Excel or CSV will allow easy data manipulation and storage.
- Printing: Ensure that margins and print settings are adjusted for the specific paper size. Use a printer with high color accuracy to capture details like logos and borders.
- SVG for Scalability: If you need to scale the receipt to different sizes without losing quality, consider exporting to SVG. This is ideal for both print and digital use, as it maintains crisp edges.
Choose your format based on the recipient’s needs and ensure that the output looks clean and professional in any medium. Adjust settings for color profiles, resolution, and margins based on the chosen format for the best result.


