Customize Your Receipt Template
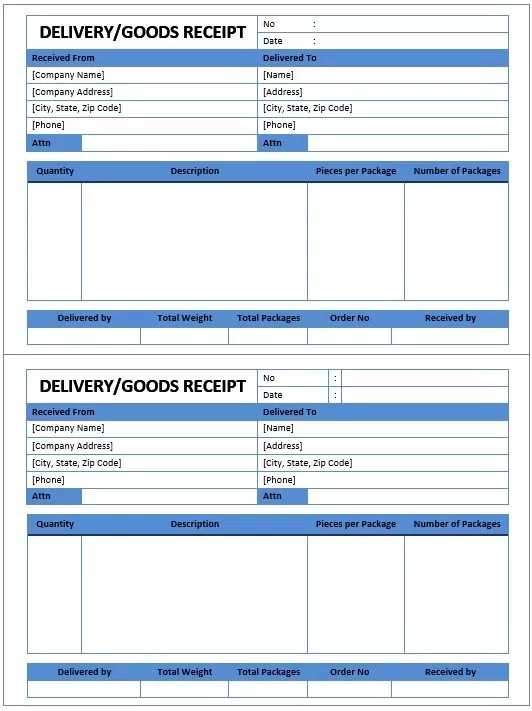
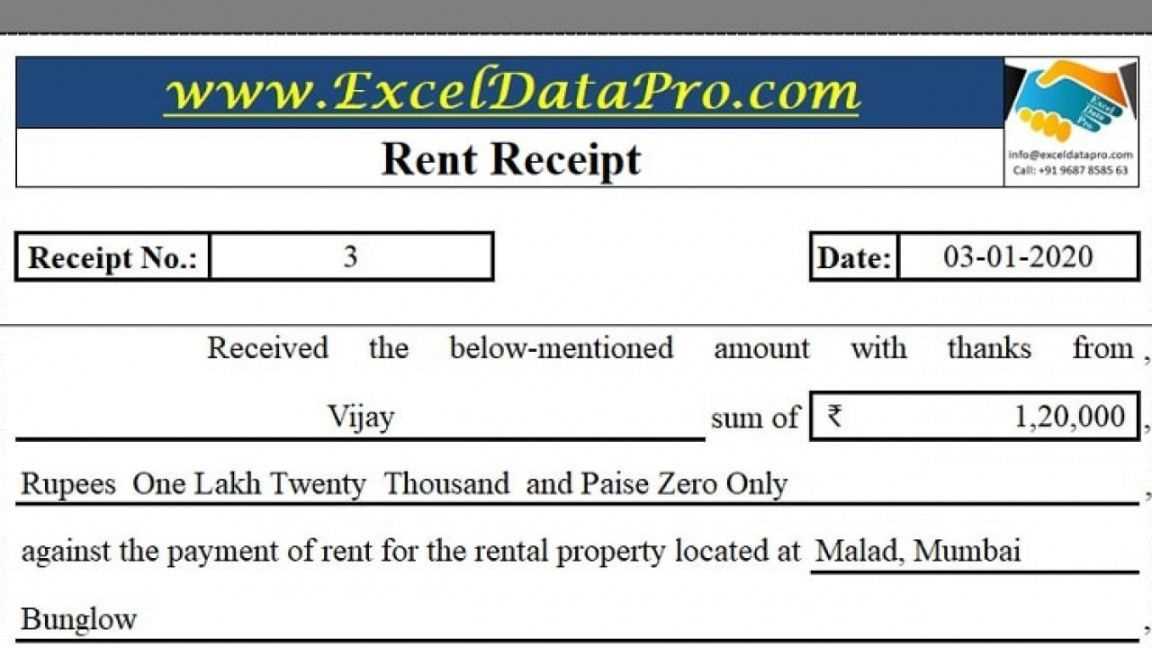
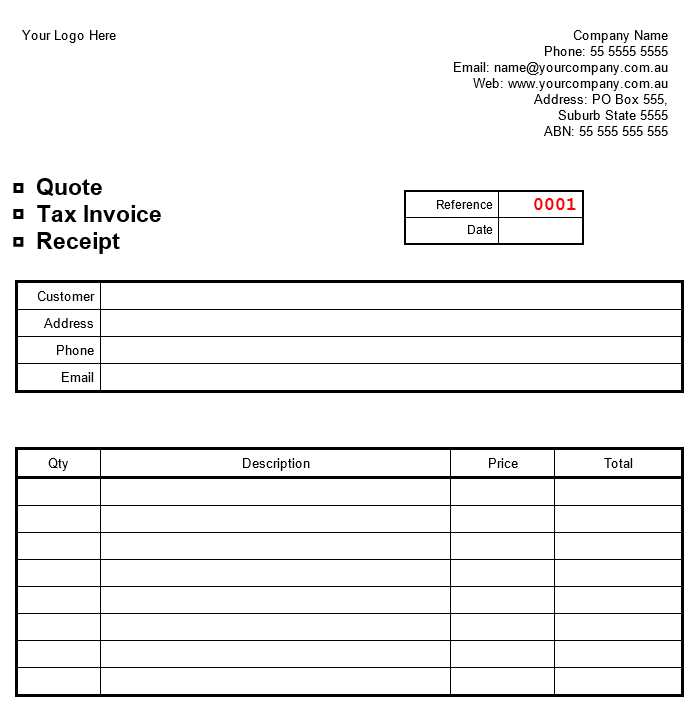
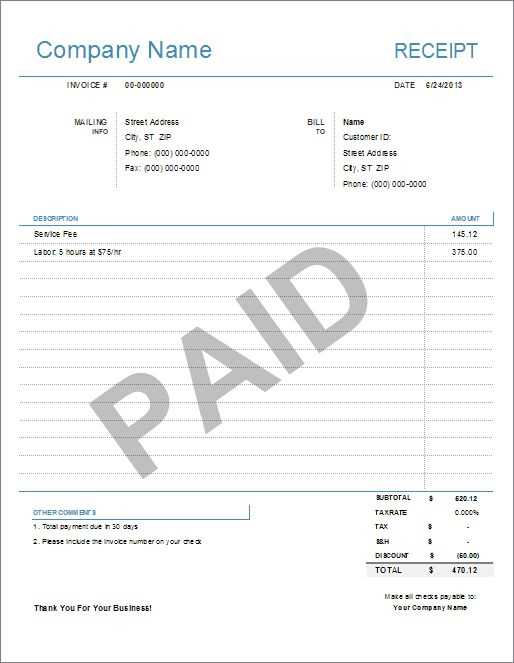
Use the built-in Microsoft Excel receipt template to easily create professional receipts. This template is adaptable for various transactions, including sales, services, and rentals. Start by entering your business name, address, and contact information at the top of the sheet. You can modify the columns to match the specifics of each transaction such as item description, quantity, unit price, and total amount.
Adjusting the Columns
The default Excel receipt template has columns for item name, quantity, unit price, and total cost. Customize these based on the type of products or services you provide. Add or remove columns for tax, discounts, or payment methods, depending on the requirements of your business.
Adding a Logo and Branding
Personalize your receipts by adding your company logo or adjusting the font colors to match your brand’s identity. This helps maintain a consistent and professional look for all your receipts.
Using Formulas to Calculate Totals
Excel makes it easy to calculate totals automatically using simple formulas. In the ‘Total’ column, apply the formula =B2*C2 to multiply the quantity by the unit price. For summing up all the totals, use the SUM formula like this: =SUM(D2:D10) to automatically update the total amount as items are added or removed.
Including Tax and Discounts
Incorporate tax calculations by adding a column for tax rates. Use a formula like =D2*0.1 for a 10% tax rate. For discounts, create another column where you can apply a percentage reduction to the subtotal. Use a formula like =D2-(D2*0.05) for a 5% discount.
Saving and Printing the Receipt

Once you’ve filled in the necessary information, save the file as a template to reuse for future transactions. When you’re ready to print, simply adjust the print settings to ensure everything fits neatly on the page. You can also save the receipt as a PDF for easy sharing.
Conclusion

Microsoft Excel’s receipt template is a powerful tool for any business looking to generate professional receipts. Customizing the template to fit your needs, adding formulas for totals and taxes, and incorporating your branding are key steps in making the most of this simple yet effective tool.
Microsoft Receipt Template Excel: Practical Guide
How to Create a Simple Receipt Template
Customizing Your Template for Different Transactions
Adding Tax Calculations to Your Receipt
Including Payment Methods in the Template
Design Tips for a Professional-Looking Document
Saving and Sharing Your Template
To create a simple receipt template in Excel, start by setting up a clean layout. Use rows and columns for organizing information such as date, transaction number, customer name, item descriptions, quantities, and prices. Customize the columns to match your business needs. Set the first row as your header, and format the text for easy readability.
Customizing Your Template for Different Transactions
Adjust the template based on the type of transactions you process. For sales, add columns for items sold, their unit prices, and quantities. For service-based businesses, focus on hours worked and service fees. You can also include discounts or shipping charges as separate rows to provide a detailed breakdown of costs.
Adding Tax Calculations to Your Receipt
To include tax calculations, create a formula to automatically calculate tax based on the subtotal. In Excel, use the formula =Subtotal * Tax Rate, where “Subtotal” is the sum of all the charges before tax, and “Tax Rate” is your applicable percentage. This ensures accuracy and saves time on manual calculations.
Include the tax amount in a separate row beneath the subtotal to keep the receipt organized. This helps customers quickly identify the total cost after tax.
Including Payment Methods in the Template
Add a section for payment methods at the bottom of the receipt. You can include options like “Cash,” “Credit Card,” or “Online Transfer.” This provides clarity for both the customer and your accounting records. You can also add payment confirmation numbers if needed.
Design Tips for a Professional-Looking Document
Use clear fonts, avoid clutter, and ensure that all sections are well-spaced. Incorporate your logo or brand colors for a polished look. A neat layout with bold section headers will make the document easy to read and professional.
Saving and Sharing Your Template

Once your template is set up, save it as a template file (.xltx) so you can reuse it for future transactions. To share it, simply email the file or upload it to a cloud storage service. If you prefer a printed version, make sure to adjust the print settings to fit your layout onto the page properly.


