Always provide clear and accurate information on your health insurance receipts to avoid claim delays or rejections. Ensure that essential details, such as the insured person’s name, policy number, and service dates, are prominently displayed. Including the healthcare provider’s contact information and a breakdown of charges can also streamline the reimbursement process.
Organize the receipt layout for easy reading. Use separate sections for patient information, treatment details, and payment summaries. Adding line items for each service, along with their corresponding costs and any applied discounts, helps ensure transparency and compliance with insurance requirements.
To further improve your receipt’s functionality, consider adding a unique receipt number for tracking and reference. Clearly indicate the payment method used and whether any outstanding balance remains. By following these guidelines, you can create a template that simplifies communication between patients, healthcare providers, and insurance companies.
- Health Insurance Receipt Template: Guidelines
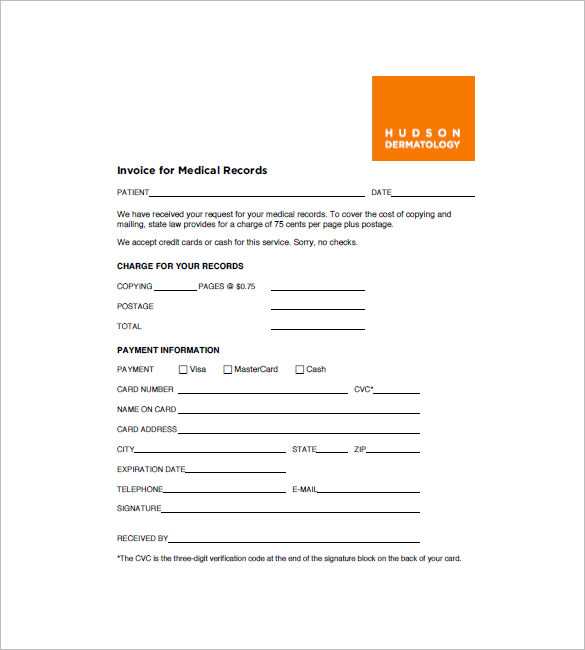
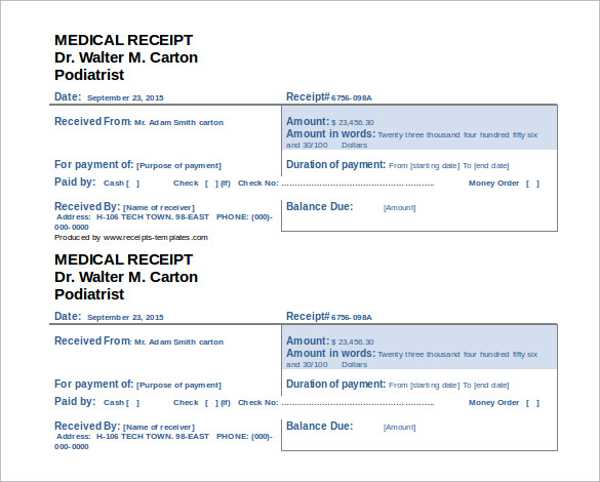
Include all essential details to ensure the receipt is clear and complete. Start by listing the policyholder’s full name, policy number, and contact information. The provider’s name, address, and contact details should be equally visible.
Specify the date of service, a detailed description of the services provided, and the corresponding charges. Break down each item clearly to avoid any ambiguity. Indicate whether the service was fully or partially covered by the insurance plan.
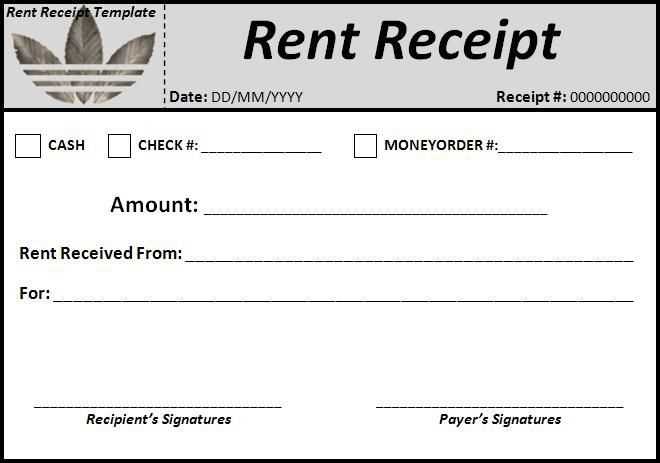
Include the total amount paid, payment method, and date of payment. If any adjustments or discounts apply, ensure they are documented separately.
Always include a unique receipt number for easy tracking. Add a declaration confirming that the payment was received, along with the authorized personnel’s signature or digital seal if applicable.
To improve usability, format the receipt with aligned sections and headings, making it easier to scan and understand. Adhering to these guidelines will ensure that the receipt serves its purpose efficiently for both parties.
- Policyholder Information: Include the full name, address, and contact details of the person covered by the insurance.
- Insurance Company Details: Provide the company’s name, address, and customer service contact information for verification.
- Policy Number: Ensure the unique policy identification number is clearly displayed for tracking purposes.
- Date of Service: Specify the exact date when the medical services were rendered.
- Provider Information: Include the healthcare provider’s name, address, and contact details.
- Service Description: List the medical services or treatments provided, with corresponding procedure codes if applicable.
- Cost Breakdown: Show a detailed breakdown of costs, including service charges, applicable taxes, and any discounts.
- Insurance Coverage: Indicate the portion covered by the insurance provider and any remaining balance.
- Payment Details: Note payment methods, dates, and any transaction references.
- Authorized Signature: Include a signature line or digital authorization to confirm the receipt’s validity.
Organizing these elements ensures transparency and makes it easier for policyholders to manage their healthcare expenses efficiently.
Organize key details logically: Begin with the provider’s information, including name, contact details, and identification number. Follow this with the policyholder’s full name, policy number, and claim reference for easy identification.
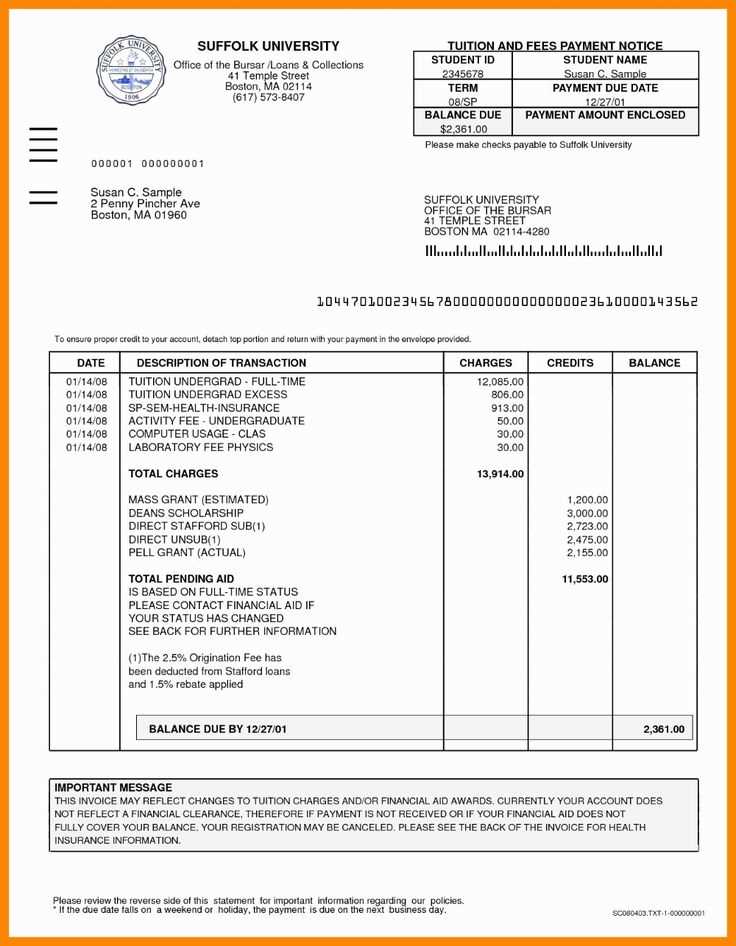
Use a clear layout: Divide the receipt into distinct sections such as service date, description, provider charges, insurance coverage, and out-of-pocket expenses. Separating these components ensures a smoother review process.
Ensure itemized breakdowns: Provide detailed line items for each service or treatment, listing the exact amount charged and the portion covered by insurance. Avoid lump-sum figures to eliminate confusion.
Highlight key amounts: Use bold text for essential figures like the total amount billed, insurance coverage, and the remaining balance. This draws attention to critical information at a glance.
Include a summary section: At the end of the receipt, present a concise overview showing the total charges, insurance contribution, and any remaining balance owed.
Provide payment instructions: If there is an outstanding balance, include clear instructions on how and where to make payments. Ensure payment methods and deadlines are visible and easy to understand.
Check for accuracy: Double-check all information before finalizing the receipt to prevent errors that could delay processing or cause misunderstandings.
Don’t leave out important details like the patient’s name, policy number, or date of service. Missing information can lead to confusion or delays in processing insurance claims.
1. Lack of Clear Structure
A chaotic layout can make it difficult to read the receipt. Organize the sections logically, such as separating patient details, insurance details, and treatment information. A clear structure helps both the patient and insurance provider easily identify the relevant information.
2. Using Non-Standard Terminology

Stick to standard medical and billing terms. Using obscure or ambiguous language can confuse recipients and may cause issues during the claim submission process. Make sure terms are consistent with industry standards.
Be mindful of font size and readability. Avoid overly small fonts or complex typefaces that hinder legibility. The more readable the template, the less chance there will be for miscommunication.
For clear and accessible health insurance receipt records, choose formats that ensure compatibility, ease of use, and reliability. Here are the most effective options:
- PDF: PDF files preserve the formatting of your receipt, ensuring it looks identical on any device or platform. It’s widely accepted by insurance providers and healthcare institutions for submissions and archiving.
- JPEG/PNG: If you scan a paper receipt, image formats like JPEG or PNG are great choices. They maintain high image quality while being easy to view and share. However, keep in mind that the clarity of text is key for processing claims.
- TIFF: TIFF files are another excellent choice for high-quality receipts, especially for scanned documents that need to retain every detail. This format is more common in professional or legal environments.
- CSV/Excel: For those tracking receipts over time or managing multiple entries, CSV or Excel formats allow you to store and organize data efficiently. These are especially useful for keeping a record of insurance claims, expenses, and payments.
Opt for a format that suits your needs–PDF is typically the safest for submission purposes, while image formats are perfect for scanned or photographed receipts. For organizing and tracking, consider using CSV or Excel formats. Always ensure the file is legible and includes all relevant details for accurate claims processing.
Ensure your health insurance receipt meets all legal and regulatory standards by including specific details required by law. These details protect both the insurance provider and the policyholder in case of disputes or audits.
Mandatory Information

Receipts must display the full name and address of the healthcare provider, the policyholder’s name, and the policy number. The date of the service, a detailed breakdown of the service provided, and the total amount paid should be clearly stated. This allows for accurate record-keeping and verification during claims processing.
Compliance with Local Regulations
Different regions may have specific regulations for health insurance documentation. Be aware of local laws governing how receipts should be formatted, the types of services covered, and the required documentation for tax purposes. For instance, certain jurisdictions may require receipts to be signed or include additional identifiers like licensing numbers.
Begin by tailoring the basic structure of the receipt template to match your specific needs. Focus on including key details such as the patient’s name, insurance information, payment amount, and service date. This will help avoid confusion and ensure clarity for both the recipient and the provider.
Modify Header Information
The header should include your organization’s name, logo, and contact details. Customize this area to ensure it reflects your brand and facilitates easy communication. Make sure the font and size are legible, and the layout is consistent with other documents from your organization.
Personalize the Itemized List

Each service or item provided should be listed clearly with a description, quantity, and individual price. Add specific service codes if needed. Make sure the totals are easy to spot, especially when including taxes or other fees.
Lastly, adjust any section for disclaimers or additional notes to cater to your insurance policy or any specific terms that need to be communicated. A clean, well-organized template promotes transparency and helps maintain a professional image.
Health Insurance Receipt Template
To create a health insurance receipt template, focus on including the key information your insurance provider expects. This simplifies the reimbursement process for both parties. Keep the template clean and well-structured, avoiding unnecessary details that could confuse the reader.
Key Elements to Include
| Element | Description |
|---|---|
| Patient Name | Ensure the full name of the patient is listed clearly for accurate identification. |
| Insurance Provider | Include the name and contact information of the insurance company for direct reference. |
| Service Description | Provide a concise breakdown of the health services received, including dates of treatment. |
| Amount Charged | List the total charges for each service rendered, along with the breakdown of any applicable fees. |
| Payment Status | Clearly indicate whether the payment has been made or if it’s still pending, along with the amount covered by insurance. |
| Receipt Number | A unique identifier for the receipt to facilitate tracking and future inquiries. |
Formatting Tips
Use a clean, readable font and ensure all sections are well-aligned for easy comprehension. Avoid large blocks of text; break information into digestible chunks. The template should fit on one page and be easy to update if necessary.
By streamlining the information on your health insurance receipt template, you ensure that both you and your insurer can quickly verify the details without unnecessary delays. This small adjustment can lead to faster processing of claims and refunds.


