Need a ready-to-use receipt template in Word? Download a preformatted file and start filling in the details right away. A well-structured document saves time, ensures consistency, and maintains a professional appearance. Whether you’re issuing receipts for sales, services, or rentals, a clear format helps avoid confusion.
Adjusting a template to fit your needs is simple. Modify text fields, insert your logo, or tweak the layout for a personalized touch. Word’s built-in tools allow for quick edits, ensuring each receipt matches your business identity. Automated calculations, custom fonts, and table formatting enhance clarity and readability.
For frequent use, save a modified template as a reusable file. This approach streamlines documentation and reduces manual input errors. With an organized system, tracking transactions and maintaining records becomes effortless.
Template Receipt Word

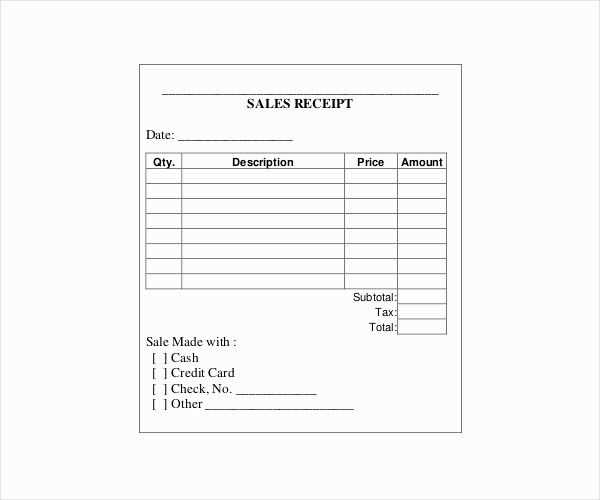
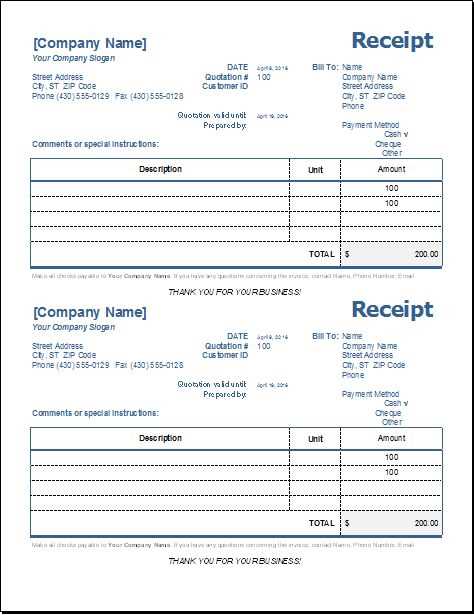
Choose a structured layout with clear sections to make your receipt easy to read. Use tables for itemized details, ensuring each entry is aligned properly. Stick to standard fonts like Arial or Times New Roman for professionalism.
Key Sections to Include

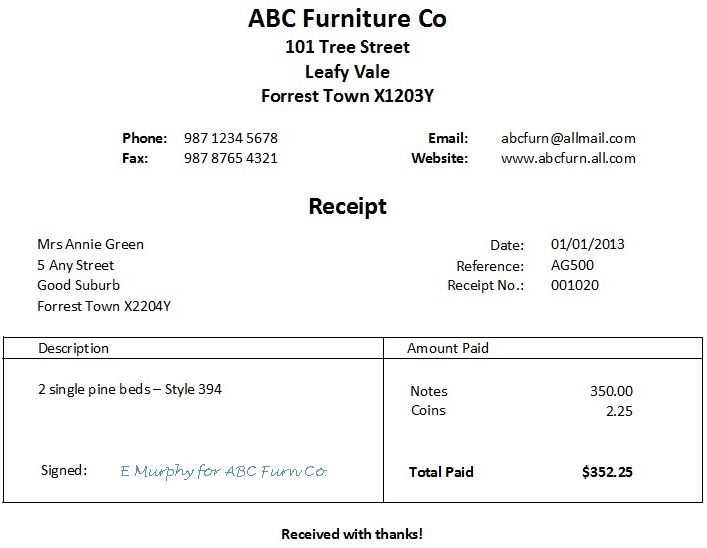
- Header: Business name, logo (if applicable), and contact details.
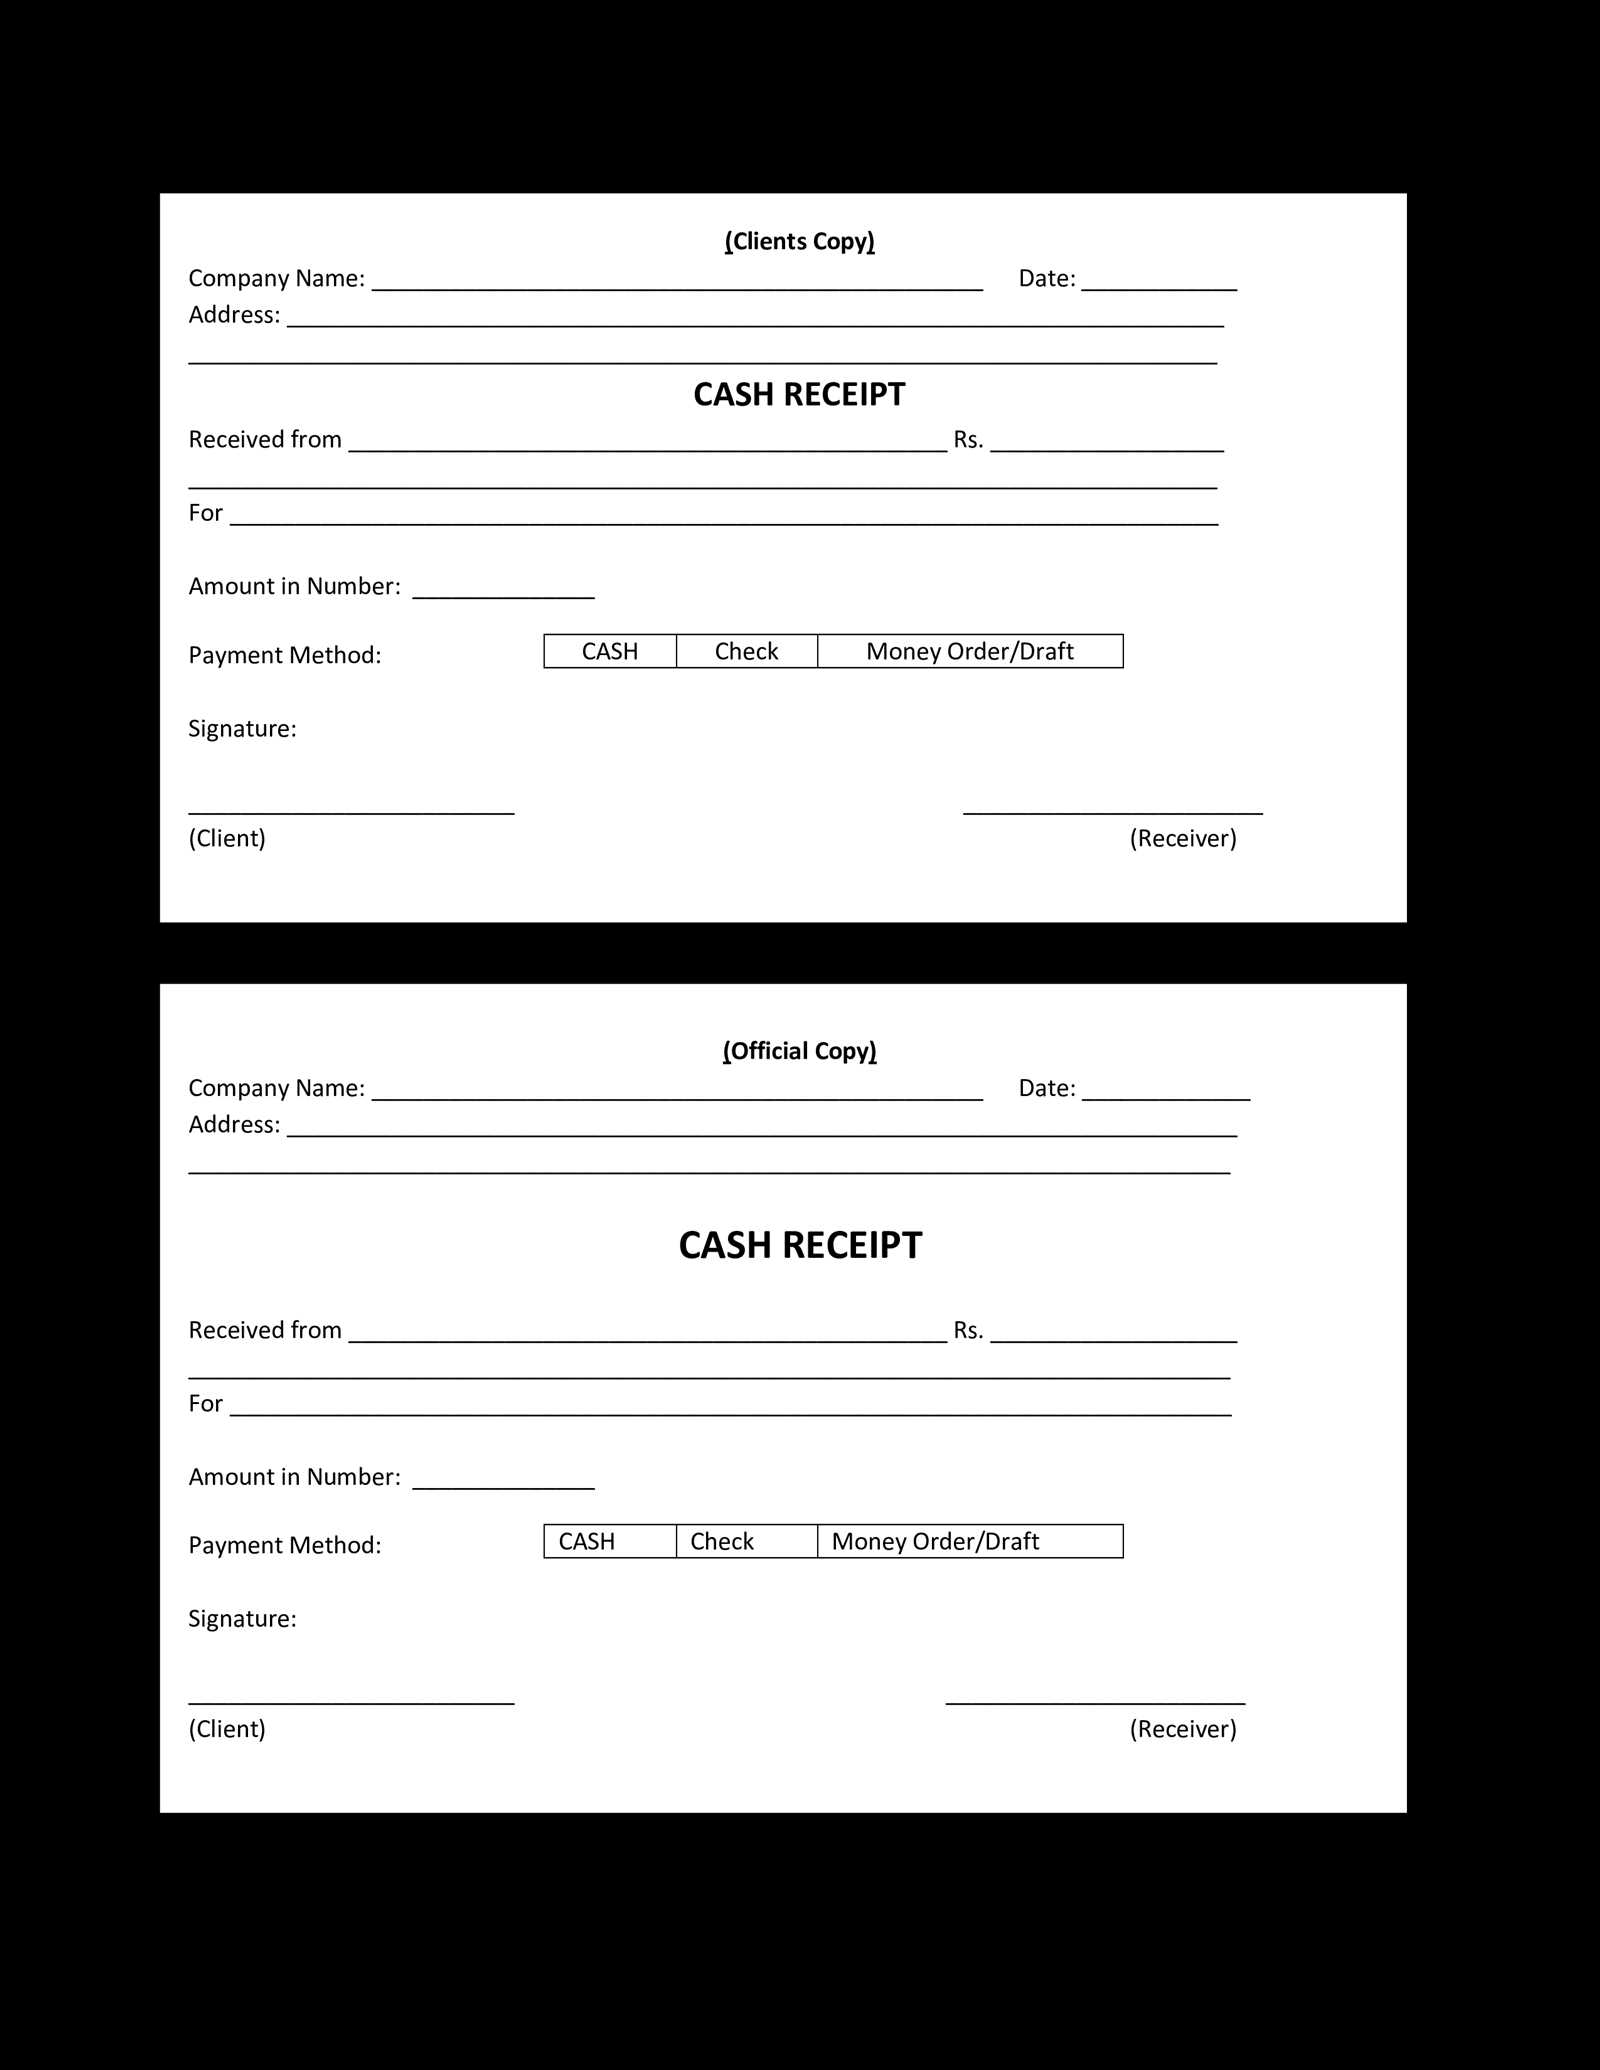
- Transaction Details: Date, receipt number, and payment method.
- Itemized List: Description, quantity, price, and total for each item.
- Summary: Subtotal, tax, discounts, and final amount.
- Footer: Terms, return policy, or thank-you note.
Example Table Structure

| Description | Quantity | Unit Price | Total |
|---|---|---|---|
| Product A | 2 | $15.00 | $30.00 |
| Product B | 1 | $20.00 | $20.00 |
| Subtotal: | $50.00 | ||
| Tax (10%): | $5.00 | ||
| Total: | $55.00 | ||
Save the document in DOCX format to ensure compatibility across devices. If frequent updates are needed, keep a template with editable fields to simplify future use.
Choosing the Right Layout for a Receipt

Prioritize clarity and readability. Keep sections well-organized with clear headings, ensuring key details like date, total amount, and payment method stand out.
Align content for quick scanning. Use left-aligned text for item descriptions and right-aligned or bold formatting for totals. Columns should maintain a logical flow, making it easy to locate information at a glance.
Include only essential elements. Avoid clutter by focusing on business details, transaction breakdown, taxes, and payment confirmation. Unnecessary graphics or excessive spacing can reduce legibility.
Adapt layout to receipt type. A simple, itemized format works best for retail, while service-based businesses may benefit from structured sections for labor, materials, and fees.
Ensure print and digital compatibility. A well-balanced layout should be equally functional for printed copies and digital formats, maintaining legibility on different devices and paper sizes.
Customizing Fonts, Colors, and Logos
Choose fonts that enhance readability and match your brand’s identity. Stick to professional typefaces like Arial, Calibri, or Times New Roman for a clean look. If you prefer a unique touch, use custom fonts but ensure compatibility across devices.
Adjusting Colors for Better Visibility
Use a color scheme that aligns with your branding while maintaining contrast for readability. Dark text on a light background works best for printed receipts, while light text on a dark background suits digital formats. Ensure color choices comply with accessibility guidelines for clarity.
Incorporating Your Logo
Position the logo at the top for immediate recognition. Use a high-resolution image with a transparent background for a professional appearance. Keep the file size small to prevent formatting issues when printing or saving as a PDF.
Adding Essential Transaction Details
Include key purchase information to ensure clarity and compliance with record-keeping standards.
- Date and Time: Specify the exact moment of the transaction to track sales trends and resolve disputes.
- Unique Receipt Number: Assign a distinct identifier to simplify referencing past transactions.
- Itemized List: Detail each product or service, including quantity, unit price, and total cost.
- Taxes and Discounts: Break down applicable taxes and reductions to maintain transparency.
- Payment Method: Indicate whether the transaction was completed via cash, card, or another payment option.
- Merchant and Customer Details: Include business contact information and, if applicable, customer identification.
Maintaining accurate records improves financial tracking, enhances customer trust, and simplifies bookkeeping.
Incorporating Automatic Date and Numbering
Use built-in fields to insert dates and sequential numbers effortlessly. In Microsoft Word, press Ctrl + F9 to create a field, then enter { DATE } for the current date. To update automatically, right-click the field and choose “Update Field.”
Generating Sequential Receipt Numbers
For automatic numbering, use the { SEQ Receipt } field. This assigns a unique number to each document. To prevent resets, store the sequence in a template. If multiple users generate receipts, integrate an Excel-based counter linked via mail merge.
Formatting and Customization
Modify date formats by adding switches, such as { DATE @ "MMMM d, yyyy" } for a full-text format. For numbering, append a prefix like { SEQ Receipt # "0000" } to maintain a consistent style (e.g., 0001, 0002). Save templates with these fields to streamline future use.
Saving Exporting FormatsAnswer in chat instead
Ensuring Print and Digital Compatibility
Use scalable vector graphics (SVG) for logos and icons to ensure crisp resolution on both print and screen. This format maintains high quality at any size, preventing pixelation in printed materials while looking sharp on digital displays.
Optimize fonts for cross-platform consistency. Embed fonts in your Word templates or use web-safe fonts that render correctly across various devices and printing formats. Avoid decorative fonts that may not appear the same in all environments.
Ensure color accuracy by defining a specific color palette using CMYK for print and RGB for digital. For consistent branding, keep the colors the same across both media. Utilize Pantone colors for print to match digital displays as closely as possible.
Adjust layout and spacing to account for different screen sizes and print margins. For printed receipts, set clear, consistent margins, and avoid crowding the text. On digital devices, ensure elements are responsive, adapting to different screen resolutions without losing clarity.
Test your templates on both print and digital platforms before finalizing. Print a sample receipt to check for legibility, alignment, and color consistency. Preview it on various devices to confirm the digital display works smoothly across phones, tablets, and desktops.


