Ensure compliance with Canadian tax regulations by using a properly formatted donation receipt in QuickBooks. The Canada Revenue Agency (CRA) requires specific details on receipts to validate tax-deductible contributions. Without the correct format, donors may face issues when claiming deductions.
Customize receipts by including essential fields such as donor name, date of donation, receipt number, and a clear statement that the document serves as an official receipt for tax purposes. QuickBooks allows you to modify templates to align with CRA guidelines, ensuring accuracy and professionalism.
To add legally required elements, navigate to the template settings in QuickBooks. Insert your organization’s full legal name, registration number, and a description of the gift. If the donation includes non-cash items, specify the fair market value and note any advantages received by the donor.
Automate the process by setting up recurring templates for frequent donors. This feature saves time and reduces errors, making record-keeping seamless. Always verify that the final document meets CRA standards before issuing it to contributors.
QuickBooks Donation Receipt Template for Canada
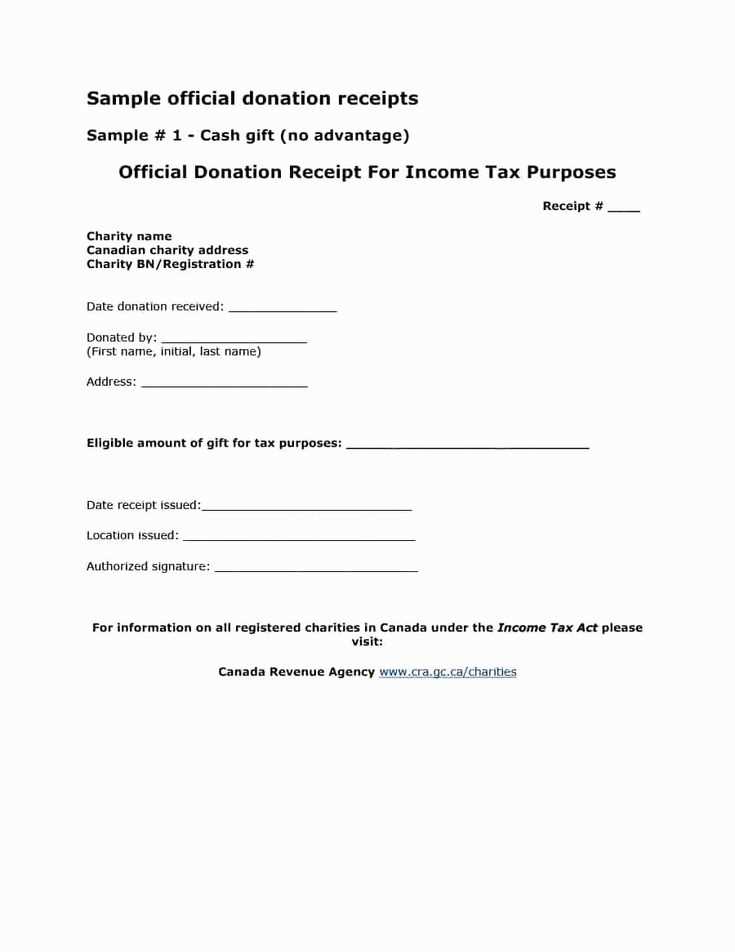
Ensure compliance with Canadian tax regulations by customizing your donation receipt template in QuickBooks. Charitable organizations must include specific details to meet the Canada Revenue Agency (CRA) requirements.
| Required Information | Details |
|---|---|
| Charity Name | Official name as registered with CRA |
| Registration Number | Issued by CRA, must appear on the receipt |
| Donor Details | Full name and address |
| Donation Date | Day, month, and year of the contribution |
| Donation Amount | Exact value in Canadian dollars |
| Eligible Advantage | Value of any benefit received by the donor |
| Authorized Signature | Signature from an authorized representative |
Modify the default QuickBooks template by accessing the Custom Form Styles section. Select New Style and choose Sales Receipts as the base format. Include the necessary fields by adding custom text boxes and adjusting the layout for clarity. Save the template and apply it when issuing receipts.
To maintain accurate records, enable receipt tracking within QuickBooks and store digital copies securely. Regularly review templates to reflect updates in CRA guidelines.
Setting Up a Donation Receipt Template
Configure the template by accessing the Sales section and selecting Customers. Locate the donor’s profile or create a new one if needed. Ensure the name and contact details match official records.
Navigate to Custom Form Styles under Settings. Choose New Style and select Invoice. Modify the layout to include the necessary donation details such as organization name, registration number, and a statement confirming no goods or services were exchanged.
Use the Content tab to customize sections. In the header, add the organization’s logo and contact details. The body should include fields for the donor’s name, donation amount, and date. Insert a note field for legal disclaimers.
Enable the option to send receipts via email by linking a default template under Messages. Include a thank-you note and clear instructions on how donors can request corrections if needed.
Preview the format before saving. Generate a test receipt to ensure all required elements appear correctly. Adjust any formatting issues before using it for official records.
Customizing Fields for CRA Compliance
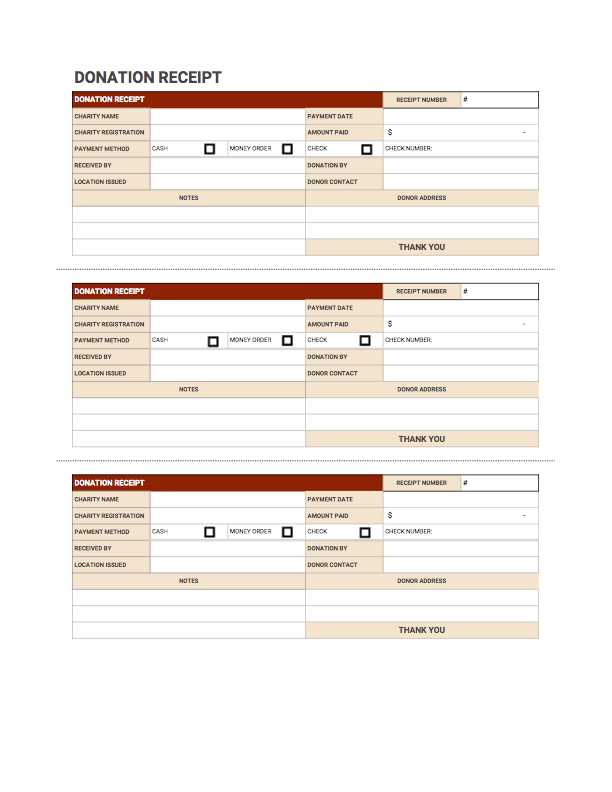
Include the donor’s full name and address exactly as recorded in official documents. The Canada Revenue Agency requires precise identification for validation.
Specify the eligible amount of the gift separately from any advantage received. If a benefit is provided, clearly outline its value and deduct it from the total contribution.
Provide the official registration number of the issuing organization. Without this, the receipt is invalid for tax purposes.
State the date of the contribution in YYYY-MM-DD format to ensure clarity and compliance with tax reporting requirements.
Use a unique serial number for tracking and audit purposes. Avoid duplicate receipts to prevent discrepancies.
Indicate a detailed description of non-cash gifts with fair market value. If an appraisal is required, include the evaluator’s information.
Ensure legibility and accuracy before issuing the receipt. Errors or omissions may result in rejection by tax authorities.
Automating Receipt Generation in QuickBooks
Enable automatic donation receipt creation by setting up custom templates and automation rules. Use memorized transactions to streamline recurring contributions and ensure donors receive receipts without manual intervention.
Configuring Custom Receipt Templates
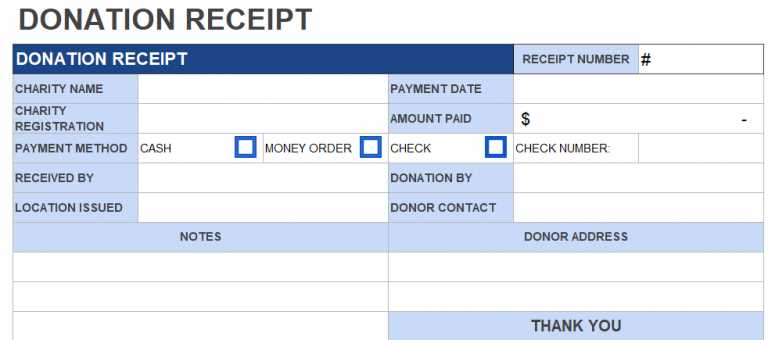
Go to Settings > Custom Form Styles and create a new template. Modify the layout to include essential details such as donor name, contribution amount, and a compliance statement. Save the template and set it as the default for donation-related transactions.
Automating Receipt Distribution
Use recurring transactions to auto-generate receipts for regular donors. Navigate to Gear Icon > Recurring Transactions, select “Sales Receipt,” and define the frequency. Ensure the correct template is applied and enable automatic email delivery to donors.
For one-time contributions, activate the automatic email option within each transaction. This eliminates the need for manual follow-ups and ensures prompt documentation.
Regularly review the automation settings to maintain compliance with Canadian donation receipt regulations and update templates as needed.
Tracking and Managing Donations Efficiently
Use categorized entries to separate contributions by source, frequency, or purpose. This simplifies financial summaries and helps identify trends.
Automate record-keeping with templates that generate receipts instantly. Ensure every entry includes donor details, amounts, and dates for compliance and transparency.
Reconcile regularly by matching recorded donations with bank statements. Spot discrepancies early and prevent accounting errors.
Generate reports dynamically to assess recurring contributions and seasonal patterns. Customize filters to highlight specific donor groups or funding goals.
Secure donor information with encrypted storage and limited access. Protect sensitive records from unauthorized changes.
Review tax guidelines periodically to align receipts with regulatory requirements. Adjust templates accordingly to maintain legal accuracy.
Ensuring Accurate Record-Keeping for Audits
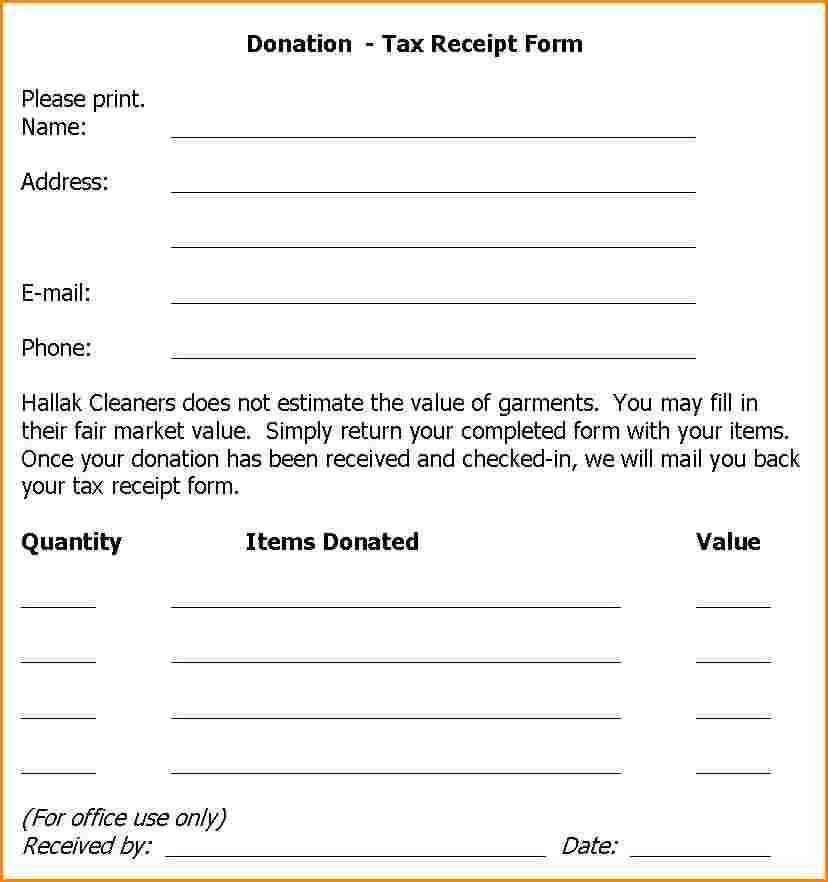
Generate detailed reports monthly to track all incoming and outgoing contributions. Use categorized entries with clear descriptions to avoid discrepancies during audits.
Attach supporting documents such as receipts, donor details, and transaction confirmations. This ensures transparency and simplifies verification.
Maintain digital backups in a secure location. Cloud storage or encrypted external drives protect records from loss or corruption.
Standardize data entry by using consistent naming conventions and formatting. Avoid manual errors by leveraging automation tools for transaction tracking.
Conduct periodic internal reviews to identify inconsistencies before audits. Address discrepancies immediately to maintain compliance with financial regulations.
Exporting and Sharing Receipts with Donors
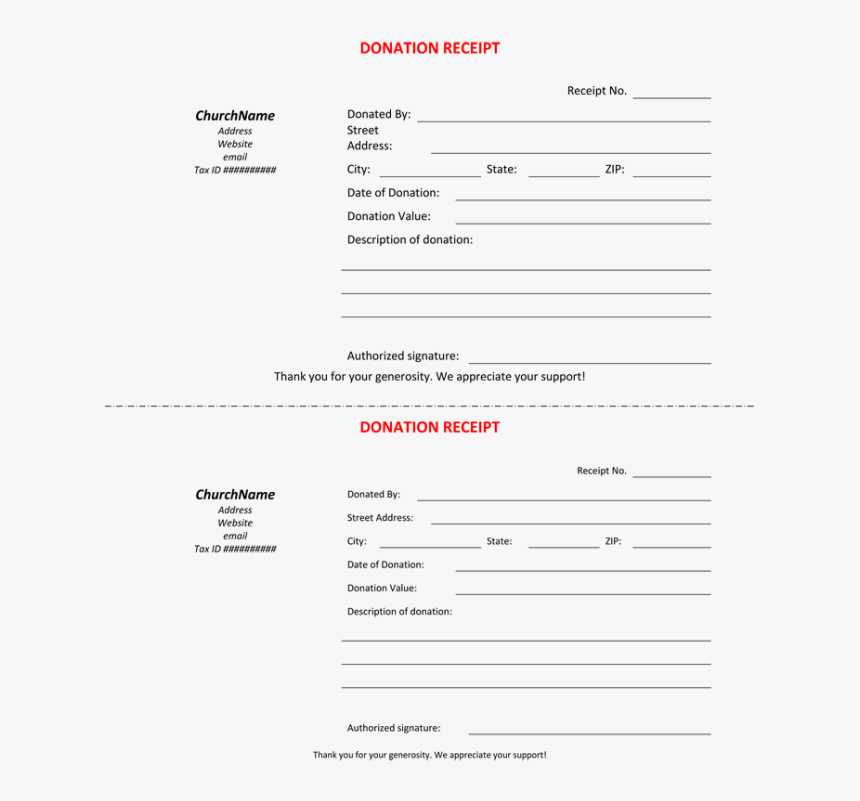
Generate a receipt by selecting the transaction, clicking Print or Save as PDF, and choosing a secure location on your device. Ensure the file name includes the donor’s name and date for quick identification.
For bulk exports, navigate to Reports, select Sales by Customer, and filter by date range. Export the list as a CSV file to streamline record-keeping and sharing.
- Email: Attach the PDF to an email and personalize the message with a thank-you note.
- Cloud Storage: Upload receipts to a shared drive and grant access to authorized recipients.
- Mail: If required, print and send physical copies using a professional layout for a polished presentation.
Before sharing, verify all details, including donor information and transaction amounts. Keep a backup to prevent data loss and maintain compliance with tax regulations.
