Simple Receipt Template
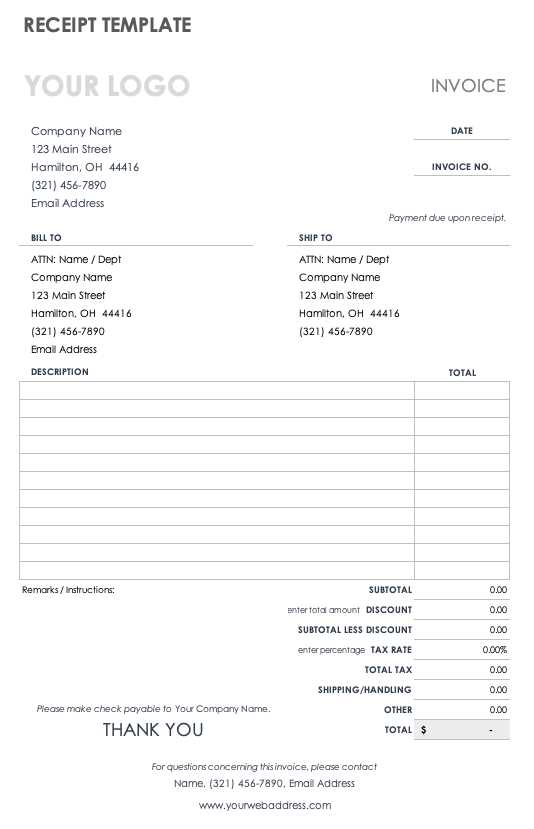
Use this basic receipt template for quick invoicing. Copy the code, adjust the details, and integrate it into your project.
<table border="1" cellspacing="0" cellpadding="8">
<tr>
<th colspan="2">Receipt</th>
</tr>
<tr>
<td>Date:</td>
<td>[Insert Date]</td>
</tr>
<tr>
<td>Receipt No.:</td>
<td>[Insert Number]</td>
</tr>
<tr>
<td>Customer Name:</td>
<td>[Insert Name]</td>
</tr>
<tr>
<td>Item</td>
<td>Price</td>
</tr>
<tr>
<td>[Item 1]</td>
<td>$[Price 1]</td>
</tr>
<tr>
<td>[Item 2]</td>
<td>$[Price 2]</td>
</tr>
<tr>
<td>Total</td>
<td>$[Total Amount]</td>
</tr>
</table>
Customizing the Template
Adding a Company Logo
Insert an image tag at the top of the table:
<img src="[logo-url]" alt="Company Logo" width="150">
Improving Readability
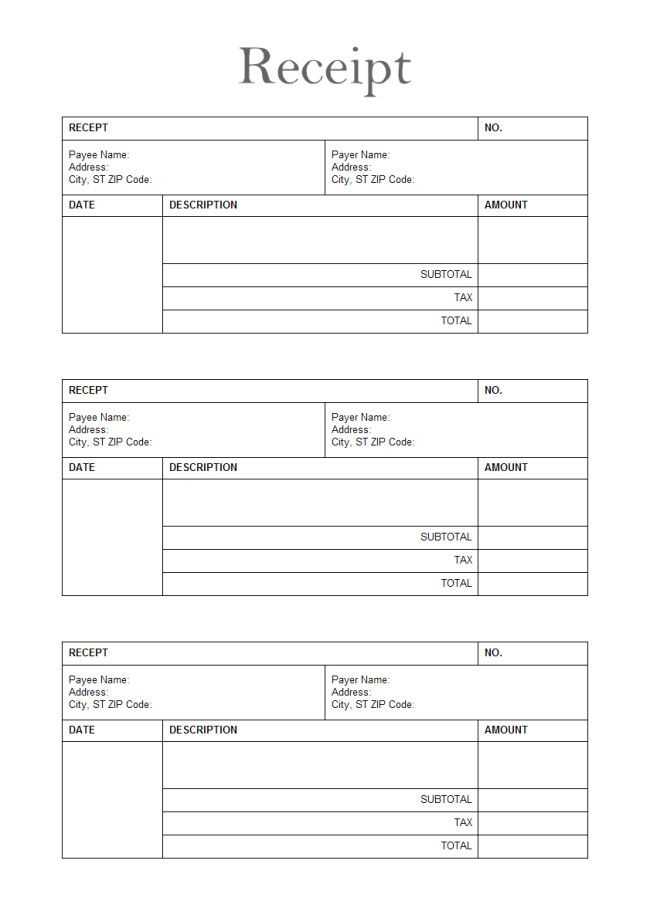
Apply CSS for better styling:
<style>
table { width: 100%; border-collapse: collapse; }
th, td { border: 1px solid black; text-align: left; }
th { background-color: #f2f2f2; }
</style>
Generating Dynamic Receipts

For automated receipts, use JavaScript to fill in values dynamically:
<script>
document.getElementById("date").innerText = new Date().toLocaleDateString();
</script>
Customize these elements as needed and integrate them into your system.
Sample HTML Receipt Template Free
Basic Structure of an HTML Template
Including CSS for Styling
Adding a Company Logo and Business Info
Formatting Product Listings and Prices
Generating Dynamic Receipts with JavaScript
Exporting as a Printable Document
Start with a simple HTML structure using a <div> container to wrap the receipt. Use a <header> for business details, a <section> for purchased items, and a <footer> for totals.
<div class="receipt">
<header>
<h1>Store Name</h1>
<p>123 Main Street, City, Country</p>
<p>(123) 456-7890</p>
</header>
<section class="items">
<div class="item">
<span>Product A</span>
<span>$10.00</span>
</div>
<div class="item">
<span>Product B</span>
<span>$15.00</span>
</div>
</section>
<footer>
<p>Total: $25.00</p>
</footer>
</div>
Adding Basic Styling
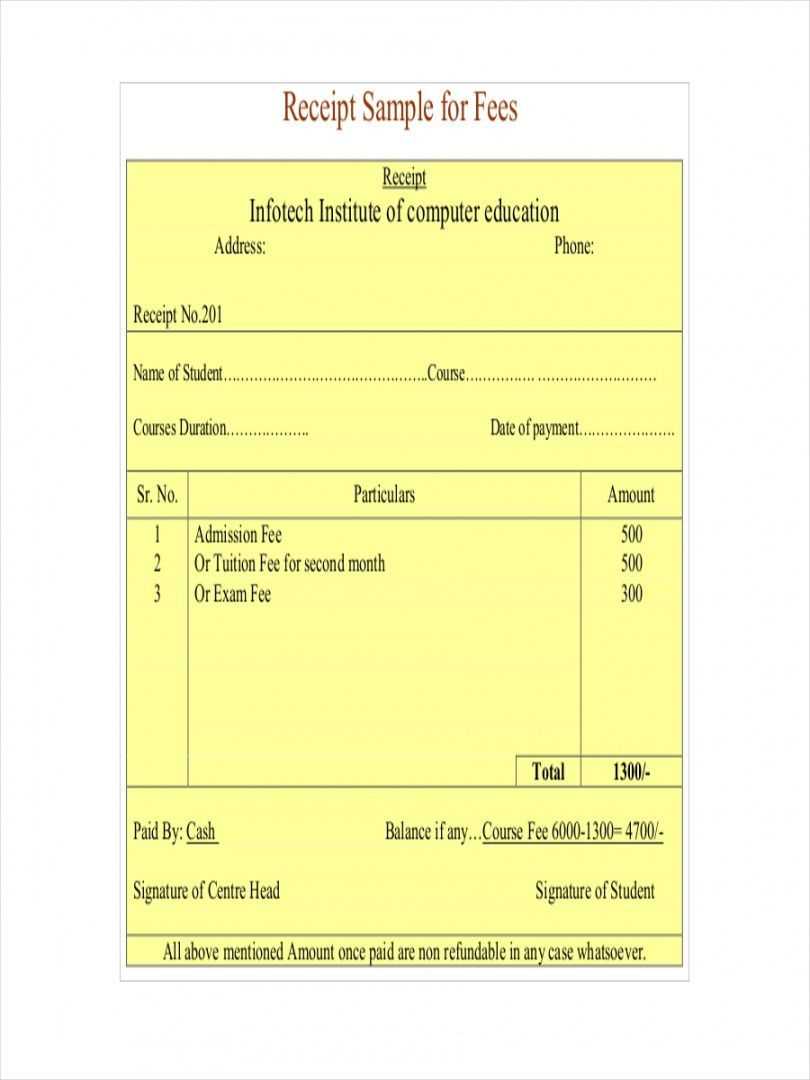
Apply CSS for layout and readability. Set a fixed width, use a monospaced font for a printed look, and add spacing for clarity.
<style>
.receipt {
width: 300px;
padding: 10px;
border: 1px solid #000;
font-family: monospace;
}
.items {
border-top: 1px dashed #000;
margin-top: 10px;
padding-top: 10px;
}
.item {
display: flex;
justify-content: space-between;
}
footer {
border-top: 1px solid #000;
margin-top: 10px;
padding-top: 10px;
}
</style>
Making the Receipt Printable
Use a print-specific CSS rule to hide unnecessary elements and ensure proper page breaks.
<style>
@media print {
body * {
visibility: hidden;
}
.receipt, .receipt * {
visibility: visible;
}
.receipt {
position: absolute;
left: 50%;
top: 50%;
transform: translate(-50%, -50%);
}
}
</style>
With this setup, the receipt is structured, styled, and ready for printing.
