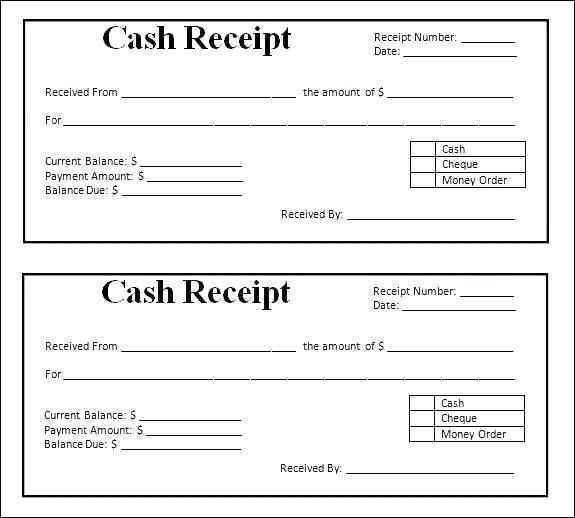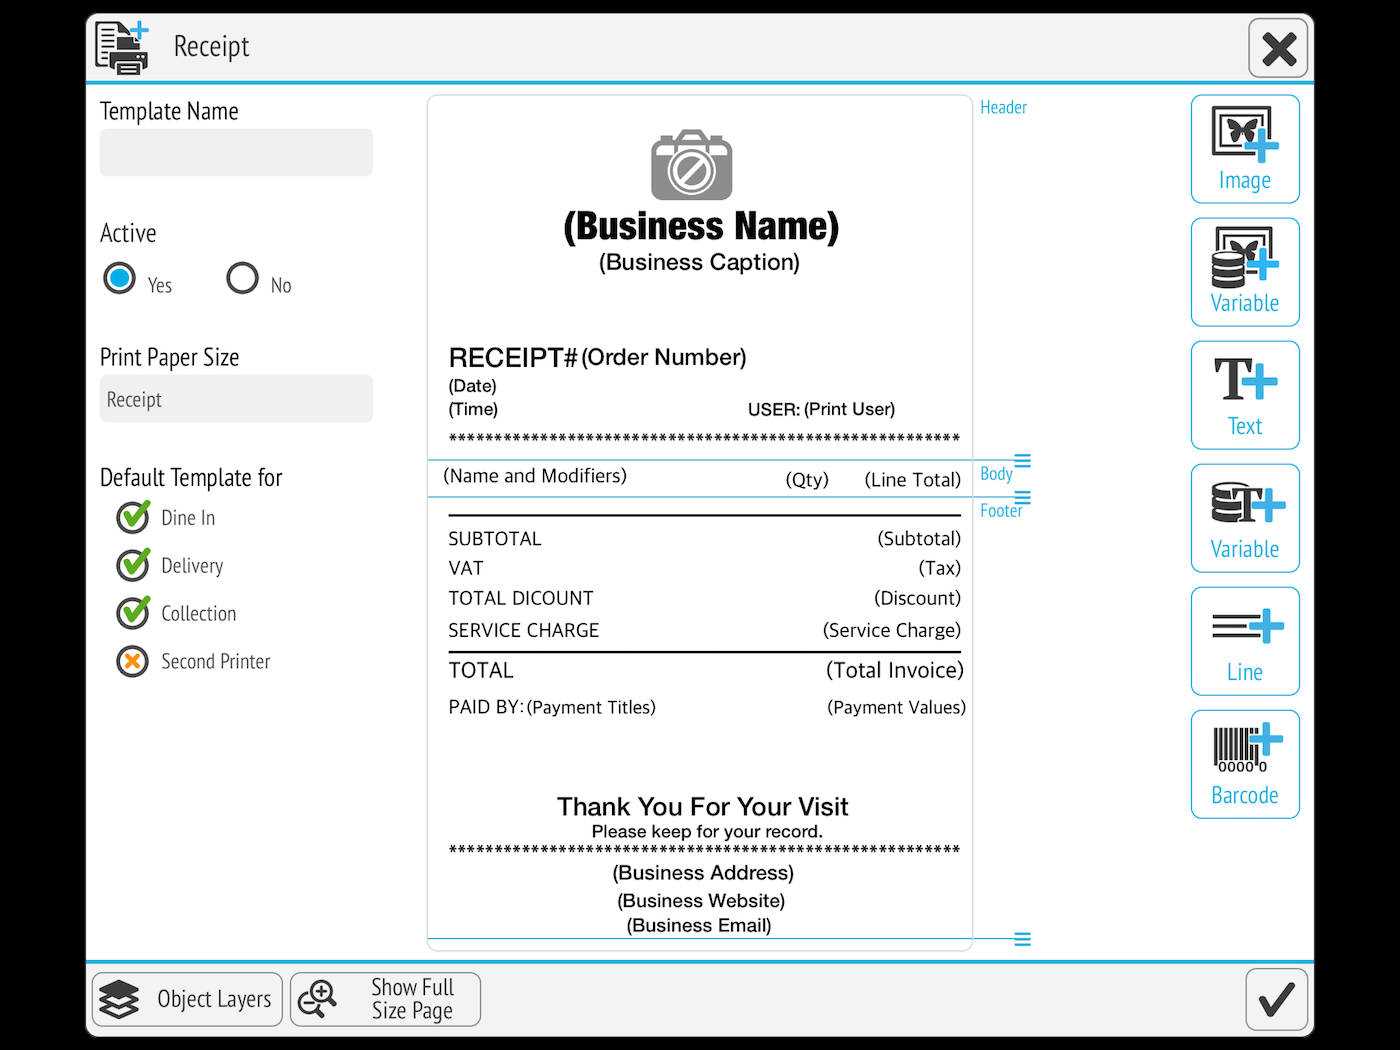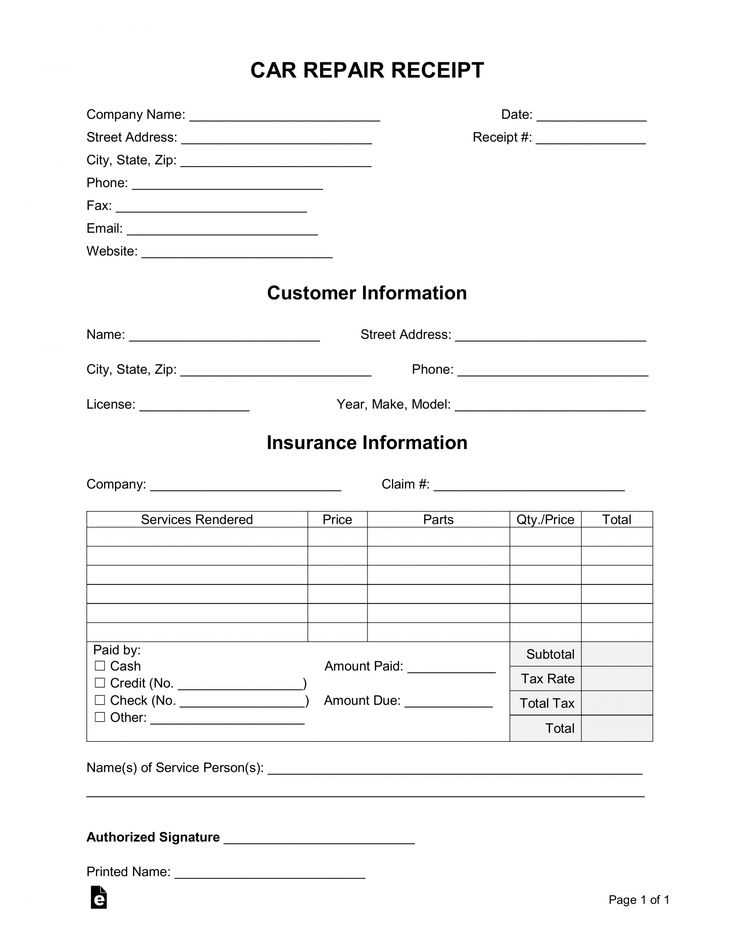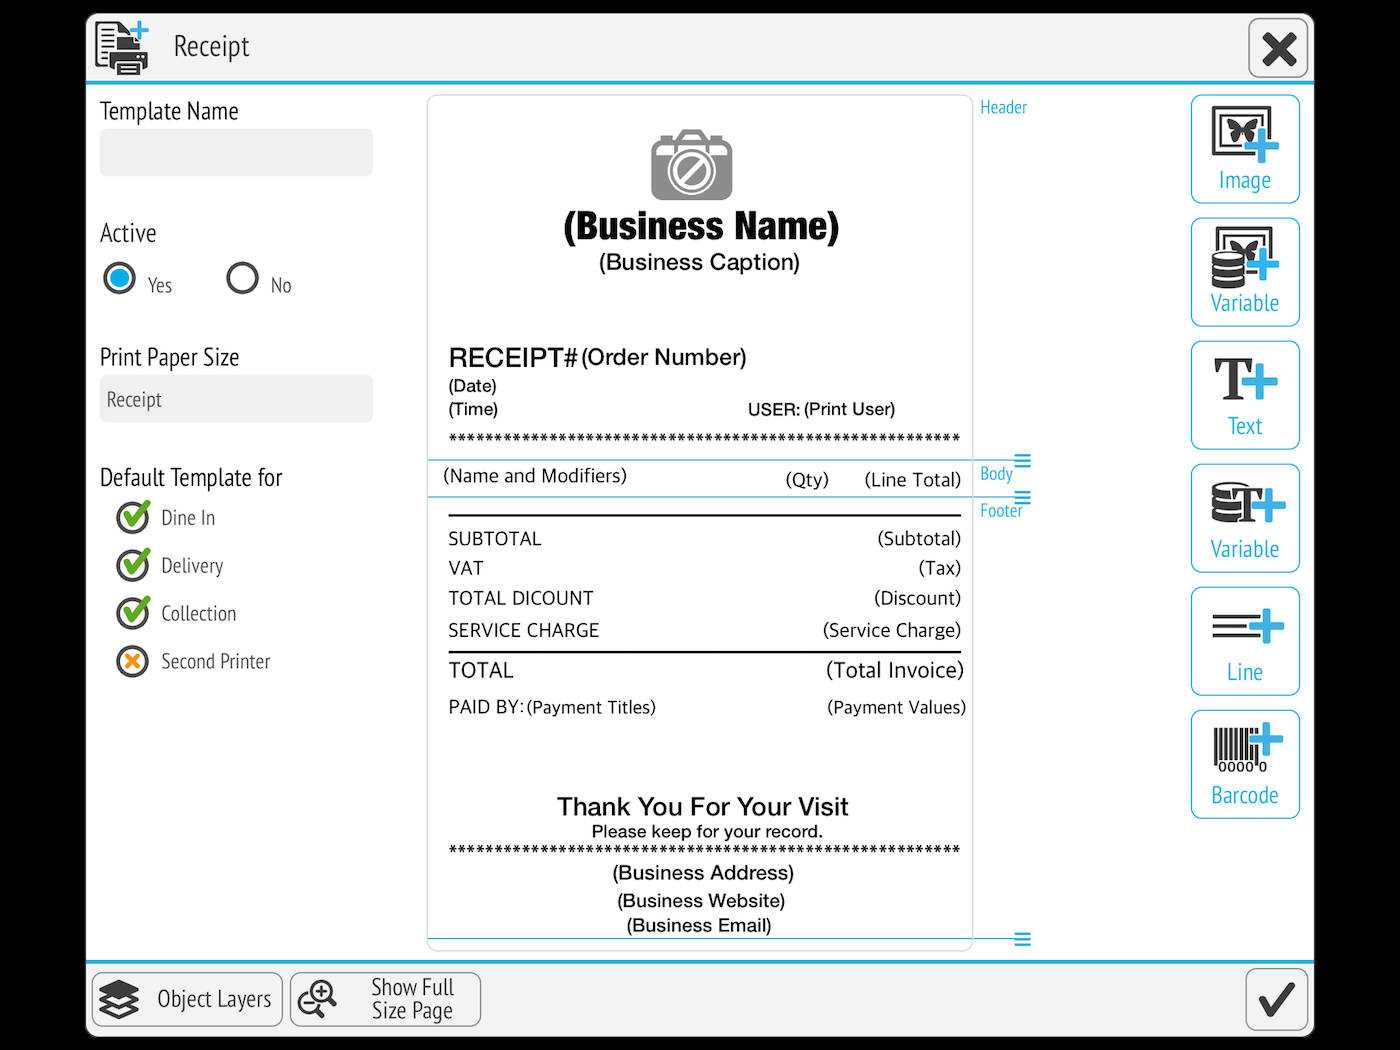
Choose a template that matches your business needs. A well-structured receipt should include a clear header with your company name, contact details, and logo, followed by transaction details such as date, time, and receipt number. Organize itemized purchases with columns for descriptions, quantities, prices, and taxes to ensure clarity.
Optimize formatting for thermal printers. Use a simple layout with monospaced fonts to improve readability. Keep margins minimal to maximize paper usage and reduce waste. Avoid excessive graphics, as thermal printers work best with text-based designs.
Ensure compliance with legal and tax regulations. Include mandatory fields like VAT numbers, tax breakdowns, and refund policies. If operating internationally, adapt the template to meet local standards while maintaining a consistent brand identity.
Test before printing to prevent errors. Generate sample receipts to verify alignment, spacing, and character encoding. Adjust settings if needed to avoid cut-off text or misaligned elements. Once finalized, save the template in a compatible format for seamless integration with your point-of-sale system.
Thermal Print Receipt Template
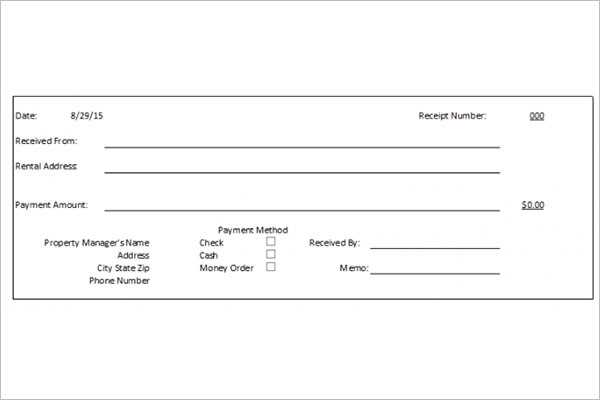
Use a simple layout with clear sections for the business name, date, items, totals, and payment method. Align text to the left for readability and ensure key details like prices and taxes are easy to locate.
Set the paper width to match the printer, typically 58mm or 80mm. Adjust margins to prevent wasted space while keeping content within the printable area.
Choose a monospace font for consistency in character spacing. Many thermal printers support only basic fonts, so avoid special characters or complex formatting.
Use ASCII characters for separators and simple graphics. Dashes or equal signs work well for dividing sections, while asterisks can highlight important details.
Ensure barcode compatibility if needed. Most thermal printers support Code 39, EAN-13, or QR codes. Keep barcodes at least 2cm wide for easy scanning.
Test print before finalizing. Different models handle spacing and alignment differently, so adjust settings based on actual output.
Key Elements of a Thermal Receipt Layout
Clear Header Information – Place the business name, address, and contact details at the top. Use a slightly larger font for visibility, ensuring key details stand out.
Readable Date and Time – Include transaction timestamps in a consistent format, such as MM/DD/YYYY HH:MM, to avoid confusion.
Itemized List of Purchases – Align product names, quantities, and prices in neat columns. Keep descriptions concise to maximize space efficiency.
Subtotal, Tax, and Total – Clearly separate cost breakdowns with bold labels. Ensure currency symbols and decimal points are aligned for easy reading.
Payment Method and Transaction ID – Specify whether the payment was made via cash, card, or digital method. Include a unique reference number for tracking.
Return Policy and Legal Information – Add a brief refund or exchange policy at the bottom. If required, include tax registration numbers and compliance details.
Barcode or QR Code – Generate a scannable code for quick access to order history, loyalty points, or promotions. Ensure proper contrast for reliable scanning.
Formatting Text and Logos for Clarity
Use a readable font. Thermal printers work best with simple, sans-serif fonts like Arial or Helvetica. Avoid decorative styles, as they can blur when printed.
Set an appropriate font size. For receipts, 10–12 pt is ideal for standard text, while 14–16 pt works well for headings. Anything smaller than 8 pt can become illegible.
Maintain contrast. High contrast between text and background ensures clarity. Black text on a white or light background is the most legible combination.
Align text properly. Left-aligned text improves readability, especially for transaction details. Center alignment works for logos and headlines but should be used sparingly.
Keep spacing consistent. Use even line spacing to prevent overlapping. A line height of at least 1.2 times the font size improves readability.
Optimize logo placement. Position logos at the top or bottom of the receipt to avoid interfering with transaction details. A monochrome version ensures better print quality.
Simplify the logo design. High-detail logos may lose sharpness. Convert logos to a 1-bit black-and-white format for crisp results.
Test before printing. Run sample prints to check clarity. Adjust settings as needed to prevent faded text or excessive ink saturation.
Optimizing Barcode and QR Code Printing
Adjust print density settings to enhance barcode and QR code clarity. Lower density may cause faint lines, while excessive density can lead to smudging. Test different levels to find the optimal balance for your printer.
Use high-contrast colors to improve scanner readability. Black on white works best, but ensure the paper quality supports sharp printing without bleeding.
Maintain a quiet zone around the barcode. This empty space prevents scanning errors by helping the reader distinguish the code from surrounding text or graphics.
| Optimization Factor | Recommendation |
|---|---|
| Print Density | Adjust settings to prevent smudging or fading |
| Contrast | Use dark ink on a light background |
| Quiet Zone | Leave space around the barcode |
| Barcode Size | Avoid excessive scaling that distorts readability |
Ensure the barcode size matches scanner specifications. Shrinking may make lines too thin to read, while enlarging can cause distortion. Follow standard dimensions recommended for your application.
Keep the print head clean to prevent gaps or streaks in the barcode. Regular maintenance reduces misreads and extends printer life.
Choose the right barcode format based on usage. Linear barcodes work well for retail, while QR codes handle more data, making them ideal for digital links or inventory tracking.
Adjusting Margins and Spacing for Readability

Set the left and right margins between 5 mm and 10 mm to prevent text from touching the edges. Wider margins improve readability and reduce the risk of cutting off characters.
Balancing Line Spacing
Use a line spacing of at least 1.2 times the font size to separate lines clearly. This prevents crowding and makes receipts easier to read, especially for small fonts.
Optimizing Section Gaps
Increase the spacing between transaction details, totals, and notes by 2–3 mm. Clear section separation enhances visual organization and reduces scanning time.
Test different settings on a sample print to ensure readability under various lighting conditions. Small adjustments can significantly improve the user experience.
Ensuring Compatibility with Various Printers
Check the supported command set before finalizing a receipt template. Most thermal printers use ESC/POS or ZPL, but variations exist. Review the printer’s manual or test commands directly to confirm compatibility.
Use the correct paper width setting. Standard options include 58mm, 80mm, and 112mm, but some printers have unique formats. Adjust margins and line spacing accordingly to avoid truncation or misalignment.
Verify character encoding support. Printers may default to ASCII, UTF-8, or specific code pages. Mismatched encoding leads to garbled text, especially for special symbols and non-Latin characters.
Test barcode and QR code rendering. Some printers require specific command sequences, while others support direct image printing. Check if the device handles vector-based barcodes or only rasterized images.
Confirm connectivity options. USB, Ethernet, Bluetooth, and serial connections behave differently. Networked printers may need static IP assignments, while Bluetooth models often require manual pairing.
Run sample prints across different devices. Even with standardized commands, variations in firmware or driver implementation can affect output. Adjust formatting where necessary to maintain consistent results.
Customizing Templates for Different Business Needs
Adjusting a thermal receipt template to fit specific requirements ensures a smooth checkout experience and reinforces brand identity. Start by identifying key details your business needs on receipts, such as customized headers, logos, or additional fields for promotions.
- Retail Stores: Include barcode printing for easy returns and add personalized messages to encourage repeat visits.
- Restaurants: Optimize spacing for itemized orders, add kitchen instructions, and print loyalty program details at the bottom.
- Service Providers: Display appointment reminders, technician names, and QR codes linking to customer feedback forms.
For businesses requiring multilingual receipts, ensure the template supports different character sets. If receipts need to comply with industry regulations, include tax breakdowns and required disclaimers. Testing print formats across different printer models helps avoid alignment issues and ensures clear readability.
