How to Create a Donation Receipt in Excel

To create a simple donation receipt template in Excel, open a new spreadsheet and start with a clear layout. Use the following structure to ensure you capture all necessary details:
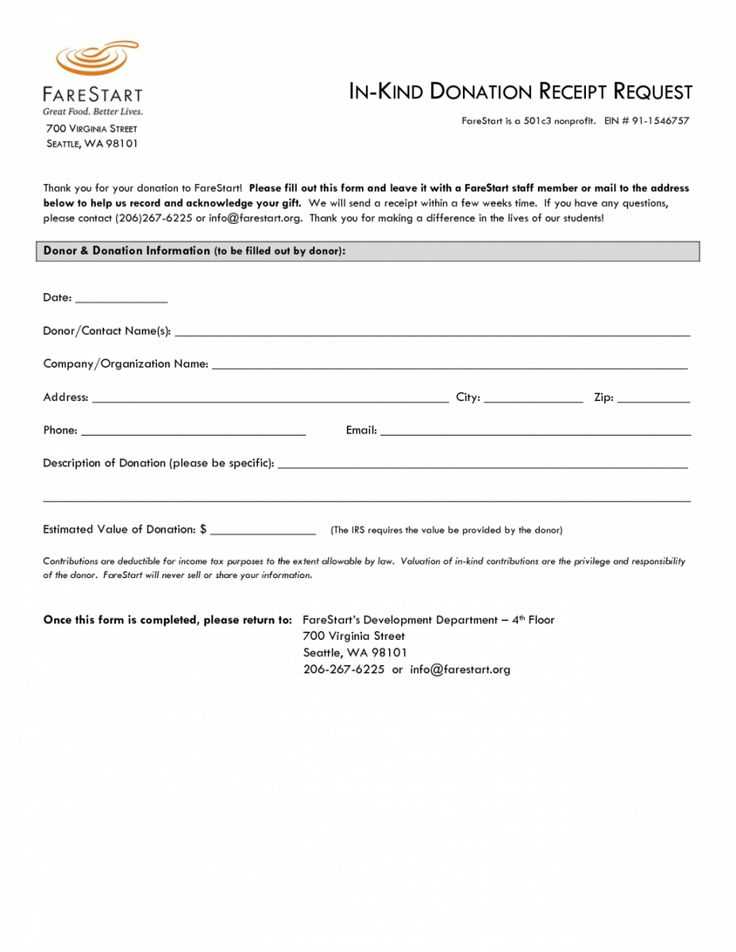
- Donor’s Information: Include fields for the donor’s name, address, email, and phone number.
- Donation Details: List the donation amount, date of donation, and whether it was a monetary or in-kind contribution.
- Tax Information: Include a section stating that no goods or services were provided in exchange for the donation if applicable.
- Organization Information: Include the organization’s name, address, phone number, and tax-exempt status.
- Signature and Acknowledgment: Provide a space for an authorized representative’s signature to verify the receipt.
Step-by-Step Guide to Customize the Template

Here’s how to set up your donation receipt template:
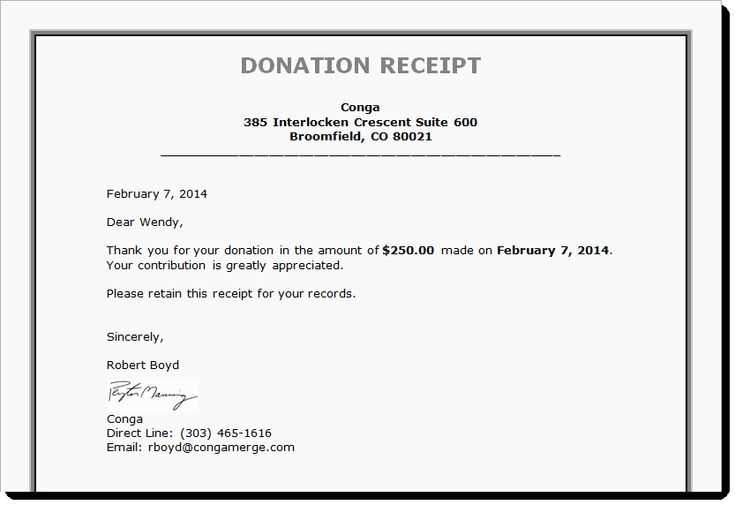
- Title Section: Place the title “Donation Receipt” at the top, followed by your organization’s name.
- Donor Details: In the first few rows, create spaces for the donor’s name, address, and contact details. Use separate columns to keep it neat.
- Donation Breakdown: In the next section, list the donation amount, payment method, and whether the donation is for a specific cause. If you receive non-monetary donations, add a description column.
- Tax Details: Add a row to clarify if the donation is tax-deductible. You may need to specify the value of goods or services provided if relevant.
- Organization Information: At the bottom, insert your organization’s contact information and include a statement confirming the donation is tax-deductible, if applicable.
- Signature Line: Lastly, leave space for the signature of an authorized representative and the date.
Tips for Using the Template

- Keep it Simple: Avoid clutter and focus on the essential information. This will make the receipt easy to read and understand.
- Save the Template: Once you have created the template, save it as a master copy. For each new donation, you can quickly fill in the relevant details and save it as a new file.
- Automate with Formulas: Use basic Excel formulas to automatically calculate donation totals or add up the value of in-kind donations.
Donation Receipt Excel Template: Practical Guide
Key Data Fields to Include in a Receipt Spreadsheet
Formatting Tips for Clear and Organized Records
Automating Calculations and Summaries in Excel
Ensuring Compliance with Tax and Legal Requirements
Customizing Templates for Various Types of Contributions
Exporting, Printing, and Sharing Receipts Easily

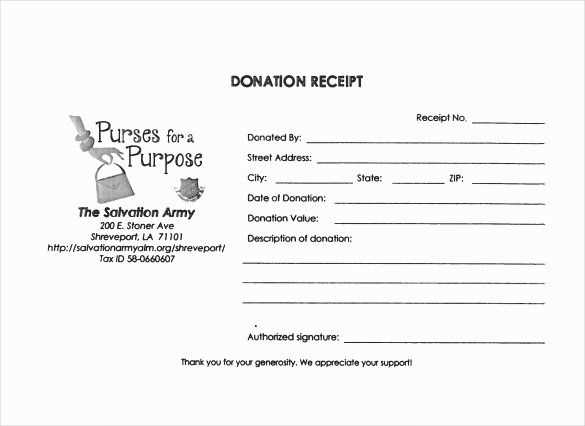
Start with organizing the data clearly. Include fields such as donor name, date of donation, amount donated, donation method, charitable organization name, and tax-deductible status. These details ensure proper record-keeping for both the donor and the receiving organization.
Formatting plays a key role in maintaining clarity. Use bold headers for each column and alternate row colors to distinguish between entries. Keep the columns well-aligned for easy readability. Add borders around important fields, such as the total amount and donor information, to draw attention and maintain neatness.
Excel’s built-in functions can automate calculations. Use SUM for total donations, IF formulas to categorize donations based on tax-deductible status, and VLOOKUP to cross-check donor details. These tools reduce errors and save time on manual calculations.
Ensure your template meets tax and legal guidelines by including necessary information, such as the organization’s tax ID and a statement that no goods or services were exchanged for the donation, if applicable. Double-check the template against local regulations to avoid compliance issues.
Customize the template for different donation types, like cash, checks, or goods. For in-kind donations, include fields for item description and fair market value. Adjust the layout to suit the type of contribution, making it easier for both the donor and the organization to track contributions.
Export the completed receipts to PDF for easy sharing. Excel allows you to print directly from the file or export to a PDF format. This ensures the receipt can be distributed electronically or printed for physical records without altering the original formatting.