When delivering an important document by hand, always provide a receipt to confirm its acceptance. A well-structured receipt protects both the sender and the recipient, ensuring there is no dispute about the delivery. The template should include the date, recipient’s name, sender’s name, a brief description of the document, and a signature line for acknowledgment.
Date and Time: Always specify when the letter was delivered. This helps establish a clear record in case the document is time-sensitive.
Recipient and Sender Information: Include full names and contact details. This avoids confusion, especially in professional or legal matters.
Document Description: Provide a short summary of the delivered letter. Mention key details, such as the subject or reference number, to ensure clarity.
Signature Section: The recipient should sign and date the receipt upon receiving the document. This serves as proof that the letter was delivered as intended.
Using a simple but detailed template eliminates misunderstandings and ensures accountability. Below is a practical format for a hand-delivered letter receipt:
Here’s the optimized version without unnecessary repetition:
To create a clear and concise hand-delivered letter receipt, ensure the following key elements are included:
- Date of receipt: Clearly state the exact date the letter is received.
- Recipient details: Include the full name and position of the person receiving the letter.
- Sender information: List the sender’s name and any relevant contact details.
- Subject or description: Briefly describe the purpose or contents of the letter being received.
- Signature: Ensure the recipient signs the receipt for confirmation.
Recommended Format:

- Date: [Insert Date]
- Recipient: [Full Name, Position]
- Sender: [Full Name, Contact Information]
- Subject: [Brief Description]
- Recipient’s Signature: [Signature]
Keep the structure straightforward to ensure clarity and ease of reference.
- Hand Delivered Letter Receipt Template
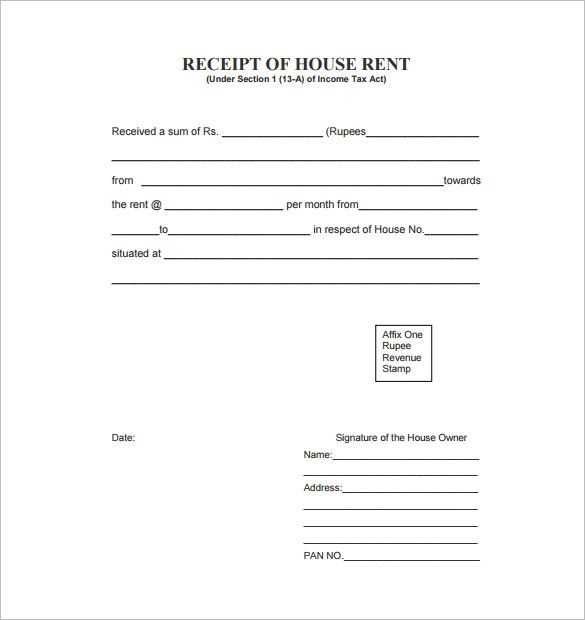
A hand-delivered letter receipt should include specific details for accurate documentation. Start with the recipient’s name and address at the top, followed by the date and time of delivery. A clear statement of the letter being delivered should be included, specifying the type of correspondence. If applicable, include a reference number or subject of the letter.
For verification, ask the recipient to sign the receipt and add any comments or remarks regarding the delivery. This ensures both parties acknowledge the transaction. Make space for both the recipient’s signature and the delivery person’s name or ID number to further authenticate the process.
Ensure the template is clear and easy to understand, avoiding unnecessary jargon. You can add a section for any additional notes, such as conditions or special instructions related to the delivery.
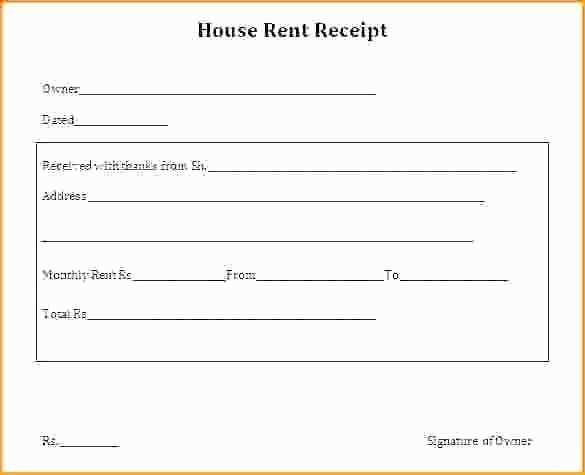
Here is a basic layout you can use for your hand-delivered letter receipt:
- Recipient’s Full Name and Address
- Date and Time of Delivery
- Description of the Letter
- Reference Number (if applicable)
- Recipient’s Signature
- Delivery Person’s Name/ID Number
- Any Additional Comments or Notes
A delivery receipt must include the recipient’s full name and signature. This verifies that the intended person received the item and acknowledges its condition. The date and time of delivery are also critical for tracking and confirming the exact moment of receipt.
Clearly state the description of the delivered item(s), including any serial numbers or identifying details. This helps in confirming the exact product(s) received and prevents confusion. Additionally, note the delivery method used, whether hand-delivered, courier service, or another method, to indicate how the delivery was executed.
Include the sender’s details, such as name, address, and contact information, to clarify who is responsible for the delivery. If applicable, add a reference number or order number for cross-referencing the transaction.
For any damages or discrepancies, leave space for the recipient to mark and specify issues upon receipt. This ensures that any claims or disputes are documented right away.
Finally, ensure the format is clean and easy to read, with sections clearly marked for each element. A well-organized receipt supports accurate record-keeping for both sender and recipient.
Ensure that the acknowledgment of delivery is clear and precise to avoid any misunderstandings. Indicate the exact date and time of receipt, and include the names of the individuals involved in the transaction. The signature of the recipient is often required to confirm that the item was indeed received. This signature can be handwritten or electronic, depending on the method of delivery.
Be mindful of the applicable laws regarding delivery confirmation in your jurisdiction. For example, in some areas, a physical receipt may be necessary to prove delivery in legal disputes, while others might accept electronic acknowledgment. Check local regulations to confirm what forms of acknowledgment are legally valid.
It is also wise to keep a copy of the acknowledgment for your records. This serves as a backup in case there are any future disputes about the delivery or its contents. The receipt should be stored in a secure and organized manner to maintain its integrity over time.
Lastly, ensure that the letter receipt accurately reflects the contents of the delivery. Avoid vague language that could be misinterpreted. If the delivery includes sensitive information or documents, make a note of this in the acknowledgment, as it may affect the legal handling of the item in case of loss or damage. Proper documentation will protect all parties involved in the transaction.
To format a receipt effectively, include the following key components in a simple, structured layout:
- Header Information: Begin with the name of the business or individual issuing the receipt, along with the contact details like address, phone number, and email.
- Date and Time: Clearly state the date and time of the transaction to avoid any confusion later.
- Recipient’s Details: Include the name of the person or entity receiving the goods or services, if applicable.
Details of the Transaction

- Itemized List: Provide a clear breakdown of each item or service purchased, including quantities, unit prices, and any applicable taxes or discounts.
- Total Amount: Display the final amount due, including taxes and any other applicable charges.
Additional Information

- Payment Method: Specify how the payment was made (cash, card, check, etc.).
- Transaction Number: If available, include a unique transaction number for tracking purposes.
- Signature: For hand-delivered receipts, a space for the signature of both parties can add a layer of verification.
Keep the format consistent and easy to read. Use bullet points, short sentences, and avoid cluttering the document with unnecessary information.
Sign receipts immediately after receiving them. Make sure to use a pen with permanent ink to prevent alterations. Always sign in the designated area and avoid adding unnecessary notes or marks, which could invalidate the document.
For storing, keep receipts in a safe, organized manner. Use a filing system that categorizes receipts by date or type of transaction. If storing physical copies, use waterproof folders to prevent damage. For digital storage, scan receipts with high-quality scanners and save them in a secure cloud storage service with password protection.
Review and archive receipts regularly to avoid clutter and to ensure easy access. Consider setting a reminder to do this at least once a month. For both physical and digital receipts, avoid mixing personal and business receipts to keep records clear and organized.
If you’re storing receipts for tax purposes, be aware of the retention period required by your local authorities. Ensure that you store them for the necessary time and back up digital copies to avoid losing important information.
Choose digital receipts for quick access and environmental benefits. They reduce paper waste, are easy to store, and can be retrieved instantly from your email or receipt management app. Digital formats are ideal for people who prefer clutter-free organization and don’t need a physical copy for record-keeping.
Printable receipts are preferred when you require a tangible record or if you’re dealing with a situation where a paper trail is necessary, such as tax filing or warranty claims. Printing also provides a backup if you lose access to digital records or have limited internet access.
Consider the context of the transaction. If you are in a business or legal setting that mandates physical documentation, opt for printable receipts. Otherwise, for everyday purchases, digital receipts offer convenience and help reduce paper consumption.
| Factor | Printable Receipt | Digital Receipt |
|---|---|---|
| Convenience | Requires storage space | Accessible on your device anytime |
| Environmental Impact | Generates paper waste | Eco-friendly, paperless |
| Backup & Access | Requires physical storage | Can be stored digitally, less prone to loss |
| Legal/Tax Records | Preferred in certain situations | May not be accepted for formal documentation |
Failing to include clear, accurate information on the receipt is a major mistake. Always verify the recipient’s name, address, and the details of the transaction. Any errors in these fields can lead to confusion or disputes later on.
Not Including a Date and Time

Omitting the date and time of delivery can create uncertainty about when the item was received. Ensure that you record the exact date and time of delivery to avoid confusion over the timing of the transaction.
Skipping the Signatures

Both the sender and the recipient should sign the receipt. Not obtaining a signature from the recipient can lead to disputes, especially if proof of delivery is needed. Always ask for a clear, legible signature as part of the process.
Not providing a detailed description of the delivered item or service is another common mistake. Be specific about what was handed over to ensure both parties have the same understanding of the transaction.
Lastly, not keeping a copy for your records can be problematic. Always make sure you have a duplicate or a scanned copy of the receipt for future reference in case any issues arise.
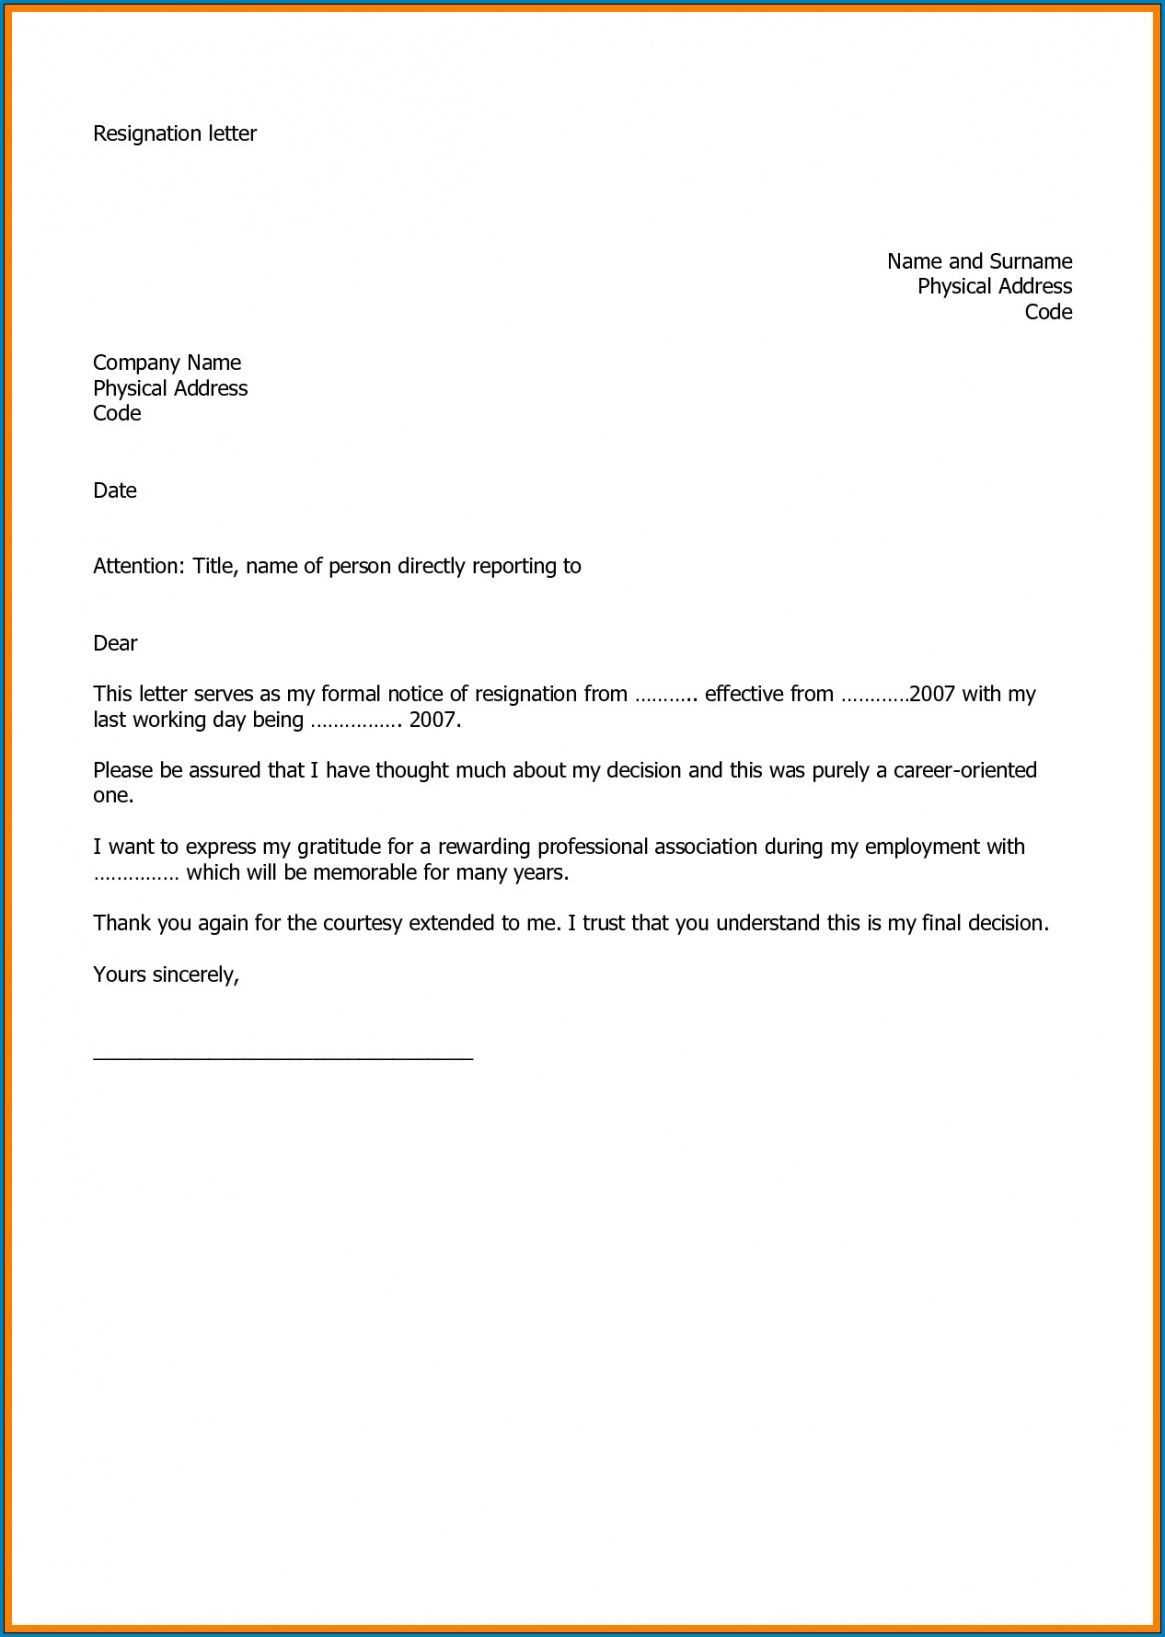
When creating a hand-delivered letter receipt, be clear and concise. Include the recipient’s full name, address, and a space for the date of receipt. Make sure to leave a place for a signature from the person receiving the letter, as this provides proof of delivery. If necessary, add a section for remarks or comments regarding the condition of the letter upon delivery. Ensure that the form is easy to complete and understand.
Keep the language straightforward. Avoid excessive wording, as the purpose of the receipt is to confirm delivery quickly. Offer enough space for each section, so the information can be filled out legibly without rushing. A simple structure helps reduce mistakes during the process.
For better organization, number each section or include bullet points. This improves readability and ensures no crucial information is skipped. If the receipt will be used frequently, consider a reusable format or a digital version for easier storage and retrieval.