To create a clear and reliable delivery receipt template, start by outlining all necessary details. Include fields for the recipient’s name, address, and contact information, ensuring there is space for the date of delivery. These elements are fundamental to tracking deliveries and confirming that the correct items were received.
List of Items: Provide a section that clearly lists all items being delivered. Each item should have a brief description, quantity, and any relevant serial numbers or identifiers. This ensures both parties have a reference point in case of discrepancies.
Signature Section: A designated area for the recipient’s signature helps confirm receipt. This also serves as proof of delivery, which can be crucial for both parties in case of disputes. Make sure to leave space for the date and time of receipt.
Lastly, include a section for any additional notes or conditions, such as delivery exceptions or damages, to further protect both the sender and recipient. By keeping the receipt straightforward and detailed, you ensure both accuracy and accountability in the delivery process.
Here are the corrected lines:
Adjust the item descriptions to match the product details accurately. Instead of using generic terms, specify exact features like dimensions, materials, or color options.
Ensure the quantities are clearly stated. Use precise numbers and avoid vague terms such as “a few” or “several” to prevent misunderstandings.
Confirm the delivery timeline with clear dates for when the product is expected to arrive, avoiding any ambiguity that could delay expectations.
Update the shipping cost section to reflect accurate rates based on the delivery location and weight of the items. This helps avoid errors during checkout.
Remove unnecessary clauses from the shipping instructions, focusing on the essential actions that need to be taken to ensure smooth delivery.
Lastly, double-check the customer’s contact information field for completeness and accuracy to avoid delivery disruptions.

Begin by including a clear header with the title “Receipt of Delivery.” This provides immediate context and ensures that the recipient knows the purpose of the document. Next, include the date of delivery to keep a record of the transaction.
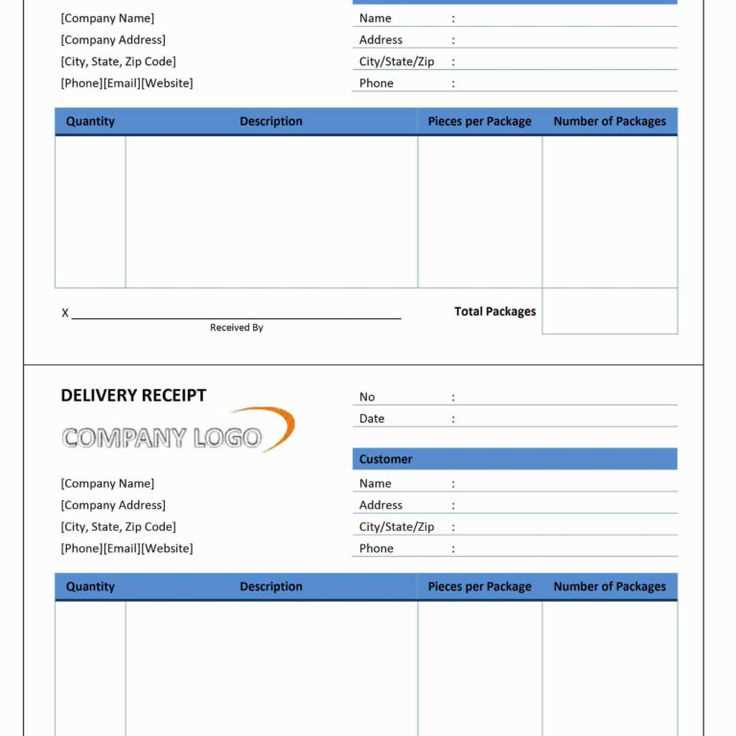
Delivery Information is a key section. Include the name and contact details of the sender and receiver. This helps with any future inquiries or disputes. Be specific and provide address details, phone numbers, and email addresses when applicable.
List of Items Delivered should follow. Include a detailed description of the items, including quantities, serial numbers, and any other identifiers. This guarantees both parties agree on what has been delivered. For larger shipments, it’s helpful to organize the items in a table format, making the information easy to read and verify.
Include a Signature Section at the bottom of the receipt. Both the sender and receiver should sign to confirm the delivery was made. The date should also be written next to the signatures for verification.
Optional: Add a tracking number or delivery confirmation code if applicable. This is particularly useful for high-value shipments and allows both parties to track the delivery progress.
To finalize, provide a remarks section where additional details such as delivery notes, condition of the items, or any discrepancies can be noted. This ensures full transparency and avoids misunderstandings.
Save the template in a format that is easily editable and printable, such as PDF or Word, for consistent use across deliveries.
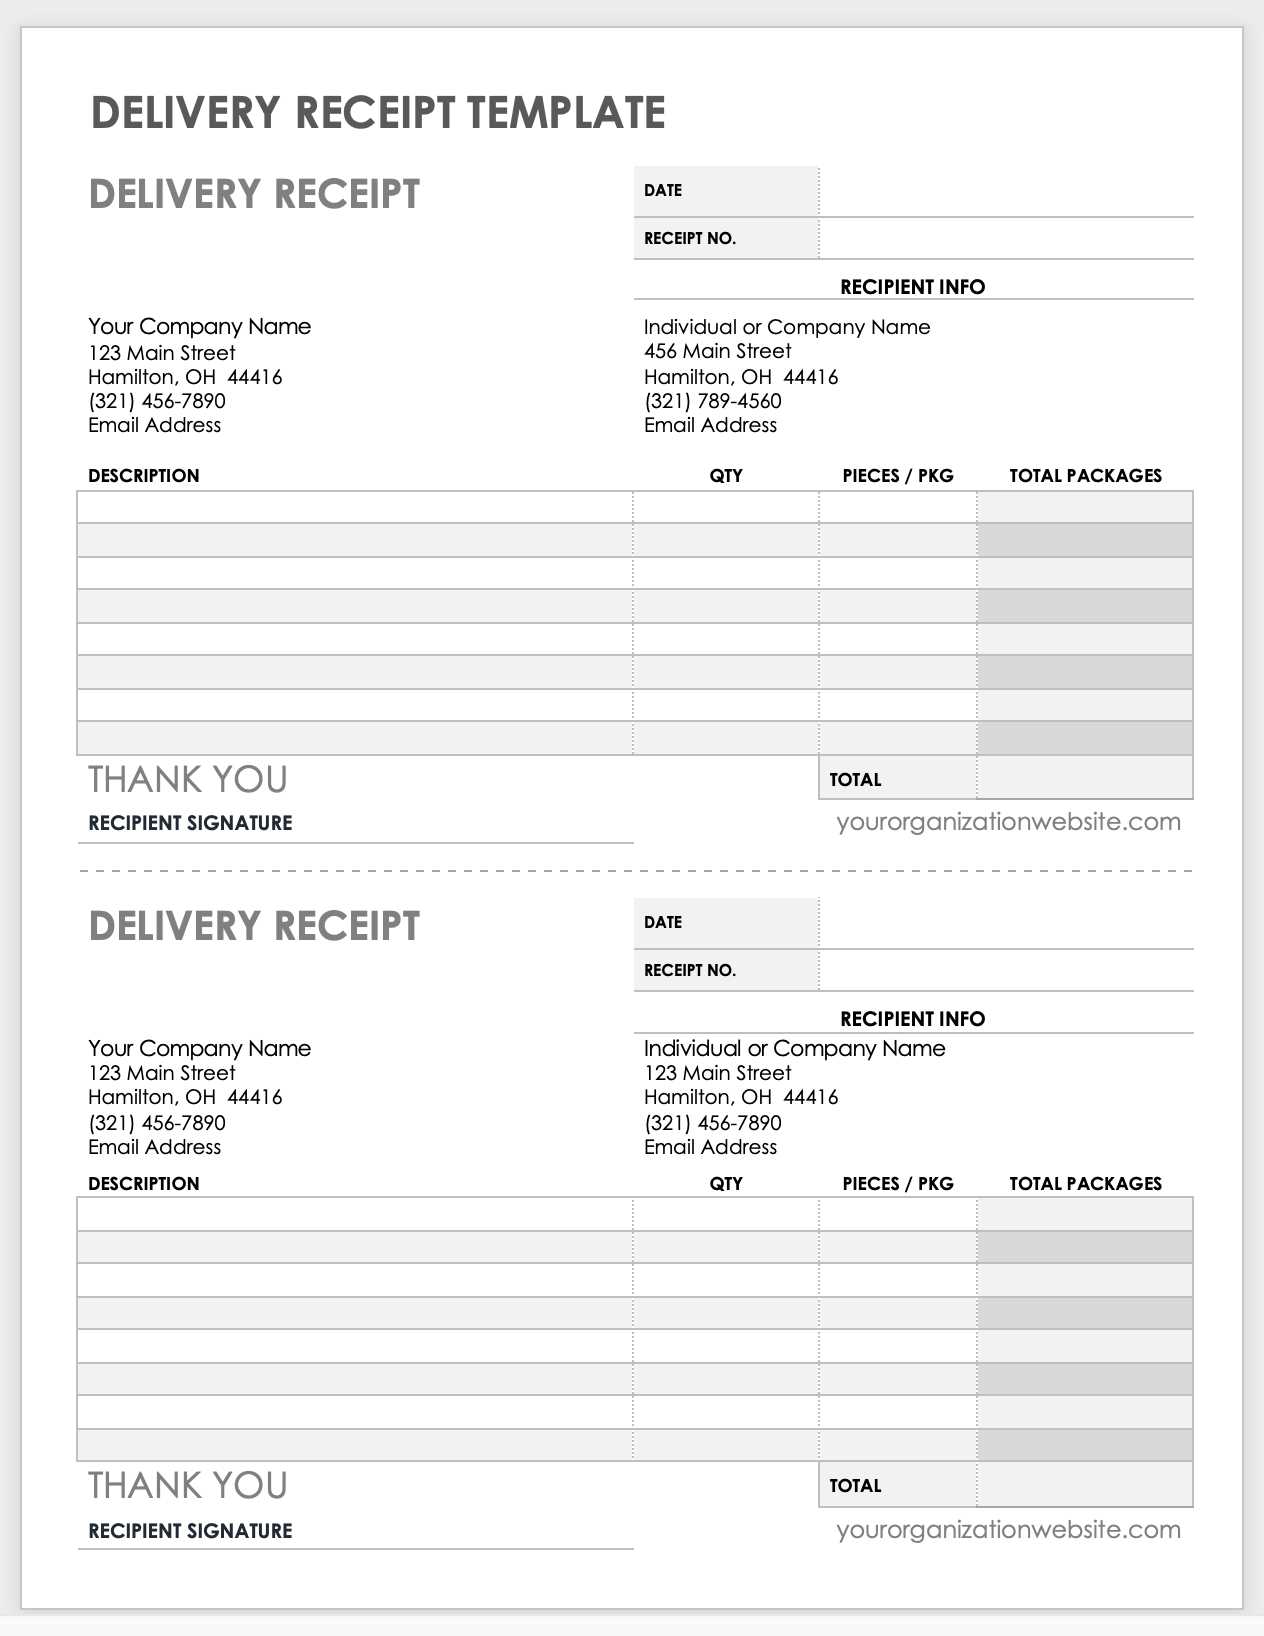
Begin with the name of the business or organization issuing the receipt. Make it clear and easy to identify. Include the address, phone number, and email to allow customers to reach out if needed.

Next, specify the receipt date and a unique receipt number for tracking purposes. This helps with record-keeping and provides a reference point for any future inquiries.
List all items purchased or services rendered, including their quantities, prices, and any applicable taxes. Break down the total amount clearly, so customers can verify each charge.
Provide details about the payment method, whether it’s credit, debit, cash, or another form. If the payment is via card, include the last four digits of the card number (without disclosing the full number for security reasons).
If applicable, include any return policy or warranty information. This helps set clear expectations for your customers regarding refunds or exchanges.
Finally, add any relevant terms or disclaimers. These could include information on taxes, delivery details, or other specific conditions tied to the transaction.
Ensure that the receipt is clearly structured with legible fonts and logical sections. Prioritize simplicity and clarity in the design.
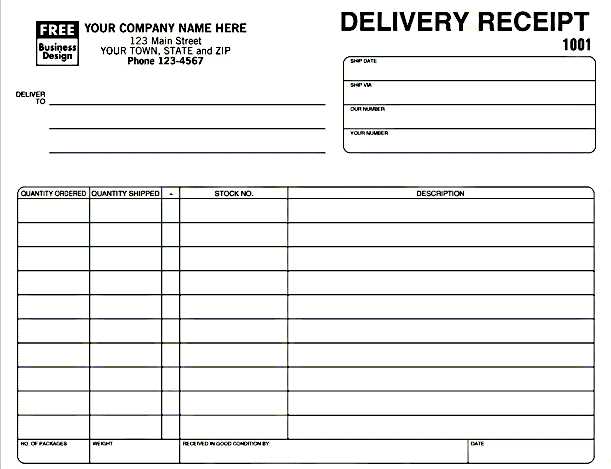
- Title and Header: Begin with a clear title such as “Delivery Receipt” or “Proof of Delivery.” Include your company name and logo at the top for easy identification.
- Delivery Details: Include specific information about the delivery. This should cover the delivery date, time, and address. Ensure the recipient’s name and contact details are correct.
- Itemized List: Provide a detailed list of the items delivered, including quantities, descriptions, and any distinguishing features. This section helps resolve potential disputes and clarifies what was received.
- Signature Section: Include a space for the recipient’s signature. This serves as confirmation that the delivery was received in good condition and on time.
- Order and Reference Numbers: Include unique identifiers like order numbers, invoice numbers, and tracking numbers. These allow for easy referencing in case of inquiries.
- Condition of Goods: Allow the recipient to note any damage or discrepancies. This can help protect both parties in case of issues with the delivered items.
- Contact Information: Provide contact details for customer support in case the recipient has questions or concerns. Make it easy for them to follow up.
Keep the layout clean, and avoid overloading the document with unnecessary information. Use bullet points and short sentences for readability.
Hey there! How’s it going? Anything on your mind today?
Adapt your delivery template to fit the unique needs of each industry by focusing on key elements specific to the products or services being delivered. Start by adjusting the language and tone based on your audience. For example, a template for healthcare deliveries should use clear, formal language, while a creative industry might opt for a more casual and engaging tone.
Next, incorporate industry-specific fields. In the tech sector, include technical details like serial numbers, warranty information, and installation instructions. For retail, add details about promotional items or return policies. Logistics companies should focus on tracking numbers, shipment statuses, and delivery schedules.
Customizing layout and design is also crucial. For industries dealing with perishable goods, like food delivery, ensure there’s clear space for time-sensitive delivery information. High-value goods may require extra fields for customer signature, insurance coverage, or special handling instructions.
Don’t forget to include compliance features. In the pharmaceutical industry, for example, add sections that align with regulatory standards, such as batch numbers and expiration dates. For international shipments, ensure the template accommodates necessary customs documentation.
Adjust the frequency and detail level of updates based on the industry. In sectors like construction or machinery, where long lead times are common, make space for detailed project timelines. Conversely, for faster-moving industries, like fashion or e-commerce, you might want to prioritize real-time tracking and order status.
To digitally sign and store a delivery receipt, use a PDF editor that allows electronic signatures, such as Adobe Acrobat or similar tools. Begin by opening the receipt document and look for an option to add a digital signature. Choose a pre-saved signature or create a new one by following the on-screen prompts.
Steps to Digitally Sign the Receipt

After accessing the signature tool, place your signature in the designated area. You may be asked to authenticate your identity, which can involve using a password or authentication app to ensure security. Once signed, save the file immediately to prevent any loss of data.
How to Store the Signed Receipt

Once the document is signed, store it in a secure location. Cloud storage services like Google Drive, Dropbox, or a dedicated file management system are ideal for this purpose. Make sure to organize your receipts by date or order number for easy retrieval. You can also back up your signed documents on an encrypted external drive for extra security.
Ensure the file is named appropriately and includes identifiable details such as the delivery date and recipient name. This makes future reference or audits more efficient.
Always close your lists with the tag to ensure proper structure. The tag marks the end of an unordered list, keeping your HTML document organized and readable. If left unclosed, it can lead to display issues, as other content might not align correctly with the list.
The tag should always follow the closing tags, as each list item is enclosed within
For better code readability, align the tag with the opening
- tag, and maintain consistent indentation throughout your HTML. This makes it easier to identify list boundaries when editing or debugging the code.