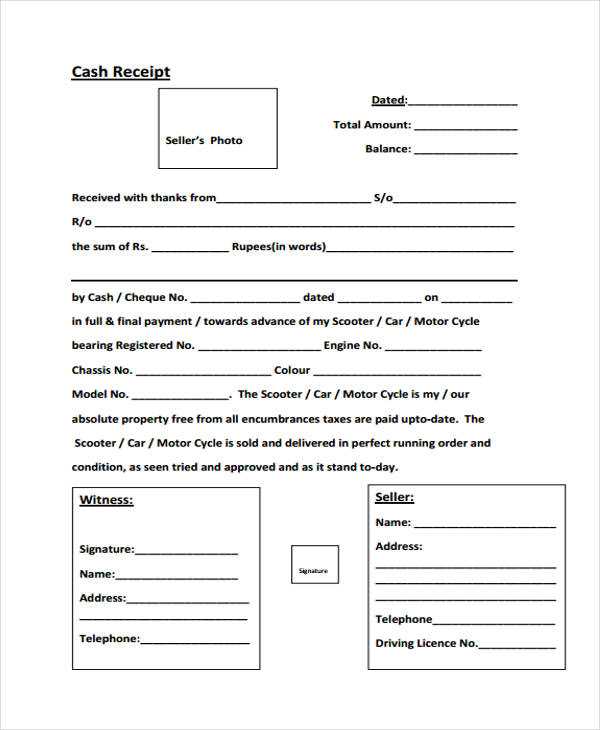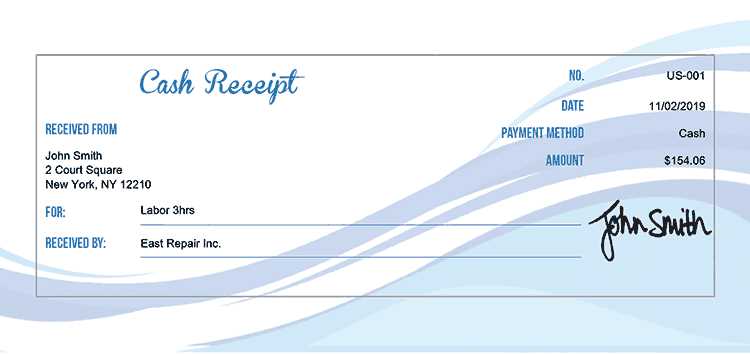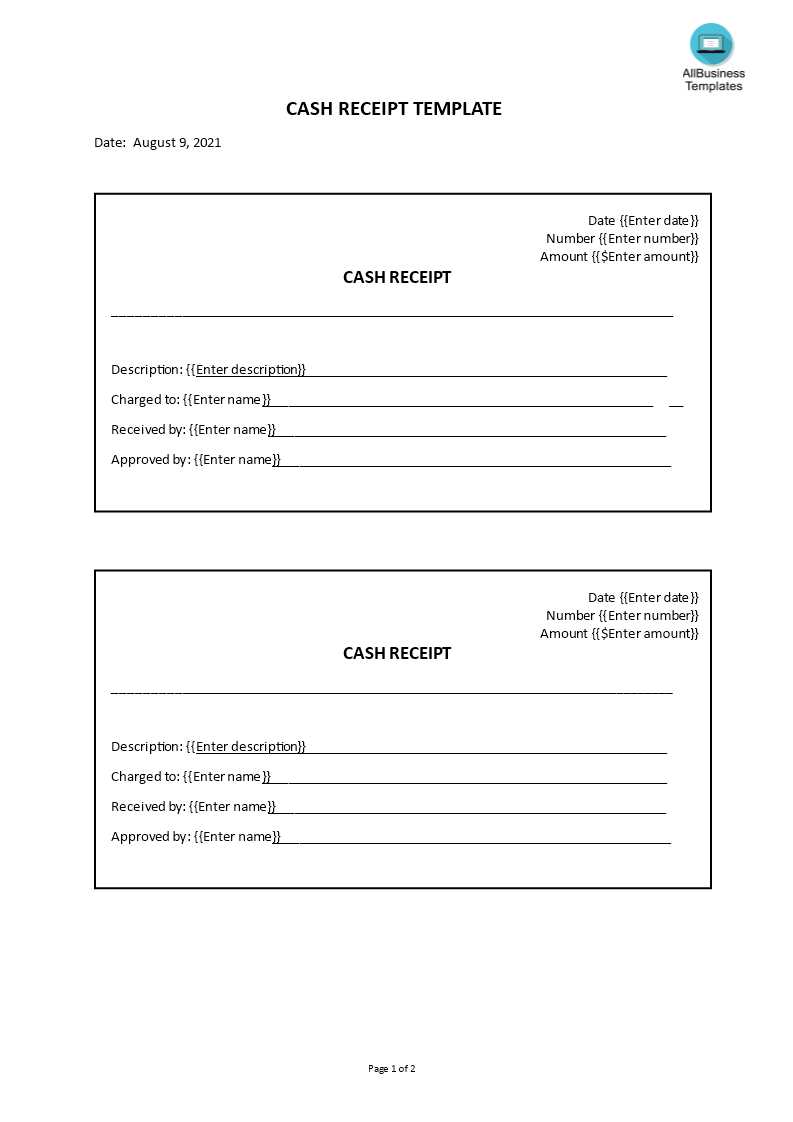
A well-structured receipt enhances professionalism and ensures clear transaction records. Using a Word template allows for easy customization, making it simple to adjust details like store name, item descriptions, and pricing. Whether for small businesses or personal use, a properly formatted receipt helps maintain organized financial records.
Microsoft Word provides built-in templates that can be modified to suit different business needs. To create a receipt, open Word, navigate to File > New, and search for “receipt.” Choose a design that fits your requirements, then edit the fields to reflect transaction details, such as date, customer name, and payment method.
For a more personalized approach, design a receipt from scratch. Use a table to structure itemized purchases, taxes, and totals. Add your business logo and contact details for a professional touch. Save the template for future use, ensuring consistency in all transactions.
Once finalized, receipts can be printed or saved as PDFs for digital record-keeping. If automation is required, integrating Word with Excel simplifies data entry by allowing automatic calculations. This ensures accuracy while saving time on manual adjustments.
Here’s a refined version with reduced word repetition while maintaining clarity and correctness:
To create a professional cash register receipt template in Word, use tables for structured formatting. Set column widths to ensure item descriptions, quantities, and prices remain aligned.
- Use a single-row table for the header, including the store name, address, and contact details.
- For transaction details, add a multi-row table with columns for item names, unit prices, quantities, and totals.
- Apply a monospaced font like Courier New for a classic receipt look.
- Insert a footer section for tax calculations, discounts, and final amounts.
- Include a section for payment method and a short return policy note.
Once formatted, save the document as a template to reuse for future transactions.
- Cash Register Receipt Format in Word
Use a structured table to create a clear and professional cash register receipt in Microsoft Word. A well-organized format ensures readability and compliance with business standards.
| Store Name | Your Business Name | ||
|---|---|---|---|
| Date & Time | MM/DD/YYYY – HH:MM AM/PM | ||
| Receipt Number | #000001 | ||
| Item Description | Quantity | Unit Price | Total |
| Product A | 2 | $10.00 | $20.00 |
| Product B | 1 | $15.00 | $15.00 |
| Subtotal | $35.00 | ||
| Tax (5%) | $1.75 | ||
| Total | $36.75 | ||
| Payment Method | Credit Card | ||
Customize the template by adjusting font size, margins, and adding your business logo. Save the file as a template to streamline future transactions.
Microsoft Word offers built-in receipt templates that save time. Open Word, click “File,” then “New,” and type “receipt” in the search bar. Choose a suitable template and click “Create” to start editing.
Finding Templates Online
Trusted sources like Microsoft’s official website and template marketplaces provide free and premium options. Visit Microsoft Templates, search for “cash register receipt,” and download a compatible file.
Customizing the Template
Once downloaded, open the template in Word. Modify fields like business name, address, and tax details. Save the edited version as a reusable document for future receipts.
Adjust margins and spacing: Set narrow margins in Word to fit more details without wasting space. Use line spacing options to enhance readability.
Choose a clear font: Use a monospaced font like Courier New for easy alignment or a modern sans-serif font for a clean look.
Add a logo: Insert a high-quality image of your company logo at the top for branding. Resize it to keep the receipt compact.
Use tables for structure: Create a table to align item names, quantities, and prices. Set column widths evenly for balance.
Incorporate bold and italics: Highlight key details like total amount or payment instructions for quick reference.
Customize headers and footers: Include a thank-you note, return policy, or contact information at the bottom for a professional touch.
Apply borders or dividers: Use subtle lines or shading to separate sections, making the receipt visually organized.
Insert your business name, address, and contact details at the top of the receipt for clarity. Use a standard font size, ensuring readability without overcrowding the layout.
Placing the Logo
Position your logo at the top left or center, aligning it with the business details. Resize it to maintain a professional appearance while avoiding excessive space usage.
Formatting for Consistency
Match the font style and alignment of the text with your brand identity. Keep margins even, and ensure the logo remains clear when printed in grayscale.
Configuring Tax Settings
Adjust tax rates based on local regulations by navigating to the tax settings in your cash register template. Specify percentage-based or fixed-rate taxes for different product categories. Ensure compliance by enabling automatic tax calculations if supported by your system.
Applying Discounts

Set up percentage-based or fixed-amount discounts to apply at checkout. Define discount rules for specific products or entire transactions. For frequent promotions, create pre-configured discount codes to speed up processing.
To prevent errors, display the final price after discounts in a separate field. If offering multiple discounts, confirm that they stack correctly to avoid miscalculations.
Managing Payment Methods
List all accepted payment types, such as cash, credit cards, or digital payments. If using a template with payment fields, ensure each method is clearly labeled for easy selection. For card payments, verify that the receipt reflects transaction details, including authorization codes.
For split payments, include a section that breaks down amounts paid through different methods. This helps prevent discrepancies and ensures clarity for both the business and the customer.
Save as PDF: Use the “Save As” option and choose PDF to ensure compatibility across devices. Adjust settings for page size and resolution before confirming.
Export to Excel: If you need structured data, convert the receipt table to an Excel format by selecting “Save As” and choosing “Excel Workbook.” Ensure column alignment remains intact.
Print Directly: Access the print menu with Ctrl + P (Windows) or Cmd + P (Mac). Set margins, orientation, and paper size for best results. If thermal printing is required, select the appropriate printer type.
Save as Image: For quick sharing, take a screenshot or use “Print to Image” options in virtual printers. PNG or JPEG formats work best for clarity.
Misaligned Text or Spacing Issues

Adjust the table or tab settings in Word to ensure columns align properly. Use the “Distribute Columns Evenly” option in table settings to fix uneven spacing. If text shifts when printing, check margin settings and select “Scale to Fit” in the print menu.
Receipt Not Printing Correctly
Ensure the page size matches your printer’s paper settings. For thermal printers, select “Roll Paper” instead of standard letter size. If content gets cut off, reduce font size or adjust margins under “Page Layout.”
- Blurry or Faded Text: Replace low-ink cartridges or clean the printer head.
- Data Missing After Saving: Save as a .docx file instead of .rtf or .txt to retain formatting.
- Wrong Currency Symbol: Change the symbol in the “Insert Symbol” menu or adjust regional settings in Word.
- Template Opens in Read-Only Mode: Right-click the file, select “Properties,” and uncheck “Read-only.”
For frequent errors, consider creating a locked template with pre-defined fields using “Restrict Editing” under the “Developer” tab. This prevents accidental changes and maintains consistency across receipts.
Avoid using an improperly closed <ul> tag in your cash register receipt template. A missing closing tag can cause formatting issues, making the receipt appear disorganized when printed. Ensure each <ul> list ends with a properly placed </ul> to maintain clarity in itemized sections.
To format a structured receipt, use bullet points for product details, such as item name, price, and quantity. If your template requires nested lists, verify that each sublist closes correctly within its parent <ul>. Incorrect nesting may lead to misalignment in certain word processors.
For optimal compatibility, test your receipt format by previewing it in different versions of Microsoft Word. If layout inconsistencies arise, adjust the spacing or use a table structure instead of lists to ensure precise alignment.


