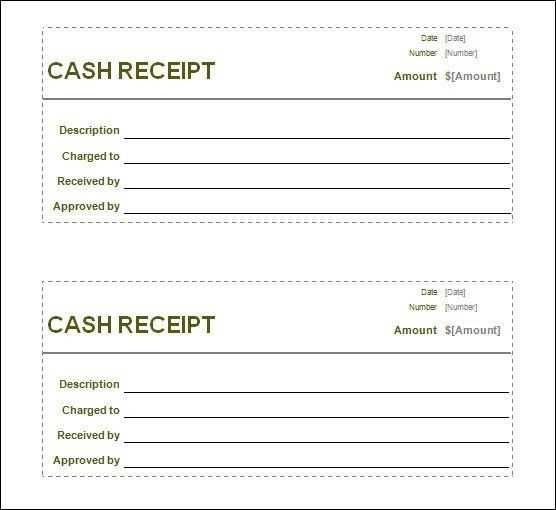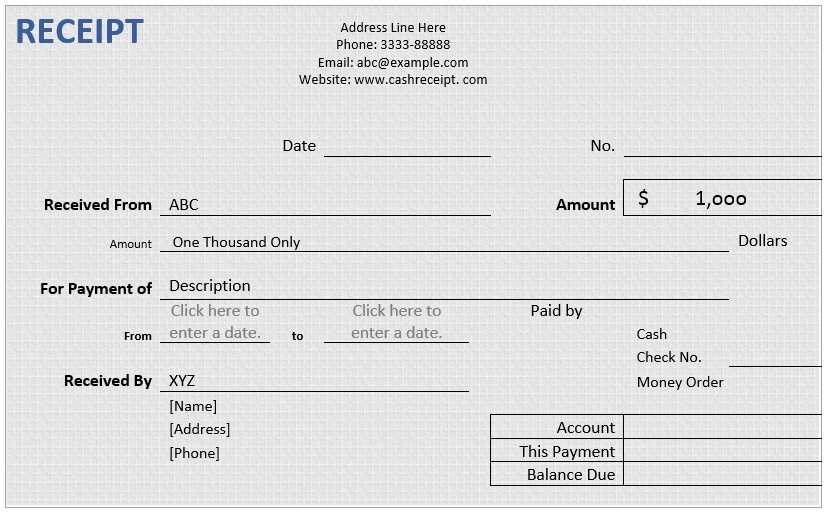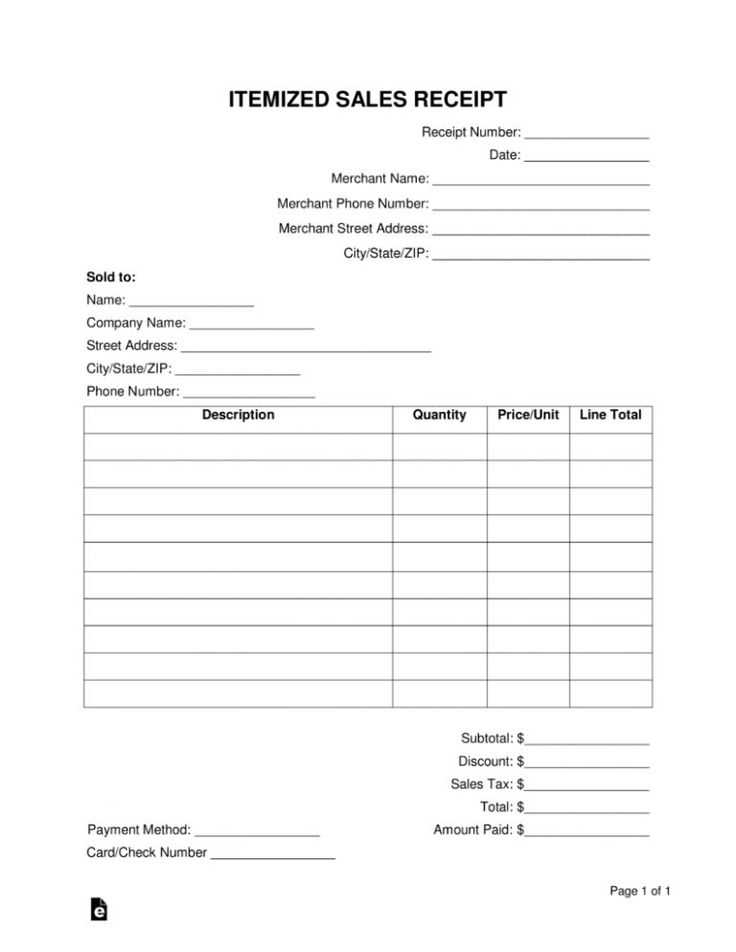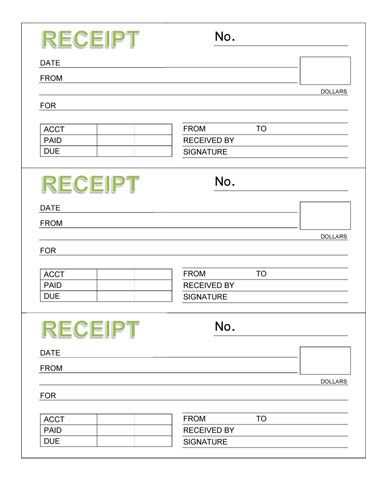
Use ready-made templates to speed up your workflow. Microsoft Word offers built-in receipt templates that cover various needs, from sales transactions to rental payments. Open Word, go to File > New, and search for “receipt” to find customizable options.
Edit details effortlessly by replacing placeholder text with transaction-specific information. Modify fields such as date, item descriptions, amounts, and payment methods. Adjust fonts and colors to match your branding.
Automate calculations using tables. Insert a table to organize items, quantities, and prices. Apply formulas in the last row to total amounts automatically, ensuring accuracy.
Convert to PDF for easy sharing. Once your receipt is complete, save it as a PDF to maintain formatting. Go to File > Save As and choose PDF as the file format.
Reuse templates to streamline future transactions. Save a customized template with blank fields for quick edits. This approach minimizes repetitive work and maintains consistency.
Receipts Templates in Word
Choose a structured layout by selecting “Invoice” or “Sales Receipt” from Word’s template library. Modify fields like date, recipient, and itemized costs to match your needs.
Use tables for clear organization. Insert a table via “Insert” → “Table” and adjust columns for descriptions, prices, and totals. Format cells with bold headers and right-aligned numbers.
Add your business details at the top. Use “Header” to keep it consistent across pages. Include a company name, address, and contact information.
Save as a template for future use. Click “File” → “Save As” and choose “.dotx” to preserve formatting while allowing edits for each transaction.
How to Create a Receipt Template from Scratch
Open a blank document in Word and set up the page layout. Adjust margins, select a readable font, and ensure proper spacing for clarity.
Structure the Header
- Insert the business name in bold at the top.
- Add the address, phone number, and email below.
- Include a section for the receipt number and date.
Define Transaction Details
- Create a table with columns for item description, quantity, unit price, and total.
- Leave space for tax and discounts if applicable.
- Ensure a clear total amount field.
Add a payment method section with checkboxes for cash, credit card, or other options. Provide a space for customer and seller signatures if needed.
Save the file as a template for future use. This way, you can reuse the format without redoing the layout.
Customizing Fonts, Colors, and Layouts

Modify fonts by selecting a professional or modern typeface. In Word, highlight the text, open the “Home” tab, and choose from the dropdown in the “Font” section. Adjust size, boldness, or italics for emphasis.
Color Adjustments
Change colors by selecting the text or background, then using the “Font Color” or “Shading” options in the “Home” tab. For custom shades, click “More Colors” and enter specific RGB or HEX values.
Layout Optimization
Improve structure with margins, spacing, and alignment. Use the “Layout” tab to set precise margins and spacing. Tables help organize sections neatly.
| Feature | Modification |
|---|---|
| Font | Choose typeface, adjust size, apply bold/italic |
| Color | Change text or background, use custom shades |
| Layout | Modify margins, spacing, and alignment |
Adding Formulas for Automatic Calculations
Use built-in formulas to automate calculations and reduce manual work. Open your template, select a table cell where you need a total, and enter =SUM(ABOVE) or =SUM(LEFT) to add up numbers from the respective direction. Press F9 to update results after making changes.
Using Conditional Calculations
Apply =IF statements for conditional results. For example, =IF(A1>100, “High”, “Low”) assigns a label based on the value. Modify the logic to fit specific needs and refresh formulas with F9 to reflect updates.
Linking Values for Dynamic Totals
Reference values from different cells using =A1+B1 or other arithmetic functions. This ensures calculations update automatically when input values change. To keep results accurate, enable automatic updates in the options menu.
Inserting Logos and Digital Signatures
To add a logo or digital signature to a receipt template in Word, follow these steps:
Adding a Logo
Place your cursor where you want the logo to appear. Go to the “Insert” tab and select “Pictures.” Choose the image file from your computer and click “Insert.” Resize the logo as needed by clicking and dragging the corners. You can position it by selecting the image and using the layout options like “Wrap Text” to adjust how text flows around the logo.
Adding a Digital Signature
To add a digital signature, click where you want it on the receipt. Go to the “Insert” tab, select “Signature Line,” and choose “Microsoft Office Signature Line.” Fill in the necessary information, then sign electronically with a pen tablet or upload a scanned signature image. This will provide a secure and professional touch to your document.
Saving and Sharing Receipts in Different Formats

For easy storage and sharing, save receipts in formats like PDF, JPEG, or PNG. PDF is a popular choice because it retains the receipt’s layout, making it ideal for emailing or printing. If you need to share a receipt via text message or social media, saving it as an image (JPEG or PNG) ensures it remains viewable across devices without needing specialized software.
Saving Receipts as PDF

To save a receipt as a PDF, use built-in options in most word processors or document viewers. Simply select “Save As” and choose the PDF format. Many online tools also allow conversion of receipt images into PDF files.
Using Image Formats for Sharing
For quick sharing, image formats like JPEG or PNG are effective. These formats ensure your receipt is accessible on mobile devices or in messaging apps. You can convert your receipt into these formats using online converters or screenshot tools.
Once saved, store receipts in organized folders by category, ensuring you can quickly access them when needed. Cloud storage services like Google Drive or Dropbox are perfect for keeping receipts backed up and easily shareable from anywhere.
Common Issues and Troubleshooting Tips
If you’re having trouble with receipt templates in Word, the following tips can help resolve common problems:
Formatting Problems
- Text Alignment Issues: Ensure that all text boxes and tables are aligned correctly. Adjust margins and check for hidden spaces or characters that may cause misalignment.
- Inconsistent Font Sizes: Select all text and choose the desired font size from the toolbar. Avoid manual resizing for uniformity.
- Unwanted Page Breaks: Look for any page breaks inserted by mistake. You can remove these by going to the “View” tab and selecting “Draft” mode to easily identify breaks.
Template Not Loading or Printing Properly
- Slow Template Load: If your template takes a long time to load, try closing other applications or restarting your computer to free up resources.
- Printing Issues: Before printing, check the print preview to ensure that all elements are positioned correctly. Ensure your printer is connected and has enough ink or toner.
- Template Won’t Print: Ensure the template is in a compatible format (e.g., .docx). If problems persist, save the file in a different format and attempt to print again.


