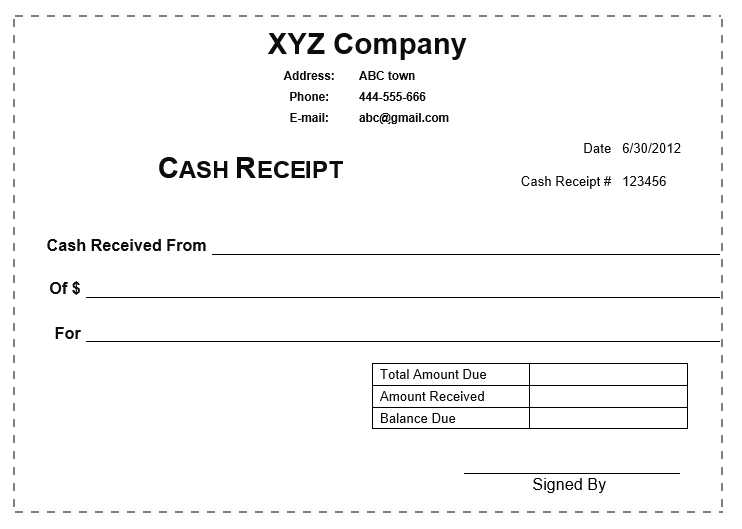
Use precise and concise wording to ensure your receipt is both professional and legally valid. Start with the business name and contact details at the top, followed by the date of transaction. Include a clear title, such as “Payment Receipt” or “Sales Invoice”, to eliminate confusion.
Detail the transaction with itemized descriptions, quantities, and individual prices. If applicable, list taxes and discounts separately to maintain transparency. Ensure the total amount is in bold or larger font to make it easily recognizable. If the payment was made in cash, card, or bank transfer, specify the method to avoid disputes.
For added clarity, include a statement confirming that the payment has been received in full, such as “This receipt acknowledges full payment for the items/services listed above.” If partial payments are involved, note the remaining balance. A signature or stamp adds an extra layer of authenticity, especially for high-value transactions.
Keep the wording straightforward and avoid unnecessary jargon. A well-structured receipt enhances customer trust and serves as a reliable record for both parties. By following these principles, you create a professional and legally compliant document every time.
Receipt Template Wording
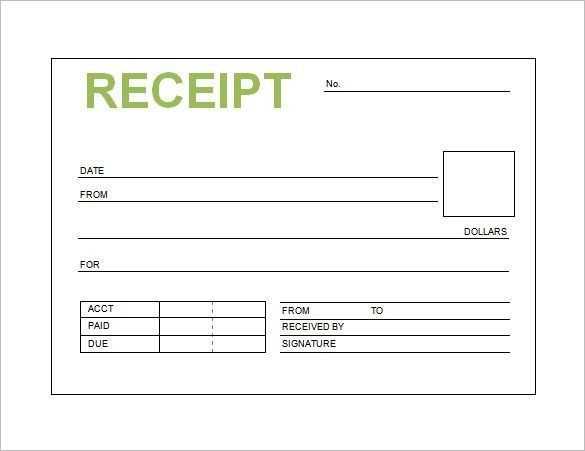
Clearly state the payment details. Include the amount paid, currency, and payment method. If applicable, specify taxes or discounts separately.
Identify the buyer and seller. Use full names or business names, along with relevant contact details. This ensures clarity and avoids disputes.
Include a unique receipt number. Sequential or alphanumeric numbering helps with tracking and record-keeping.
Specify the date of transaction. Use a standard format to prevent confusion, such as “MM/DD/YYYY” or “DD/MM/YYYY,” depending on regional norms.
Describe the purchased items or services. List each product or service, including quantity, unit price, and total cost. For services, a brief description of the work completed can add clarity.
Provide return or refund policy details. If applicable, state conditions for exchanges, refunds, or warranties.
Use concise and professional language. Avoid unnecessary words or jargon. Ensure the information is easy to read and understand.
End with a closing note. A simple “Thank you for your business” or “We appreciate your support” adds a professional touch.
Key Elements to Include in a Receipt Statement
Business Name and Contact Details: Display the official name, phone number, email, and physical address. If applicable, include the tax identification number.
Transaction Date and Time: Specify the exact date and time to ensure accurate record-keeping and avoid disputes.
Unique Receipt Number: Assign a sequential or system-generated number for easy tracking and reference.
Itemized List of Goods or Services: Break down each product or service, including quantity, unit price, and total amount. Use clear descriptions to prevent confusion.
Subtotal, Taxes, and Discounts: Clearly show the subtotal before taxes, applicable tax rates, and any discounts applied. This helps customers verify calculations.
Total Amount Paid: Highlight the final sum in bold or a larger font to avoid misinterpretation.
Payment Method: Indicate whether the transaction was completed via cash, credit card, bank transfer, or other means.
Terms and Conditions: If relevant, include policies regarding refunds, exchanges, or warranties.
Authorized Signature or Digital Confirmation: If required, add a signature, stamp, or digital verification to authenticate the document.
These elements create clarity, reduce errors, and ensure compliance with financial records and tax reporting.
How to Format Payment Acknowledgment for Clarity
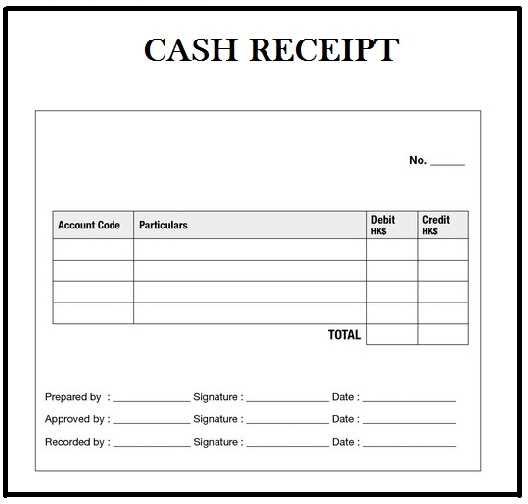
Begin with a bold, easy-to-read heading that states “Payment Acknowledgment” followed by the date. This immediately signals the document’s purpose.
Key Details to Include
List the payer’s name, the amount received, and the payment method. Use clear labels such as “Received From,” “Amount,” and “Payment Method” to prevent confusion.
Specify the reason for the payment, whether it’s for a service, product, or recurring charge. If applicable, include an invoice or reference number to link the acknowledgment to previous records.
Clear Confirmation and Contact Information
Write a concise confirmation, such as “This confirms receipt of [amount] via [payment method] on [date].” Avoid vague wording and ensure the format remains consistent across documents.
Conclude with the recipient’s name or business details, along with a contact email or phone number for any follow-ups. If necessary, add a digital signature or company stamp for authenticity.
Legal Considerations When Drafting a Receipt
Specify the full name of the payer and recipient to ensure the document holds legal weight. Include the date of issuance and the transaction amount in both numeric and written formats to prevent disputes.
- Clearly Define Goods or Services: Use precise descriptions to avoid ambiguity. If applicable, mention quantity, unit price, and any applicable taxes.
- State Payment Method: Indicate whether the payment was made in cash, via credit card, bank transfer, or another method. If partial payments are allowed, outline the remaining balance and due date.
- Include a Unique Identifier: Assign a sequential or alphanumeric reference number to facilitate tracking and record-keeping.
- Outline Refund and Return Terms: If applicable, specify conditions under which refunds or exchanges are permitted.
- Specify Tax Information: If required by law, mention applicable tax rates and registration details for compliance.
Signatures or digital authentication can strengthen the document’s validity. Retain a copy for both parties to prevent disputes.
Choosing the Right Language for Tax and Compliance Purposes
Use precise legal and financial terminology to ensure accuracy in tax records and regulatory filings. Every jurisdiction has specific wording requirements, so align terminology with local tax codes and industry standards.
Key Terms to Include
- Invoice Number: Assign a unique identifier to each receipt for tracking and audits.
- Tax Identification: Include relevant business tax numbers, such as VAT, GST, or EIN, as required.
- Itemized Charges: Break down taxable and non-taxable items separately to avoid discrepancies.
- Applicable Taxes: State tax rates explicitly and specify whether they are included or added separately.
- Currency and Exchange Rates: When dealing with international transactions, indicate the currency and applicable conversion rates.
Compliance Best Practices
- Follow Local Regulations: Use the mandated language if specific phrasing is required by tax authorities.
- Use Standardized Terminology: Avoid informal language to ensure clarity and acceptance in audits.
- Provide Multi-Language Versions: If operating in multiple regions, offer translations while keeping a legally valid original.
- Retain Digital and Physical Copies: Store receipts for the period required by law to meet compliance obligations.
Clear, consistent wording prevents disputes, simplifies audits, and ensures legal acceptance. Review tax authority guidelines regularly to maintain compliance.
Structuring Itemized Details for Better Understanding
List each product or service separately, ensuring clarity in descriptions. Use a structured format with aligned columns for quantity, unit price, and total cost. This eliminates confusion and makes calculations transparent.
Use Clear and Concise Labels
Replace vague terms with precise descriptions. Instead of “Service Fee,” specify “Consultation – 60 minutes.” If an item includes multiple components, break them down into sub-items with associated costs.
Align Costs for Easy Scanning
Right-align numeric values to simplify comparison. Use consistent decimal formatting (e.g., “10.50” instead of “10.5”) and avoid unnecessary currency symbols in every row–place them in the header or total section instead.
Highlight discounts or tax separately. Instead of blending them into item prices, list them as distinct line items to maintain clarity.
Common Phrasing Mistakes and How to Avoid Them
Avoid vague language like “Payment due” or “Total amount.” These phrases can create confusion about the exact payment terms. Instead, clearly specify amounts and due dates, such as “Amount due: $150.00, due on March 5, 2025.” This way, both parties understand the exact terms without any ambiguity.
1. Ambiguous Terminology
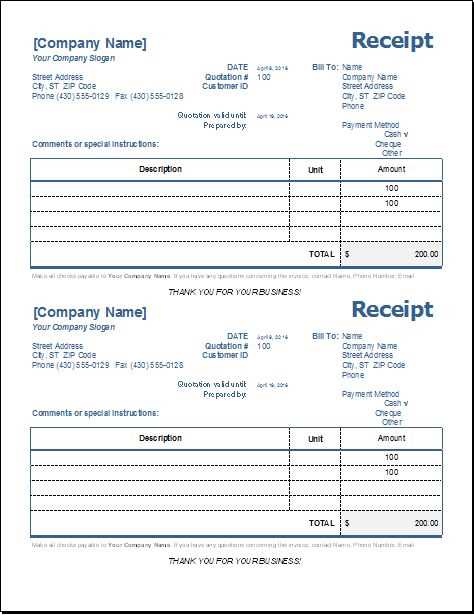
A common mistake is using phrases that can be interpreted in multiple ways, like “Amount payable.” To prevent misunderstandings, provide a detailed description. For example, replace “Amount payable” with “Amount owed for services rendered.” This eliminates potential confusion and ensures clarity.
2. Overcomplicated Language
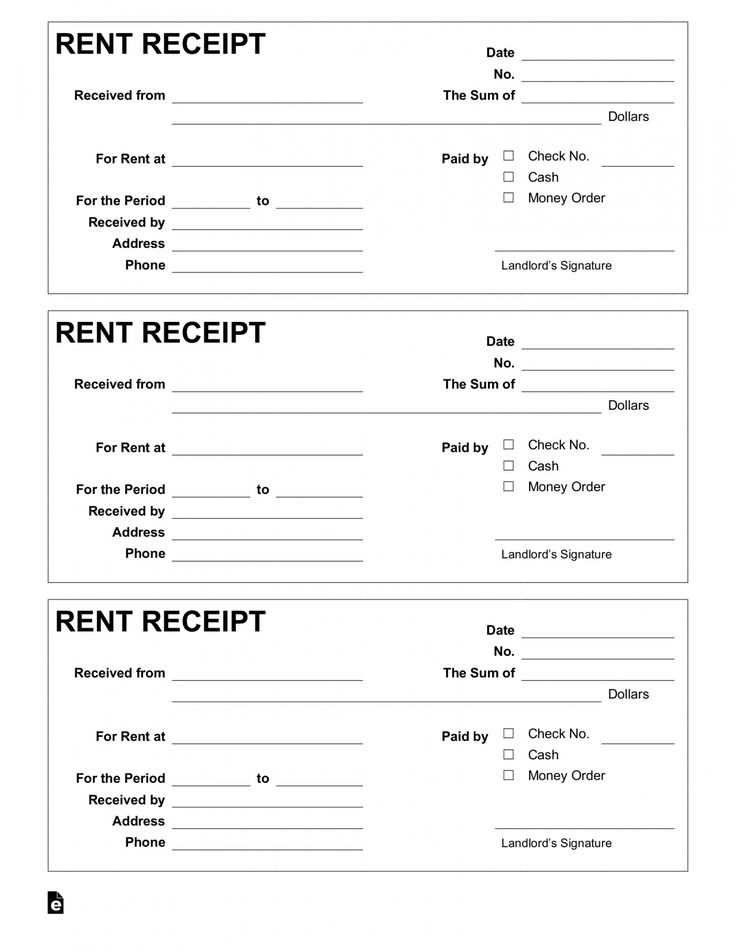
Some receipt templates use overly complex language, which makes reading harder. Simple, straightforward phrasing is more effective. Avoid expressions like “Subject to conditions outlined below” and opt for “Amount is final, no further charges.” Keep the wording clear and to the point.
3. Incorrect Use of Terms
Using incorrect terms such as “Balance remaining” instead of “Amount due” is a common mistake. Make sure the terms match what the transaction reflects. For instance, use “Paid” for amounts that have been settled and “Remaining balance” for unpaid amounts.
| Incorrect Phrase | Recommended Phrase |
|---|---|
| Payment pending | Payment due |
| Total due today | Amount due by [date] |
| Balance due | Remaining balance |
By making small adjustments, you can prevent common mistakes and ensure your receipts are clear and accurate. Keep the language direct and precise to avoid confusion and enhance understanding.


