A well-structured confirmation of receipt form ensures clear communication and prevents misunderstandings. Whether acknowledging a delivery, document, or payment, a standardized template helps maintain consistency and professionalism. Using a pre-designed form saves time, reduces errors, and provides a reliable record for future reference.
To create an effective form, include essential fields such as the recipient’s name, date of receipt, item description, and an authorized signature. A concise statement confirming the acknowledgment should be prominently placed, ensuring clarity. If applicable, add a section for additional comments or notes to capture relevant details.
Digital and paper formats each have advantages. A printed version works well for in-person exchanges, while an electronic form streamlines remote processes. When using a digital template, ensure it supports electronic signatures to enhance security and convenience.
Customizing the template for specific needs improves usability. For instance, a business receiving shipments might include fields for tracking numbers, while a legal firm may require a clause confirming confidentiality. Adjusting the layout to match industry standards enhances credibility and compliance.
Here’s the revised version with reduced repetition while maintaining the meaning:
To ensure clarity in your confirmation of receipt form, focus on simplicity and directness. State the receipt of documents or goods and include key details such as dates, quantities, and the specific items received. Avoid overloading the recipient with unnecessary information. Keep the tone clear and concise.
Key Details to Include:

Start with a brief acknowledgment of the received materials, followed by their description. If applicable, mention the method of delivery and the person or entity responsible for it. For example:
Received goods: 10 units of electronic components
Date of receipt: February 9, 2025
Signing the Confirmation:
Ensure the person receiving the goods or documents signs the form. This acts as formal confirmation of receipt and prevents misunderstandings later. If necessary, include a section for additional notes or special conditions, but avoid irrelevant details.
By keeping the structure straightforward, the form serves its purpose without confusion. Review it to eliminate any redundant phrases or jargon that may cloud the message.
- Confirmation of Receipt Template
Create a confirmation of receipt template that includes key elements to ensure clarity and professionalism. Start with your organization’s name and contact information at the top. Include a clear title, such as “Confirmation of Receipt,” to indicate the document’s purpose.
Next, provide a section for the recipient’s details, including their name, address, and contact information. This personalization fosters a connection and confirms who the document pertains to. Follow this with a date field to mark when the receipt is issued.
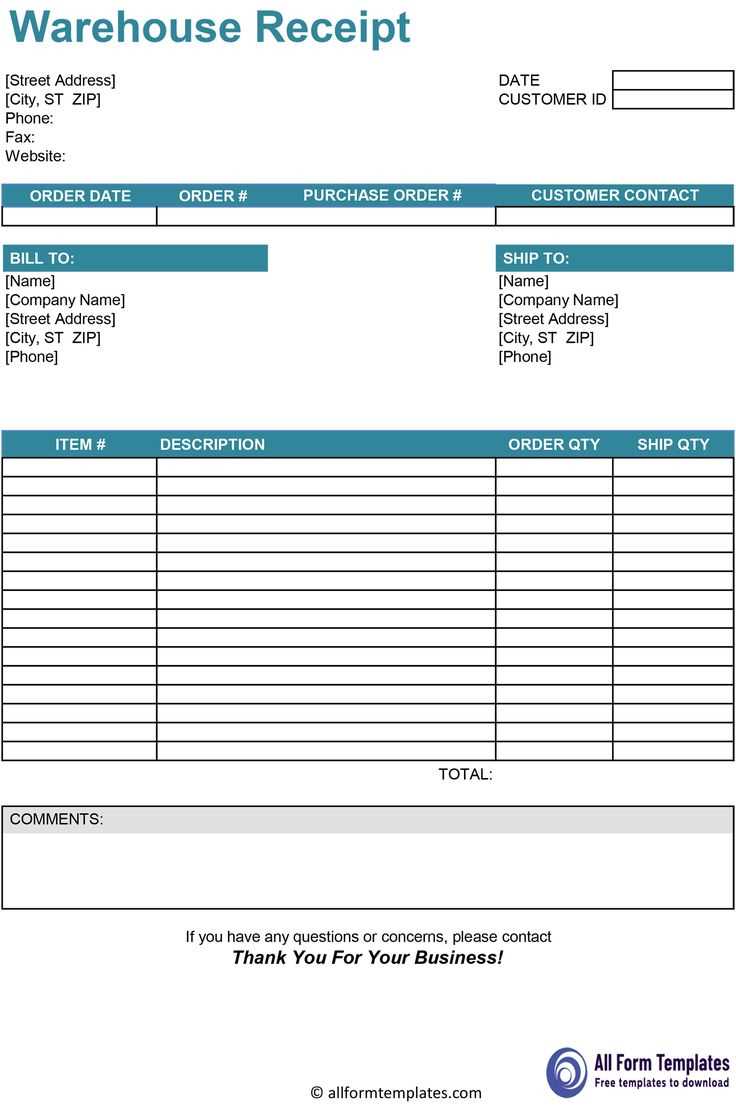
In the body, outline the items or documents being acknowledged. Use bullet points or a table format for easy reading. Clearly state any relevant details, such as quantities, descriptions, or serial numbers. This specificity minimizes misunderstandings.
Add a statement confirming the receipt of the items, along with a signature line for the recipient. This acknowledgment serves as proof and reinforces accountability. Ensure that there is also a space for the sender’s signature and date to validate the transaction.
Finally, include any additional instructions or follow-up actions, if necessary. Keep the layout clean and professional, and consider using a simple, readable font. This approach enhances the overall presentation and usability of the template.
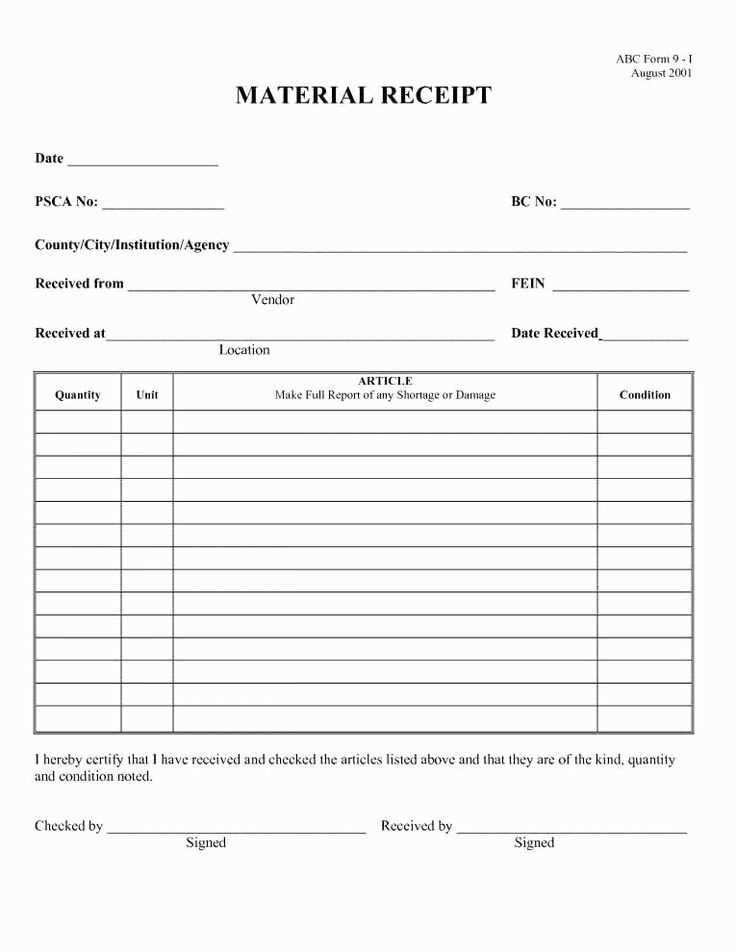
Incorporate the following elements to create a thorough confirmation of receipt form:
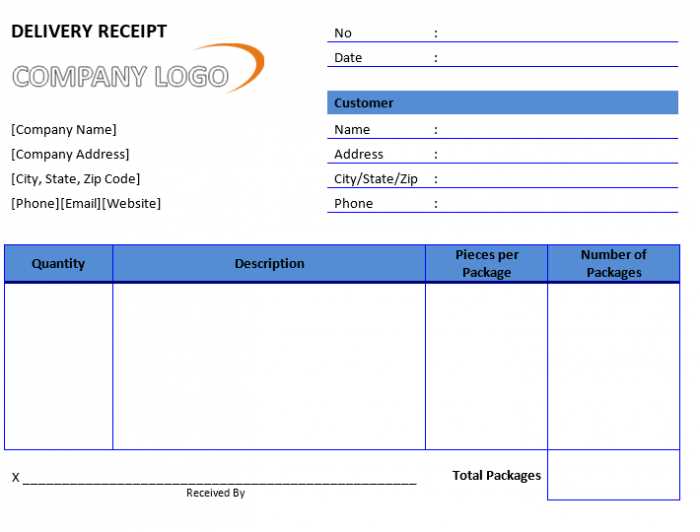
- Header Information: Include your organization’s name, logo, and contact details at the top. This ensures recipients know where the document originates.
- Date: Clearly state the date of receipt. This is crucial for record-keeping and future reference.
- Recipient Details: Specify the name and contact information of the individual or organization receiving the item. This personalizes the document and clarifies who is involved.
- Description of Items Received: Provide a detailed list of the items being confirmed, including quantities and any identifying features. This helps prevent misunderstandings about what was delivered.
- Condition of Items: Note the condition of each item upon receipt. This can help address any potential disputes regarding damages or discrepancies later.
- Signature Section: Include spaces for both the sender and recipient to sign and date the form. Signatures confirm acknowledgment and acceptance of the items listed.
- Additional Notes: Allow space for any comments or observations regarding the receipt. This can capture specific details that may be relevant to the transaction.
Format and Structure

Keep the layout simple and professional. Use clear headings for each section, making it easy to navigate. A clean format enhances readability and professionalism.
Accessibility
Ensure the document is available in multiple formats (digital and printed). This accommodates various preferences and situations, allowing for easy distribution and use.
Use clear headings to separate sections, ensuring readers can easily navigate the document. Break down information into digestible parts, using bullet points for lists and numbered steps for processes. This method enhances understanding and retention.
Keep sentences concise and focused. Avoid complex structures that can confuse the reader. Each sentence should convey a single idea, contributing to the overall message without distraction.
Incorporate whitespace strategically. Adequate spacing around text helps reduce visual clutter, making it easier to follow the content. Consider using borders or shaded boxes to highlight critical information.
Use consistent formatting for similar elements, such as titles, subheadings, and lists. Consistency fosters familiarity, allowing readers to predict where to find specific types of information.
Integrate examples and visuals to illustrate key points. Graphs, charts, or images can clarify complex ideas, providing a different perspective that enhances comprehension.
Lastly, review the document from a reader’s perspective. Ensure that the flow of information aligns logically, guiding the reader through the content seamlessly. Regularly soliciting feedback can further improve clarity.
Ensure compliance with local regulations and industry standards. Familiarize yourself with applicable laws regarding contracts, including the need for clear terms and conditions. Clarity in definitions helps avoid ambiguity, which can lead to disputes.
Confidentiality and Data Protection
Incorporate clauses that address confidentiality, especially if sensitive information is involved. Consider data protection laws, such as GDPR or CCPA, and include provisions for handling personal data to mitigate risks associated with non-compliance.
Signature Requirements
Verify whether electronic signatures are permissible for your documents. Understanding jurisdictional rules regarding signatures can prevent future legal challenges. Clearly state how and where signatures should be obtained to ensure the agreement is valid and enforceable.
Tailor your confirmation of receipt form to suit specific requirements by incorporating relevant fields. For instance, if your organization handles sensitive materials, add a section for confidential notes. This helps ensure that recipients understand the nature of the documents they are receiving.
Industry-Specific Adjustments
For industries like healthcare or finance, consider including compliance statements that recipients must acknowledge. This ensures that all parties are aware of regulatory obligations associated with the materials received. In sectors such as retail, adding product details or serial numbers can enhance accountability.
User-Friendly Design Elements
Incorporate checkboxes for recipients to confirm receipt of multiple items. This feature streamlines the process and reduces the risk of omissions. Use clear and concise language throughout the form, ensuring it is straightforward and easy to understand. Providing an option for digital signatures can also facilitate faster processing and enhance convenience.
Avoid using ambiguous terms that can confuse the recipient. Use clear, direct language that specifies what is being acknowledged. Instead of saying “received your document,” specify “received your document titled ‘Project Proposal’.” This clarity helps prevent misunderstandings.
Refrain from overusing passive voice. Active voice enhances clarity. Instead of “Your application was received,” use “We received your application.” This simple change makes your communication more engaging and straightforward.
Minimize jargon or technical terms that may not be familiar to all recipients. Use everyday language to ensure that your message is accessible. For example, instead of “The documentation is pending,” state “We are waiting for the documents.” This ensures that everyone understands your message.
Be cautious with conditional phrases. Avoid saying “If you have questions, let us know.” Instead, say “For any questions, please contact us.” This approach encourages recipients to reach out without hesitation.
| Mistake | Recommended Wording |
|---|---|
| Ambiguous terms | Be specific in your acknowledgments. |
| Passive voice | Use active voice for clarity. |
| Jargon | Use simple, accessible language. |
| Conditional phrases | Encourage direct communication. |
Lastly, avoid redundancy. Ensure each sentence contributes new information. For instance, instead of repeating the acknowledgment, simply state the action once. This keeps your message concise and impactful.
Choose digital formats for faster access and easier sharing. Digital documents can be emailed, stored in the cloud, or easily edited, streamlining workflows and reducing the need for physical storage. Consider tools like PDF and electronic signature software to enhance efficiency. The ability to search through digital files quickly saves time and improves organization.
Advantages of Digital
Digital formats reduce environmental impact by minimizing paper waste. They also allow for easy collaboration, enabling multiple users to edit or comment on a document simultaneously. Security features, such as password protection and encryption, help protect sensitive information, ensuring compliance with regulations. Backing up files in the cloud provides peace of mind, safeguarding against loss due to hardware failures.
Benefits of Paper

Paper offers a tangible feel, which some users find more comfortable for reading and note-taking. Printed documents do not require power or technology, making them accessible in any setting. In legal contexts, paper copies may hold more weight, especially when signatures are required. Additionally, for those who prefer a hands-on approach, paper can enhance focus and retention of information.
Evaluate your needs when choosing between digital and paper formats. Consider your work environment, the nature of the documents, and how they will be used. A balanced approach that utilizes both formats can maximize efficiency while catering to individual preferences.
To create a clear and professional confirmation of receipt form, use a simple structure with bullet points to highlight key information.
- Clearly list the items or documents being acknowledged, such as invoices, packages, or contracts.
- Specify the date and time of receipt to avoid any confusion or disputes.
- Include fields for the name and signature of the recipient, as well as the sender’s information for verification purposes.
- Consider adding a section for additional remarks, in case there is anything unusual about the receipt (e.g., damaged items).
Ensure the language used is direct and easy to understand, leaving no room for ambiguity.