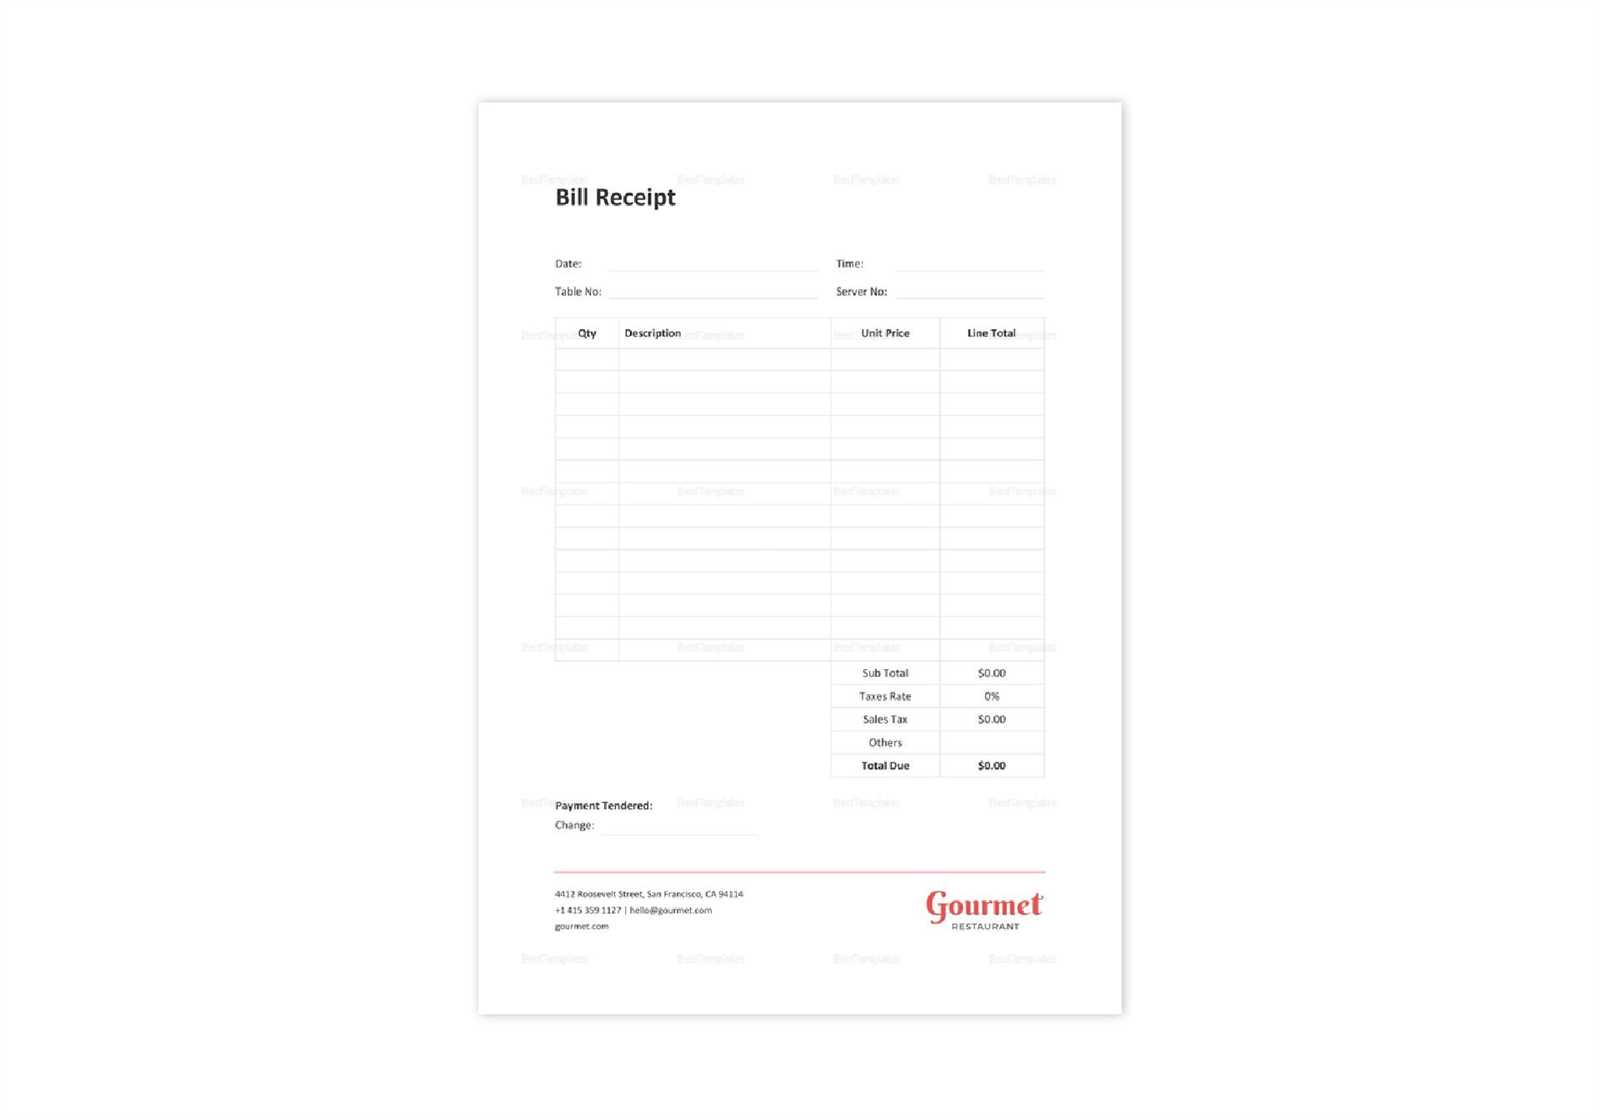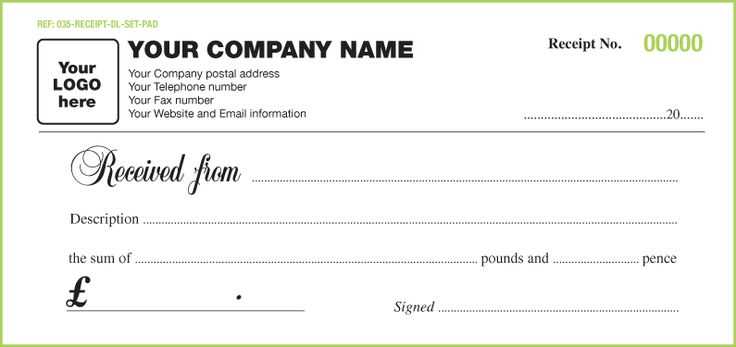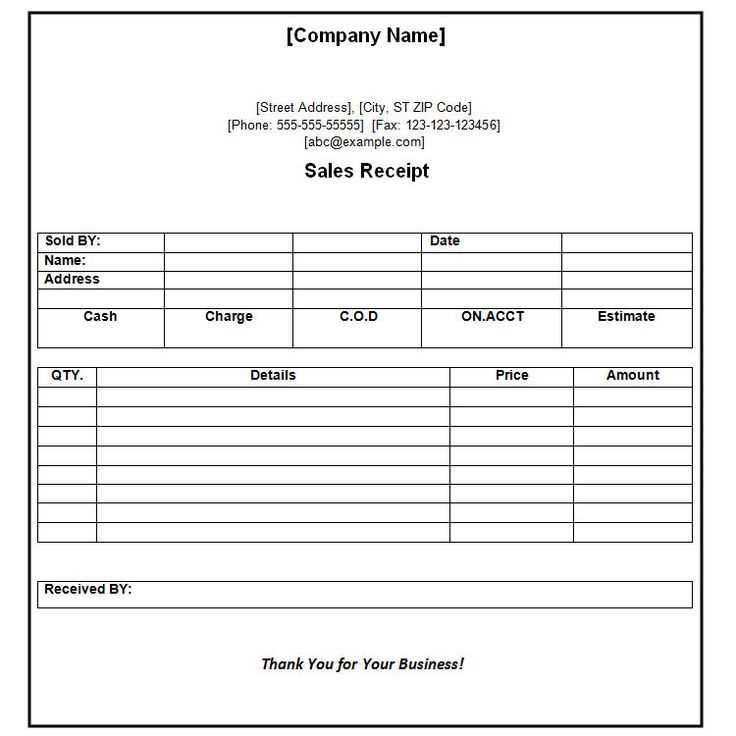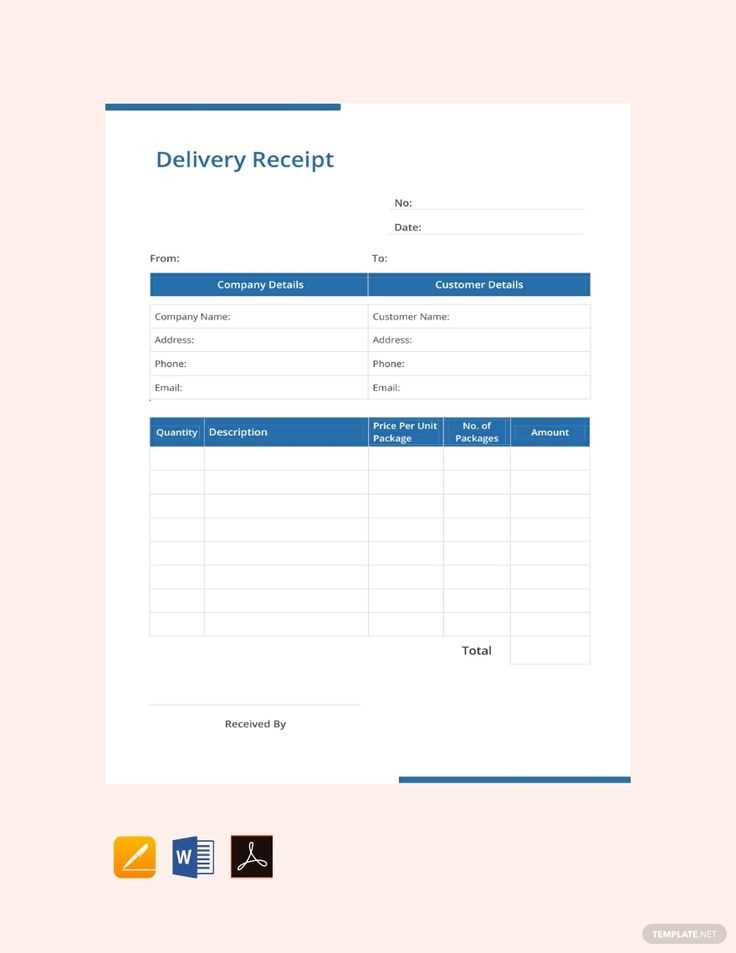
Start creating your own receipt template pages using simple and organized structures. By focusing on clarity and ease of use, you ensure that each receipt you generate is both professional and practical. Start with the basics: include key elements like the transaction date, product or service details, total amount, and payment method. This straightforward approach guarantees that all necessary information is easily accessible for both parties involved.
Incorporate customizable fields that allow adjustments depending on the nature of the transaction. This flexibility lets users add specific details like customer names or purchase IDs without overcrowding the layout. To further streamline the process, make use of consistent formatting for better readability. By choosing clear fonts and a logical arrangement, you prevent confusion and ensure that each entry on the page is easy to read and understand.
Finally, don’t forget to offer a space for company branding. A small logo or company name at the top can help reinforce the identity of the business while keeping the template clean and professional. With these tips, your receipt templates will be ready for any situation, offering a simple yet effective solution for managing sales and payments.
Receipt Template Pages
Design your receipt template pages with clarity and precision. Include a header with your business name and logo to make a strong first impression. Then, add essential fields like the transaction date, customer details, and a list of purchased items, including quantities and prices. A well-structured table ensures that information is easy to read and follow.
Key Elements for Effective Templates

To maintain professionalism, include a unique receipt number for tracking purposes. Ensure your total price, taxes, and any discounts are clearly visible. Add payment method details at the bottom to clarify how the transaction was completed. Finally, provide contact information or a return policy if relevant.
Customizing the Template
Customizing the receipt template can help reflect your brand identity. Use your business’s color scheme, fonts, and a clear layout. Don’t overcrowd the page with unnecessary text. Focus on functionality, making it easy for your customers to understand and for you to manage record-keeping.
Choosing the Right Template Style for Your Business

Pick a template that matches your brand’s image and enhances your customer experience. Consider your audience’s preferences and the type of service you offer.
If you run a high-end business, opt for minimalist designs with clean lines, limited colors, and professional fonts. This creates an impression of elegance and reliability.
For a more casual or creative business, explore templates with bold colors, dynamic layouts, and playful typography. These elements communicate a fun, approachable vibe to customers.
- Keep it simple: Avoid clutter. Ensure your receipt template focuses on key information like item details, prices, and totals. A clean layout leads to easy reading.
- Brand consistency: Your receipt should reflect your branding. Match colors, fonts, and logos from your website or business cards.
- Functional design: Prioritize readability over fancy graphics. The purpose of the receipt is to convey necessary information clearly.
- Mobile-friendly: With many customers using smartphones, make sure your template adapts well to mobile devices. This will improve their experience if they need to access receipts on the go.
Test the template across different devices and adjust as needed to ensure it works well for your customer base. Tailoring the style to your business type strengthens your brand identity and enhances the user experience.
How to Customize a Receipt Template for Different Transactions
Adjust your receipt template based on the type of transaction to ensure clarity and accuracy. For cash payments, include the total amount, payment method, and any discounts applied. For credit card transactions, provide the last four digits of the card number, and indicate the payment method as “Credit Card” along with authorization details if applicable.
For Online Orders
For online transactions, add shipping details, order number, and an itemized list of products or services purchased. Include delivery fees and estimated delivery date for customer reference. Make sure to also provide the customer’s email and shipping address to avoid any confusion.
For Returns and Refunds

Customize the template to reflect the nature of the return. List the item(s) being returned, the reason for return, and any refund or store credit issued. A note about the return policy will help set expectations for the customer.
Tailor each template to fit the needs of different transaction types, ensuring all relevant information is displayed clearly. This reduces misunderstandings and provides an organized record of the transaction.
Incorporating Legal and Tax Information into Your Receipt Design
Ensure your receipt includes all necessary legal and tax details to avoid complications. Clearly display the business name, address, and contact information at the top. This ensures customers can reach you for inquiries or disputes. Include your tax identification number (TIN) if required by local regulations.
Incorporate the appropriate tax rate and the amount charged for tax on each item or total purchase. It’s important to make the breakdown transparent, showing the subtotal, tax rate, and final amount paid. This builds trust and ensures compliance with tax laws.
Also, check if your region requires specific disclaimers or statements about refunds, exchanges, or warranties. Keep this language clear and concise, positioned near the bottom of the receipt for easy access.
Lastly, ensure your receipt complies with local regulations regarding formatting, font size, and required information. Avoid cluttering the receipt with unnecessary details, focusing on accuracy and clarity to meet legal and tax standards.
Ensuring Compatibility with Accounting Software and Systems
Design receipt templates with data formats that align with your accounting software’s requirements. Ensure your template outputs data in a format compatible with the software, such as CSV or XML. Double-check the compatibility of your chosen currency symbols, date formats, and numerical precision to avoid integration issues.
Choose Standardized Data Fields
Use commonly accepted data fields such as “Invoice Number”, “Date”, “Total Amount”, and “Tax”. These fields should match the categories in your accounting software. This reduces the chances of data misinterpretation or errors when importing receipts into the system.
Integrate API or File Import Features
Many accounting systems offer APIs or file import functions to streamline receipt integration. Incorporating these tools allows for seamless data transfer from receipt templates to the software, saving time and preventing manual entry errors.
How to Add Payment Methods and Transaction Details Clearly
Use clear labels and sections to make payment methods and transaction details easy to find. Create dedicated areas for payment method information and transaction data to prevent confusion.
Payment Methods
List the available payment methods with simple and direct terms. Include relevant icons next to the text to help users quickly identify options. If applicable, provide additional details like accepted currencies and payment provider names.
| Payment Method | Details |
|---|---|
| Credit Card | Visa, MasterCard, American Express |
| PayPal | Link your PayPal account for easy transactions |
| Bank Transfer | Enter your account details for direct payments |
Transaction Details
Clearly display transaction information such as the amount, date, and payment status. Use a consistent format to improve readability and understanding.
| Transaction ID | Amount | Date | Status |
|---|---|---|---|
| #12345 | $200.00 | 02/04/2025 | Completed |
| #12346 | $350.00 | 02/04/2025 | Pending |
Maintaining a Professional Layout for Customer Trust
Focus on clarity and consistency when designing your receipt template. A clean and organized layout promotes trust and reduces confusion.
- Use clear fonts and spacing: Ensure the font is easy to read, with sufficient spacing between text blocks. Avoid cluttered designs.
- Highlight key information: Make the transaction details, such as amount and date, stand out. Use bold or slightly larger text for these elements.
- Include company branding: A logo or business name at the top helps reinforce your company’s identity. Keep it aligned with your brand’s style.
- Ensure alignment: Align text and numbers neatly to make the receipt easy to scan. This also makes it more professional and reliable.
- Provide itemized details: Always list the purchased items or services with accurate descriptions and costs. This transparency builds customer confidence.
Avoid excessive design elements that can distract from the essential information. Keep the focus on the transaction details and business identity. A balanced, clear layout enhances professionalism and reliability, building a stronger connection with customers.


