Key Elements of an Email Cash Receipt

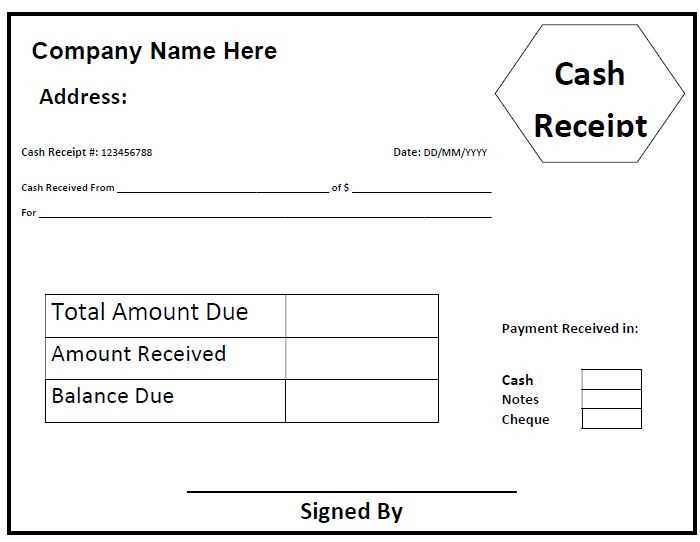
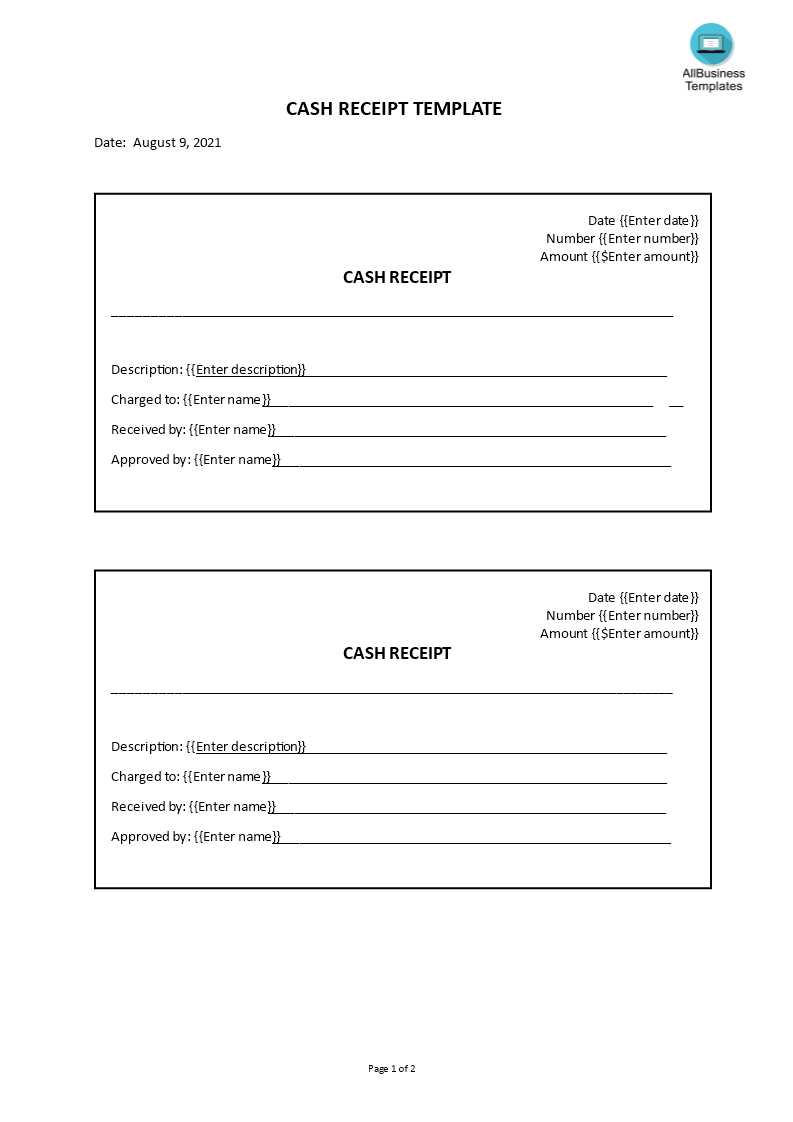
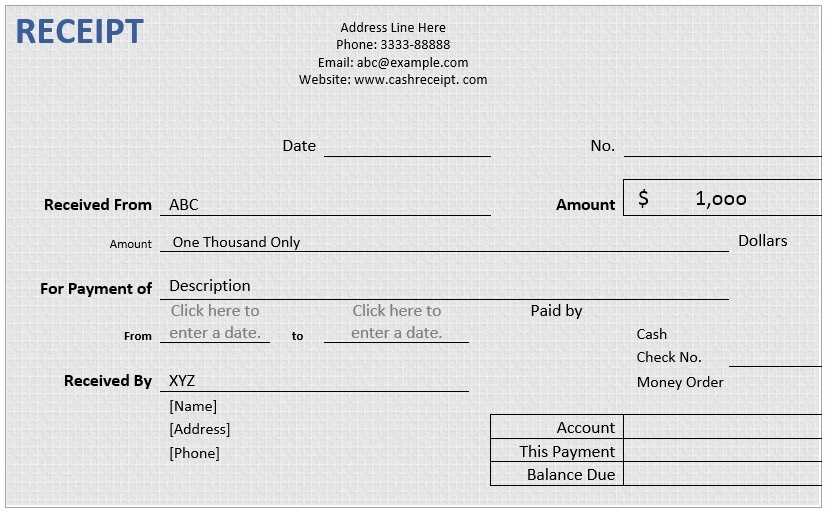
Include the essential details to ensure clarity and compliance. Start with the sender’s name, business information, and contact details. The recipient’s name and email should follow. Add a unique receipt number for tracking and future reference.
Specify the transaction date and payment method. List purchased items or services, their prices, applicable taxes, and the total amount paid. If the transaction includes a discount, mention the original price and the discount applied.
Best Practices for Formatting

Consistent Structure

Use a clear, structured layout with headers and spacing. Separate key details into distinct sections to improve readability. A summary at the end can highlight the total amount and transaction status.
Professional Tone
Keep the message concise and professional. Avoid unnecessary jargon and use straightforward language. A closing statement such as “Thank you for your purchase” adds a positive touch.
Attachments and Accessibility
Attach a PDF version of the receipt for easy printing and record-keeping. Ensure the email is mobile-friendly by using responsive formatting.
Example Template
Subject: Your Payment Receipt – [Business Name]
Dear [Customer Name],
Thank you for your payment. Below are the details of your transaction:
- Receipt Number: [#12345]
- Date: [MM/DD/YYYY]
- Payment Method: [Credit Card/PayPal/Bank Transfer]
- Items Purchased:
- [Product/Service Name] – $XX.XX
- [Product/Service Name] – $XX.XX
- Subtotal: $XX.XX
- Tax: $XX.XX
- Total Amount Paid: $XX.XX
If you have any questions, feel free to contact us at [Support Email].
Best regards,
[Business Name]
Email Cash Receipt Template
Key Elements of a Cash Receipt Email
Formatting Guidelines for a Professional Look
Automating Receipts in Accounting Software
Legal and Tax Considerations
Customizing for Various Business Types
Mistakes to Avoid When Sending Receipts
Use a standardized email cash receipt template to ensure clarity and consistency. Every receipt should include:
Key Elements of a Cash Receipt Email
Include the transaction date, amount, payment method, and a unique receipt number. Add the business name, address, and tax identification if required. Provide a brief description of the purchase and a note confirming payment completion.
Formatting Guidelines for a Professional Look
Keep the structure clean with clear headings and spacing. Use a professional font and avoid excessive colors. Ensure the subject line is informative, such as “Payment Confirmation – Receipt #12345.” Attach a PDF version if required for tax purposes.
Automating receipts through accounting software reduces errors and saves time. Set up automatic email dispatch for completed transactions, ensuring every customer gets a receipt promptly. Use digital signatures or secure verification codes to add authenticity.
Verify legal and tax requirements before sending receipts, especially for VAT or sales tax compliance. Businesses operating internationally should adjust receipt formats to meet regional regulations.
Customize the template for different industries. Retail businesses should emphasize product details, while service providers might highlight contract terms or service duration. Subscription-based companies should include billing cycles and renewal information.
Avoid common mistakes such as missing tax details, incorrect payment amounts, or formatting errors that make the receipt hard to read. Always double-check customer details before sending to prevent disputes.


