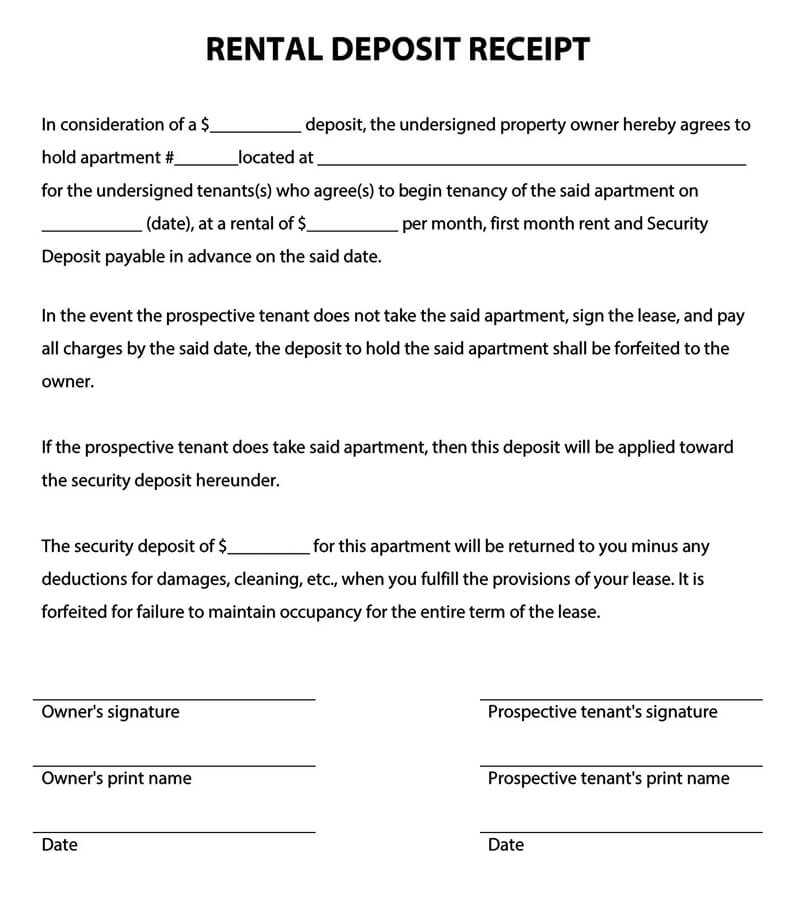
A security deposit receipt serves as a legal record of the funds paid by a tenant to a landlord for the purpose of securing a rental property. This document should clearly outline the amount paid, the date of payment, and any terms related to the deposit’s return or deductions. A well-structured receipt protects both parties involved in the rental agreement.
Ensure the template includes the following key elements: the full name of the tenant, the amount of the security deposit, the property address, the date of payment, and any specific conditions related to potential deductions. It is also helpful to include a statement about the deposit’s return policy once the tenancy ends, specifying the time frame and conditions for refund.
By using a template for the receipt, you can standardize the process for both tenants and landlords. This helps avoid misunderstandings and ensures that both parties have clear documentation regarding the security deposit. A properly formatted receipt is an important tool for maintaining transparency and legal clarity in rental transactions.
Understanding the Purpose of a Security Deposit Receipt
A security deposit receipt provides a clear, documented record of the deposit made by a tenant. This receipt serves as a confirmation that a specific amount of money has been paid for the protection of the landlord’s property during the rental period. It ensures that both parties have proof of the transaction, which is especially helpful in cases of disputes over the deposit return.
Include key details such as the tenant’s name, the amount paid, the date of payment, and any conditions tied to the deposit. A well-crafted receipt eliminates ambiguity, helping to prevent misunderstandings about deposit usage, deductions, or return terms.
Make sure the receipt also outlines the expectations and responsibilities regarding the condition of the rental property, as this directly impacts the refund of the security deposit. For landlords, issuing a receipt shows professionalism and transparency, while tenants gain peace of mind knowing their payment is formally acknowledged.
Key Components to Include in the Template
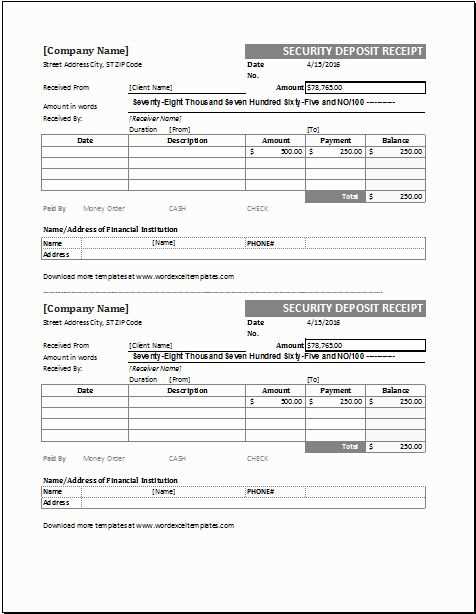
Include the tenant’s name and address at the top of the receipt. This ensures clarity about the involved parties and establishes a formal record.
Clearly specify the amount of the deposit paid. Use a precise figure and format it with the relevant currency symbol to avoid any confusion.
Include a date of payment to mark the transaction’s timeline. This helps both parties track when the payment was made, especially for future reference.
List the property address for which the deposit was paid. This should match the agreement and reinforce the connection between the payment and the property.
State the purpose of the deposit, such as securing the property or covering potential damages. This clarifies the intent behind the payment and can prevent misunderstandings later on.
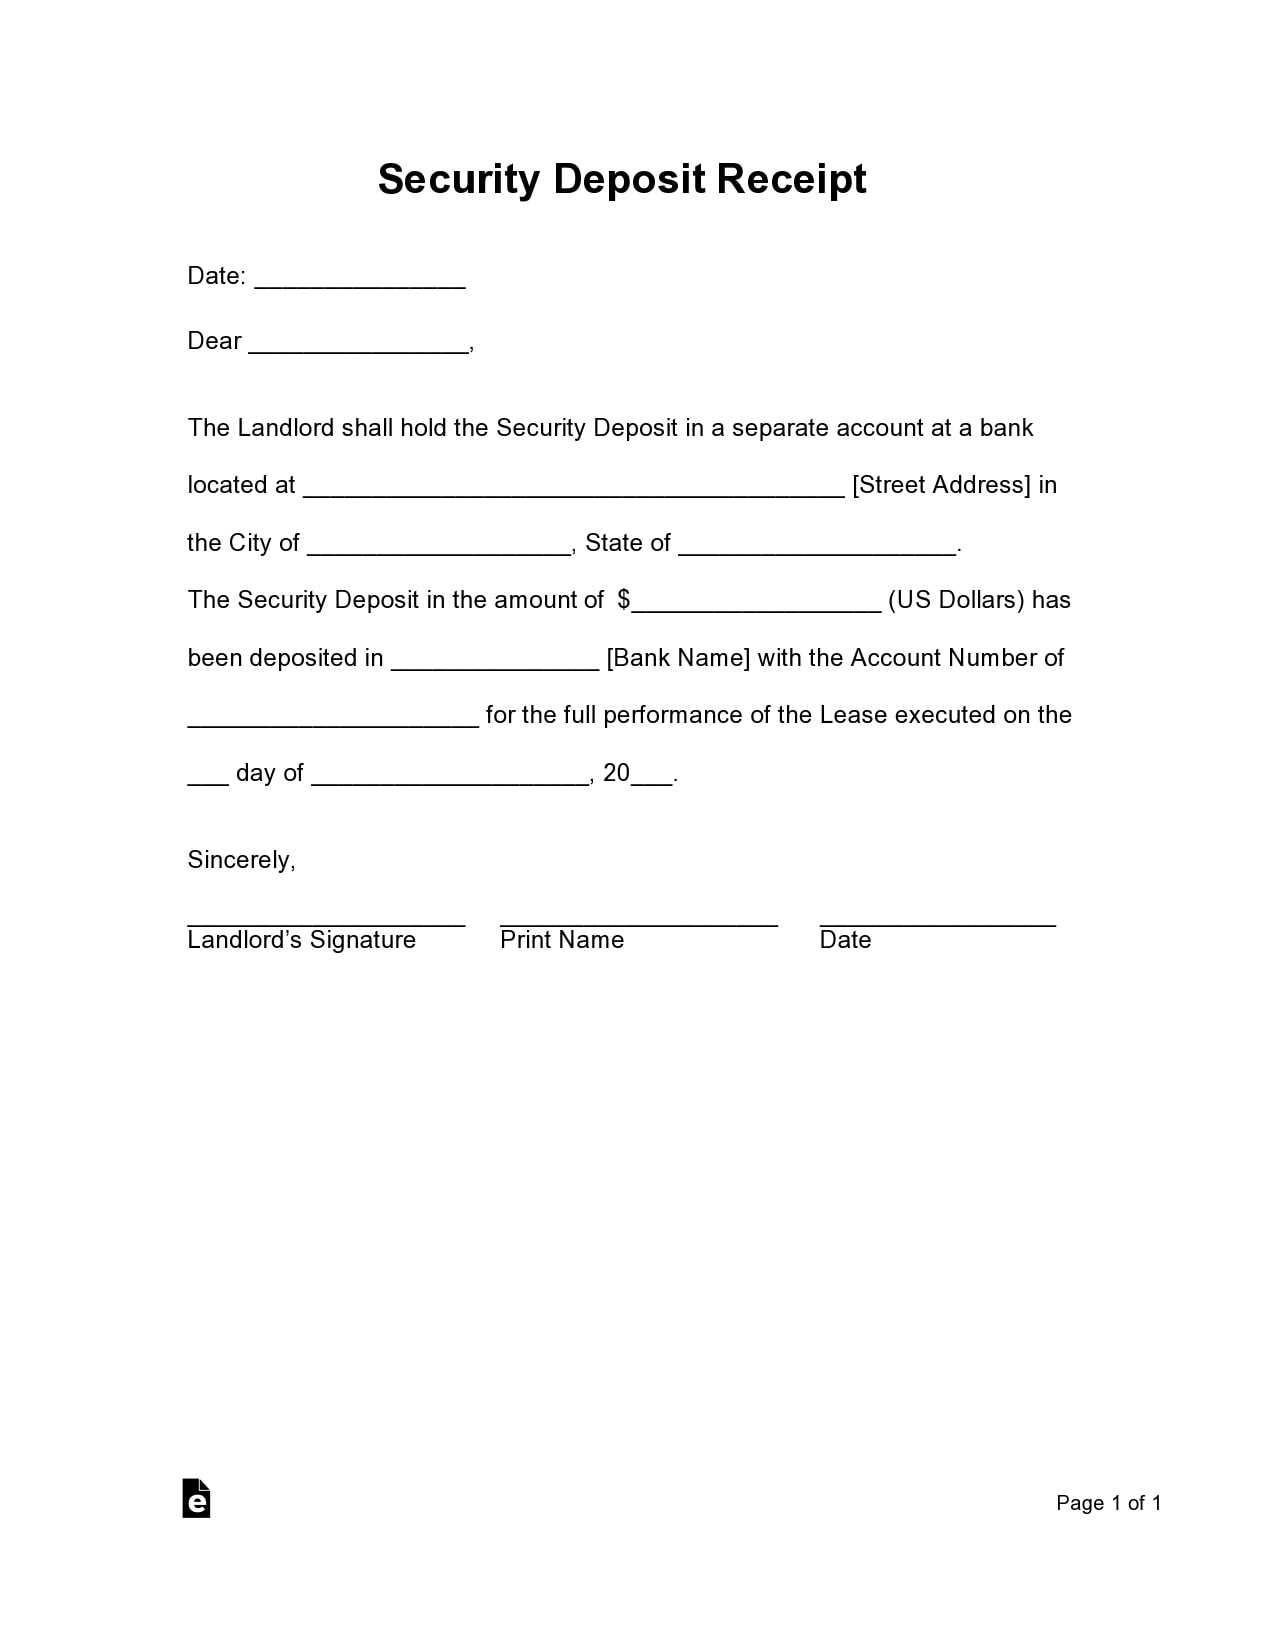
Provide a statement of return conditions. Clearly outline when and how the deposit will be returned to the tenant, along with any conditions for withholding part of it.
Include the landlord’s or agent’s signature and the tenant’s signature to confirm that both parties agree to the terms listed. This formalizes the transaction and reduces the chance of disputes.
Finally, make sure to provide a unique receipt number for record-keeping. This helps in organizing and referencing the receipt if needed in the future.
How to Customize the Template for Different Agreements
To tailor a security deposit receipt template for various agreements, focus on adjusting key elements that reflect the specifics of each arrangement. Start by changing the contract name or type to match the agreement, whether it’s for a rental lease, service agreement, or another type of contract.
Identify Specific Terms
Different agreements have different terms, so it’s crucial to specify details like the deposit amount, payment terms, and any related clauses. For example, rental agreements typically include terms for returning the deposit after a property inspection, while service contracts might focus on usage or damages during a specific period.
Adjust the Refund Process
The refund process might vary depending on the type of agreement. If it’s a lease, clarify the inspection and return timeline. In other agreements, specify the conditions under which the deposit may be refunded or withheld.
| Agreement Type | Deposit Amount | Refund Conditions |
|---|---|---|
| Rental Agreement | $500 | Refund after property inspection |
| Service Agreement | $200 | Refund after service completion |
| Event Rental | $300 | Refund if no damages are reported |
Ensure the receipt reflects any clauses relevant to the type of deposit and agreement. Include clear instructions about the deposit’s purpose and any specific conditions related to its return or non-return.
Legal Requirements for Security Deposit Receipts
Ensure your receipt includes the exact amount of the security deposit received. The date of receipt is a key element for both parties to verify the transaction.
Specify the name of the tenant and landlord clearly. Include the address of the rental property, as this ties the receipt to the specific lease agreement.
The receipt should state whether the deposit is refundable or non-refundable. If refundable, outline the conditions under which it may be withheld, such as damage or unpaid rent.
If applicable, mention any deductions made from the deposit during or at the end of the lease. This transparency helps prevent disputes later.
Confirm the method of payment (cash, check, bank transfer, etc.). This provides a record of the transaction, which is critical for both parties.
A security deposit receipt should be signed by the landlord or their authorized agent to validate its authenticity.
In some jurisdictions, providing a copy of the receipt to the tenant is a legal requirement. Verify local laws to comply with this practice.
Best Practices for Issuing and Storing Receipts
Ensure all receipts include clear, concise details such as the amount, date, payer, and purpose of the security deposit. Avoid vague descriptions, and make sure the format is easy to read. It’s best to include a unique reference number for each receipt to track transactions efficiently.
Issuing Receipts
Provide receipts promptly after the transaction is completed. If possible, offer both printed and electronic versions to accommodate different preferences. Ensure the receipt is signed by the appropriate parties and keep a copy for your records.
Storing Receipts
Store physical receipts in a secure location, such as a locked cabinet or safe, and avoid excessive handling to prevent damage. For digital receipts, back them up in a cloud storage service or on an external drive. Organize them by date or reference number for easy retrieval in the future.
Common Mistakes to Avoid When Creating a Template
Avoid vague language in your template. Be specific about terms and amounts to eliminate any potential confusion. For example, instead of using “security deposit,” specify the exact amount, currency, and terms for payment.
Don’t skip fields that are crucial for clarity. For example, make sure there is space for the names of both parties involved, the property address, and the terms for refunding the deposit.
- Ambiguous Dates: Always include clear dates for payment and refund deadlines. Use precise wording like “due date” instead of generic terms like “later.”
- Missed Legal Details: Make sure you include any necessary legal disclaimers or references to local regulations to protect both parties.
- Unclear Payment Terms: Specify if the deposit is refundable or non-refundable, and under what conditions it will be returned.
Ensure formatting is simple yet professional. Overcomplicating the design can make it hard for others to understand. Stick to easy-to-read fonts and layouts.
- Lack of Signatures: Don’t forget a section for signatures from both the landlord and tenant, confirming agreement on the terms.
- Failure to Update: Regularly review and update the template to reflect any changes in the law or business practices. Keep it relevant.