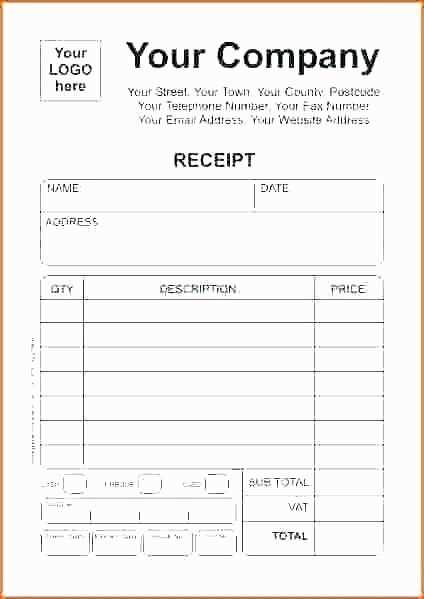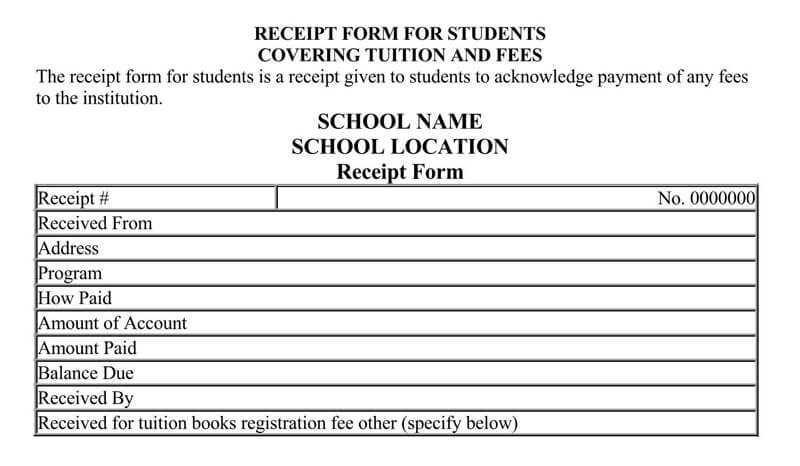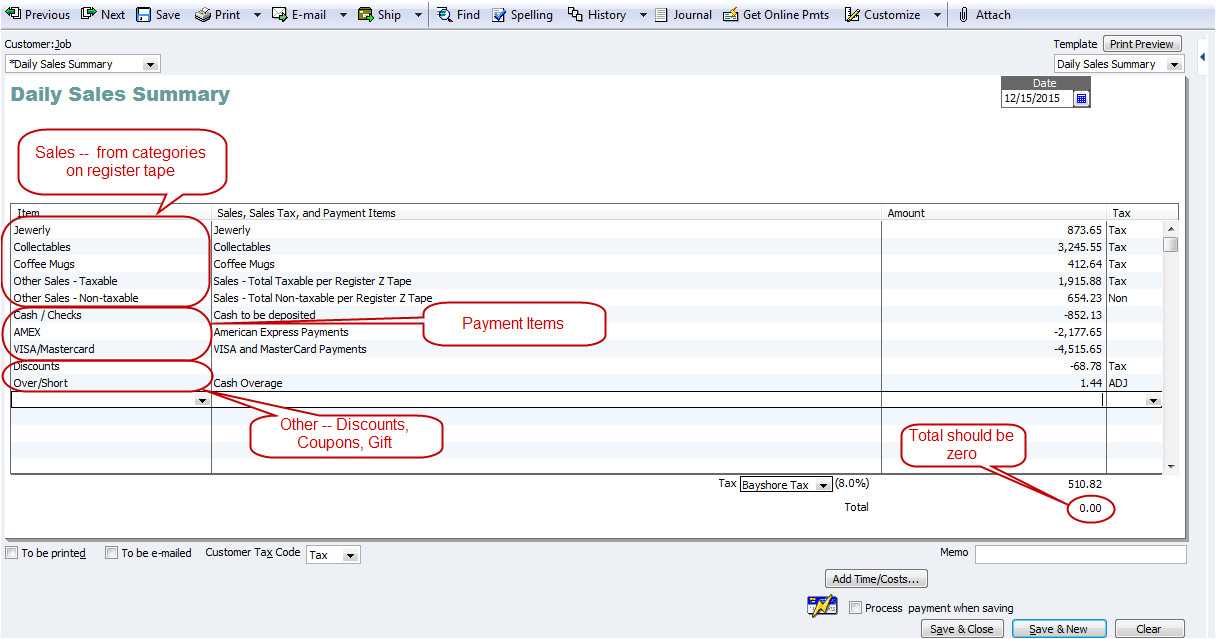
Customize the item receipt template in QuickBooks ERP by adjusting layout, fields, and branding elements. Open the template editor, select the appropriate form, and modify sections to match your business needs. Ensure the format remains clear and includes all necessary transaction details.
Modify header and footer sections to display essential information such as company name, contact details, and tax identifiers. Use the formatting options to adjust fonts, alignments, and spacing for better readability.
Adjust itemized details by adding or removing columns, changing field labels, or rearranging data placement. Ensure that product descriptions, quantities, and costs are correctly formatted to prevent discrepancies in financial records.
Review changes using the preview function before saving. If adjustments affect financial reporting, consult with an accountant to maintain compliance with internal policies and regulatory requirements. Save the customized template for future use and apply it consistently across transactions.
Edit Item Receipt Template in QuickBooks ERP
Modify the item receipt template directly in QuickBooks ERP by accessing the Custom Form Styles section. Open Settings, select Custom Form Styles, and locate the Item Receipt template.
Adjust the layout by clicking Edit. Change fonts, colors, and field positions to match your requirements. Use the Content tab to enable or disable specific fields such as vendor details, item descriptions, or quantities.
To add a logo, switch to the Design tab, upload an image, and adjust its placement. Ensure proper alignment for a professional look. Preview changes before saving to confirm accuracy.
If additional fields are needed, use the Header, Table, and Footer sections to insert custom text or dynamic data. Save the template and test it by generating a sample item receipt.
Locating the Default Item Receipt Template
Go to the QuickBooks ERP main menu and select Lists. Click Templates to open the list of available forms. Use the search bar or manually scroll to find the template labeled Item Receipt. If the template is missing, check the Custom Form Styles section under the Gear icon in the top-right corner.
To confirm that the correct template is assigned, open a recent item receipt. Click Customize in the toolbar and select Edit Current Template. If multiple templates exist, switch between them to identify the default one. For further adjustments, access the Additional Customization settings to modify fields, headers, and layout.
Modifying Fields and Layout in the Template Editor
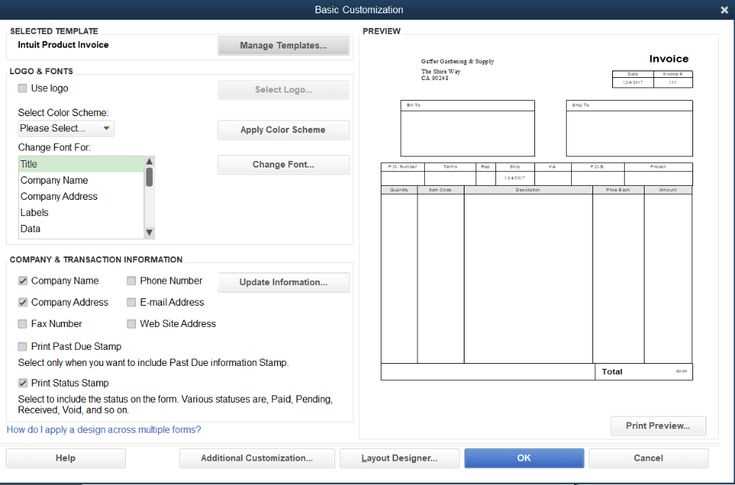
To adjust fields in the item receipt template, open the Template Editor and locate the field list. Click on a field to modify its label, size, or alignment. To add a new field, select “Add,” choose the type (text, number, or date), and position it using drag-and-drop.
For layout changes, use the grid system to align elements precisely. Enable snap-to-grid for consistency. Resize fields by dragging their edges. If you need a field to span multiple columns, adjust its width manually.
| Action | Steps |
|---|---|
| Rename a Field | Click the field, edit the label, and save. |
| Reposition a Field | Drag the field to a new location within the layout. |
| Add a Custom Field | Use the “Add” button, choose a type, and place it as needed. |
| Resize a Field | Click and drag the field’s edges to adjust its size. |
To preview changes, use the “Print Preview” option before saving. If alignment issues persist, check the margin settings and adjust field spacing. Save your template to apply modifications across all future item receipts.
Adding Custom Fields to the Item Receipt
Go to the “Lists” menu and select “Custom Fields.” Click “Define Fields” and choose the fields you need, such as serial numbers, warehouse locations, or approval statuses. Assign each field to “Transactions” to make them available in item receipts.
Open an item receipt template in the “Templates” section. Click “Additional Customization,” then “Columns” or “Header/Footer” depending on where you want the field to appear. Check the box for the newly added field and adjust its label if needed.
Test the changes by creating a sample item receipt. Enter values in the custom fields and save the transaction. Run a report that includes the modified template to confirm that the new fields display correctly.
Adjusting Fonts, Colors, and Branding Elements
Customize the item receipt template in QuickBooks ERP by modifying fonts, colors, and branding details to match your company’s style. Access the template editor through the “Lists” menu, select “Templates,” and choose the receipt format for editing.
Changing Fonts and Colors
- Click “Manage Templates” and select the template to modify.
- Use the “Formatting” tab to adjust font type, size, and color.
- Apply consistent colors that align with your brand identity.
- Preview changes to ensure readability before saving.
Adding Logos and Branding Elements
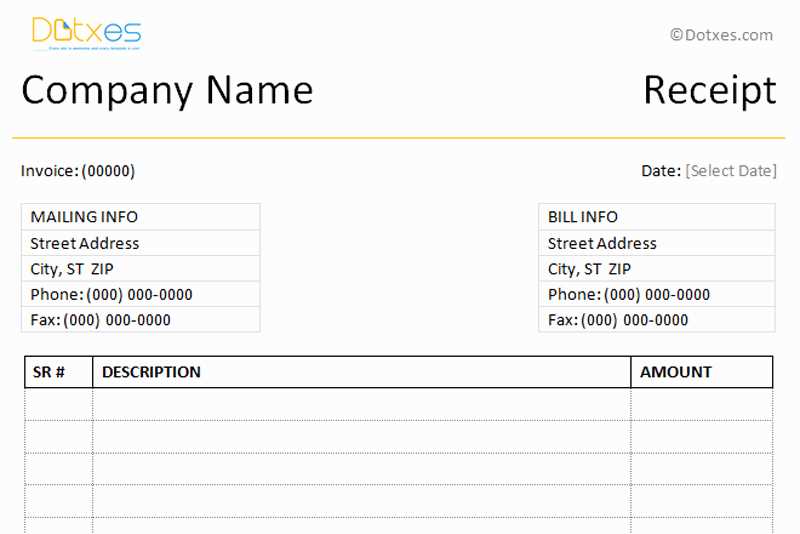
- Navigate to “Company & Logo” in the template settings.
- Upload a high-resolution logo in PNG or JPG format.
- Adjust logo placement to avoid overlapping text.
- Incorporate branding elements like footers with legal details or taglines.
Ensure the final design is clear and professional. Test printed and digital versions to confirm correct formatting across different devices.
Saving and Applying Changes to Transactions
Click “Save & Close” or “Save & New” to confirm modifications to an item receipt. QuickBooks ERP automatically updates the transaction, ensuring accuracy in inventory and financial records.
Verifying Updated Transactions
Open the transaction list and locate the modified receipt. Check for updated quantities, costs, and linked purchase orders. If discrepancies appear, use the “Edit” button to make corrections before finalizing reports.
Applying Adjustments to Accounts
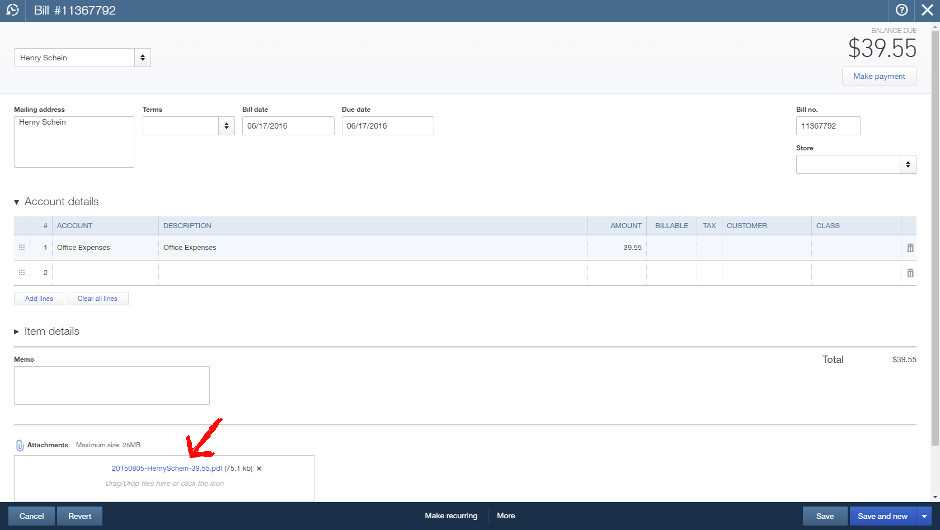
When changing item details, QuickBooks ERP adjusts linked accounts. Verify the impact by reviewing the General Ledger or running an “Item Valuation Summary” to confirm that inventory values align with the changes.
Troubleshooting Common Formatting Issues

Check the alignment of text fields first. Ensure that the labels and data are properly aligned to avoid any display issues. If the text overflows into other sections, adjust the field sizes to fit the content appropriately.
Pay attention to font consistency. If different fonts appear on the template, confirm that all fields are using the same font style and size. This can be controlled by setting uniform font styles in the template editor.
If the item descriptions or other text appear cut off or misaligned, increase the size of the text box or reduce the amount of text within a single field. Test the template after each adjustment to ensure readability.
Check the margin settings for the entire document. Misaligned margins can lead to the content not fitting the page correctly. Adjust these settings to make sure that all elements fit within the printable area without being cut off.
If the template shows incorrect or missing data, review the data mapping settings. Ensure that the correct fields are linked to the data sources. Sometimes, re-selecting the data fields can resolve these errors.
Make sure that the template is saved properly after each change. Unsaved changes can cause formatting issues when previewing or printing the document. Always save your edits before proceeding with any further modifications.
