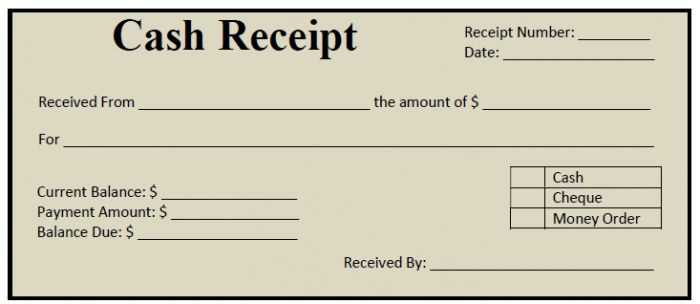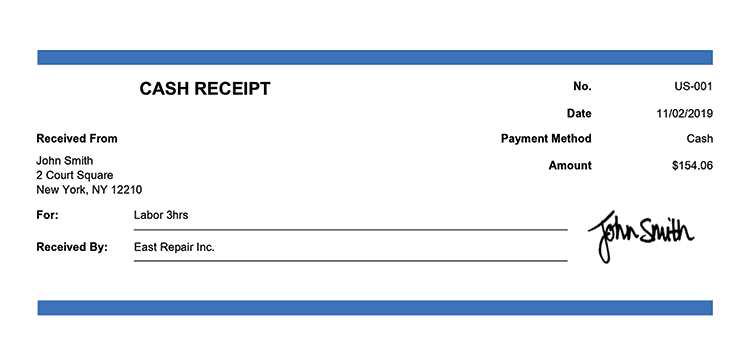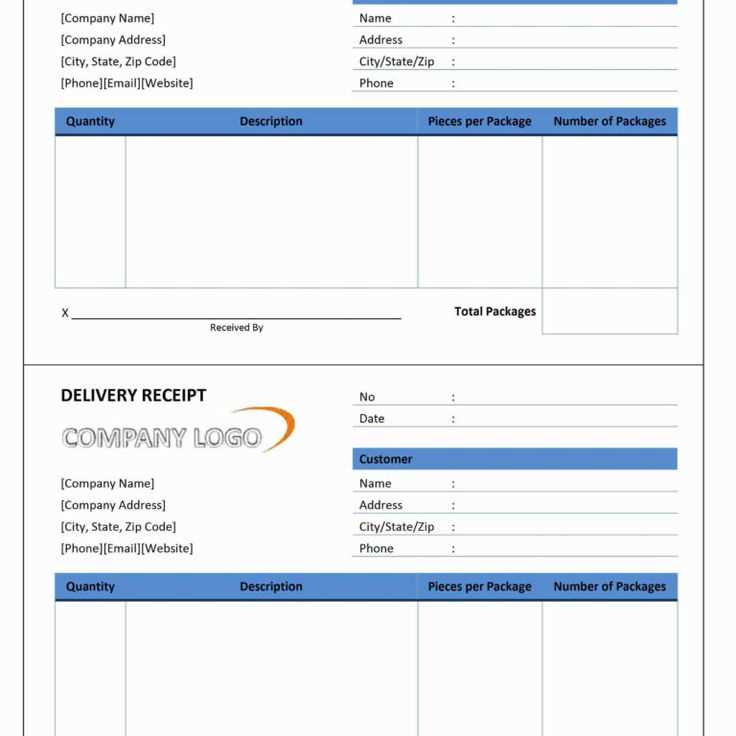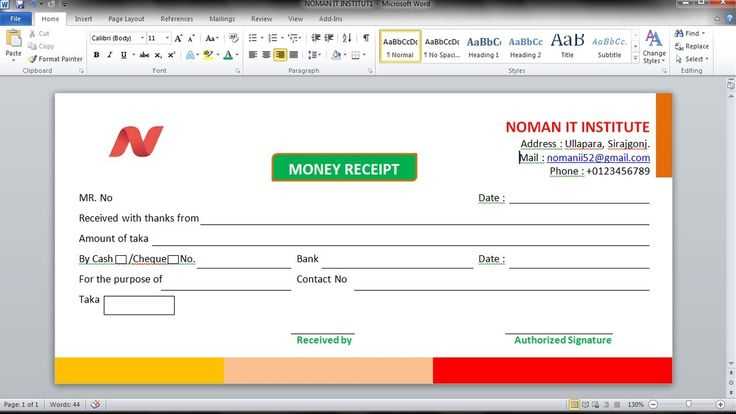
Need a quick and professional way to issue receipts? A ready-to-use template in Microsoft Office can save time and ensure consistency. With pre-formatted fields, you can easily enter transaction details, print or share the receipt digitally, and maintain accurate records.
Customization is simple. Adjust fonts, colors, and layouts to match your branding. Add your company’s logo, update tax fields, and modify currency formats to fit regional requirements. Microsoft Word and Excel offer flexible options for adapting templates without advanced skills.
For automated calculations, Excel is the better choice. Formulas can automatically total amounts, apply taxes, and calculate discounts, reducing manual errors. Word, on the other hand, is ideal for a more polished, printable format.
Save the completed receipt as a PDF to prevent edits and ensure compatibility across devices. If multiple receipts are needed frequently, consider creating a reusable master template to streamline the process.
Using a well-structured receipt template helps maintain professionalism and accuracy in financial transactions. With Microsoft Office, you get a practical solution that simplifies record-keeping without extra effort.
Microsoft Office Cash Receipt Template
Use Microsoft Office to create professional cash receipts with minimal effort. Start with a pre-made template in Excel or Word to ensure a structured format with essential fields like date, amount, payer details, and payment method.
Choosing the Right Template
Excel templates allow automatic calculations, making them ideal for businesses handling frequent transactions. Word templates offer flexibility for customization, suitable for receipts requiring branding or additional details. Both options ensure a polished layout without manual formatting.
Customization and Printing

Edit headers, fonts, and logos to match your brand identity. Adjust column widths and alignments in Excel for clarity. After finalizing the design, save as a PDF for easy sharing or print directly on standard receipt paper.
For quick access, pin the template to your Office shortcuts. This streamlines the receipt creation process and maintains consistency across all transactions.
How to Locate and Download a Cash Receipt Template
Go to the official Microsoft website and open the Templates section. Use the search bar to type “cash receipt” and browse the available options. Look for templates compatible with your version of Microsoft Office.
For a quicker search, open Microsoft Word or Excel, click File > New, and enter “cash receipt” in the template search field. Select a design that fits your needs and click Create or Download to open it in the application.
Many templates are also available through trusted third-party sources. If downloading from an external site, verify that it provides files in a compatible format such as .docx or .xlsx and ensure the source is reliable.
After downloading, customize the template by adding your business details, payment fields, and branding. Save it as a reusable file to generate receipts efficiently in the future.
Customizing Fields for Business Needs
Modify the template fields to reflect the exact details your business requires. Open the template, click on a field, and rename it to match your workflow. Adjust labels such as “Customer Name” or “Payment Method” to align with internal terminology.
Use the “Formulas” tab to automate calculations. Link quantity and price fields to generate totals instantly. Ensure tax rates adjust dynamically by referencing predefined percentages.
Add drop-down lists for standardized entries. Select a cell, go to “Data Validation,” choose “List,” and input predefined options like payment methods or invoice categories.
Incorporate conditional formatting for quick insights. Highlight overdue payments by setting rules that change cell colors based on due dates.
Save the customized template as a reusable file. Click “File” > “Save As,” select a format, and store it for future transactions.
Setting Up Auto-Calculations in Excel

Use Excel’s built-in formulas to automate calculations and reduce manual input. Select a cell, type =, and enter a formula like =SUM(A1:A10) to total a range. Press Enter to apply.
Using Conditional Calculations
- Apply =IF(A1>100, “High”, “Low”) to classify values.
- Use =COUNTIF(A1:A10, “>50”) to count entries above 50.
- Combine functions: =SUMIF(A1:A10, “>50”, B1:B10) adds values in column B where column A exceeds 50.
Linking Cells for Dynamic Updates
- Reference another sheet: =Sheet2!A1 pulls data from Sheet2.
- Use =A1+B1 to sum two cells and update automatically.
- Set up relative references for formulas that adjust when copied.
Enable automatic recalculation under Formulas > Calculation Options to keep values updated as inputs change.
Saving and Printing Receipts in PDF Format
Open the template and ensure all fields are complete. Click “File” and select “Save As.” Choose “PDF” from the format options and specify the destination folder. Confirm by clicking “Save.”
To print, press “Ctrl + P” or go to “File” > “Print.” Select a printer or choose “Microsoft Print to PDF” for a digital copy. Adjust settings such as page size and orientation if needed. Click “Print” to finalize.
Verify the saved file by opening it in a PDF viewer. Check alignment and clarity before sharing or archiving.
Integrating Receipt Templates with Accounting Software
Select a receipt template that matches your accounting needs. Ensure it includes fields for date, transaction details, payment method, and applicable taxes. Standardizing these elements prevents discrepancies in financial records.
Use accounting software that supports custom templates. Many platforms allow direct integration with Microsoft Office formats, enabling seamless data transfer. Check compatibility settings and adjust field mappings to ensure accurate entry.
Automate data entry by linking receipt templates to your accounting system. Some tools support Optical Character Recognition (OCR) for scanning receipts, reducing manual input errors. Cloud-based solutions sync receipts across devices, maintaining consistency in reports.
| Software | Integration Method | Automation Features |
|---|---|---|
| QuickBooks | Import CSV/Excel | OCR, Cloud Sync |
| Xero | API Integration | Auto-categorization |
| FreshBooks | Email Upload | Mobile Scanning |
Regularly review imported receipts for accuracy. Set validation rules in your accounting software to flag missing or incorrect entries. Automate reconciliation to match receipts with transactions, ensuring all expenses are accounted for.
Common Issues and Troubleshooting in Templates

Start by ensuring that the template version matches your software. Compatibility issues often arise with older templates on newer Office versions, causing layout misalignments or missing features. Check for any version-specific requirements in the template documentation.
1. Formatting Problems
When the formatting doesn’t appear as expected, try these steps:
- Check that your margins and page layout settings match the template’s default setup.
- Inspect the cell and font styles–sometimes, settings in your document override the template’s preset styles.
- Reset formatting by selecting all text and choosing “Clear Formatting” to reapply the template’s design.
2. Missing Functions or Features
If certain functions aren’t working, verify the following:
- Ensure macros or active content are enabled in your Office settings. Some templates use VBA for calculations or automation.
- Double-check if the template requires additional add-ins or external software components that need installation.
- If the template relies on specific data sources, ensure they are accessible and correctly linked.
These steps should resolve common issues with Microsoft Office templates, enhancing the overall experience with a reliable setup.


