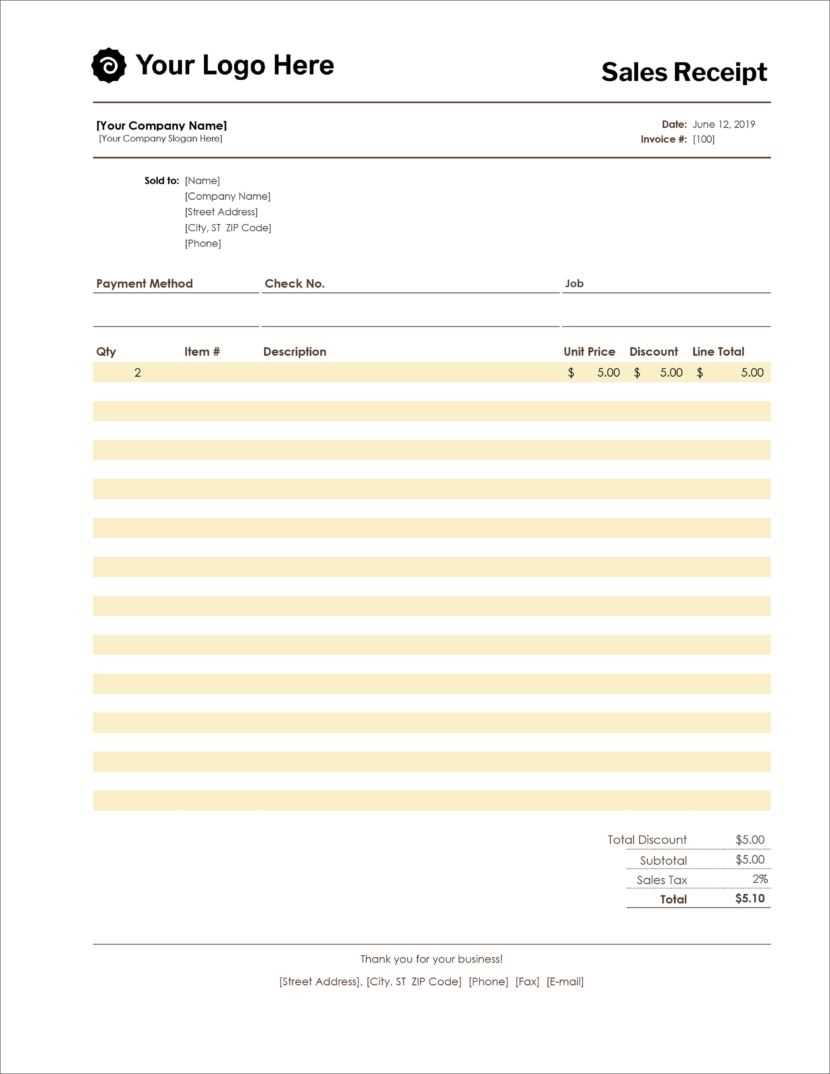
Use a structured sales receipt template in Excel to quickly generate professional invoices and track transactions with precision. A well-designed template ensures all essential details–date, customer name, items sold, quantities, prices, and taxes–are clearly documented. This approach minimizes errors, improves record-keeping, and simplifies financial reporting.
Create an automated receipt template by incorporating formulas for subtotal, tax calculations, and total amounts. Excel functions such as SUM and TAX can streamline calculations, eliminating the need for manual entry. Adding dropdown lists for product names and prices further enhances efficiency, reducing input time and inconsistencies.
For businesses handling multiple transactions, integrating a receipt template with a sales log provides a real-time overview of revenue and outstanding payments. Linking receipts to a master sales sheet using Excel’s VLOOKUP or INDEX/MATCH functions ensures seamless data retrieval and analysis. This method improves financial tracking and simplifies tax preparation.
Customize your sales receipt template by adding a company logo, contact details, and unique invoice numbers. Formatting options like conditional formatting can highlight overdue payments or apply color codes for different transaction types. A well-structured template not only enhances professionalism but also streamlines accounting tasks.
Sales Receipts Template in Excel
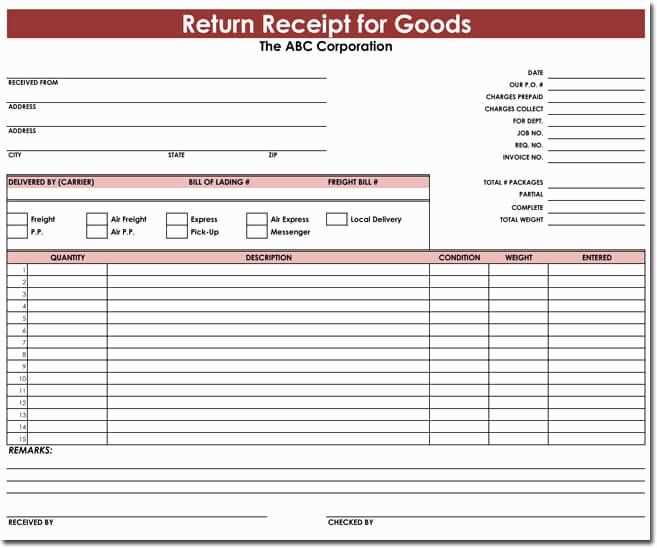
A sales receipts template in Excel simplifies tracking transactions and managing business records. You can quickly set up a spreadsheet to include all necessary details like item descriptions, quantities, prices, and total amounts. Customize the layout to match your business needs–whether you need to add columns for taxes, discounts, or payment methods.
Creating a Simple Template
Start by defining the key sections: customer details, product information, and payment summary. Use separate columns for the product name, quantity, price per unit, and total price. You can also include a section for the payment method or add formulas to automatically calculate totals and taxes. This helps avoid errors and speeds up data entry.
Customization Tips
If you need more advanced features, add drop-down lists for payment options or customer names. You can also set up conditional formatting to highlight overdue payments or items with low stock. Excel’s built-in functions like SUM and VLOOKUP make it easy to calculate totals and lookup product details, keeping everything organized and accurate.
Structuring Key Receipt Elements in Excel
Begin by organizing the basic components of the receipt in separate columns for clarity. Include fields such as “Date,” “Receipt Number,” “Item Description,” “Quantity,” “Unit Price,” “Total,” and “Payment Method.” Use Excel’s grid layout to ensure each data point is easily identifiable and can be referenced later.
For better visual structure, create headers with bold formatting to highlight each section. Align numbers to the right and text to the left for easier reading and consistency. Use currency formatting for price-related columns to maintain a professional appearance.
To calculate totals automatically, use Excel’s built-in functions like SUM for the total column and formulas for item totals. For instance, in the “Total” column, use the formula “=Quantity * Unit Price” to calculate individual item costs. This ensures accurate and up-to-date calculations without manual input.
Incorporate a section for discounts, taxes, and final amounts. Apply conditional formatting to highlight these sections, making it clear when these fields are adjusted. Set up the formula to calculate taxes and discounts based on predefined percentages, such as “=Total * 0.05” for a 5% tax rate.
Finally, include space for the buyer’s and seller’s details, such as names and contact information. This section ensures that both parties can reference the transaction quickly, especially in case of any follow-up or inquiries.
Formulas for Automatic Tax and Total Calculation
To automatically calculate the tax and total amounts on your sales receipts, Excel formulas can simplify the process and reduce the risk of errors. Follow these steps to set up the formulas effectively.
Tax Calculation Formula
Start by calculating the tax based on the price of the items. Suppose the item price is in column B and the tax rate is in cell C1. Use the formula:
| Formula: | =B2*$C$1 |
| Explanation: | This formula multiplies the price of the item in cell B2 by the tax rate in C1, ensuring the tax is calculated for each item. |
Total Calculation Formula
Next, to calculate the total price for each item including tax, add the item price to the calculated tax. Place this formula in the corresponding row of the “Total” column (e.g., column D):
| Formula: | =B2+D2 |
| Explanation: | This formula adds the base price in B2 and the tax in D2, resulting in the total amount to be paid for each item. |
These formulas ensure accurate tax and total amounts are calculated automatically, saving time and reducing errors in sales receipts.
Conditional Formatting for Readability
Use conditional formatting in Excel to improve the clarity of your sales receipts. This feature allows you to highlight important data and make the information more accessible. For instance, applying color scales or icons to sales totals can help quickly identify higher or lower values. Below are some tips for making your sales receipts easier to read:
Highlight Important Data
- Apply bold or colored text to key figures, such as total amounts or discounts, to draw attention.
- Use color coding to distinguish between different payment statuses, like paid, pending, or overdue.
- Adjust font size to highlight headings like “Date,” “Product Name,” or “Total Sale.”
Set Rules for Alerts
- Set rules to automatically change the cell color based on specific conditions (e.g., if a sale total exceeds a certain amount).
- Use icon sets to visually represent conditions, like using a green icon for paid receipts and a red one for overdue payments.
These techniques will enhance your sales receipt’s readability, making it easier to spot trends and issues at a glance.
Dropdown Lists for Quick Data Entry
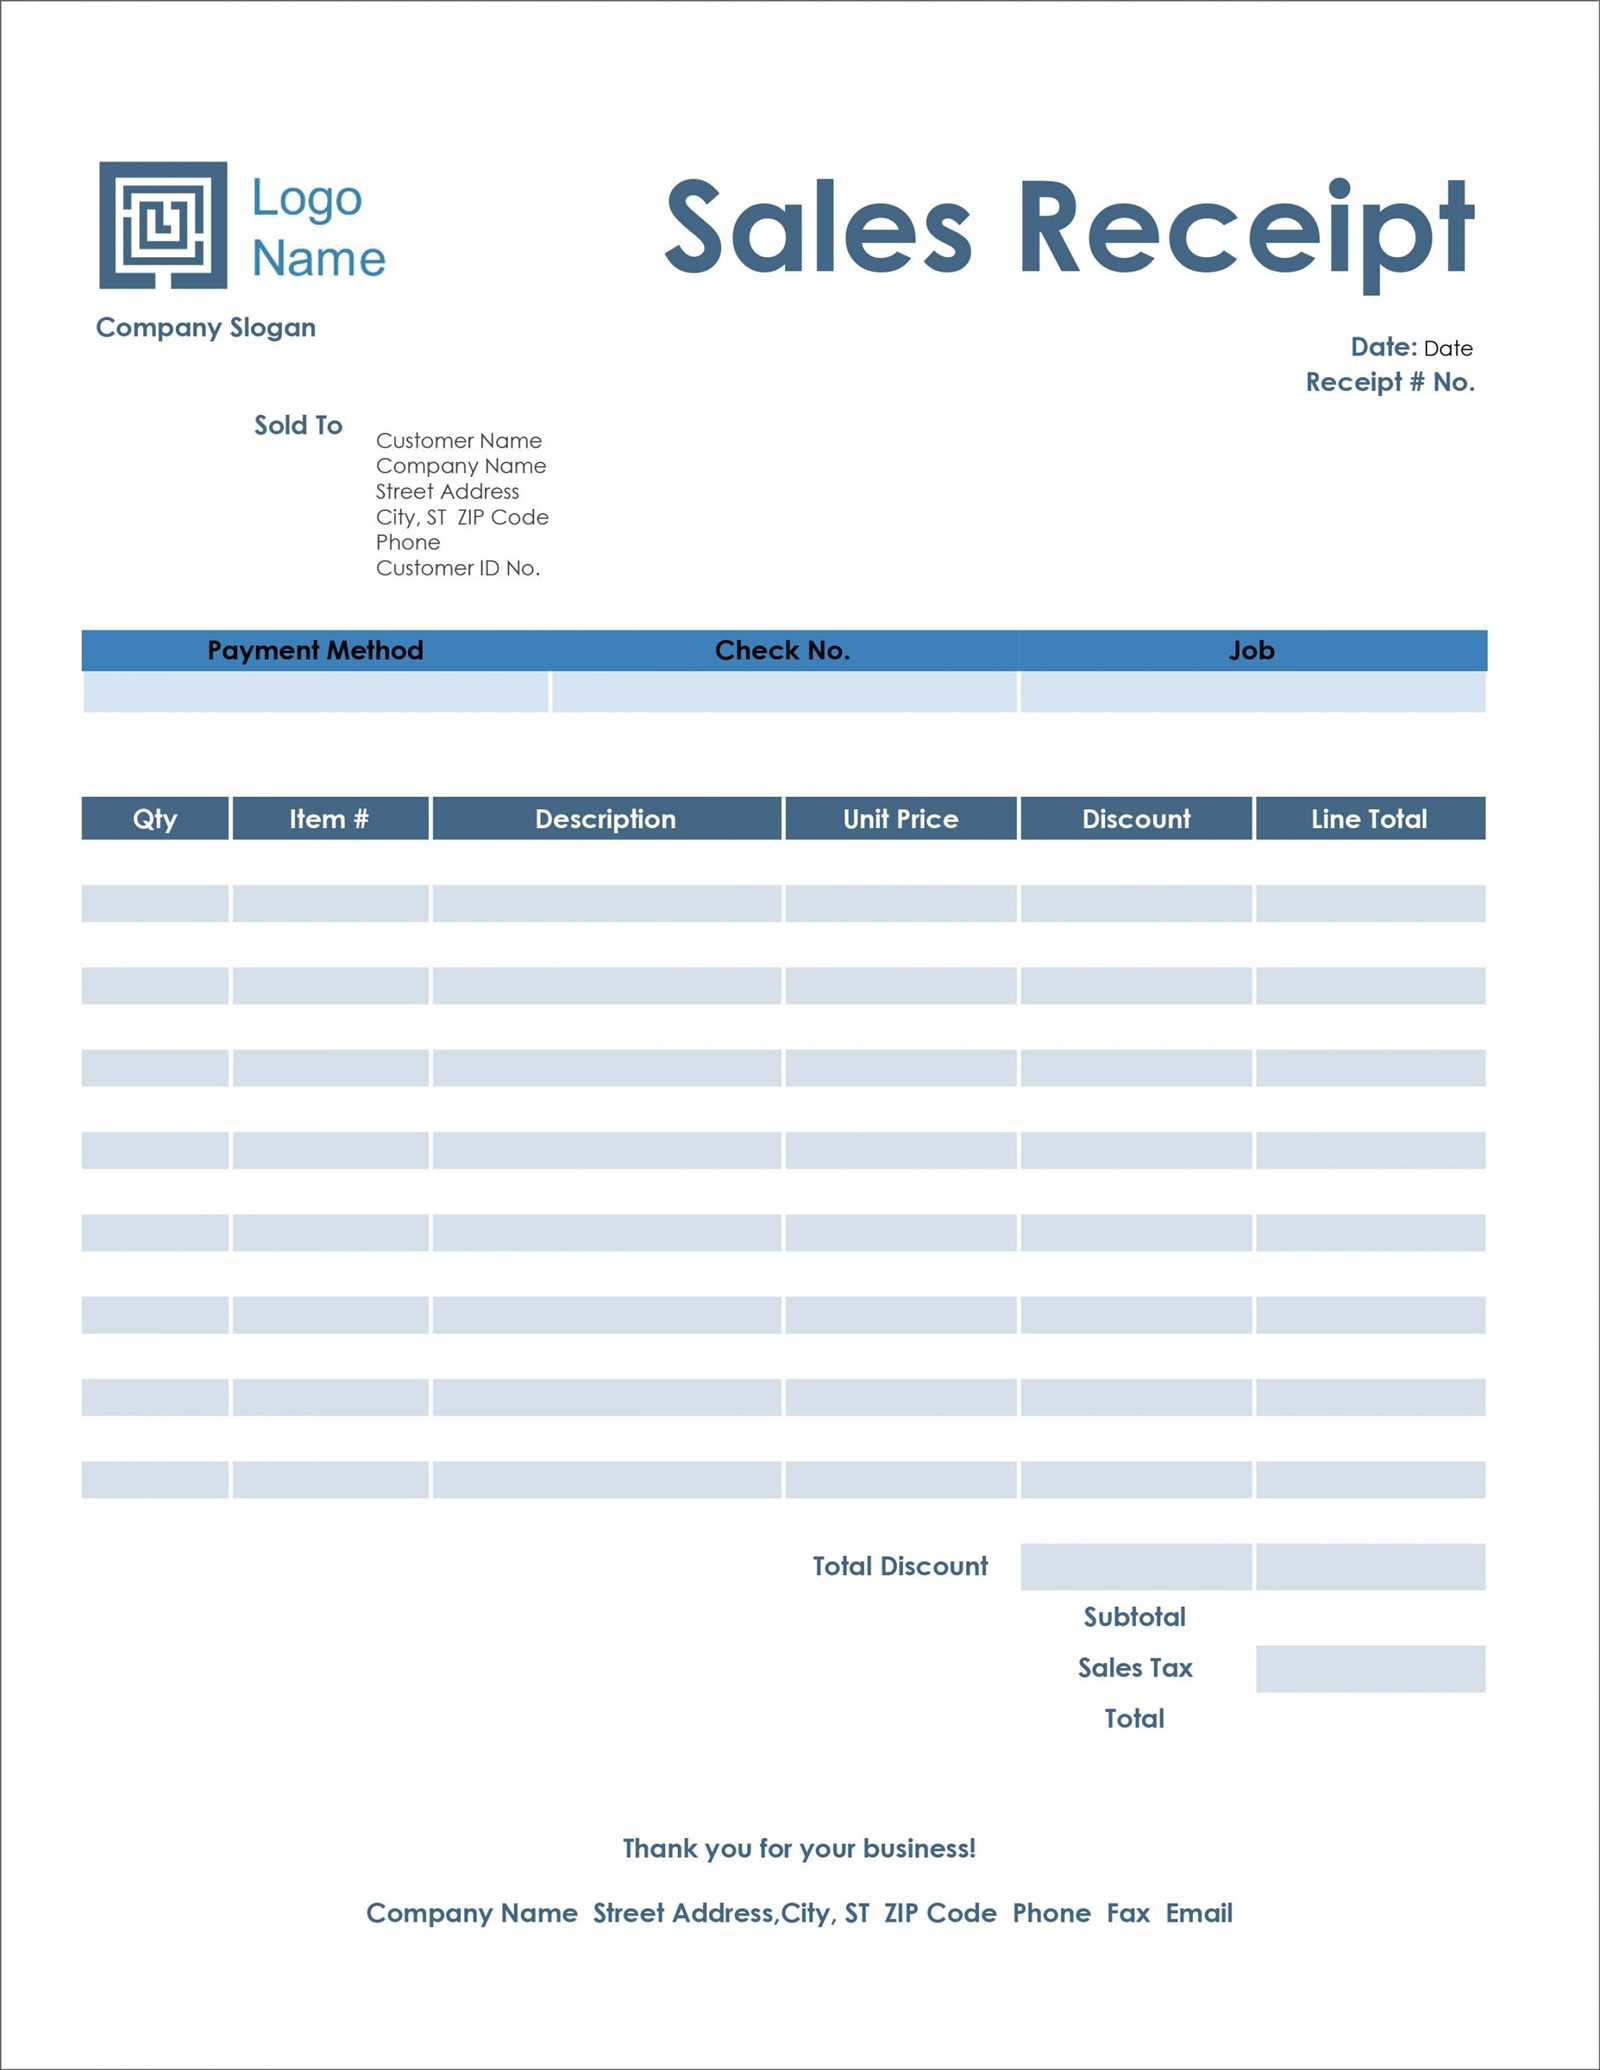
Use dropdown lists in your sales receipts template to streamline data entry. They reduce errors and save time by offering predefined options for categories like product names, payment methods, or customer information.
Creating Dropdown Lists in Excel
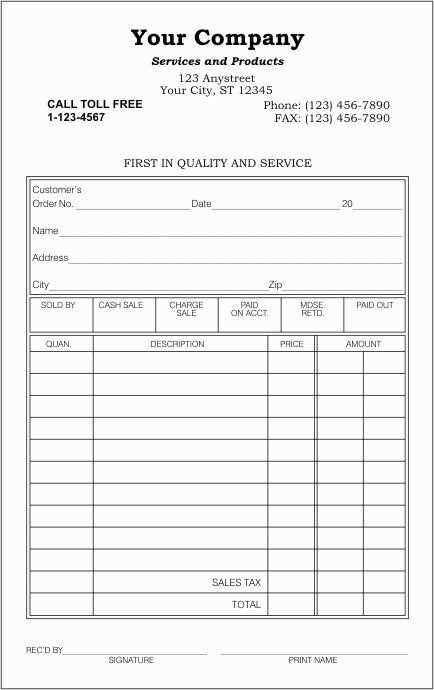
To add a dropdown list in Excel, go to the “Data” tab and select “Data Validation.” In the pop-up window, choose “List” under the “Allow” field. Enter the list values manually or select a range of cells containing your options. This method ensures users can only pick from valid entries.
Optimizing Dropdown Lists for Better User Experience
To improve the usability of dropdowns, limit the list length to avoid overwhelming users. Group related items, such as payment types or service categories, using short codes or abbreviations for quicker selection. You can also enable auto-complete within the dropdown to help users find options faster.
Printing and Exporting Receipts from Excel
To print or export your receipts from Excel, begin by ensuring that your worksheet is properly formatted. Adjust column widths and rows to match your receipt layout, making sure all data is clearly visible. Once you’re ready, follow these steps:
Printing Receipts
Click on the “File” tab and select “Print.” In the print settings, you can adjust the printer settings, such as paper size and orientation. Choose “Fit Sheet on One Page” if necessary to ensure that the entire receipt fits onto one page. If you want to print multiple copies, adjust the number of copies in the settings before pressing “Print.”
Exporting Receipts to PDF
To export a receipt as a PDF, go to “File” and click “Save As.” In the file type dropdown, select “PDF.” You can choose the option to save the entire workbook or just the selected range. If you want a high-quality PDF, adjust the settings for optimal resolution before saving.
Exporting Receipts to Other Formats
Excel allows exporting receipts to various formats, such as CSV, which is useful for sharing data with accounting software. To export, click “File,” then “Save As,” and choose your desired format from the options. Ensure the data format suits your intended purpose.
Protecting and Locking Receipt Templates
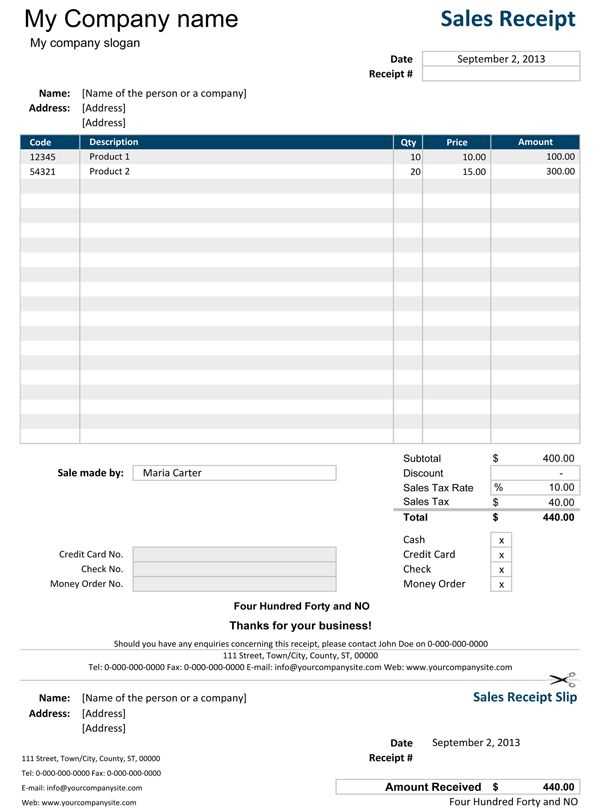
To protect your receipt templates in Excel, start by locking specific cells that contain sensitive information. Select the cells you want to lock, then right-click and choose Format Cells. Under the Protection tab, check the box for Locked.
Next, protect the worksheet itself by going to the Review tab and clicking Protect Sheet. This will prevent others from editing the locked cells. You can also add a password to limit access to only authorized users.
For an added layer of security, consider using file-level encryption. Save the template with a password by selecting Save As, then choosing Tools and General Options before setting your password.
If you need to make updates or share the template with others, be sure to unlock only the necessary cells. This ensures that the integrity of the document remains intact while still allowing for necessary edits.


