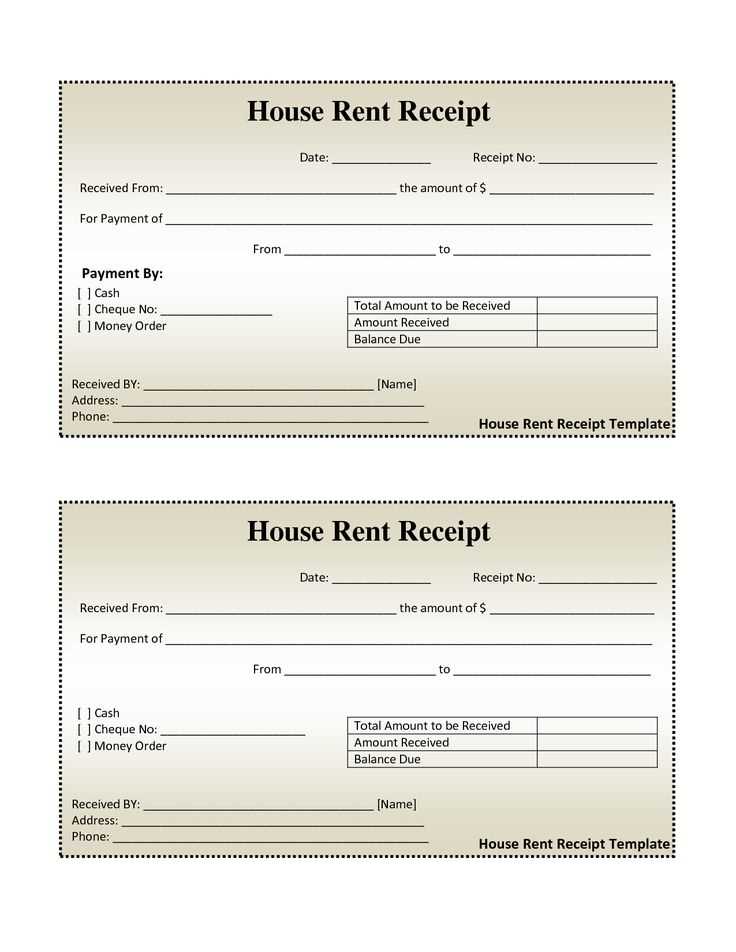
Save time by using a PowerPoint receipt template that combines clarity and customization. With pre-designed layouts, you can quickly generate receipts that match your brand’s identity while ensuring all necessary details are included. Simply edit the placeholders for names, amounts, and dates, then export the final version as a PDF.
For best results, adjust fonts and colors to align with your business style. Tables help structure transaction details, while icons and logos enhance professionalism. Adding a digital signature ensures authenticity, making your receipts both practical and visually appealing.
To streamline the process, save the template with predefined fields. This way, you can duplicate and edit it effortlessly for future transactions. Whether for invoices, donations, or service payments, a well-structured PowerPoint receipt keeps records organized and professional.
PowerPoint Receipt Template: Practical Guide
Begin by selecting a clear layout for your receipt template. Choose a simple, professional design with sections that are easy to edit. The header should include the business name and logo. Follow this with a title like “Receipt” or “Payment Confirmation” to clarify the purpose of the document.
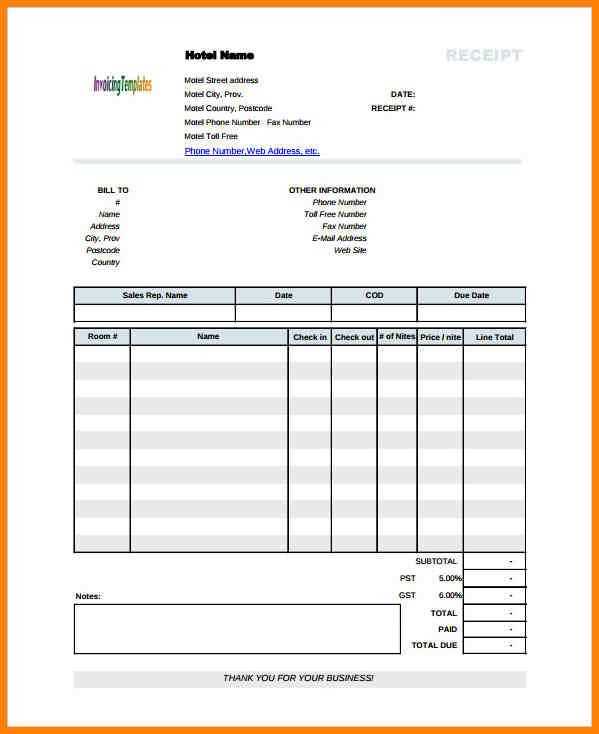
Include key details: Always have spaces for the transaction date, receipt number, and payment method. These fields should be easy to fill out and clearly labeled. Use tables for organizing the items, quantities, and prices. Make sure there’s room for tax information, if necessary, and a total amount at the bottom.
Customization: Customize colors and fonts to match your business branding. Keep the design clean and avoid too many decorations, as this can make the document look cluttered. Choose readable fonts that stand out against the background.
Final touches: Add a footer with your contact details, return policy, or website link for further customer reference. Ensure the footer is distinct but does not overshadow the main information.
Once the template is set up, save it as a master file. You can then adjust details such as customer name and purchase specifics as needed. This will streamline your process and maintain consistency across receipts.
Choosing the Right Layout for a Receipt
Opt for a clean, organized layout with clearly defined sections. Place the header at the top, including your business name, logo, and contact details. This ensures customers can quickly identify the receipt source. Below, list transaction details such as the date, items purchased, quantities, and prices. Use a table format to separate these elements, making the information easy to scan. Provide a subtotal, any discounts, taxes, and the total amount at the bottom for clarity.
Ensure there’s enough white space around each section to avoid overcrowding. Align text consistently, and use legible fonts in appropriate sizes to make reading easier. Keep the receipt’s dimensions in mind to fit standard paper sizes, ensuring it prints neatly. Avoid unnecessary graphics or text that could clutter the receipt.
Customizing Fonts and Colors for Branding
To align your PowerPoint receipt template with your brand, focus on selecting fonts and colors that reflect your brand’s personality. Choose a font family that matches the tone of your brand–serif fonts for a traditional or professional look, and sans-serif fonts for a modern, clean appearance. Avoid using more than two different fonts in a single presentation to maintain visual consistency.
Font Selection
Opt for fonts that are easy to read, even in smaller sizes. Fonts like Arial, Helvetica, or Calibri work well for body text, while more distinctive fonts like Times New Roman or Georgia can be used for headings. Be mindful of font weight and size to create a hierarchy and ensure clarity. For better readability, use larger sizes for titles and slightly smaller sizes for content, but maintain a contrast that helps distinguish each section.
Color Scheme
Your color choices should reinforce your brand’s identity. Stick to a primary color that resonates with your brand, and select complementary accent colors that don’t overpower the main hue. For text, use dark colors like navy, black, or dark gray for readability against light backgrounds. Avoid using too many bright colors, as they can make the slide look cluttered. Consider using your brand’s official color palette to maintain consistency across all your slides.
Adding Dynamic Fields for Editable Content
Incorporating dynamic fields into your PowerPoint receipt template allows you to create editable areas that can be modified easily for various scenarios. Here’s how to implement them effectively:
1. Using Text Placeholders
Start by inserting text placeholders in areas where users will need to input details like names, addresses, or amounts. This can be done by following these steps:
- Click on the “Insert” tab in PowerPoint.
- Choose “Text Box” and draw it in the desired area.
- Right-click the text box and select “Edit Text” to enter a placeholder text like “Enter Name” or “Amount”.
By using placeholder text, you help guide the user and make the content editable, without having to manually adjust every element in the template.
2. Link Data from External Sources
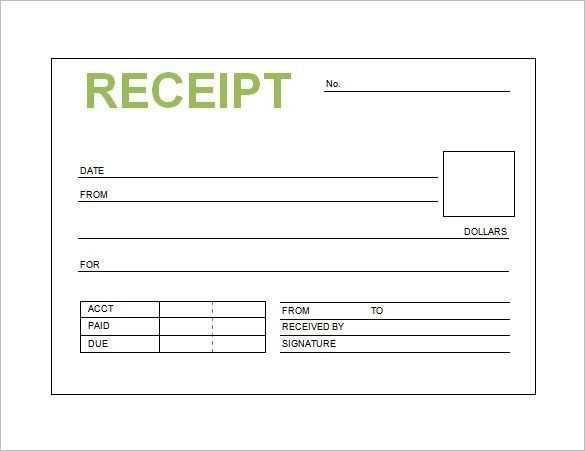
If you need to pull information from an external source, such as an Excel file, you can link dynamic fields to cells. This enables automatic updates when the source data changes.
- Go to the “Insert” tab and click “Object”.
- Select “Create from File” and browse to your Excel sheet.
- Choose the specific cell or range that will populate the editable fields in the PowerPoint template.
Linking data directly from Excel ensures that the template always displays the most up-to-date content, saving you time and effort.
Incorporating Logos and Watermarks
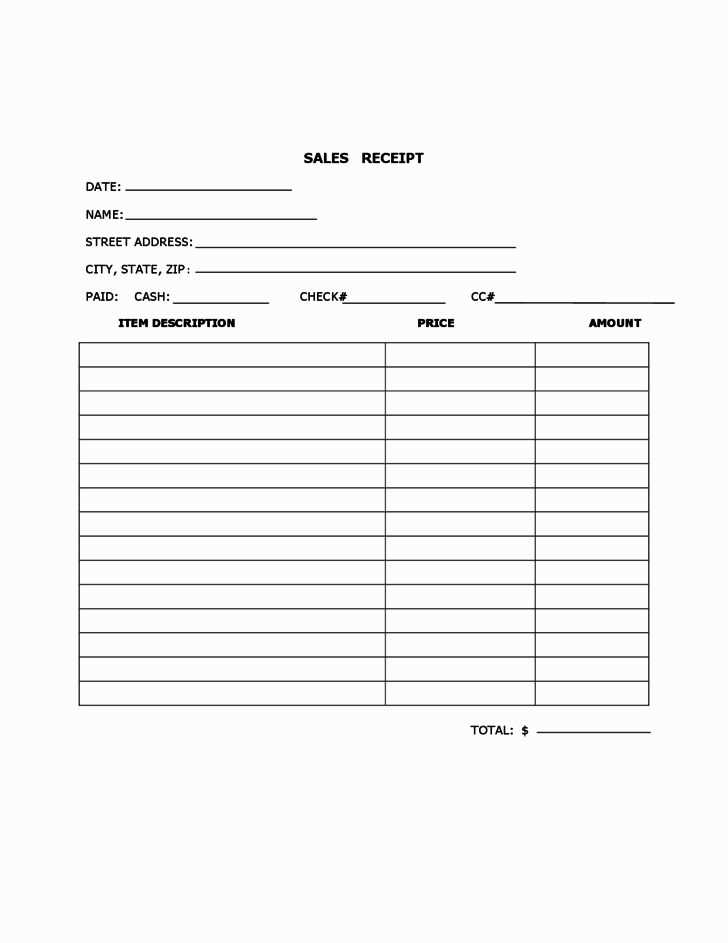
Place your logo in the top-left or bottom-right corner for clear visibility without obstructing key content. Keep the logo’s size proportional to the slide’s layout. Ensure the logo has adequate contrast with the background, making it stand out but not dominate the design.
To add a watermark, adjust the transparency to around 15-25% to make it subtle yet recognizable. Position it centrally or diagonally across the slide to ensure it doesn’t interfere with your main message. Avoid using bright colors or busy designs that can distract from the presentation’s content.
When combining both elements, make sure the logo’s size and watermark’s transparency balance well. You don’t want either to overshadow the presentation’s core message. Use high-quality images to avoid pixelation, which can detract from the professional look.
| Tip | Explanation |
|---|---|
| Logo Placement | Top-left or bottom-right corner for optimal visibility without interfering with content. |
| Watermark Transparency | Set between 15-25% for a subtle effect. |
| Logo Size | Keep proportional to the slide layout for balance. |
| Image Quality | Use high-quality images to maintain professionalism. |
Exporting and Printing the Final Receipt
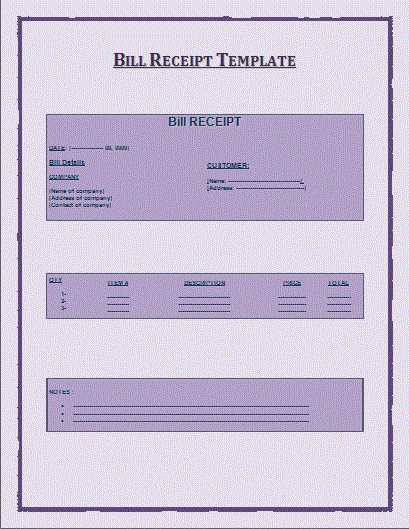
To export the final receipt, select the “Export” option in the PowerPoint interface. This will allow you to save the file in various formats such as PDF or PNG, depending on your needs. PDF is commonly used for printing and sharing receipts due to its wide compatibility and high-quality output.
Exporting as PDF
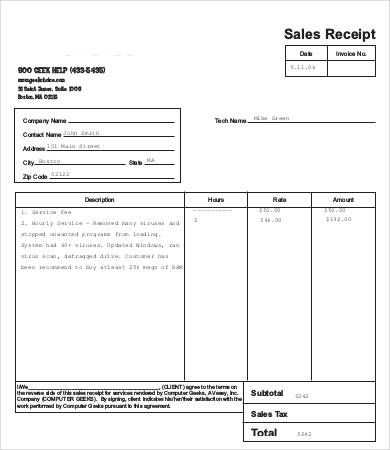
Choose the “Save as PDF” option. This ensures the receipt maintains its layout and design when viewed or printed on any device. You can adjust the export settings to select specific slides, if necessary, or export the entire presentation. Once selected, click “Save” to finalize the export process.
Printing the Receipt
After exporting the receipt, open the PDF file in a viewer such as Adobe Acrobat. Check the page orientation and margins to ensure everything fits well on the page. Select the “Print” option, choose your printer, and adjust the print settings to suit your paper size and quality preferences. Click “Print” to generate a hard copy of the receipt.
Using Pre-Made Templates vs. Creating from Scratch
Opting for a pre-made template allows you to save time and energy, especially when working with a tight deadline. Pre-designed options offer a range of styles and layouts, giving you an easy starting point with minimal effort. You can quickly customize text, images, and colors to suit your needs, without worrying about formatting or design details. For many tasks, this method ensures consistency and professional appearance with little fuss.
On the other hand, creating a presentation from scratch gives you complete control over every element. You can design each slide to match your vision precisely, whether it’s for a unique project or a highly specific client requirement. While this approach takes more time and effort, it can lead to a more personalized and tailored result.
- Pre-made Templates:
- Save time with ready-to-use designs.
- Minimal customization required.
- Perfect for common or simple presentations.
- Consistency across slides with ease.
- Creating from Scratch:
- Full creative control over every element.
- Time-consuming but highly customizable.
- Ideal for unique or complex presentations.
- Requires more design skills and effort.
Choosing between these options depends on your specific needs. If speed is crucial and the task doesn’t require much originality, pre-made templates will be the right choice. For a more personalized design, where each slide needs to reflect specific branding or creative ideas, starting from scratch may be the better route.


