If you need a quick and easy solution to create sales receipts, download a ready-to-use template for Microsoft Word. This template offers a structured layout, making it easy to fill in transaction details like item descriptions, prices, and tax information. Simply download the template, customize it with your specific data, and you’re all set.
With the downloadable template, you can streamline your sales process and ensure accurate documentation. It allows you to maintain a professional appearance with minimal effort, saving time on manual formatting. You can also adjust the template to fit your business’s branding by customizing fonts, colors, and logos.
Whether you need receipts for small business transactions or personal use, this template provides a practical solution. Download it, edit the fields, and print or save it as needed. Get started with creating professional, consistent sales receipts today.
Here’s the revised version without word repetition:
For a well-organized sales receipt, keep the layout clean and straightforward. Ensure the key elements, such as date, product details, price, and payment method, are clear and easy to find. Customize the template with your business name, address, and contact details for professional presentation.
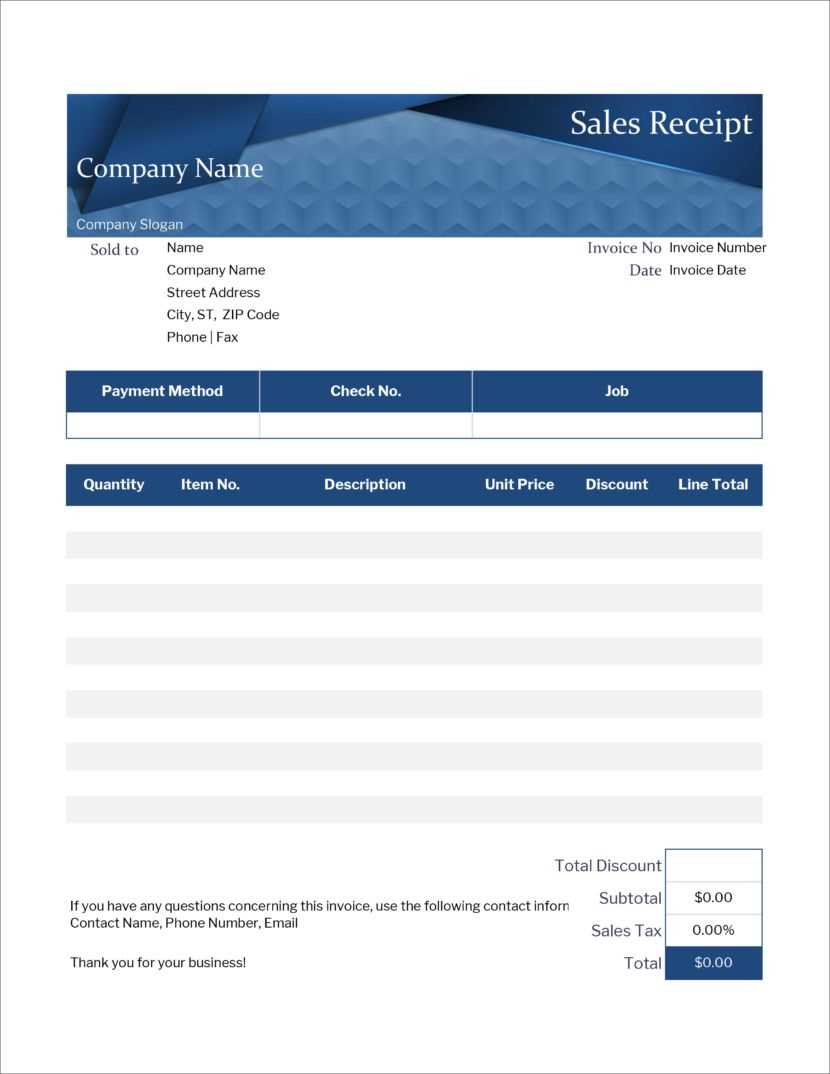
Basic Structure

Include the transaction date, item description, unit price, quantity, and total cost. A section for payment details should follow, listing the method used and any applicable taxes or discounts. This keeps the information accurate and transparent for both the seller and buyer.
Additional Features
Add a unique receipt number for tracking purposes. This will help with record-keeping and any future customer inquiries. If necessary, include a space for the seller’s signature for authenticity.
- Downloadable Sales Receipt Template for Word
Choose a sales receipt template for Word that matches your business needs. Templates offer a quick and reliable way to generate professional receipts, ensuring your transactions are recorded accurately. Many templates include fields for the customer’s name, date of purchase, product details, prices, and payment method, all organized for easy tracking and record-keeping.
Where to Find Templates
Several websites offer free downloadable Word templates. Look for ones that allow easy customization to include your company logo and adjust for specific details like taxes or discounts. Choose templates with clear sections and simple layouts to ensure customers can easily understand their receipt.
How to Use the Template

Once downloaded, open the template in Word. Fill in the required fields for each transaction. After customization, save the receipt and send it directly to the customer via email or print it for in-person transactions. Regular use of this template will help streamline your sales process and maintain organized records for bookkeeping.
Tip: If you want to save time, create a folder with all your sales receipts templates and keep track of their versions. This method will ensure consistent formatting and help with future reference.
To find a customizable receipt template for Word, follow these steps:
- Visit the Microsoft Office template gallery on the official website. You can access it by searching for “receipt template” in the search bar.
- Browse through the available templates and filter by categories such as “business” or “invoice.” Select one that meets your needs.
- Download the template and open it in Microsoft Word. Once opened, you can easily modify the details such as company name, items, and pricing.
- If you prefer more options, explore third-party websites that specialize in templates, such as Template.net or Vertex42. These sites offer a wider range of formats and customization options.
- For advanced customizations, consider creating your own template in Word using tables and text boxes. This gives full control over the layout and formatting.
By following these steps, you’ll quickly find or create a receipt template that suits your business needs.
1. Choose the Template
Search for a downloadable sales receipt template in a Word-compatible format. Make sure to select a reputable source, such as a website offering free or paid templates for Microsoft Word.
2. Download the Template
Click the download button for the selected template. Save the file to a location on your computer that is easy to access, such as your desktop or a specific folder for templates.
3. Open the Template in Word
Once the download is complete, open Microsoft Word. Go to “File” and select “Open,” then navigate to the folder where the template was saved. Select the file to open it in Word.
4. Edit the Template
Customize the template by replacing placeholder text with your business details and sales information. Adjust the formatting, if necessary, to match your branding or style.
5. Save the Document
After editing, save the document by clicking on “File” and then “Save As.” Choose a location to save the file and give it a name. You can also save it as a template (.dotx) for future use.
6. Print or Send the Receipt
To finalize, print the completed sales receipt or save it as a PDF to send electronically to your customers.
Adjusting Template Fields for Various Product or Service Types
Modify template fields to match the specifics of your product or service. Start with updating the item description section. For physical products, include details such as size, color, or model number. For services, specify the type of service provided, along with the duration or hourly rate if applicable.
For Physical Products
- Include product details like brand, model, and serial number for traceability.
- Ensure the quantity field accurately reflects the number of items sold.
- Adjust pricing fields to reflect any discounts or promotional offers.
For Services

- Clearly state the type of service and any associated terms, such as consultation hours or deliverables.
- Include a breakdown of hourly rates or flat fees as needed.
- List any applicable taxes, as services may be subject to different rates than physical products.
Consider the payment method field as well–add options for credit card, bank transfer, or digital payment services. Ensure it aligns with the transaction method for accuracy.
Include tax information in your sales receipt to provide a complete and clear breakdown of charges. Start by adding a section labeled “Tax” or “Sales Tax” under the itemized list of products or services. This helps the customer understand exactly what part of the total is due to taxes.
Step 1: Label the Tax Section
Clearly mark the section for tax calculation. Use labels such as “Tax,” “Sales Tax,” or “VAT” based on the applicable tax type. Make sure the label is bold or highlighted for easy identification.
Step 2: Display Tax Rate and Amount
Next, include the tax rate (e.g., 8.25%) and the total tax amount charged. For accuracy, use the same currency format as the rest of the receipt. For example, “$5.25” for the tax charge, keeping consistency with the item prices.
Ensure the tax amount is calculated correctly based on the subtotal. If applicable, round the figure to the nearest cent. Double-check for any specific local tax laws that might affect the format or amount, particularly for regions with multiple tax categories.
After customizing your sales receipt in Word, save the document by selecting File > Save As. Choose a location on your computer and select the desired file format, such as .docx or .pdf, for easy sharing or future edits.
To print your receipt, go to File > Print. Select the printer from the options, set your desired print settings (such as number of copies and page orientation), and click Print. Check the print preview to ensure everything appears as expected before finalizing the print job.
Organize your receipts by creating a separate folder for each category, such as utilities, purchases, or business expenses. This method helps to locate them quickly when needed.
Use a consistent naming convention for your files, such as “Receipt_InvoiceNumber_Date,” to easily identify and sort them. Include key information like the vendor and amount in the name for faster retrieval.
Consider using tables in Word to store multiple receipts on a single page. This will help keep your documents neat and reduce the amount of space each receipt occupies. You can also include notes or tags next to each entry to clarify any specific details.
Regularly back up your receipts by saving them to cloud storage or an external drive. This ensures you won’t lose important files in case of a computer malfunction or other issues.
If receipts are in different formats (PDF, image), convert them to Word for easier organization. Use Word’s built-in tools to insert scanned images and adjust the layout to fit multiple receipts on a page.
For business receipts, consider creating a template with fields for key details like vendor name, date, and amount. This saves time and ensures consistency when inputting new receipts.
For a streamlined process, download a sales receipt template for Word. It simplifies documentation, ensuring all necessary details are included for both parties.
Start by selecting a template that clearly lists buyer information, item details, and transaction amounts. Customization options allow you to include taxes, discounts, or other relevant charges.
Use a well-structured table within the template to organize data effectively. Below is an example of how to format a basic sales receipt:
| Item | Quantity | Unit Price | Total |
|---|---|---|---|
| Product 1 | 1 | $20.00 | $20.00 |
| Product 2 | 2 | $10.00 | $20.00 |
| Subtotal | $40.00 | ||
| Tax (5%) | $2.00 | ||
| Total | $42.00 | ||
Fill in buyer and seller details, including names, contact information, and payment terms. Once completed, save and share the document for record-keeping or email.