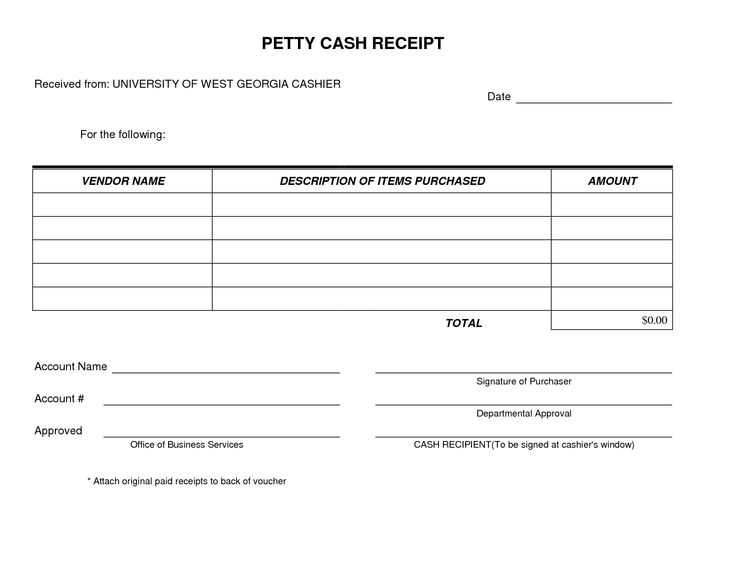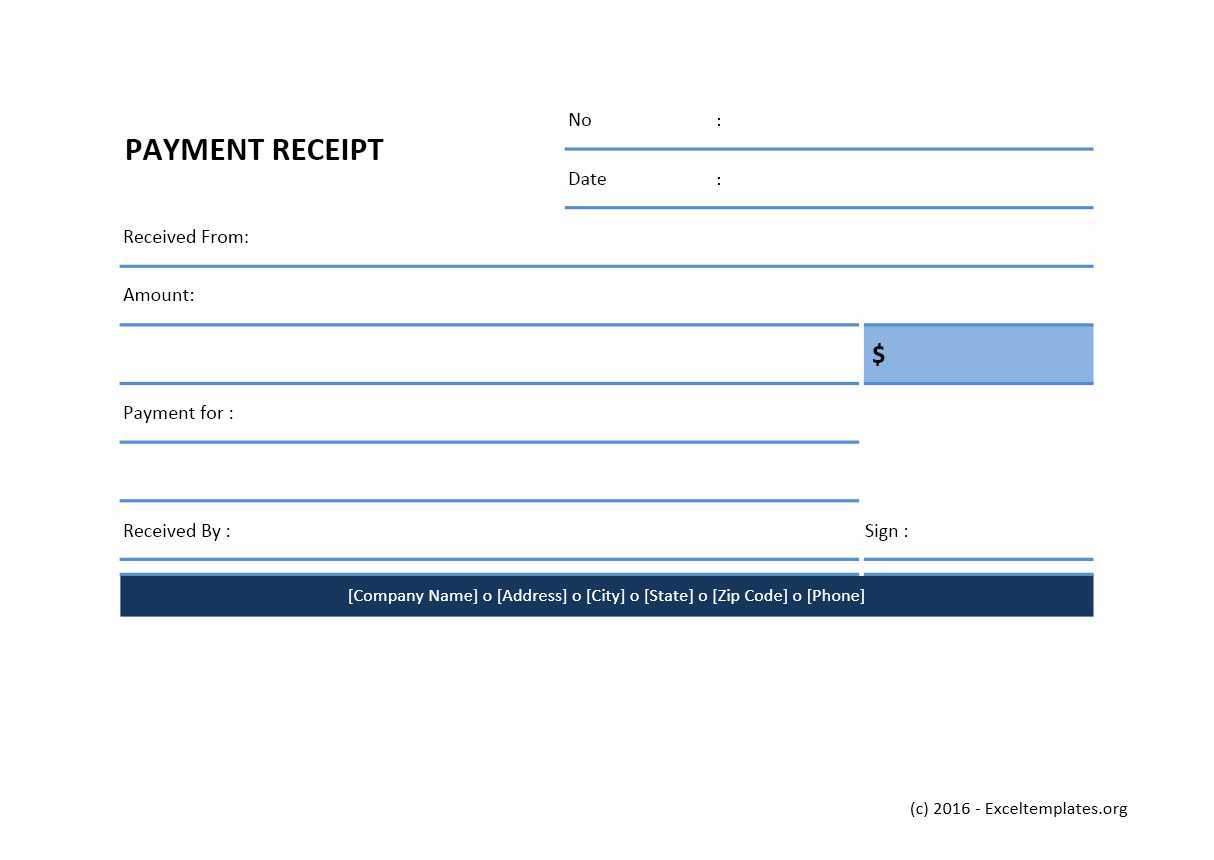
To create a customised receipt template in Laravel 5.3 Cashier, follow these steps. You’ll need to adjust the default template and integrate it with the existing system for better branding and information display.
Step 1: Install Laravel Cashier
If you haven’t done it already, start by installing Laravel Cashier. Run the following command:
composer require laravel/cashierAfter installation, configure your Cashier setup in the config/services.php and .env files by adding the necessary keys and environment variables from your payment provider.
Step 2: Customising the Receipt Blade Template
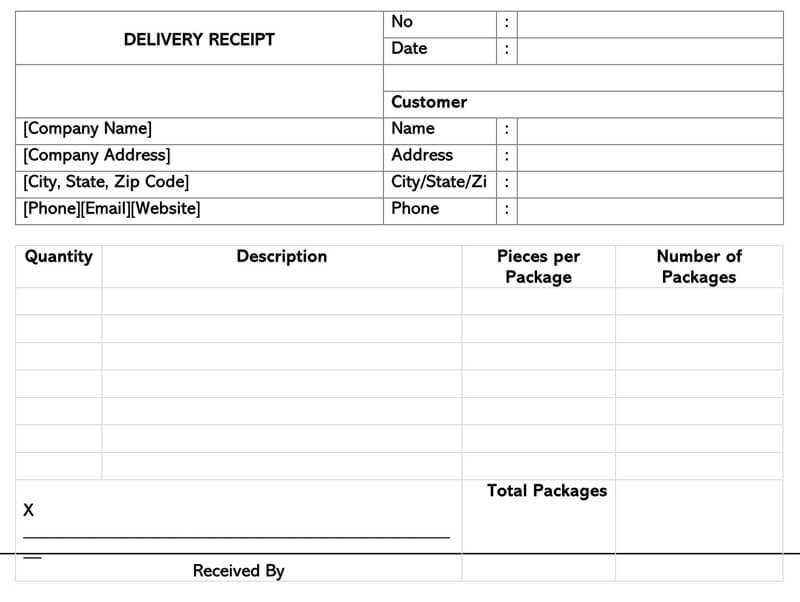
Cashier uses the invoice method to generate receipts. The default receipt is fairly simple, but you can modify it. First, locate the resources/views/vendor/billing/receipt.blade.php file. If this file doesn’t exist, you can create it in this directory structure.
Inside receipt.blade.php, you can add your own HTML to create the desired format for the receipt. Here’s a basic structure for a customised template:
{{ $invoice->created_at->format('F d, Y') }}
- Amount: ${{ $invoice->amount_due / 100 }}
- Payment Method: {{ $invoice->payment_method }}
- Transaction ID: {{ $invoice->transaction_id }}
Customising Specific Details
If you need to display more specific information like itemised charges, taxes, or discounts, you can access the respective data through the $invoice object. For instance:
@foreach($invoice->lines as $line)
{{ $line->quantity }} x {{ $line->name }} = ${{ $line->amount / 100 }}
@endforeach
Styling the Template
While you may not want to include excessive styling in the Blade template, it’s important to use inline CSS or link to your main stylesheet if your receipts need consistent styling with the rest of the platform.
Here’s a simple example of inline CSS for a clean receipt design:
Testing Your Template
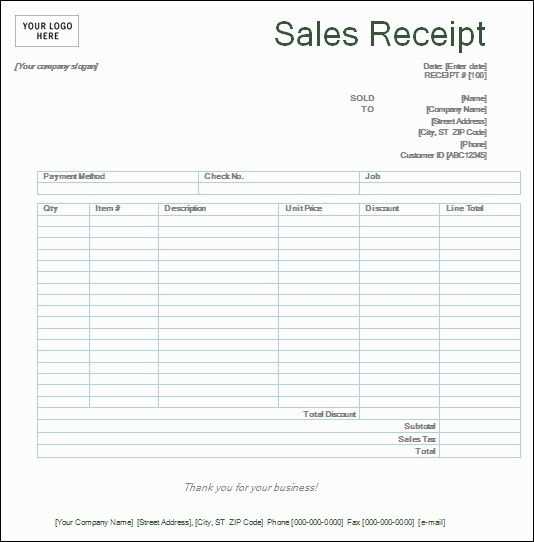
After making your changes, test your receipt template by generating a new invoice in your application. You can do this by creating a new subscription or one-off payment via Cashier and checking the resulting receipt.
Advanced Customisations
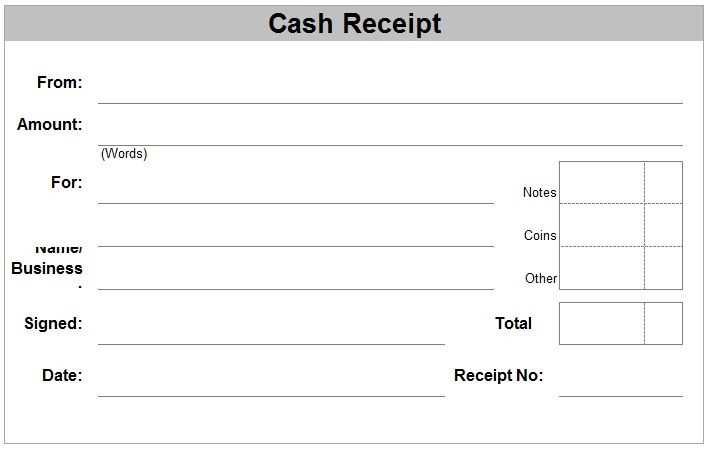
If you need even more advanced customisation–such as adding QR codes, custom logos, or dynamic discounts–you can inject additional logic into the receipt generation process, or include a package like barryvdh/laravel-dompdf to create PDFs with more control over layout and design.
Conclusion
Customising the receipt template in Laravel 5.3 Cashier is straightforward once you know where to start. With the flexibility of Blade templating, you can create a receipt that matches your brand’s style while displaying all necessary payment details for your users.
Laravel 5.3 Cashier Customised Receipt Template
Creating a Custom Receipt Template with Laravel 5.3 Cashier
Integrating Custom Styles into the Layout
Modifying Data Output for Specific Use Cases
Handling Various Payment Methods in the Template
Adding Conditional Logic for Dynamic Receipt Information
Testing and Debugging the Customised Template
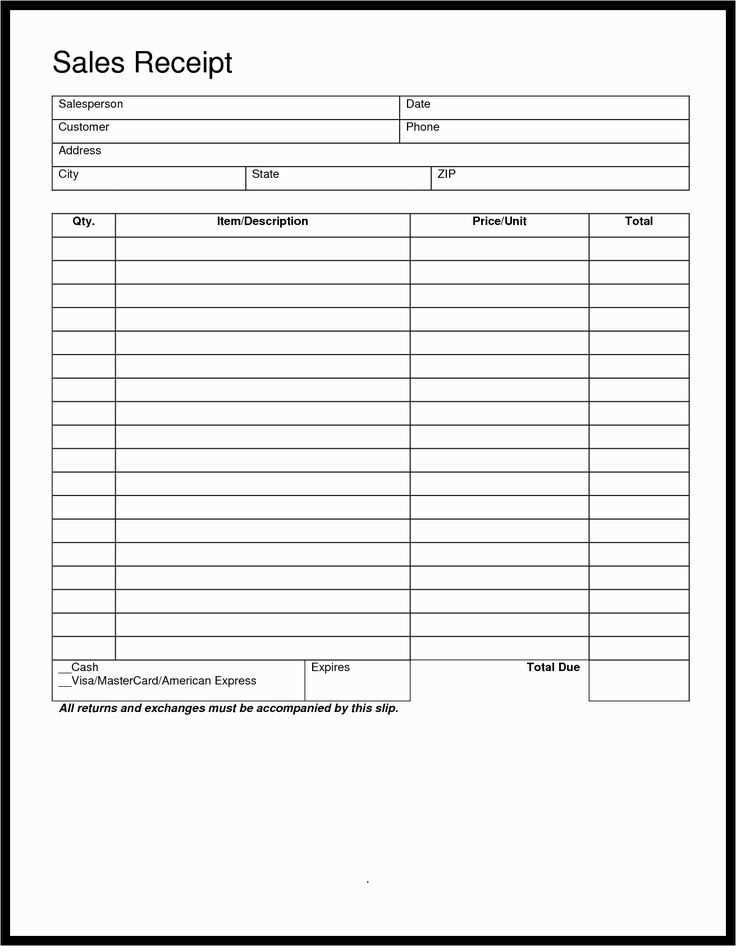
Begin by creating a custom receipt template in Laravel 5.3 using Cashier’s built-in capabilities. To do so, define the structure of the receipt inside your view file. Cashier provides a default receipt layout, but to tailor it, you’ll need to override the default template.
Creating a Custom Receipt Template
Customize the default receipt view by extending the `receipt.blade.php` file. You can add necessary variables like order ID, customer name, and payment details. Modify this file to match your specific requirements by using Cashier’s built-in helper methods for data retrieval.
Integrating Custom Styles into the Layout
To apply custom styles to your receipt, create a separate CSS file or inline styles within the Blade view. Use classes and IDs to style individual elements such as amounts, dates, and customer information. Make sure to test for different screen sizes to ensure the template is responsive.
Next, modify the output of receipt data based on your specific use cases. For example, adjust the way subscription data is presented if the user has a different billing cycle or includes discounts. Use `if` statements and logic to handle this dynamic output effectively.
Handle various payment methods by including payment-specific data on the receipt. For instance, when a customer pays via credit card, show the last four digits of the card number. For PayPal or other methods, display relevant payment details or a transaction ID to clarify the method used.
Add conditional logic within the Blade template to display different data based on user interaction. For example, if the user has a discount, show the amount deducted from the total price. This can be achieved by checking the discount logic in your controller or directly in the Blade file using conditional statements.
Testing and debugging the custom receipt template is essential to ensure accurate output. Use Laravel’s built-in debugging tools like `dd()` and `Log::debug()` to inspect the data before it is passed to the view. Check if all dynamic values, such as discounts and payment methods, are being displayed correctly in various scenarios.
