Need a professional receipt template without the hassle of designing one from scratch? Template.net offers a wide selection of ready-to-use receipt templates tailored for various business needs. Whether you’re managing retail transactions, freelance payments, or service invoices, you’ll find a format that fits your requirements.
Each template is designed for clarity and ease of use, ensuring that essential details–such as date, amount, payment method, and transaction description–are clearly presented. Many options are available in editable formats like PDF, Word, Excel, and Google Docs, making customization simple and convenient.
Choosing the right template can enhance professionalism and streamline financial record-keeping. Browse the collection, select a design that matches your business branding, and download it instantly. With just a few adjustments, you’ll have a polished and reliable receipt ready for use.
Here’s the corrected version without unnecessary repetitions:
Focus on simplicity when creating a receipt. Include key details such as the transaction date, seller and buyer information, items purchased, prices, taxes, and total amount. Make sure the layout is clear, and organize the information logically to avoid confusion. Use a clean font and enough spacing between sections for easy readability.
For the receipt to be effective, ensure that the format is consistent across all transactions. Avoid cluttering the document with unnecessary elements, and keep the design professional yet simple. This helps customers quickly understand the details of their purchase without getting overwhelmed.
Lastly, remember to include a thank-you note or any other brief message at the bottom of the receipt. It adds a personal touch without overcrowding the content.
- Comprehensive Guide to Receipt Templates on Template.net
For those looking to streamline the receipt creation process, Template.net offers a diverse range of receipt templates designed to meet different business needs. These templates come with pre-filled sections that make entering transaction details quicker and easier. Whether you’re running a small shop or managing a large company, you can find templates suited for various industries, from retail to services.
Key Features of Template.net’s Receipt Templates
Template.net’s receipt templates feature clean layouts, easy-to-read fonts, and customizable sections for buyer information, items purchased, amounts, and dates. Many templates also allow you to add your logo and business details, giving you a professional-looking receipt that aligns with your brand. Users can download templates in multiple formats such as PDF, Word, and Excel, offering flexibility to edit and print receipts according to their preferences.
Why Choose Template.net?
Template.net stands out for its user-friendly platform. You can easily preview and download templates without needing design skills. The website categorizes templates based on use case, allowing you to choose the most relevant option for your business. Plus, the option to customize receipt templates means you can quickly adapt them to reflect specific transaction details, making every receipt unique to your business needs.
Template.net offers a variety of receipt designs tailored to different business needs. Whether you need simple, detailed, or customized receipts, there is a design for every requirement.
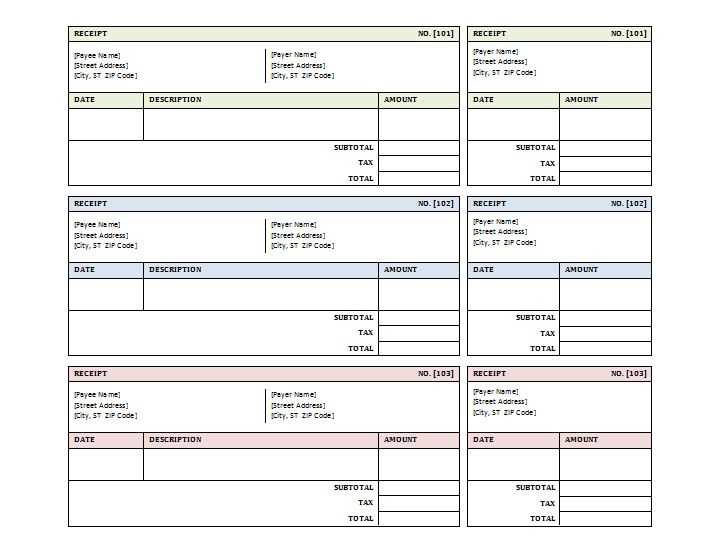
Basic Receipts
These designs are perfect for small businesses or personal use. They typically feature a straightforward layout with essential details like the date, items purchased, and total amount. Basic receipts are ideal for quick transactions and minimalistic record-keeping.
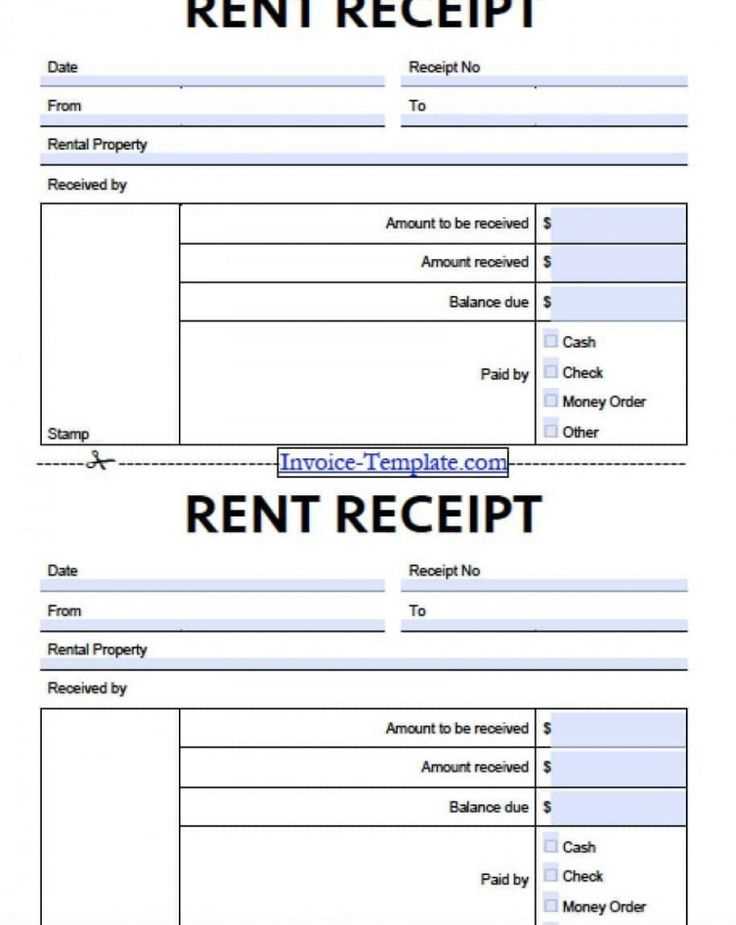
Professional Receipts
Professional receipt templates are suitable for companies looking for a more polished and branded look. These receipts usually include the company’s logo, contact information, and payment methods, along with a clean and modern design that conveys trust and reliability.
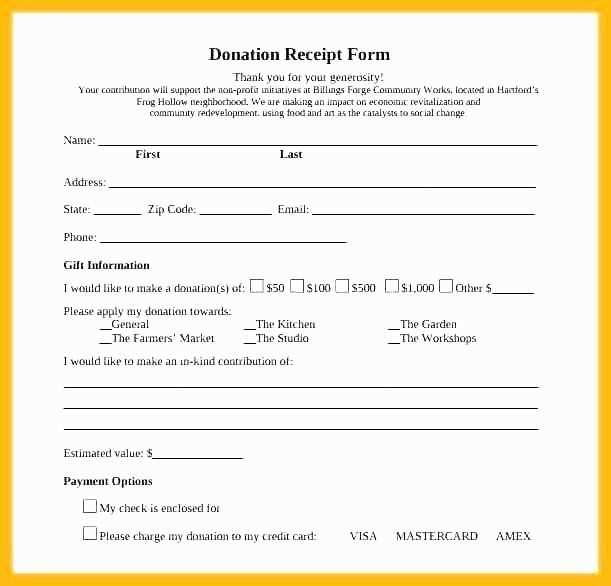
Customizable Receipts
If you need to personalize receipts for specific needs, customizable templates allow for extensive modifications. You can adjust fields, fonts, colors, and add your business details to create a receipt that aligns with your brand identity and operational requirements.
Each template is designed to be easy to use, with options to download in various formats such as PDF, Word, and Excel, ensuring compatibility across different platforms and devices.
How to Customize a Template to Match Your Brand
Adjust the color scheme of your template to reflect your brand’s colors. Choose tones that align with your company’s identity to create a consistent visual experience across all communications. Tools like hex color codes help ensure precision in the shade matching.
Fonts and Typography
Replace default fonts with those used in your brand’s style guide. Consistent typography boosts recognition and trust. Consider font pairings that are legible and represent the tone of your business, such as formal or casual.
Logo Integration
Incorporate your logo into the template, either in the header or footer. Ensure that it’s placed in a spot that doesn’t distract from key content but still remains visible for brand recognition. Adjust the size to match the overall design while maintaining legibility.
Content Layout Adjustments

Modify the layout to highlight your key products, services, or contact information. Reorganize sections as needed so that the most important elements of your brand are front and center. Customizing the layout ensures that your template serves your business’s goals effectively.
Brand-Specific Imagery

Substitute any stock images with photos that represent your brand or business environment. Authentic visuals resonate more with customers, conveying a more personal touch. Ensure that image quality aligns with your brand’s professional appearance.
| Element | Customization Tips |
|---|---|
| Colors | Use brand’s hex codes to ensure consistency across all platforms. |
| Fonts | Replace default fonts with those from your brand’s style guide. |
| Logo | Place the logo in a strategic location for visibility without overpowering the content. |
| Images | Use images that reflect your business’s identity, avoiding generic stock photos. |
Regularly review your templates to ensure they continue to align with your evolving brand identity. A simple adjustment can significantly enhance brand consistency across all your business communications.
Receipt templates are commonly available in multiple formats like PDF, Word, Excel, and JPEG. Each format has its own set of advantages depending on how you intend to use or share the document.
PDF is widely preferred for receipts due to its universal compatibility across devices and platforms. It ensures the format remains intact, regardless of the operating system or software used to open it. PDF also allows for easy printing and secure sharing with encrypted options.
Word and Excel files are editable, making them suitable for businesses that require frequent updates or customizations. However, their compatibility may be limited across different platforms if the user does not have the required software (Microsoft Word or Excel).
JPEG and PNG formats are ideal for receipts that need to be visually captured or sent as images. They are useful for mobile applications but may not be suitable for high-volume or complex receipt management because they lack the ability to store detailed data in a structured way like PDF or Excel.
Before choosing a format, consider your primary need: whether you need a secure, non-editable receipt (PDF), an editable document (Word/Excel), or a simple image format (JPEG/PNG) for ease of sharing and viewing. Make sure to select one that suits both your workflow and the recipient’s device compatibility.
Always verify the license terms before using any template, especially for business purposes. Templates often come with specific restrictions on distribution, modification, or commercial use. Failing to comply can lead to legal disputes. If the template is provided with a license, make sure you fully understand its scope and limitations.
Copyright and Ownership
Check whether the template is copyrighted. If so, the creator retains ownership, and you may need to credit them or purchase a commercial license. Using copyrighted materials without permission can result in infringement claims. When modifying a template, ensure that your changes don’t violate the original terms.
Privacy and Data Protection
When incorporating personal or customer data into a template, make sure to adhere to data protection laws such as GDPR or CCPA. Templates designed for business transactions might include sections related to privacy policies, which must align with local regulations. Always consult a legal expert if unsure about how to handle sensitive information within a template.
To download a receipt template from Template.net, follow these steps:
Step 1: Visit Template.net
Go to the official website and search for the “Receipt Templates” section using the search bar or the categories listed on the homepage.
Step 2: Select a Template
Browse through the available receipt templates. Choose the one that best fits your needs. Template.net offers both free and paid options, so make sure to review the available templates and pick the right one.
Step 3: Download the Template
Once you’ve selected a template, click on it to view more details. You will typically see options to download in various formats, such as PDF, Word, or Excel. Choose the format that works for you and hit the download button.
Step 4: Open the Template

After downloading, open the file on your device. Make sure you have the appropriate software (like Word or Excel) installed to view and edit the template if needed.
Step 5: Customize the Receipt
Edit the template by filling in your business details, transaction information, and other specifics. Most templates are fully customizable to suit your needs, allowing you to add your company name, logo, transaction amount, and more.
Step 6: Save and Print
After editing, save the file to your computer. If you need a physical copy, print it directly from your device.
Avoid cluttering the receipt with unnecessary details. Stick to the most important information such as the date, the amount paid, the payment method, and the service or product description. Overloading the receipt with irrelevant data can confuse the recipient.
- Do not forget to include the business name and contact details. This makes it easier for customers to reach out in case of issues with the purchase.
- Ensure that the receipt includes a clear breakdown of the charges. Avoid ambiguous descriptions that may leave customers guessing about what they are being charged for.
- Check the formatting of the receipt. Ensure that all information is aligned correctly and easy to read. Messy layouts can create confusion and may reflect poorly on your business.
- Avoid using unclear abbreviations or codes. Use full words whenever possible to ensure the customer understands what they are paying for.
- Ensure the total amount is easy to find. The total should be prominently displayed, making it simple for the customer to verify the amount paid.
Inaccurate or inconsistent formatting can make receipts difficult to process. It is important to standardize the receipt template so that all receipts look the same and convey the necessary information clearly.
To create a well-structured receipt template, prioritize clarity and simplicity. Ensure all essential details are included in an organized format, such as the date, item description, quantity, price, and total. Avoid cluttering the receipt with unnecessary information. A streamlined design allows for quick reference and easier understanding for both the customer and business.
- Include business information: Clearly state the name, address, and contact details of your business at the top of the receipt.
- Provide a unique receipt number: Each receipt should have a unique identifier to keep track of transactions and avoid confusion.
- List items or services provided: Include a detailed list with item names, quantities, unit prices, and total amounts for each item or service.
- State the payment method: Specify whether the payment was made via cash, credit card, or any other method.
- Show the total amount: Highlight the total amount the customer paid, including taxes or any additional fees.
- Offer a return or exchange policy: If applicable, include brief information on your return or exchange policy.
Formatting Tips

- Use bold or larger font size for the total amount to make it stand out.
- Ensure spacing is adequate between each section to prevent clutter.
- Consider using bullet points or numbered lists for clarity.
Keep the design consistent with your branding. A well-formatted, clear receipt reflects professionalism and builds trust with customers.