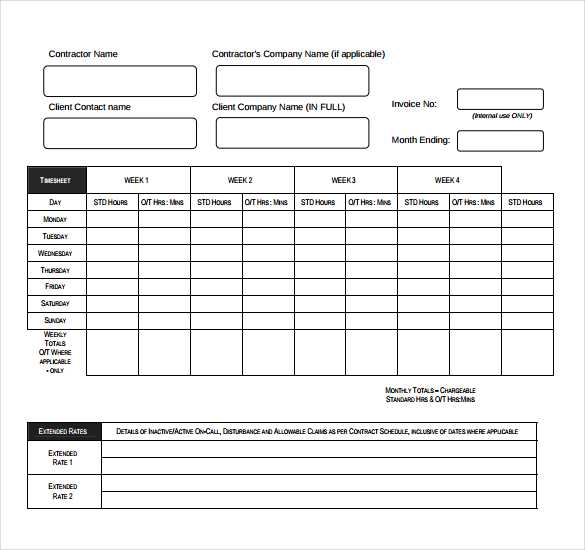
A clear and simple template for contractor receipts helps both the contractor and the client keep track of payments and services rendered each month. Make sure to include the project name, service description, and the total amount for transparency. This keeps everything organized and ensures both parties are on the same page regarding payment details.
Start with the contractor’s name and contact information at the top, followed by the client’s details. Include the receipt date, along with a breakdown of services performed, hours worked, and the corresponding rates. If applicable, include any taxes or additional fees. This section should be clear and easy to understand, so there are no disputes later on.
Finally, provide a section for payment terms and the total amount due. Make sure to clearly state the payment method accepted and any other necessary instructions. This ensures both parties know when and how the payment should be made.
Contractor Monthly Receipt Template
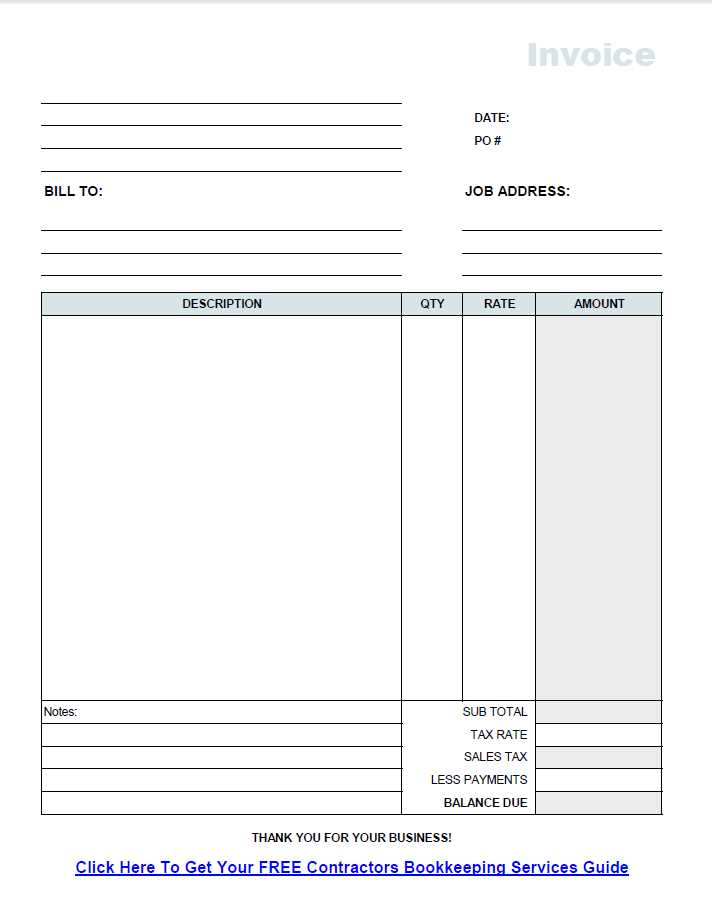
A contractor’s monthly receipt should clearly reflect the work completed, payment received, and any additional expenses or deductions. It is essential to list each service provided along with corresponding rates, hours worked, and applicable taxes. Ensure accuracy by including specific project details and payment dates to avoid any confusion later.
Key Components of a Contractor Monthly Receipt
Each receipt should include the contractor’s name, address, and contact information, followed by the client’s details. List the date of issue, and include an itemized breakdown of services rendered. The total amount due, including taxes or fees, should be calculated at the bottom, clearly showing the final sum payable. Always reference any previously agreed-upon terms or contracts for clarity.
Best Practices for Creating a Receipt
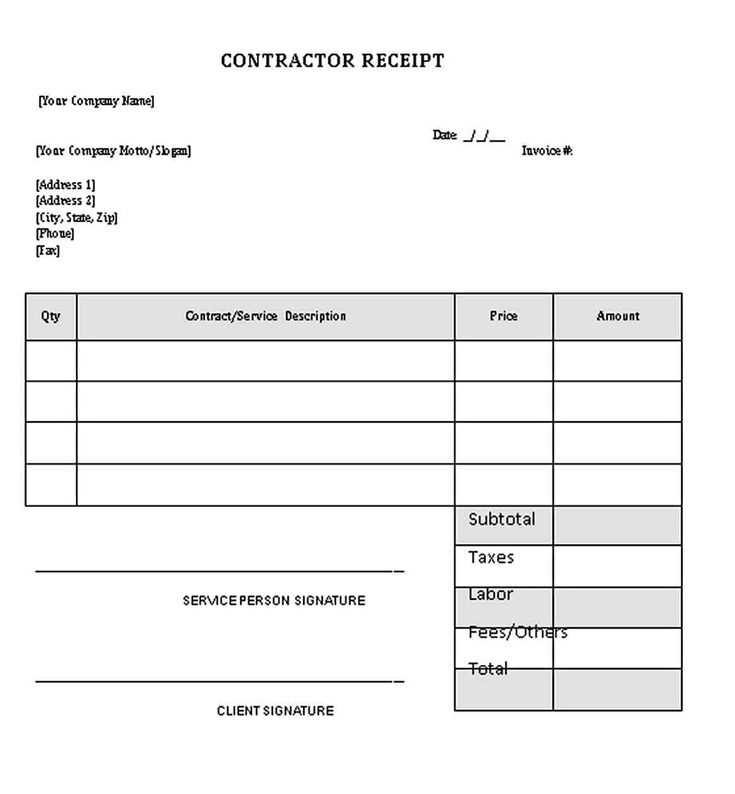
Keep the format consistent and professional. Use clear, readable fonts and organize information logically. For repeat clients, incorporate a reference number for easy tracking. Avoid vague terms; instead, provide specific descriptions of services or products provided. Save each receipt digitally and maintain a backup to ensure all records are readily accessible if needed for future reference.
How to Design a Simple Contractor Receipt Template
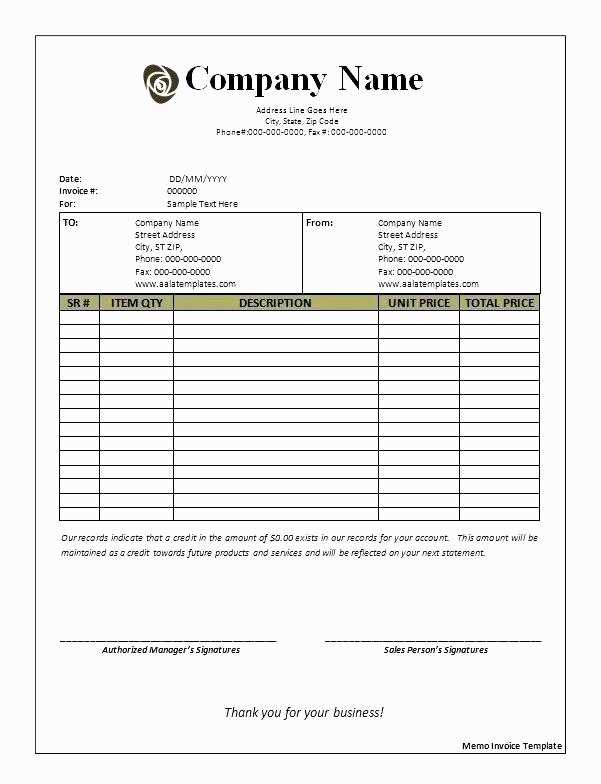
Begin by including key details at the top of the receipt: contractor name, business name (if applicable), contact information, and receipt number for easy reference. This provides clear identification for both the contractor and the client.
Next, list the services rendered, including a brief description, the hours worked or quantity of services provided, and the rate per unit or hour. This ensures transparency and accuracy in billing.
Include the total amount due, broken down into categories if necessary (e.g., materials, labor, taxes). Clearly indicate the payment method and any applicable terms, such as due dates or late fees, to avoid confusion.
Finish with a thank-you note or an invitation to reach out for further work, keeping the tone professional yet approachable. This simple structure ensures that both parties have a clear record of the transaction.
Key Information to Include in the Receipt
Include the following details to make sure your receipt is clear and legally valid:
- Contractor’s Name and Contact Information: Clearly state the contractor’s full name, address, and phone number or email for communication.
- Client’s Details: Include the name and address of the client receiving the services.
- Date of Service: Specify the date(s) when the work was performed or goods were delivered.
- Description of Services or Goods: Provide a detailed description of the work completed or products supplied, including quantities and unit costs if applicable.
- Payment Amount: Clearly indicate the total payment due, including taxes, discounts, or adjustments if applicable.
- Payment Method: Specify how the payment was made, such as cash, cheque, credit card, or bank transfer.
- Receipt Number: Include a unique identifier for tracking purposes.
- Terms and Conditions: If applicable, include any payment terms, such as late fees or deposit requirements.
Ensure that all information is accurate to prevent misunderstandings and provide a clear record for both parties.
Customizing the Template for Different Contract Types
Adjust the contractor receipt template to reflect the specific details of each contract type. Start by including relevant payment structures and timelines unique to each contract.
1. Time-Based Contracts
- Include hourly or daily rates and the total number of hours worked or days billed.
- Specify the work period to ensure clear billing intervals (weekly, bi-weekly, or monthly).
- Account for overtime rates or bonus payments based on the contract terms.
2. Project-Based Contracts
- Break down payments into project milestones with corresponding dates for clarity.
- Attach detailed descriptions of completed tasks or deliverables for each milestone.
- Adjust the payment structure based on progress and completion status of the project.
3. Retainer Contracts
- Clarify the fixed monthly amount to be paid regardless of hours worked or tasks completed.
- Outline services covered under the retainer and any additional fees for extra services.
By making these adjustments, the receipt template becomes a useful tool for managing various contract types and ensuring accurate and transparent invoicing.
How to Add Payment Terms and Due Dates
Include clear payment terms and due dates to avoid confusion and ensure timely payments. Start by specifying the total amount owed, including any applicable taxes or fees. Next, outline the payment method, such as bank transfer, check, or online payment options.
Setting Payment Terms
Choose between standard terms, like “Net 30” (payment due within 30 days), or more customized options such as “Due on Receipt” or “Net 15.” You can also add early payment discounts or late fees to encourage prompt payments or cover delays. Be precise and transparent with these terms to prevent misunderstandings.
Determining Due Dates
The due date should be realistic and based on the project or agreement’s timeline. If the payment is due after the delivery of a product or service, make sure to set the due date accordingly. Include the exact date or specify a time frame (e.g., 30 days from invoice date). Clearly stating this will help both parties stay aligned on expectations.
Ensuring Legal Compliance in Contractor Receipts
Ensure that your contractor receipt template meets legal standards by incorporating key details required by tax authorities. Always include the contractor’s full name, business registration number, and tax ID number. This helps establish a clear and traceable transaction record. If you are dealing with international contractors, make sure their local tax requirements are addressed appropriately.
Key Legal Requirements for Contractor Receipts
Contractor receipts should contain specific information for them to be legally compliant. A receipt must clearly identify the contractor, the service provided, and the payment amount. Additional data, such as the payment date, a description of the work completed, and any applicable taxes, should be included. This will support both the contractor’s and client’s record-keeping for tax filing purposes.
| Receipt Component | Requirement |
|---|---|
| Contractor Name | Full legal name of the contractor or business |
| Tax Identification Number (TIN) | Contractor’s business or personal tax ID |
| Description of Services | Detailed description of the work performed |
| Payment Amount | Exact payment made for the services rendered |
| Invoice Date | Date the services were completed and payment was made |
| Applicable Taxes | State whether tax was included or excluded in the amount |
Tax Implications and Record Keeping
Maintaining accurate records of contractor payments is essential for tax purposes. Contractors must report their income based on the receipt documentation. Keep records of all receipts, as they might be needed for audits or tax filings. For businesses, ensuring that contractor payments are documented with proper receipts allows you to claim necessary deductions without complications.
Best Practices for Storing and Sharing Receipts
Store receipts in an organized and easily accessible manner. Use a digital format, such as scanning or taking photos, to avoid paper clutter. Choose a cloud storage service with good security features to ensure that your receipts are safe and available on all devices.
Organize Receipts by Categories
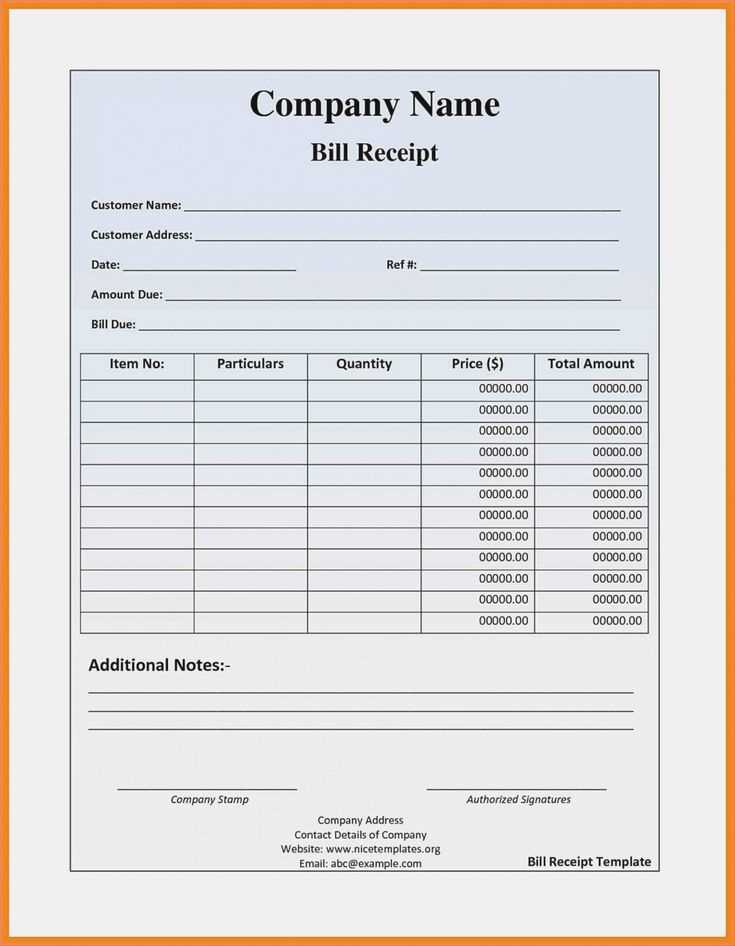
Group receipts into categories like purchases, expenses, or business-related costs. This organization helps quickly locate specific receipts when needed. Label folders with clear categories, such as “Work-related,” “Personal,” or “Tax-related,” for easy reference.
Share Receipts Securely

When sharing receipts, use secure platforms like encrypted email services or secure cloud storage. Avoid sending sensitive financial information over unsecured channels like text messages or public email accounts.


