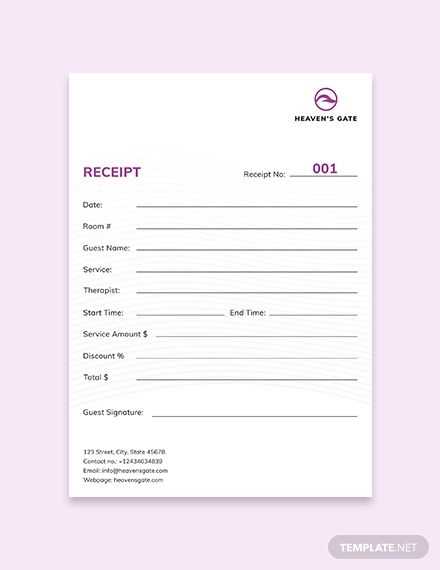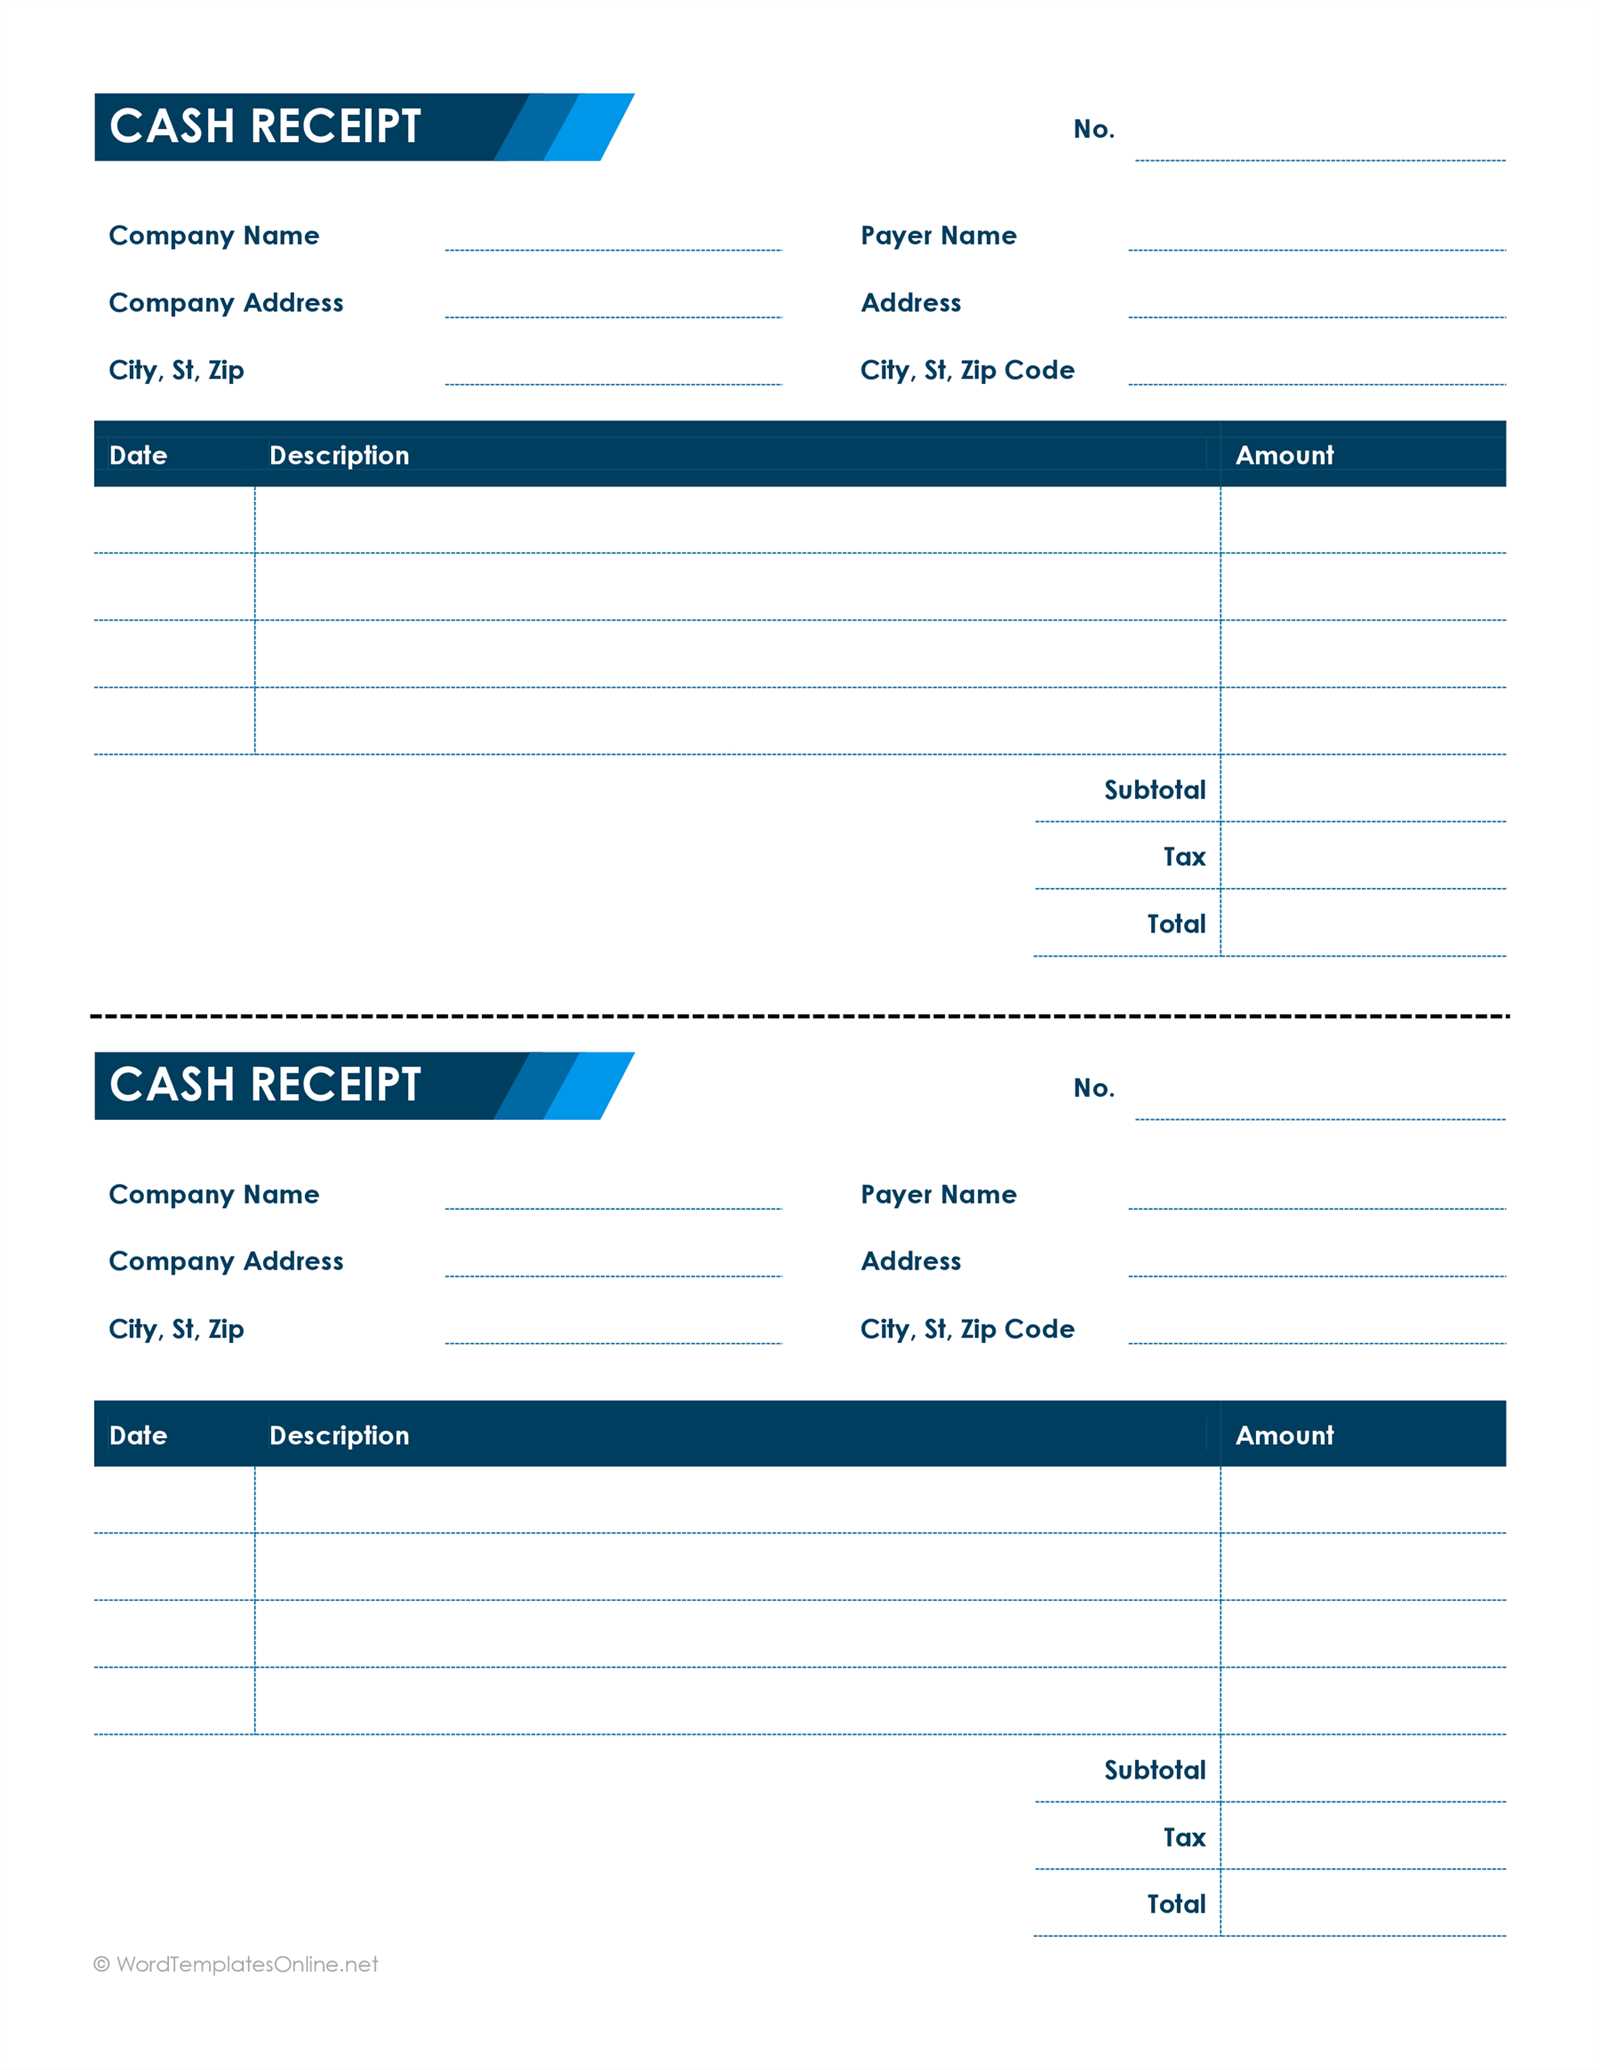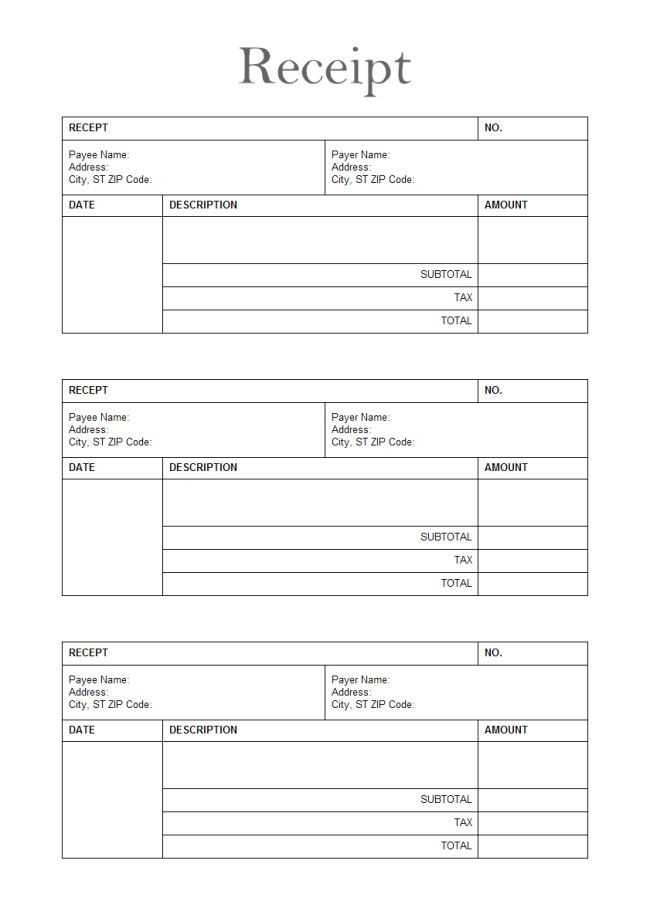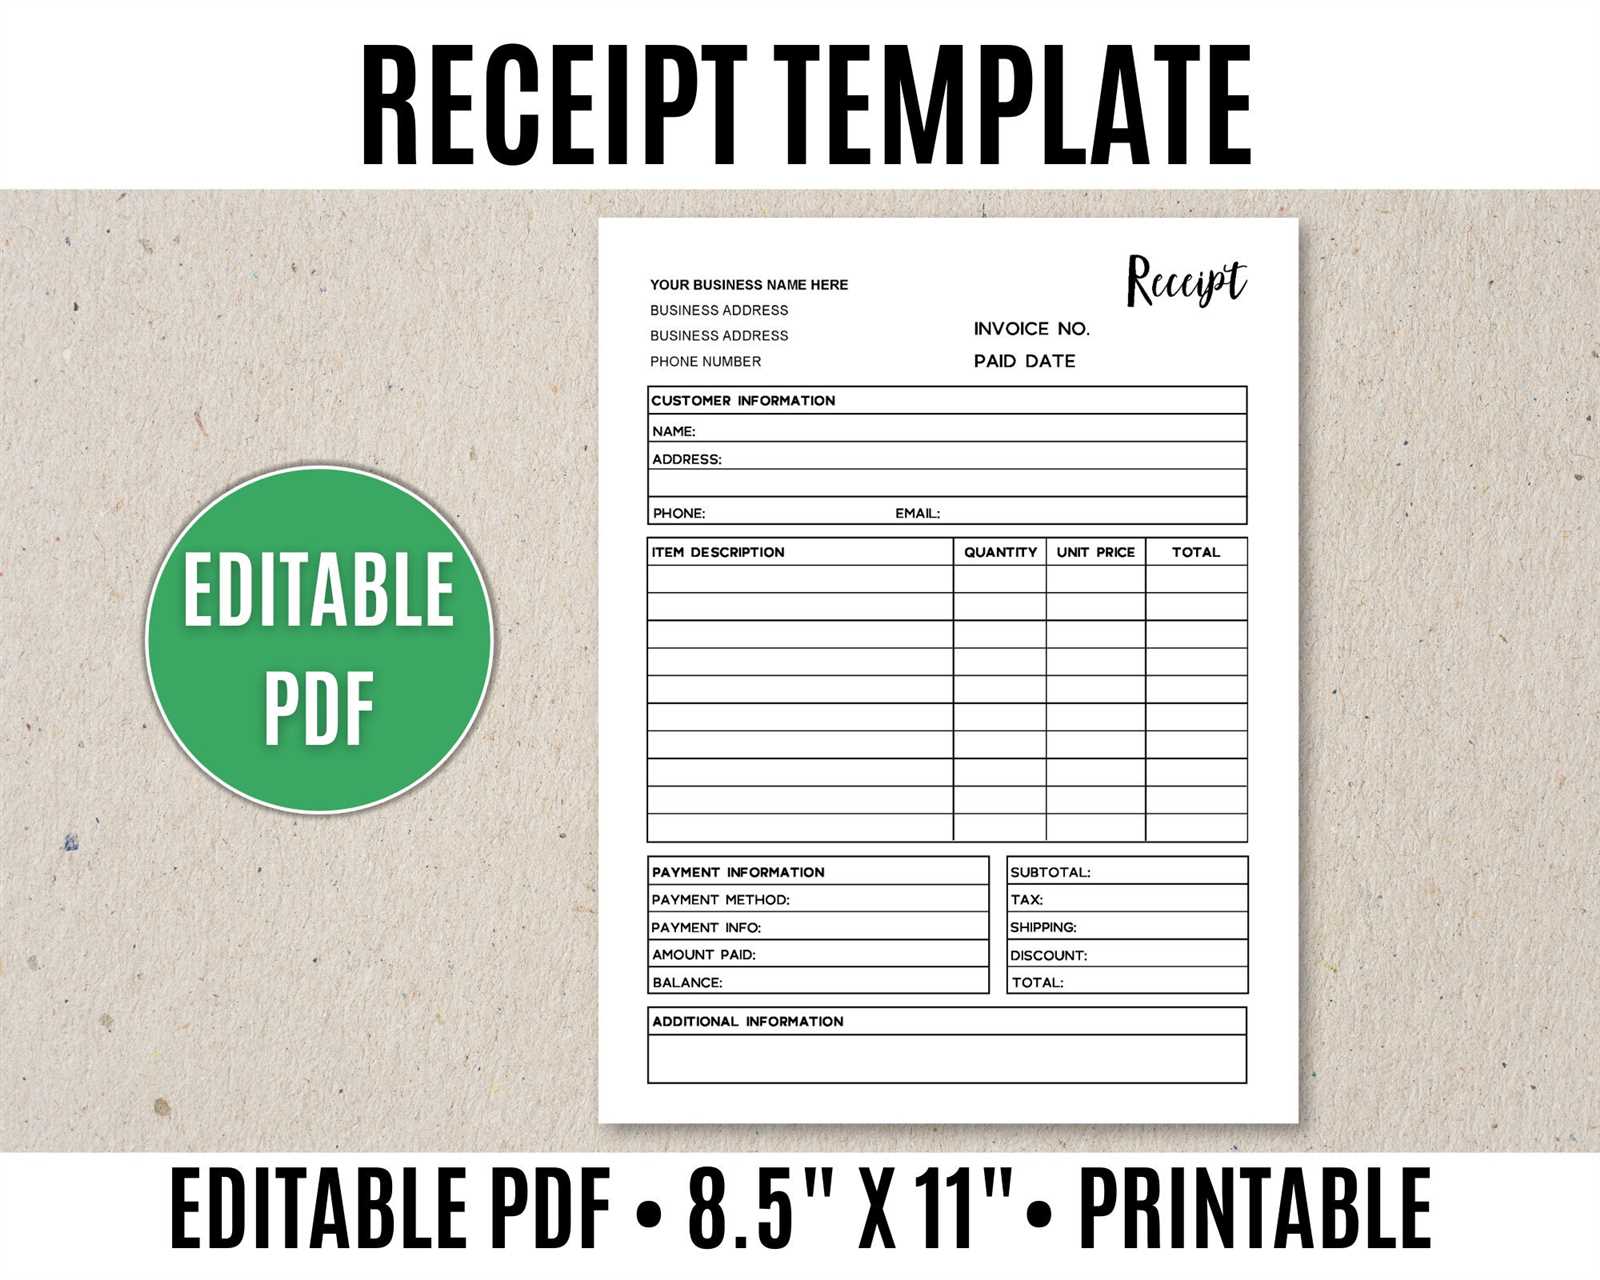
If you’re looking to streamline your receipt printing, consider using a Word template with three receipts per page. This setup ensures you’re saving paper while still providing clear, professional-looking receipts for your clients. The layout is simple to adjust, allowing you to tailor it for different purposes or preferences.
To get started, download an editable Word template that includes a three-to-a-page format. This type of template typically uses a table or custom margin settings to fit three receipts on each printed sheet. It saves you time by reducing the number of pages printed, especially if you have multiple transactions in a day.
Once you’ve downloaded the template, adjust the fields to match your business needs. You can modify the text for item descriptions, amounts, and other essential details. Customizing fonts and borders helps ensure the receipt reflects your brand’s identity.
Editable Receipt Template Word: Three to a Page
To create an editable receipt template in Word with three receipts per page, adjust the layout and utilize tables. Begin by setting the page orientation to “Landscape” for optimal use of space. In the “Layout” tab, select “Margins” and choose “Narrow” to maximize the printable area. Then, insert a table with three columns and one row. Adjust the table cells to ensure the receipts fit properly, leaving space for borders, text, and other necessary details.
Next, design the receipt layout within each table cell. Include fields for transaction details like date, amount, and payment method. Make the text editable by leaving placeholders where needed, such as Customer Name and Amount Paid. Use the “Content Controls” feature in Word to make these fields interactive.
After setting up the first receipt, copy and paste the layout into the other two cells of the table. This will give you three receipts on one page, all with identical formatting but ready for individual customizations. Save the template for easy reuse, ensuring that you maintain consistency across all receipts.
This layout provides an efficient way to print multiple receipts at once, streamlining the process for high-volume transactions or regular use. Adjust margins and spacing if necessary to accommodate different receipt formats or additional information.
Creating a Customizable Template in Word
To build a customizable receipt template in Word, first open a new document and set the page layout to “Landscape” for a more compact layout. Use “Table” to create a grid that will allow you to divide the page into three sections. Choose a table layout that fits three columns to structure your receipt neatly.
Adjusting the Table for Your Needs
Once the table is inserted, resize the columns so that they match the desired width for each receipt. You can manually adjust the column widths by clicking and dragging the edges of the columns. Ensure the columns are evenly distributed for a clean and balanced look.
Formatting the Text and Adding Placeholders

In each cell, insert placeholders like Date, Amount, and Service, which users can quickly replace when needed. Apply text formatting, such as bold or italics, for headings or important details. To make the template easier to use, adjust font size and spacing to enhance readability.
Once you’ve set the table and text formatting, save the document as a template. This allows you to reuse it without altering the layout each time. Select “Save As” and choose the .dotx format to keep your template ready for quick edits.
Adjusting Margins and Layout for Optimal Fit
Begin by setting appropriate margins. In most word processors, navigate to the “Page Layout” tab and select “Margins.” Opt for a custom margin setting, ensuring the top, bottom, left, and right margins are not too large. A good starting point is 0.5 inches on all sides, but feel free to adjust depending on how much content you need to fit on the page.
Fine-tuning the Layout
Next, choose a layout that suits the three-receipt-per-page format. Set the page to “Portrait” orientation to ensure a vertical arrangement. Under the “Columns” setting, select “Three.” This will divide the page into three equal sections. Adjust the column spacing to at least 0.5 inches to prevent the content from appearing cramped.
Preview and Adjust
Always preview your layout before finalizing. Go to “File” and select “Print Preview.” If the receipts appear too squished or misaligned, tweak the margins or column width until everything fits comfortably. Make sure there is enough space between each receipt to prevent them from overlapping when printed.
Tip: When printing, use a test page to confirm the layout fits perfectly within the printable area. Adjust if necessary to avoid cutting off any content.
Inserting Logos and Branding Elements
To incorporate logos and branding elements, focus on simplicity and consistency across your document. Place the logo in the header or footer to keep it visible on every page. Ensure the logo’s size doesn’t overwhelm the content or take up unnecessary space. Align the logo with text or other elements for a clean, balanced look.
Use the following steps to insert logos and branding elements:
| Step | Action |
|---|---|
| 1 | Insert your logo by selecting “Insert” and choosing “Picture” from the toolbar. Adjust the size as needed. |
| 2 | For consistent branding, use the same color scheme for headings and other elements. Pick a style that matches your logo. |
| 3 | Apply your brand’s fonts throughout the template for uniformity. Ensure readability by avoiding overly decorative fonts. |
| 4 | Use your brand’s tagline or slogan sparingly on the receipt. Keep it short and positioned away from the main content to avoid distraction. |
Adjust margins and alignment to make sure the logo doesn’t interfere with important receipt details. Keep branding subtle but clear.
Adding Dynamic Fields for Date and Amount
To make the receipt template adaptable, it’s necessary to add dynamic fields for the date and amount. These fields will update automatically each time the template is used.
Inserting Date Field
- Open the Word document where the receipt template is located.
- Place the cursor where you want the date to appear.
- Go to the “Insert” tab and select “Date & Time”.
- Choose the date format that suits your needs and click “OK”.
- To make the date field dynamic, select “Update Automatically” in the options.
Inserting Amount Field
- Click on the spot where the amount should be displayed.
- Navigate to the “Insert” tab, and select “Quick Parts” from the “Text” section.
- Choose “Field” from the dropdown menu.
- In the Field dialog box, select “MergeField” from the field names list.
- Enter the appropriate name for the amount field (e.g., “Amount”) and click “OK”.
- Ensure the field will be filled in when the document is finalized or merged with data.
Ensuring Consistency Across Multiple Receipts

Use a standardized template for all receipts to maintain uniformity. This ensures that all necessary fields, such as item descriptions, prices, and totals, are consistently placed on each receipt. Set margins and spacing consistently to ensure elements align properly on every page.
Ensure that fonts, font sizes, and colors remain the same across receipts. This prevents distractions and ensures clarity. Stick to one or two font styles, and avoid using multiple colors to maintain a professional appearance.
Apply the same header and footer layout on each receipt, keeping company details, logos, and contact information in the same spot. This creates a cohesive design that makes receipts easily recognizable and professional.
Test the template by printing multiple receipts to check if all fields align correctly on different printers. Adjust layout and font sizes if necessary to accommodate different paper sizes and printing conditions.
Saving and Exporting Templates for Future Use
To save your template for future use, first ensure that the document is complete and formatted to your preferences. Click on the “File” tab in Word, then select “Save As.” Choose a location on your computer or cloud storage for easy access. Name your template and select the file type as “Word Template (*.dotx)” to ensure it remains reusable without altering the original content.
Exporting Your Template

If you wish to share or store the template for use on other devices, consider exporting it. In the “Save As” menu, choose the desired location (e.g., cloud storage or external drive). Additionally, you can export the template in PDF format for distribution without the risk of editing. This is especially useful when sharing a static copy of the template with others.
Accessing Saved Templates
Once saved, templates can be easily accessed through Word’s template gallery. Simply open Word, go to “File,” then “New,” and select “Personal” or “Custom” to find your saved templates. This will allow you to quickly select and use your template without needing to recreate or adjust settings.


