Need a structured way to track daycare payments? Use an Excel receipt template to create clear, organized records. It simplifies invoicing, ensures accuracy, and provides parents with a professional proof of payment.
Customize the template by adding fields like child’s name, service period, total amount, and payment method. Automate calculations with formulas to reduce errors and save time. A well-designed receipt also helps with tax deductions and reimbursement claims.
Set up the template with dropdown menus for payment types and auto-fill functions for recurring charges. Format it for easy printing or digital sharing to maintain organized records. With a structured layout, every transaction remains clear and accessible.
Daycare Receipt Template in Excel
Use an Excel template to quickly create structured receipts for daycare payments. A well-organized format ensures clarity for both parents and providers, making record-keeping seamless.
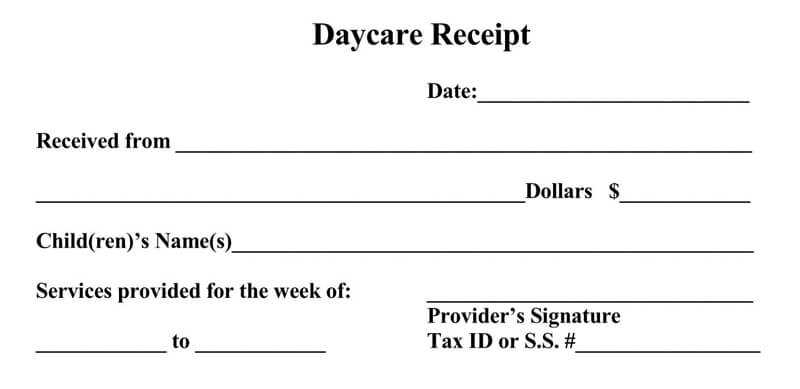
Include essential details: List the daycare’s name, contact information, and a unique receipt number. Add the child’s name, service dates, and payment amount. Break down charges if necessary, such as tuition, meals, or extended care.
Automate calculations: Use Excel formulas to total payments, apply discounts, and calculate outstanding balances. Pre-format cells for currency to keep figures clear.
Enhance readability: Use bold text for important fields like due dates and amounts paid. Align columns properly and add borders to separate sections. A signature line for the provider or parent adds credibility.
Save the template as a reusable file to streamline future transactions. Convert receipts to PDF before sharing for a professional look.
Key Columns to Include in the Template
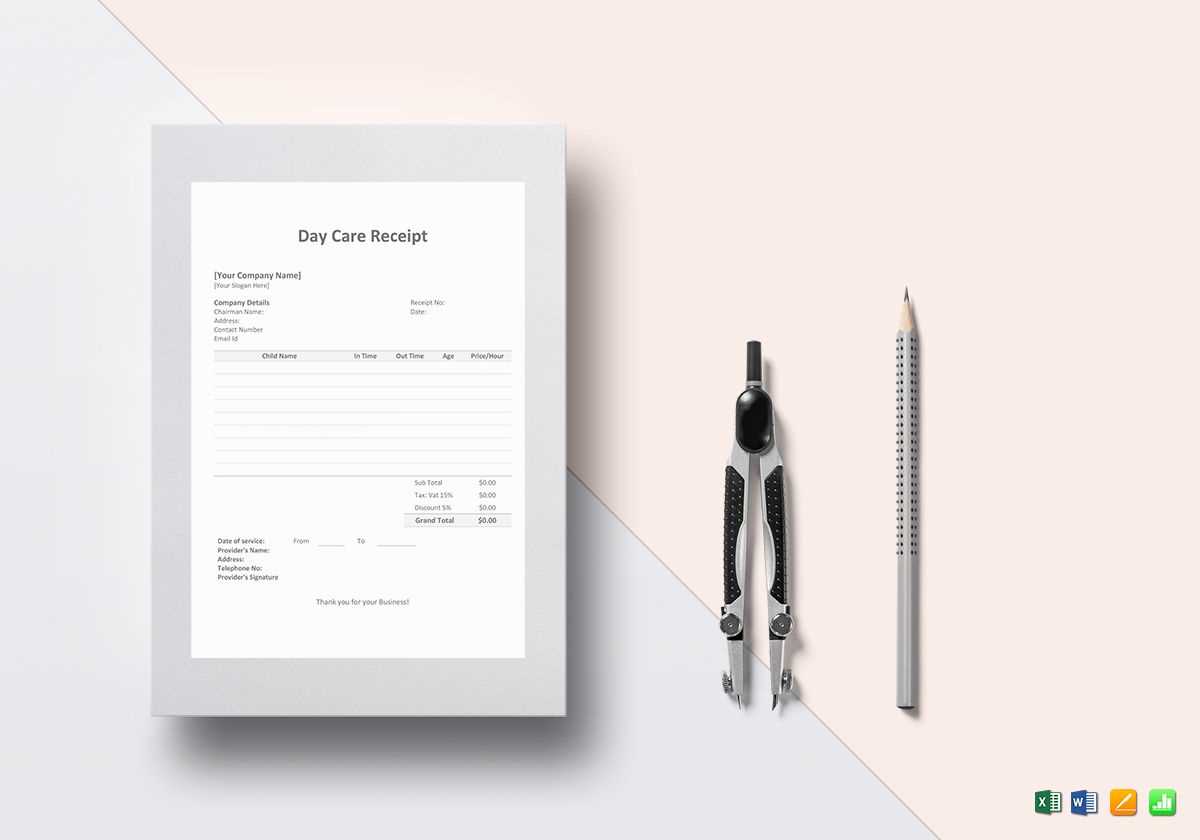
Ensure the receipt includes all necessary details to maintain clarity and accuracy. A well-structured format helps both parents and daycare providers track payments efficiently.
Essential Billing Information
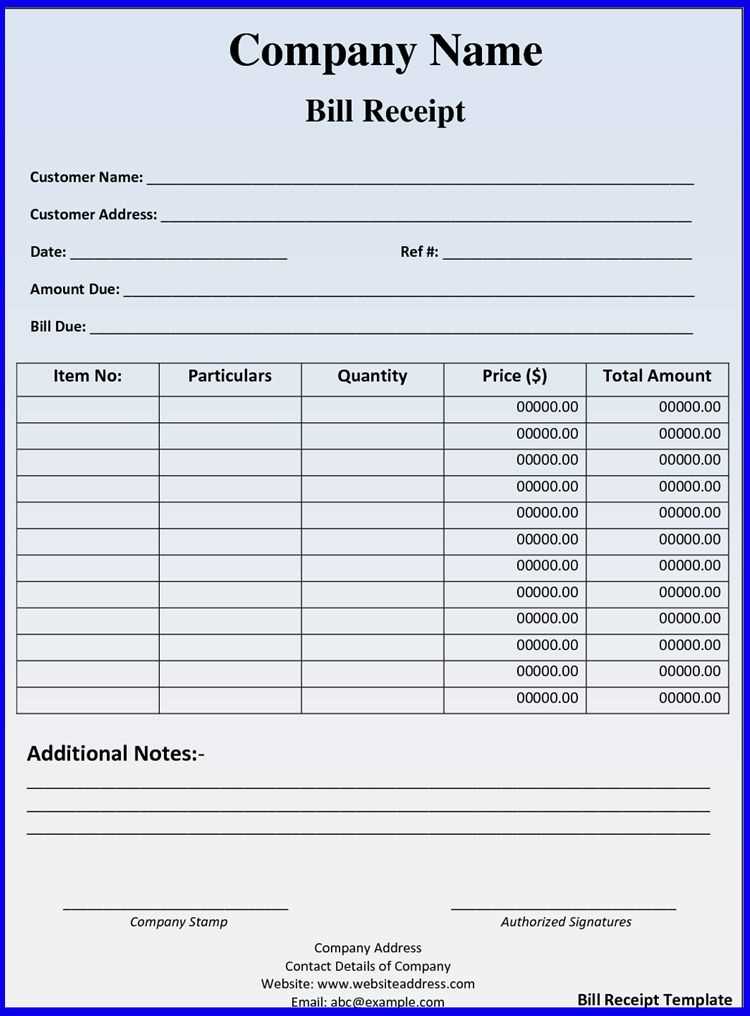
Include the daycare’s name, address, and contact details at the top. Clearly specify the invoice number and date to avoid confusion. The parent or guardian’s name should be listed along with the child’s name for easy reference.
Payment Breakdown
List all charges in an itemized format to show transparency. Indicate the billing period, service details, and applicable discounts or additional fees. Specify the total amount due, payment method, and any outstanding balance.
| Column Name | Description |
|---|---|
| Date | The date of payment or service period covered |
| Parent/Guardian Name | The name of the person responsible for the payment |
| Child’s Name | The enrolled child’s full name |
| Service Description | Details of the daycare services provided |
| Amount | The total charge for the service |
| Discounts/Fees | Any applicable reductions or additional costs |
| Payment Method | How the payment was made (cash, card, transfer, etc.) |
| Balance Due | Any remaining amount to be paid |
Including these columns ensures clear documentation, simplifies record-keeping, and minimizes potential disputes over payments.
Formulas for Automatic Calculations
Use Excel formulas to calculate totals, apply discounts, and track payments automatically. A well-structured template minimizes manual input, reducing errors and saving time.
Summing Up Charges
Calculate the total daycare fee using =SUM(range). For example, if daily charges are listed in cells B2 to B6, use =SUM(B2:B6) to get the total weekly cost.
Applying Discounts
To apply a discount, subtract a percentage from the total. If the total fee is in B7 and the discount rate is in C2, use =B7*(1-C2) to calculate the final amount after the discount.
For a flat discount, simply subtract the fixed amount: =B7-C3, where C3 contains the discount value.
These formulas ensure accurate calculations, keeping invoices clear and organized without extra effort.
Formatting for Clear and Professional Layout
Use a structured table format with clearly labeled columns to ensure readability. Include headers such as “Date,” “Child’s Name,” “Services Provided,” “Amount Due,” and “Payment Status” to keep financial records organized.
Consistent Fonts and Alignment
- Use a sans-serif font like Arial or Calibri for clarity.
- Align numerical data to the right for easier comparison.
- Keep text size between 10 and 12 points for readability.
Highlight Key Information
- Use bold text for totals and due dates to draw attention.
- Apply light shading to alternating rows to improve scanning.
- Ensure all currency values include a dollar sign and two decimal places.
Maintain uniform spacing and borders to separate sections clearly. Save the template as a protected sheet to prevent accidental edits while allowing data entry in designated fields.
Customizing for Different Payment Methods
Set up distinct columns in Excel to track various payment types. Use labels such as Cash, Credit Card, Bank Transfer, and Check for clarity. Assign a unique code to each method for quick filtering and sorting.
Format currency cells to match the specific payment method. For example, apply accounting format for bank transfers and general number format for cash transactions. This prevents rounding issues and ensures consistent financial records.
Use conditional formatting to highlight overdue payments based on payment method. Set rules to turn cells red if a Check remains uncleared after a set number of days or a Credit Card transaction fails.
Automate calculations with SUMIF functions to total each payment type separately. This makes reconciliation easier and speeds up reporting. If different fees apply based on method, integrate an IF formula to adjust final amounts dynamically.
Saving and Printing as PDF for Clients
Use Excel’s built-in Save As feature to quickly generate a PDF version of your daycare receipt. Click File, select Save As, and choose PDF from the file format dropdown. Set the destination folder and confirm by clicking Save. This method ensures the document retains its formatting across devices.
Optimizing Layout for PDF
Before saving, adjust the page layout for readability. Open the Page Setup menu, choose Fit to One Page, and check the Print Preview. If necessary, modify margins and font size to avoid cut-off text. Use landscape mode if the receipt extends beyond standard page width.
Printing Directly to PDF
For quick printing, press Ctrl + P, select Microsoft Print to PDF as the printer, and confirm with Print. Choose a filename and location, then save. This approach is ideal for one-time receipts without modifying the original Excel file.
Tracking and Organizing Receipts Over Time
Maintain a dedicated folder on your computer or cloud storage where you can keep all receipts digitally. Ensure the folder is organized by month or category for easy reference. You can create subfolders for each child or type of service, depending on your needs. This helps keep things manageable and reduces the risk of losing important documents.
Using Excel for Organization
Use an Excel template to track the details of each receipt. Include columns for the date, amount, provider name, and type of service. Adding a column for notes can also help if you need to track additional details. Update the spreadsheet regularly so you don’t fall behind, and use filters to quickly find specific receipts when needed.
Regular Updates and Maintenance
Set a reminder to update your records weekly. If you’re organizing physical receipts, make it a habit to scan them as soon as you receive them. This reduces clutter and ensures your records are always up-to-date. By reviewing your receipts consistently, you can spot any discrepancies early and address them quickly.


