Steps to Select an Email Template

To streamline your parcel receipt process, it is crucial to choose an appropriate email template within the wizard. This ensures consistency in communication and speeds up the process. Here’s how you can select the right template:
- Access the Email Template Section: Once you are in the Parcel Receipt Wizard, locate the section that deals with email notifications. This is where you can choose the email template.
- Review Available Templates: Explore the available templates. They are often categorized based on the type of notification, such as confirmation, delivery, or dispatch status.
- Select a Template: Choose the template that best matches your communication needs. Pay attention to the tone and structure of the template to ensure it aligns with the message you intend to convey.
Customize the Template

After selecting the template, you can customize it further to better suit your brand or message. Here’s what you can adjust:
- Subject Line: Tailor the subject line to reflect the content of the email.
- Body Content: Edit the message to provide specific details about the parcel or the delivery process.
- Signature: Add a personalized closing or signature for a more professional touch.
Preview and Save

Before finalizing, always preview the email template to ensure it looks as expected. Once you’re satisfied with the customization, save the changes. This will ensure that future parcel receipts are sent with the right information in the chosen format.
Parcel Receipt Wizard: Choosing the Right Email Template
How to Select the Correct Template for Parcel Receipts
Understanding the Effect of Template Choice on Communication
Common Mistakes to Avoid When Choosing an Email Template for Receipts
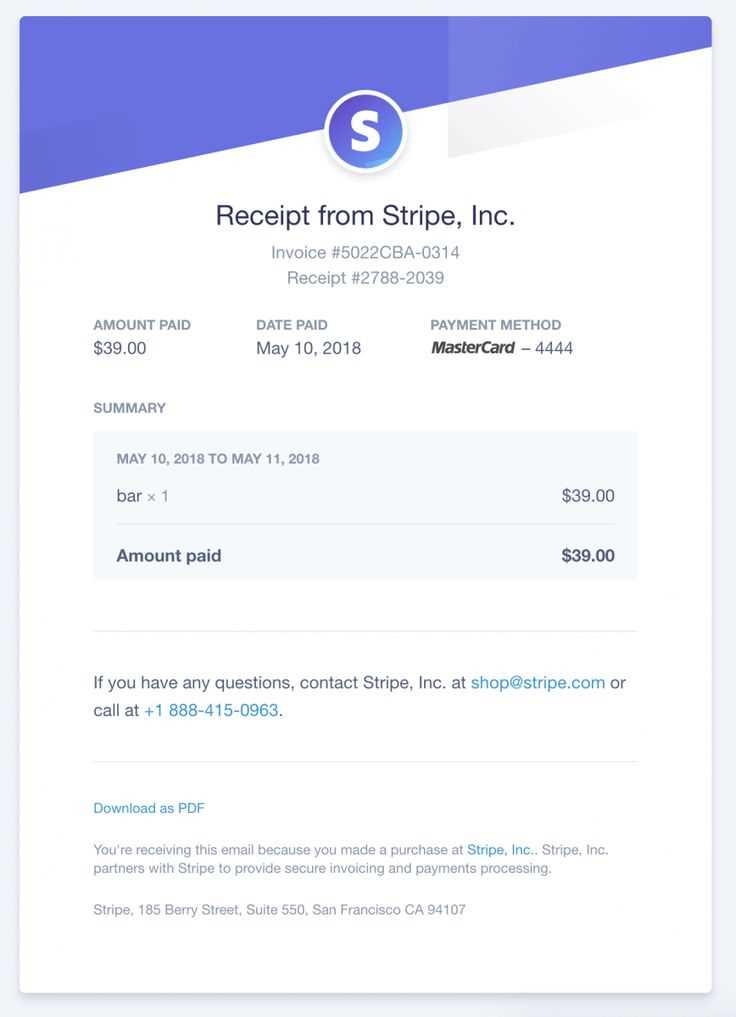
Start by selecting the template that aligns with your brand’s tone and the purpose of the communication. If you’re confirming receipt, choose a professional and concise layout. For more detailed receipts, select a template that includes space for tracking information, itemized lists, or personalized notes.
Pay attention to the clarity of the content. Make sure the template clearly displays critical details such as parcel status, expected delivery times, and any actions required by the recipient. The clearer the message, the smoother the customer experience.
Ensure the template is mobile-friendly. Many customers read receipts on mobile devices, so it’s essential that the email format adapts well to different screen sizes. Avoid overloading the template with too much text or overly complex visuals that can distract from the key message.
Avoid common mistakes like using generic templates that lack personalization. Receipts are an opportunity to reinforce your relationship with customers, so include their name and relevant parcel details. Don’t choose templates with outdated or irrelevant language, as this could lead to confusion.
Lastly, double-check that the template complies with any necessary regulations or company policies. This ensures the recipient receives accurate, legally compliant information in the format they expect.


