If you’re looking to quickly create professional-looking receipts, Microsoft Office templates are a reliable solution. With pre-designed formats, you can easily fill in your details without the need for designing from scratch. The templates are available for both Word and Excel, offering flexibility depending on your preferences and needs.
Excel templates are particularly useful if you require more flexibility with numbers, calculations, and totals. You can quickly modify the fields for item prices, quantities, and tax rates, and let Excel handle the math for you. On the other hand, Word templates are great for a straightforward receipt format, providing a clean, simple layout for easy printing.
To get started, simply open Microsoft Office and search for “receipt” in the template gallery. You’ll find various options for sales receipts, donation receipts, and service invoices, all of which can be customized to fit your business or personal needs. It’s a quick way to create professional receipts without needing advanced design skills.
Microsoft Office Templates for Receipts
Microsoft Office offers several receipt templates that make tracking purchases and generating invoices easier. These templates can save time while maintaining a professional look.
Here are a few popular options available:
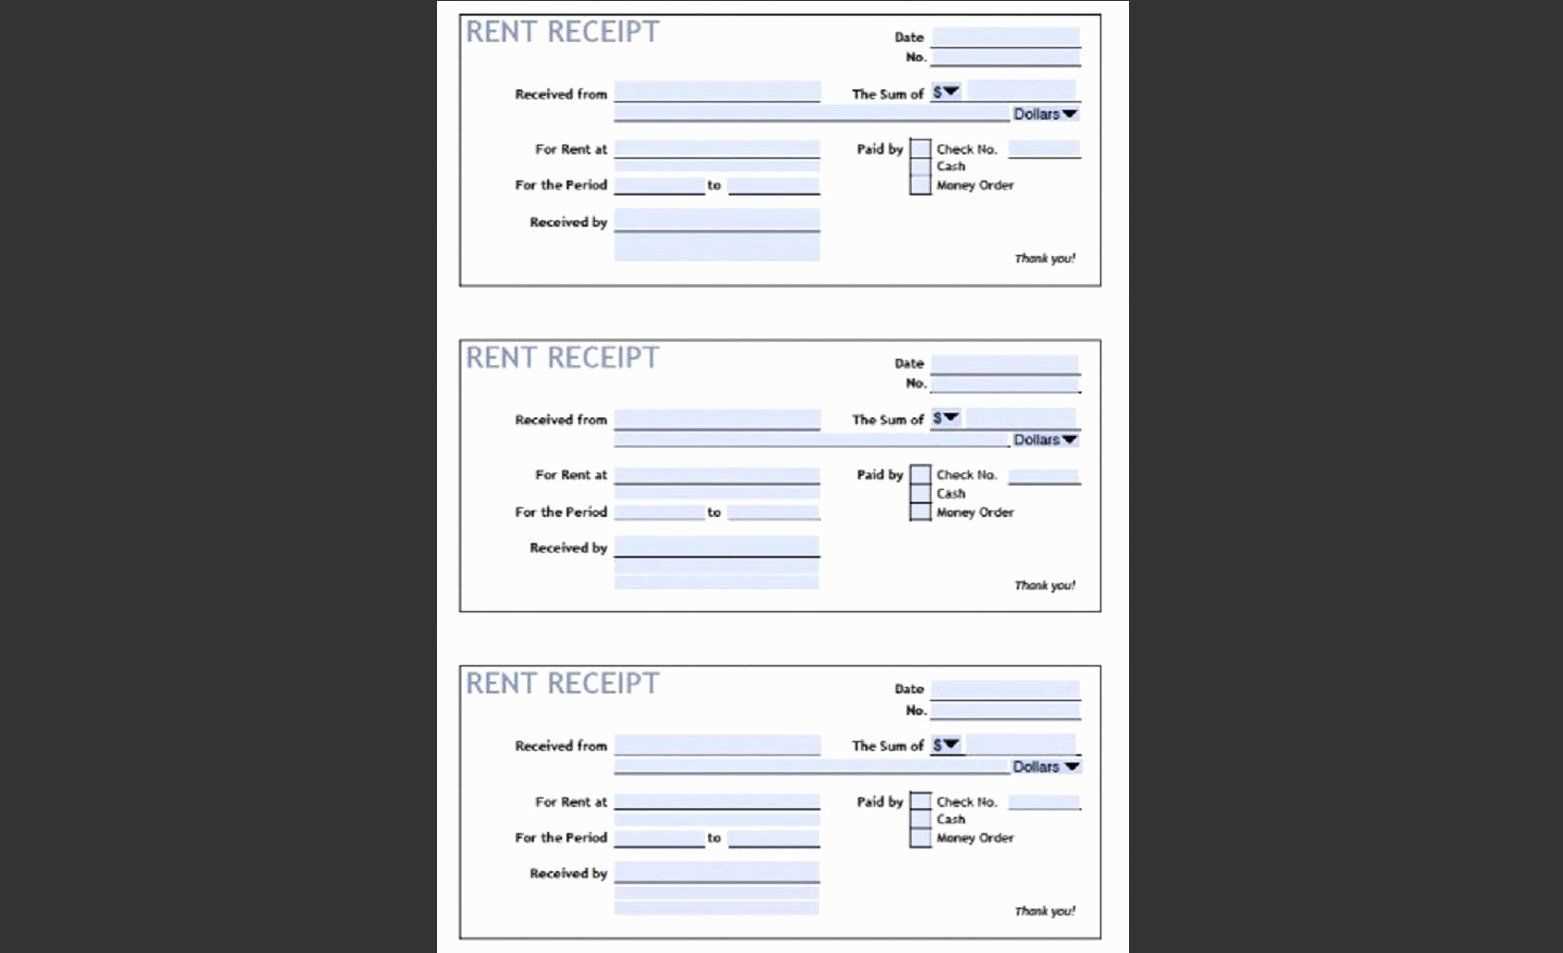
- Receipt Template for Sales: Ideal for small businesses, this template includes all the necessary fields such as date, buyer’s information, and a list of items purchased. It helps streamline the process of generating receipts for sales transactions.
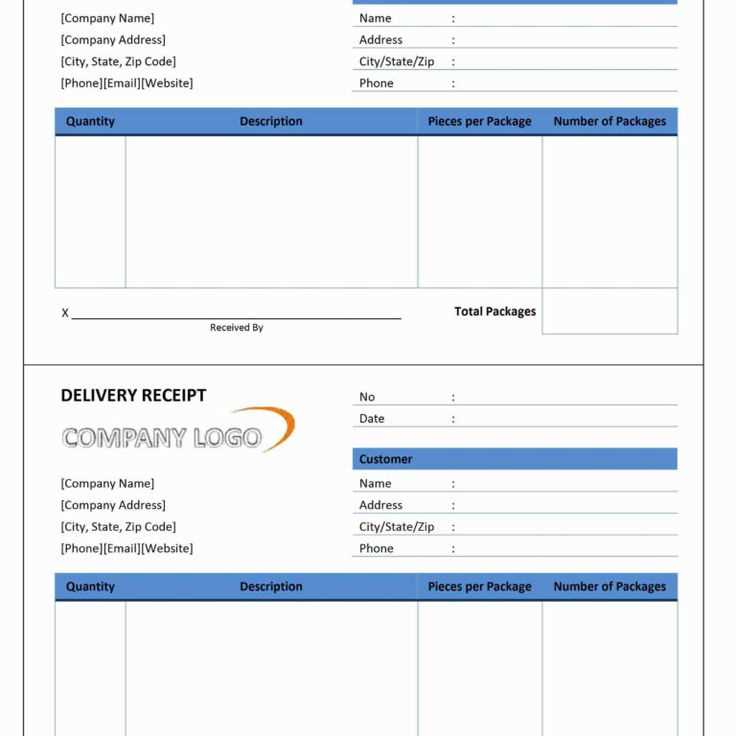
- Customizable Invoice Template: A great option for freelancers and service providers. This template allows you to modify text, add your logo, and include a payment breakdown. It provides flexibility for different types of transactions.
- Donation Receipt Template: Nonprofit organizations can use this template to issue receipts for donations. It clearly outlines the donor’s name, donation amount, and purpose of the contribution.
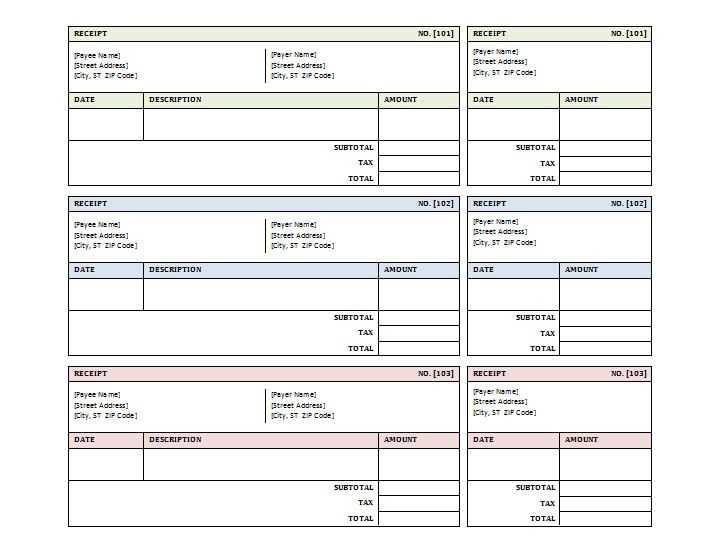
- Cash Receipt Template: This template is perfect for transactions made with cash. It includes sections for both the payer and receiver’s details, along with a breakdown of the transaction.
To find these templates, open Microsoft Word or Excel, go to “File,” then “New,” and search for “receipt.” Browse through the options and choose one that best suits your needs. You can also customize the templates to fit your branding or specific transaction details.
Using Microsoft Office templates ensures consistency across all your receipts and invoices. Whether you’re running a business or just need a simple receipt, these templates provide a quick and reliable solution.
How to Find the Right Receipt Template in Microsoft Office

Open Microsoft Office and go to the template section to search for receipt templates. Use the search bar and type keywords such as “receipt” or “invoice” to narrow down your options. Microsoft Office offers a variety of pre-designed templates tailored for different needs, from basic receipts to more detailed ones with additional fields for taxes and payment methods.
Refining Your Search
If you’re looking for something specific, add additional terms to your search, such as “simple receipt” or “business receipt.” You can also filter templates by categories, such as “business” or “finance,” to find receipts that suit your needs better. Once you find a template that fits, click to preview and ensure it matches your requirements before downloading it.
Customizing the Template

After selecting a template, you can easily customize it by replacing the placeholder text with your details. Adjust fonts, colors, and layout as needed to match your brand or personal preference. Microsoft Office tools like Word or Excel offer built-in editing features that make it simple to tailor the template without advanced design skills.
Customizing Receipt Templates for Your Business Needs
Begin by focusing on the specific information that your business needs to display on receipts. Identify key elements like business name, contact details, and tax information. Adjust the layout of the template to prioritize this data, ensuring it’s clear and easy to read.
Personalize for Branding

Add your logo, brand colors, and fonts to the template to align it with your company’s visual identity. This customization helps make receipts look professional and reinforces your brand image every time a customer receives one.
Include Additional Information

If necessary, include extra fields such as loyalty points, discount codes, or product details. These additions enhance the receipt’s value and make it more relevant for both your business and the customer.
Finally, ensure that the template is adaptable for different transactions, such as services, product sales, or refunds. Tailoring receipts to different scenarios keeps your records organized and meets customer expectations efficiently.
Steps to Properly Use a Receipt Template in Word and Excel

To use a receipt template in Microsoft Word or Excel, first, locate a template that fits your needs. Both programs offer a variety of pre-designed templates, allowing you to select one that suits your business or personal style. Once you’ve chosen the template, open it and make sure to adjust the layout if necessary. This ensures the template aligns with your preferred design, adding a personal touch where needed.
Customizing the Template
Replace placeholder text with your own information. This includes company name, transaction details, and contact information. In Excel, you can further adjust the columns for itemized entries or change the calculations to suit your pricing structure. Word allows easy editing of text, fonts, and images, so feel free to personalize the document as needed.
Saving and Printing the Receipt
Once you’re satisfied with the design, save the template as a new file. In Word, you can save the receipt as a document for future edits or as a PDF for immediate printing. In Excel, you can save it as a spreadsheet or a PDF for easier sharing. Print the receipt using the standard print settings or adjust margins and paper size if necessary to ensure the receipt fits properly on the page.