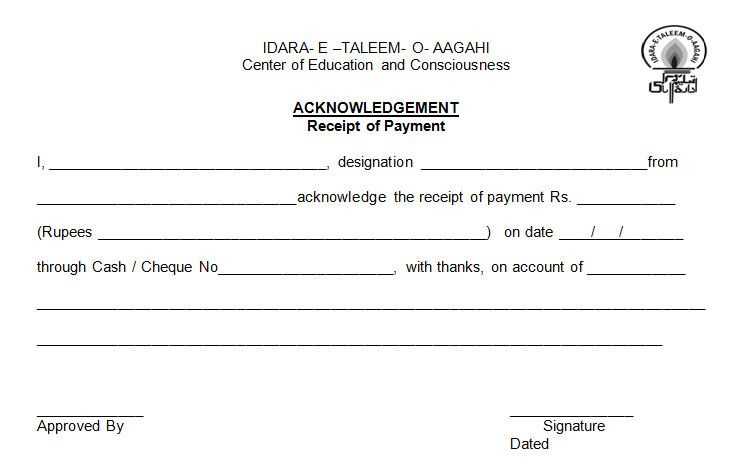
If you’re looking to streamline your receipt generation, a generic receipt template is a practical solution. This simple tool saves time, offering all the necessary fields for a receipt without any unnecessary complications. You can easily modify it to suit your needs–whether for small businesses, personal use, or any other purpose.
Downloadable free templates are widely available, and they come in various formats such as Word, PDF, or Excel. These templates often include sections for item descriptions, prices, payment methods, and contact details. Customize them as needed to ensure they reflect the exact information you want to capture. With a few adjustments, you’ll have a professional, clean-looking receipt ready in moments.
Opting for a generic receipt template allows you to create receipts consistently, whether for customers or personal records. The flexibility of these templates ensures that they can be adapted to meet different types of transactions, from retail to service industries. With just a few clicks, you can download and start using a template that fits your requirements, saving you both time and effort on administrative tasks.
- Detailed Guide on Creating and Using a Universal Receipt Template
Design a universal receipt template that includes key elements such as the seller’s and buyer’s details, itemized list, and total cost breakdown. This approach makes receipts consistent, clear, and easy to adapt for different businesses.
Key Elements to Include
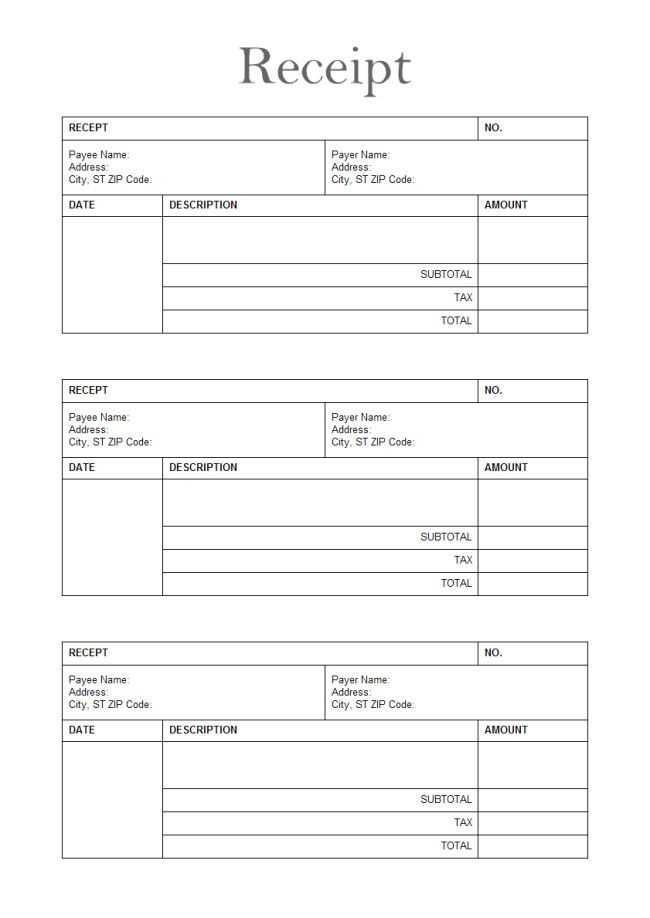
Include the following sections in your template:
- Business Information: Name, address, phone number, and email address. Optionally, include your website and tax ID.
- Receipt Number: A unique identifier for easy reference.
- Transaction Date: Date and time of the transaction.
- Itemized List: Each product or service sold, including quantities, prices, and applicable taxes.
- Total Amount: Clear breakdown of the total, including taxes and discounts.
- Payment Method: Specify whether the transaction was completed via credit card, cash, check, or another method.
Customizing the Template
Ensure that the template is adaptable for different business types. You can adjust fields like “itemized list” for businesses with more complex inventories or include sections for serial numbers for electronic goods. The template should also be easy to modify for recurring clients or different pricing schemes.
Once the basic structure is ready, save the template as a reusable document, such as in Word or Excel, or use online tools for receipt generation. This allows you to quickly create customized receipts while maintaining a consistent format.
Choose a template that aligns with your business style. Focus on the structure that best fits your brand–whether you need a clean, minimalist layout or something more detailed with sections for tax information, customer notes, or payment terms. Most free templates offer basic customization, so adapt the color scheme, fonts, and logos to reflect your company’s identity.
1. Tailor the Layout
Start by adjusting the overall layout. Remove unnecessary sections that don’t apply to your business, and add fields that are specific to your products or services. Ensure that key details such as company name, contact information, and invoice number are clearly visible.
2. Modify Text and Formatting
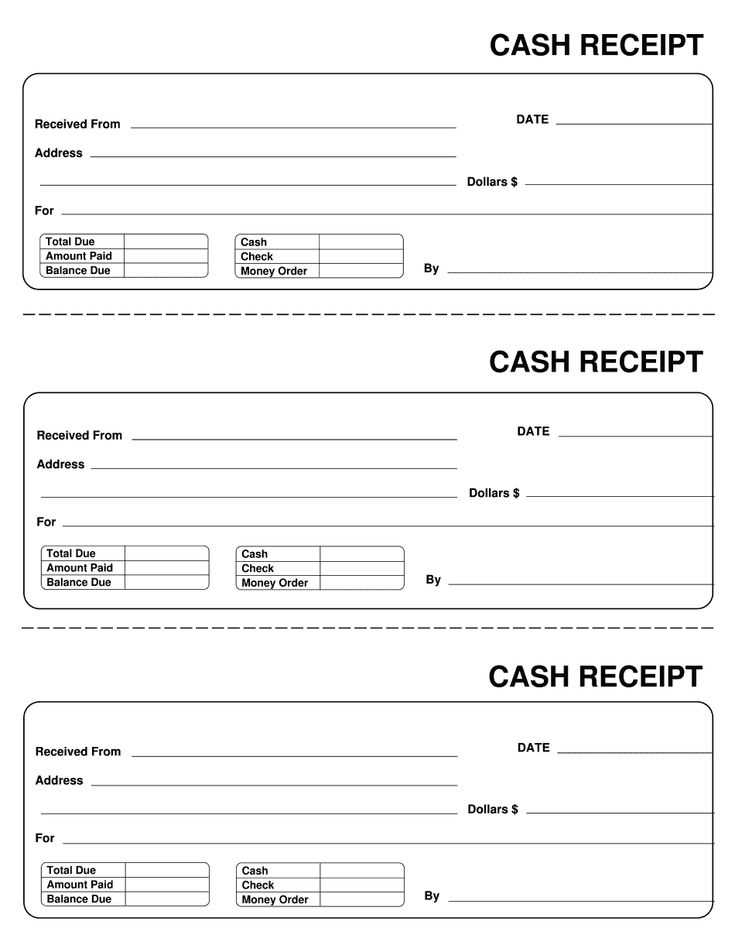
Edit default text, like “Thank you for your purchase,” to match the tone and messaging of your brand. Adjust font styles and sizes to maintain readability while staying consistent with your business’s visual identity.
3. Add Specific Business Details
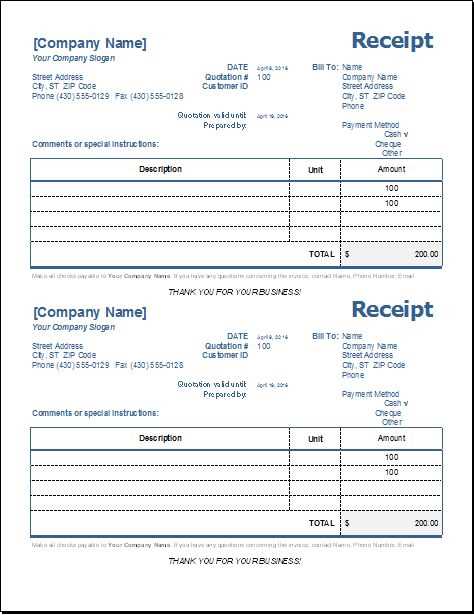
- Include tax identification numbers, shipping addresses, or payment methods that are relevant to your transactions.
- Consider adding terms and conditions, return policies, or any legal disclaimers that are pertinent to your services or products.
4. Consider Automation Features
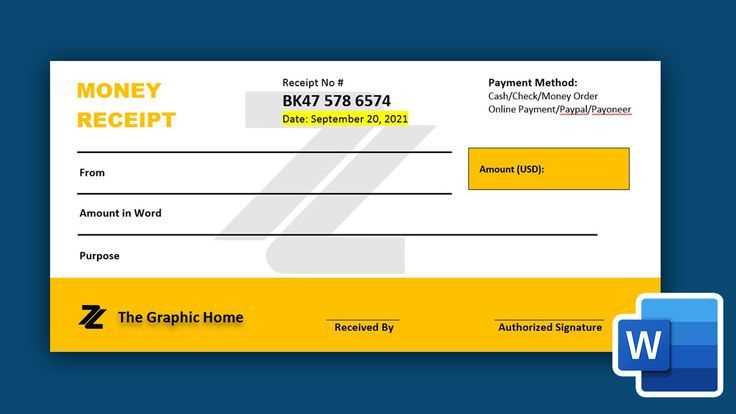
If the template supports dynamic fields (such as dates or invoice numbers), enable these features to save time and reduce human error. For instance, automated fields for “issue date” and “due date” will help keep your records consistent.
With these tweaks, a free receipt template can be fully adapted to meet your unique business needs without the need for expensive software or professional design services.
Incorporate mandatory tax information into the receipt layout. This includes the proper display of tax rates and tax amounts for each item or service. Clearly label the subtotal, tax, and total amounts to avoid confusion. Many jurisdictions require the inclusion of tax identification numbers, so make sure to display your business’s tax ID number if applicable.
Ensure that the receipt includes the date and time of the transaction. Some regions also mandate showing the payment method, so always indicate whether the transaction was made via credit card, cash, or another form of payment. If your business applies discounts or special pricing, be sure to itemize those separately, indicating the amount or percentage of the discount.
Consider local regulations about rounding rules, as some countries or regions require rounding up or down to the nearest decimal place. Adhere to these rules when displaying amounts on the receipt to stay compliant.
Regularly check the specific tax laws in your region to ensure your receipt design continues to meet all legal requirements. If you are unsure, consulting a tax professional can help you avoid costly mistakes.
To integrate a receipt template into your point-of-sale (POS) system, follow these steps for a streamlined process. First, ensure your POS system allows custom template imports or modifications. Many POS solutions offer built-in template management features, enabling you to modify the receipt layout easily.
Design a template using a simple text or HTML editor. Focus on clear fields for transaction details like date, itemized list, prices, taxes, and totals. Ensure compatibility with your POS software’s printing capabilities. Typically, POS systems support text-based templates, but some allow HTML formatting for more detailed customization.
Once you have the template designed, upload it into the system’s template manager. Most systems allow you to preview the result before it goes live, so take advantage of this feature to ensure alignment and spacing look correct on paper receipts.
If your POS system supports dynamic data insertion, configure placeholders for variables such as customer name, total amount, or transaction ID. This can be done through a simple syntax like {{customer_name}} or {{total_amount}}, which the system will automatically replace with actual transaction data at the time of printing.
Test the template with various transaction scenarios to check for consistency in output. Check the printed receipts on different receipt paper sizes to confirm that no important data is truncated.
In case your POS system doesn’t support custom templates, consider using third-party software that can interface with your POS for template management. Many POS systems allow for integration with external tools, making it easier to design and implement templates that meet specific business needs.
By carefully designing and implementing these templates, your receipts will not only look professional but also serve functional purposes such as inventory tracking and customer data management.
Understanding the Structure of a Generic Receipt
When creating a generic receipt, focus on clarity and consistency. Begin with the header, which should include the business name, logo, and contact information. This ensures customers can easily reach out if needed.
Next, include a unique receipt number for record-keeping. This can be automatically generated or manually entered to track transactions. Then, list the items or services purchased, along with their prices, quantities, and any applicable taxes or discounts.
At the bottom, include a total amount, specifying whether it’s before or after taxes. If applicable, also note the method of payment–whether it’s cash, card, or another form. Finally, ensure there’s a clear area for the date and time of the transaction for easy reference.
By organizing your receipt with these components, you create a clear and professional document that serves both your business and your customers.


