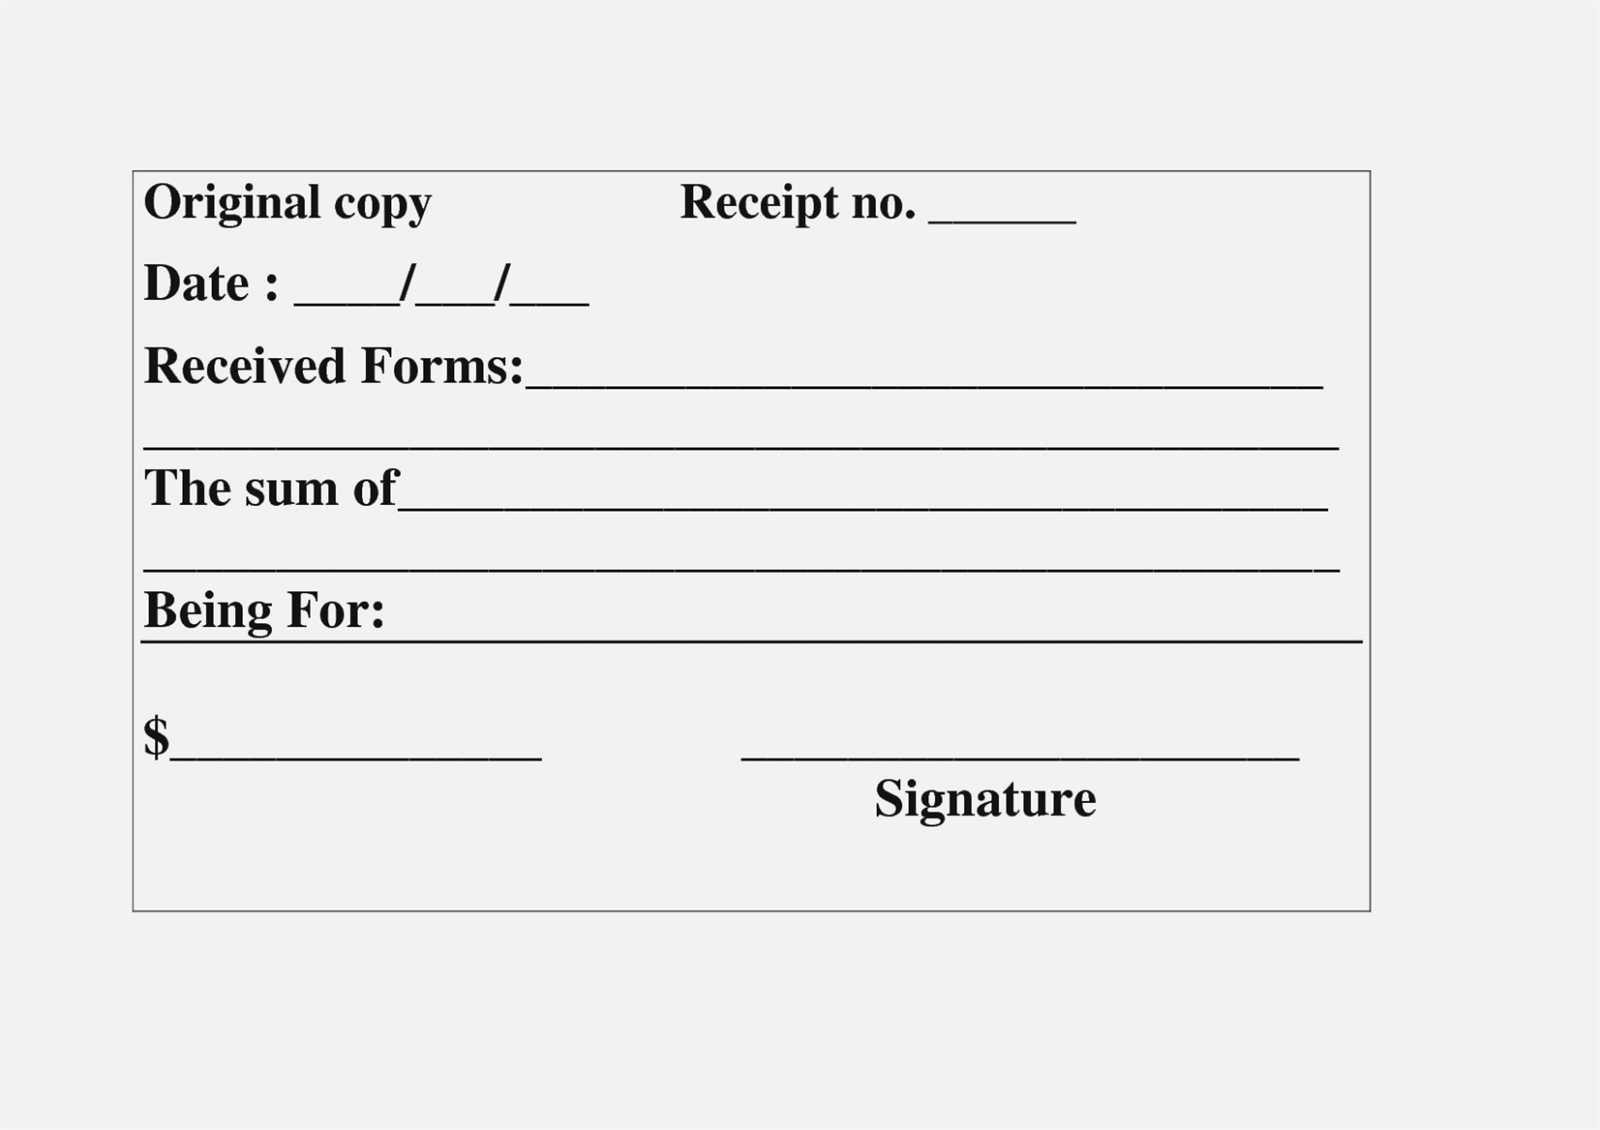
To create a clear and concise item received receipt, focus on including key details that confirm the transaction. A well-designed template should capture the item name, quantity, date of receipt, and condition upon arrival. These elements provide all the necessary information for both the buyer and seller to maintain accurate records.
Start with a header that identifies the receipt type and the involved parties. The buyer’s and seller’s names, addresses, and contact information should be listed at the top for easy reference. Right below, include a table or list that outlines the items received with their descriptions, quantities, and serial numbers if applicable. This minimizes confusion and ensures the buyer has received the correct items in the agreed quantities.
Be sure to include a field for the recipient’s signature and date of receipt, confirming the delivery has been completed. This can serve as a formal acknowledgment of the transaction, reducing the chance of disputes later. Keep the design simple, clean, and easy to read, with enough space between sections to avoid clutter.
By using this template, you ensure a smooth transaction process and reduce the risk of errors or misunderstandings between buyer and seller.
Item Received Receipt Template
An item received receipt template confirms that goods have been received and serves as a proof of delivery. This document helps both parties maintain a record of transactions, ensuring that items match the order and are in acceptable condition. A well-structured receipt should clearly list the item, date of receipt, and other necessary details.
Key Elements of the Template
Ensure the receipt includes the following details:
- Recipient Name: Include the name of the person or organization that received the item.
- Sender Information: Include the name and contact details of the sender or vendor.
- Item Description: A brief description of the item(s) received, including quantity and condition.
- Receipt Date: The exact date the item was received.
- Signature: A section for the recipient’s signature, confirming receipt of the items in the described condition.
Why Use a Receipt Template?
Using a template simplifies the process of documenting received items, reducing the risk of disputes. By following a clear structure, both parties can quickly verify and refer back to the details of the transaction. A standard template ensures that no important information is overlooked.
Creating a receipt template that is clear, organized, and easy to fill out will improve communication and provide a reliable record of transactions for both the sender and receiver.
How to Create a Clear Header for Your Receipt
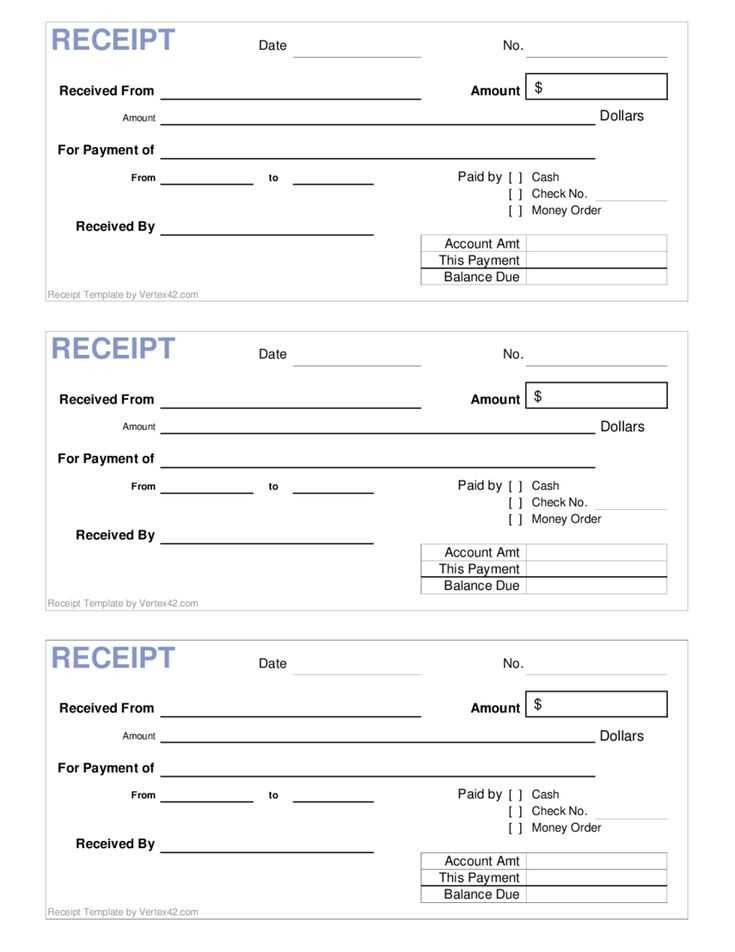
The header of your receipt should immediately communicate key details, ensuring the recipient understands who issued the receipt and what the document pertains to. Here’s how you can achieve a clean, functional header:
- Company Name and Logo: Place your company name at the top in a bold, easy-to-read font. If applicable, include your logo next to the name for brand recognition.
- Receipt Title: Clearly label the document as a receipt. Use simple text like “Receipt” or “Payment Receipt” that stands out.
- Date and Time: Include the date and time of the transaction. This helps in tracking and referencing specific purchases or payments.
- Receipt Number: Assign a unique identifier to each receipt. This is important for both record-keeping and any follow-up inquiries.
- Location/Address: If relevant, add the business location or address in case the receipt is being used for returns or inquiries.
Ensure all text is legible and aligns with the layout of the document for clarity. Avoid clutter and use adequate spacing to keep the header clean. Prioritize the most crucial information, and make sure it’s placed where it’s easy to find.
Customizing Fields for Specific Items and Quantities
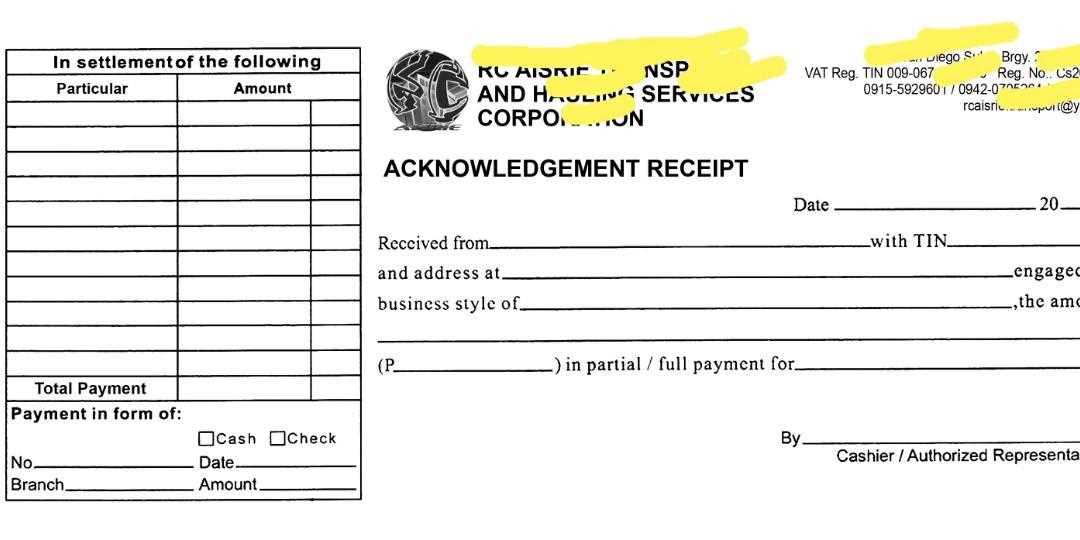
Tailor your item receipt templates by modifying fields based on individual items and quantities. This ensures the receipt reflects relevant details for each item, enhancing both clarity and accuracy. For example, you can create separate fields for product descriptions, unit prices, or discounts based on the quantity purchased. Customizing these fields allows for more flexibility, especially when dealing with bulk orders or special promotions.
Setting Custom Fields for Different Quantities
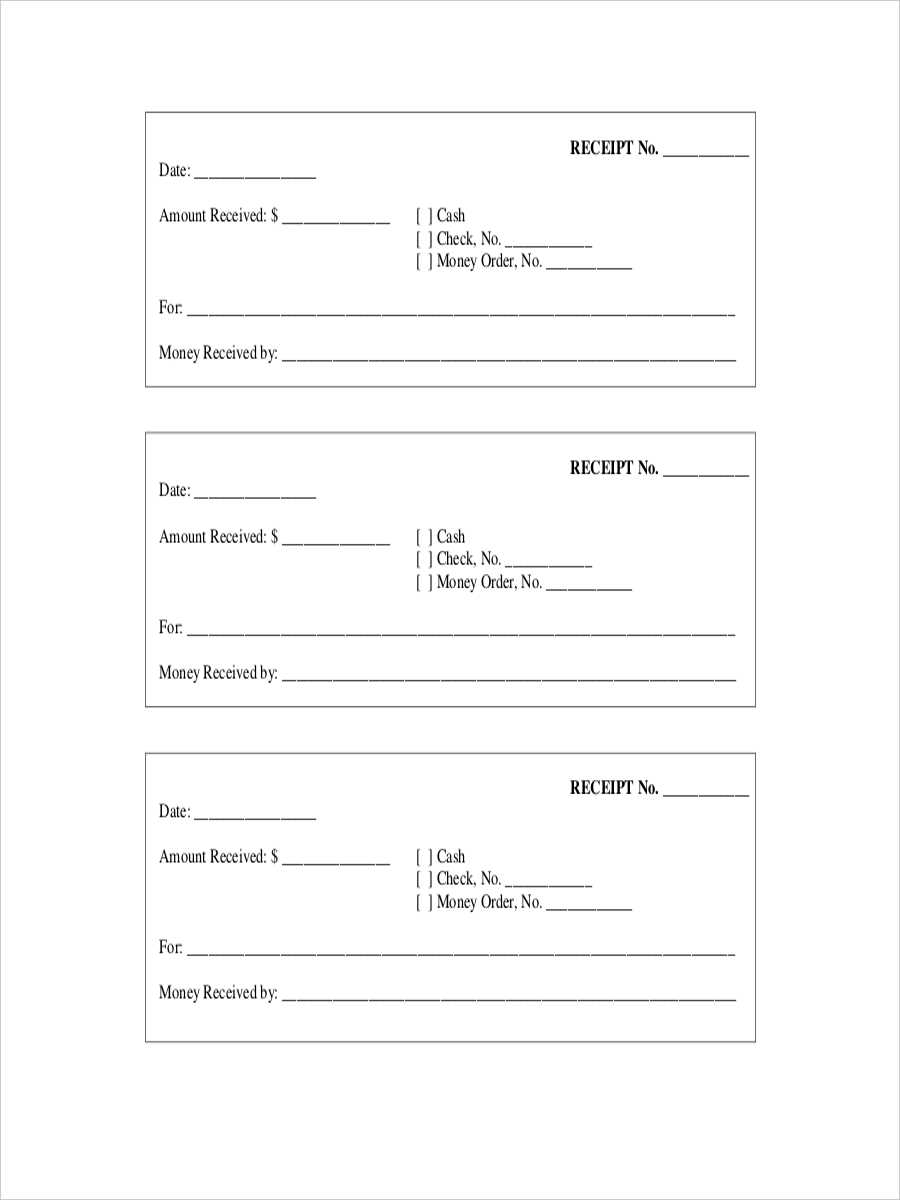
For orders with varying quantities, include fields that adjust according to the number of items. If the quantity exceeds a threshold, you might want to show a different discount rate or include additional product information. By adding conditions to your template, the system can automatically populate the correct fields based on the number of units ordered. This customization helps avoid unnecessary clutter and ensures that the information is always relevant to the customer.
Adapting Fields Based on Specific Items
Each item may require distinct fields depending on its nature. For instance, electronics may need fields for serial numbers or warranty information, while clothing items might need size or color specifications. You can set up rules that display these fields only when the corresponding item is included in the order. This ensures that the receipt remains concise and relevant to the customer’s purchase.
Adding Legal and Payment Information to the Receipt
Ensure the receipt contains clear payment details and legal disclaimers to protect both parties involved in the transaction. Start by including the payment method, such as credit card, cash, or digital transfer. This can be labeled under a section like “Payment Method” and should reflect the actual payment method used, along with the transaction ID or authorization number if applicable.
Legal Disclaimers
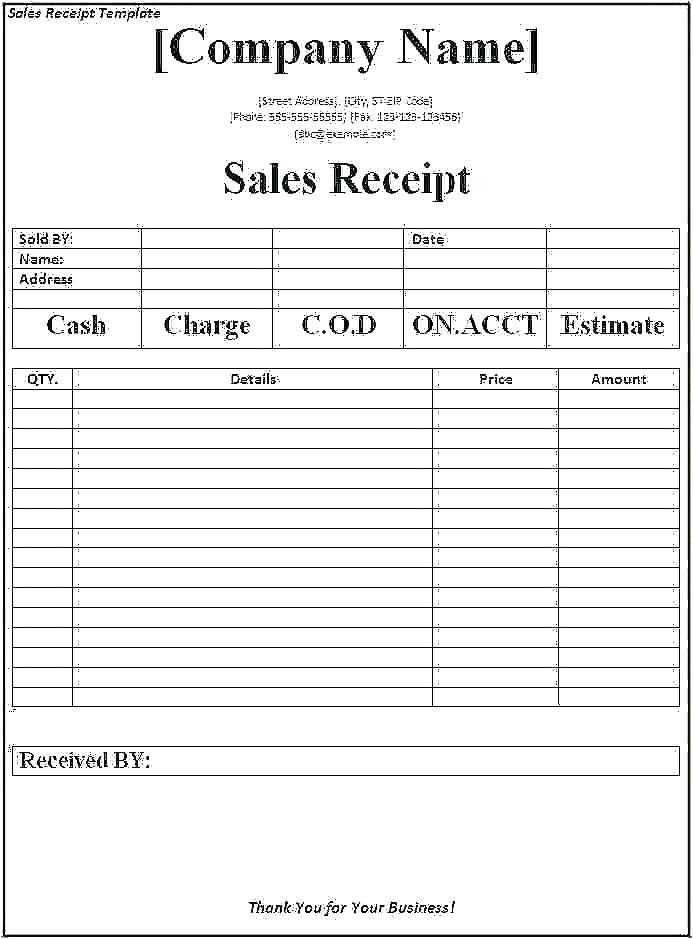
Incorporate any necessary legal language that applies to the transaction. This may include tax information, refund policies, or terms of service. Clearly state any return or warranty policies to avoid misunderstandings. If applicable, add your business’s legal name, address, and any registration details. This ensures transparency and compliance with local regulations.
Transaction Details
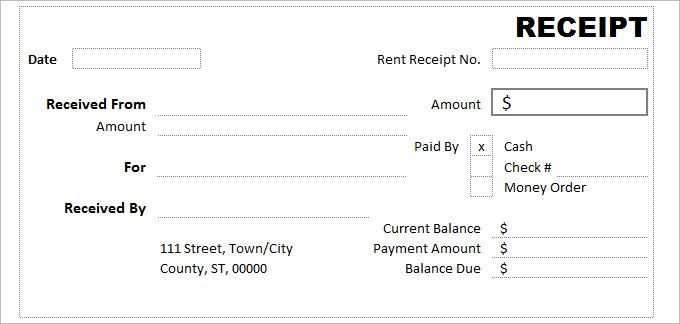
Provide a breakdown of the purchased items, along with their prices, taxes, and any discounts applied. This section can help both the customer and the business verify the accuracy of the payment. It’s also important to include the total amount paid, the date and time of the transaction, and any relevant order or receipt number.


