If you’re looking to create a payment receipt quickly, Google Docs offers a straightforward solution with its customizable templates. By using one of the pre-built options, you can easily input payment details without starting from scratch. Simply search for “Payment Receipt” in the template gallery, and you’ll find various formats that can be adapted for personal or business use.

To make sure your receipt includes all necessary information, focus on these key sections: payer’s name, amount paid, payment date, and service or product description. Each template is editable, so you can adjust these sections as needed. If your business requires extra fields, such as tax information or invoice numbers, Google Docs allows you to add them without hassle.
Once you’ve selected the right template, customize it to match your branding or specific requirements. You can change fonts, colors, and layout to suit your business identity. After editing, your receipt is ready to be shared via email, printed, or saved for future use. Google Docs ensures that it’s easy to access and edit your receipts from any device, providing flexibility for both small businesses and freelancers alike.

Here’s the updated version:
Start with a clear title at the top of your payment receipt template, such as “Payment Receipt” to indicate its purpose. Below the title, add your business name, address, and contact details in the header section. This gives a professional appearance and ensures that customers know who issued the receipt.
 ” to indicate its purpose. Below the title, add your business name, address, and contact details in the header section. This gives a professional appearance and ensures that customers know who issued the receipt.”>
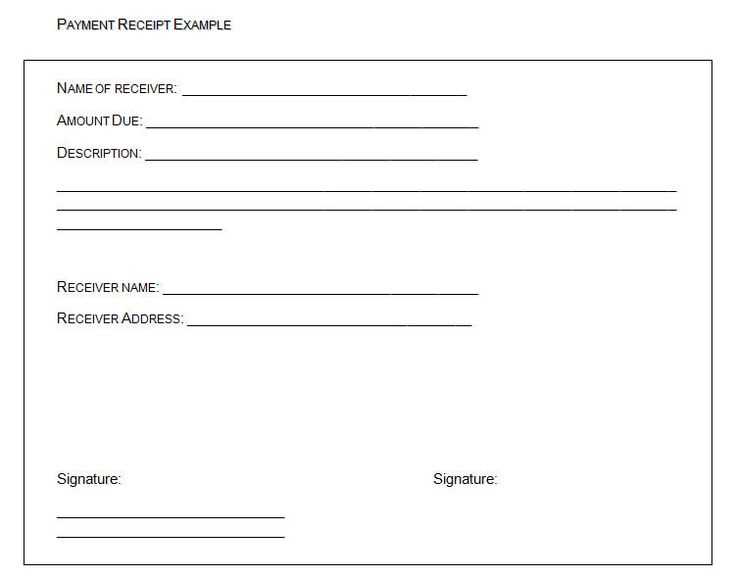
In the body of the receipt, include the following details:
- Receipt number: A unique identifier to track the receipt.
- Date of payment: The exact date the transaction took place.
- Amount paid: Clearly state the total amount, including any taxes or discounts applied.
- Payment method: Specify whether the payment was made via credit card, bank transfer, cash, etc.
- Description of goods/services: Provide a brief list of the items or services purchased, including their cost.
- Recipient’s name: The person or company receiving the payment.
At the bottom, add a thank you note or an additional message, like “We appreciate your business.” This creates a friendly touch and encourages customer loyalty.
Make sure to leave space for a signature or company stamp if necessary, especially for legal purposes.
This updated template ensures clarity, professionalism, and provides all the necessary details in an organized format for easy understanding.
Payment Receipt Template Google Docs
How to Create a Custom Receipt in Google Docs
Modifying Pre-made Templates in Google Docs
Sharing and Printing Your Receipt in Google Docs

Start by opening Google Docs and selecting a template. In the search bar, type “Payment Receipt” to find a ready-made template. Choose one that fits your needs, and it will open in a new document. If you want to create a custom receipt, use the blank document option and design it from scratch.
To modify a template, click on the text you wish to change. Adjust the name, amount, date, or any other details. Customize the font style, size, and color to match your brand or preference. Use tables for a structured layout, and add logos or signatures for a professional touch.

Once you’re happy with your receipt, you can share it by clicking the “Share” button in the top right corner. Choose the sharing settings based on your preferences–whether you want to send it via email or generate a shareable link. You can also invite collaborators to edit or view the document.
For printing, simply go to “File” and select “Print” or press Ctrl+P (Cmd+P on Mac). You can adjust the layout and paper size before printing. Alternatively, you can download the receipt as a PDF and print it later from your device.