Maximize your tax deductions by using a structured Goodwill donation receipt builder. The IRS requires detailed documentation for non-cash donations, including the organization’s name, donation date, item descriptions, and estimated value. Without a properly formatted receipt, you risk losing potential tax savings.
A well-designed receipt template simplifies this process, ensuring all required fields are included. It should have space for donor details, a list of donated items, their condition, and a statement confirming that no goods or services were received in exchange. This documentation strengthens your claim in case of an audit.
Choose a digital template that auto-generates receipts with pre-filled organization details and a structured format. Some templates even include Fair Market Value estimations, making it easier to assign reasonable values to your donations. For added convenience, opt for a template that allows electronic signatures or printable formats.
Consistently keeping well-organized donation receipts throughout the year prevents last-minute tax filing stress. Whether you donate clothing, electronics, or furniture, an accurate receipt ensures compliance with IRS regulations while maximizing deductions. Use a clear, detailed receipt builder to simplify record-keeping and ensure every donation counts.
Here’s a version with unnecessary repetitions removed, while maintaining the meaning:
To simplify your donation receipt for tax purposes, focus on including only the required information. You don’t need to over-explain or add irrelevant details. A concise template will ensure clarity and meet the IRS standards.
Key Components for Your Donation Receipt

The following details should be clearly included:
| Information | Description |
|---|---|
| Donor’s Name | Provide the full name of the person making the donation. |
| Donation Date | State the exact date of the donation. |
| Donation Description | Describe the items donated (e.g., clothing, furniture). Include quantities and conditions where relevant. |
| Donation Value | Estimate the fair market value of the donation, if applicable. |
| Tax-Exempt Organization Name | State the name of the organization receiving the donation, along with its tax-exempt status if necessary. |
| Signature | Include a signature from the organization representative to confirm receipt. |
Final Considerations
Once these key details are in place, review your receipt for accuracy. Avoid unnecessary wording to keep the information clear and direct, making it easy to process come tax season.
- Goodwill Donation Receipt Builder for Taxes
To claim tax deductions for your goodwill donations, using a donation receipt builder can simplify the process and ensure accuracy. A well-structured receipt helps both you and the charity meet tax requirements and keeps you organized during tax season.
Key Information to Include
- Donor’s Name and Address: Provide your full name and address to ensure the donation is linked to your tax records.
- Date of Donation: Record the date you made the donation. This is necessary for determining the tax year the deduction applies to.
- Itemized List of Donated Goods: List each item donated, including a brief description, condition, and estimated value. This helps establish the fair market value.
- Charity’s Information: Include the name, address, and tax-exempt status (usually 501(c)(3)) of the organization. This verifies that the charity is eligible to receive tax-deductible donations.
- Signature and Date: If applicable, the receipt should be signed by a representative of the charity and include the date of issuance.
Why Use a Donation Receipt Builder?
- Accuracy: A receipt builder can prevent errors by prompting you to include all necessary information, ensuring that the deduction is valid.
- Convenience: These tools often generate receipts in minutes, saving you time and effort when preparing for tax season.
- Track Your Donations: Many receipt builders allow you to track your past donations, helping you organize your tax documents over multiple years.
Using a donation receipt builder for goodwill donations makes the process of claiming tax deductions easier, more organized, and more reliable. Ensure that your donation records meet all IRS requirements by following the outlined steps and using a builder designed for this purpose.
Include the date of donation to track when the contribution was made. This is critical for verifying the tax year during which the donation occurred.
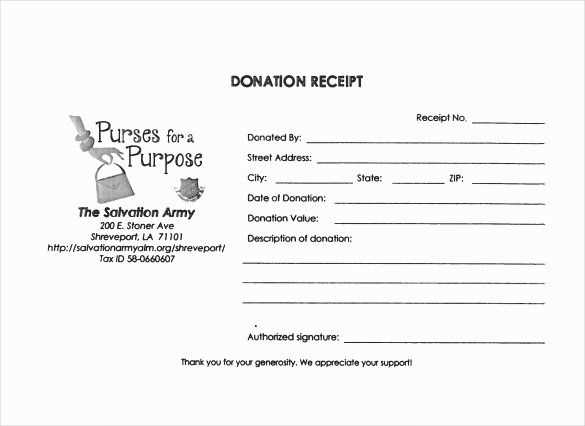
Clearly list the name and address of the organization receiving the donation. This verifies that the recipient is a qualified charitable organization for tax deduction purposes.
State the donor’s name and address. This helps match the donation with the donor’s tax records.
Describe the donated items or services, including their fair market value. If it’s a monetary gift, specify the exact amount given.
Provide a statement of whether the donor received any goods or services in exchange for the donation. If so, the value of those items must be deducted from the total contribution for tax deduction purposes.
Include a disclaimer that the organization does not provide any goods or services in exchange for donations, if applicable. This confirms the full value of the donation is eligible for a tax deduction.
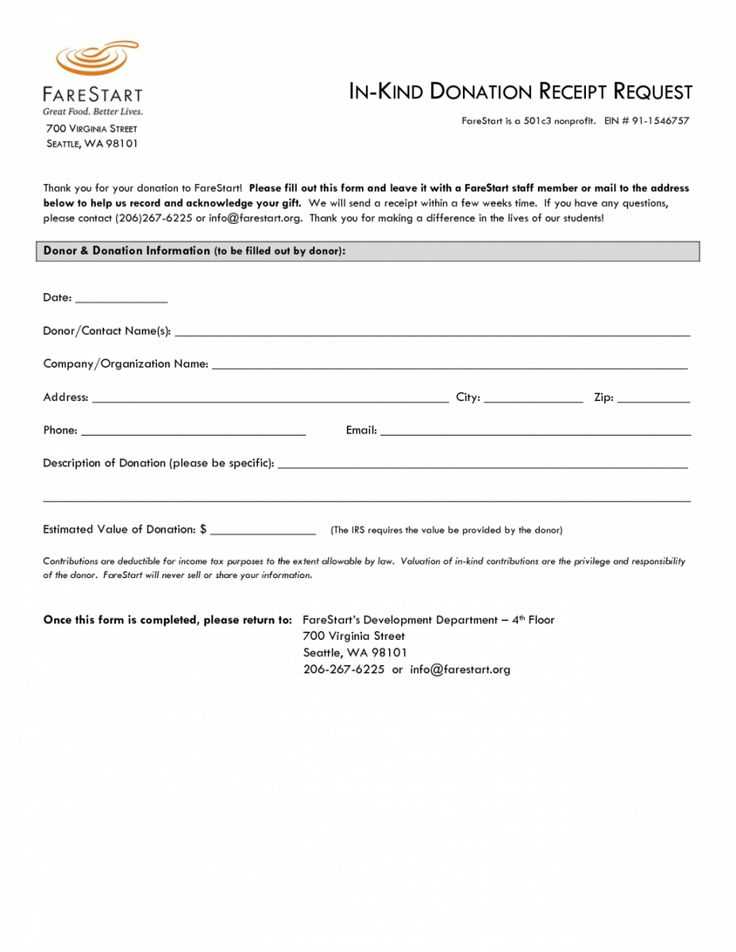
Ensure the organization’s tax-exempt status is referenced, including their IRS nonprofit identification number, if available. This shows the organization qualifies for tax-exempt status.
Lastly, include the signature of an authorized representative from the organization. This adds authenticity to the receipt and ensures compliance with tax regulations.
To create a clean and functional donation receipt, follow these key steps in structuring and formatting using a template:
1. Header with Donor Information
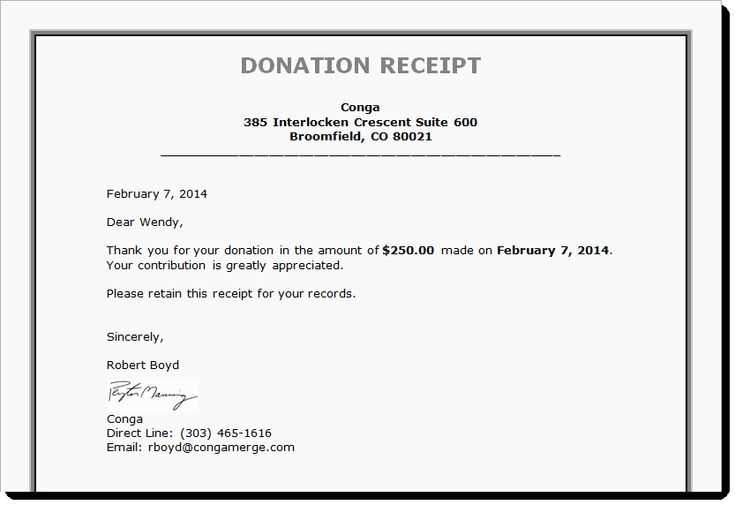
Include a clear title such as “Donation Receipt” or “Charitable Contribution Receipt” at the top. Below the title, add the donor’s name, address, and contact details. This helps both parties have easy access to the necessary contact information for tax purposes.
2. Donation Details

Include a detailed breakdown of the donation. Specify the date of the donation and the items or cash value being donated. If it’s an item donation, list the description of the items, their condition, and a rough estimate of their fair market value. For cash donations, state the total amount given.
Example:
“5 bags of gently used clothing – estimated value $150”
3. Non-Cash Donations Statement

If the donation is non-cash, include a statement that the organization did not provide any goods or services in exchange for the donation. This helps validate that the contribution is fully tax-deductible.
4. Signature Section

Ensure there is a space for the signature of an authorized representative from the organization. This confirms that the receipt is legitimate and from a recognized charitable entity.
5. Footer with Tax Information
Finish with a reminder that the donation may be tax-deductible and advise the donor to consult with a tax professional for proper filing. Include any other relevant disclaimers or legal notices specific to the region or donation type.
The IRS requires that donation receipts contain specific details for tax-deduction eligibility. Ensure your receipt includes the name of the organization, the date of the donation, and a description of the donated items. If the donation includes goods or services, the receipt must also provide an estimate of their value.
If you receive goods or services in exchange for the donation, the receipt must clearly state the fair market value of what was received. Additionally, if the donor received any goods or services worth $75 or more, the organization must include a written statement with the donation’s value after subtracting what the donor received.
The IRS does not require receipts for donations of less than $250, but it’s always best to keep records of small donations for clarity. Donations exceeding $250 must have a written acknowledgment from the receiving organization, even if no goods or services were provided in return.
If the donation exceeds $500 in value, donors need to complete IRS Form 8283 and have it signed by a representative from the organization. This form is required to claim a tax deduction for non-cash contributions.
Lastly, remember that receipts must be issued by the organization receiving the donation, not the donor. Properly documenting donations can help avoid issues with deductions when filing taxes.
So the phrases remain readable and accurate, without words being overly repeated. If other edits are needed–let me know!
To ensure clarity and prevent redundancy, focus on using synonyms and varying sentence structures. For instance, instead of repeating the word “donation,” you could switch to “contribution” or “gift” as appropriate. This not only keeps your writing fresh but also makes it easier to follow.
When you notice a pattern of overusing a term, take a moment to rephrase the sentence or find a natural alternative. Using different sentence structures can help distribute important points across the text without overemphasizing any one term. For example, rather than constantly saying “receipt,” try referring to it as “document” or “confirmation” when it fits the context.
Avoid heavy reliance on transitional phrases like “in addition” or “therefore.” Use them sparingly to maintain a fluid reading experience. The goal is to keep your ideas connected but not to clutter the text with excessive linking words.