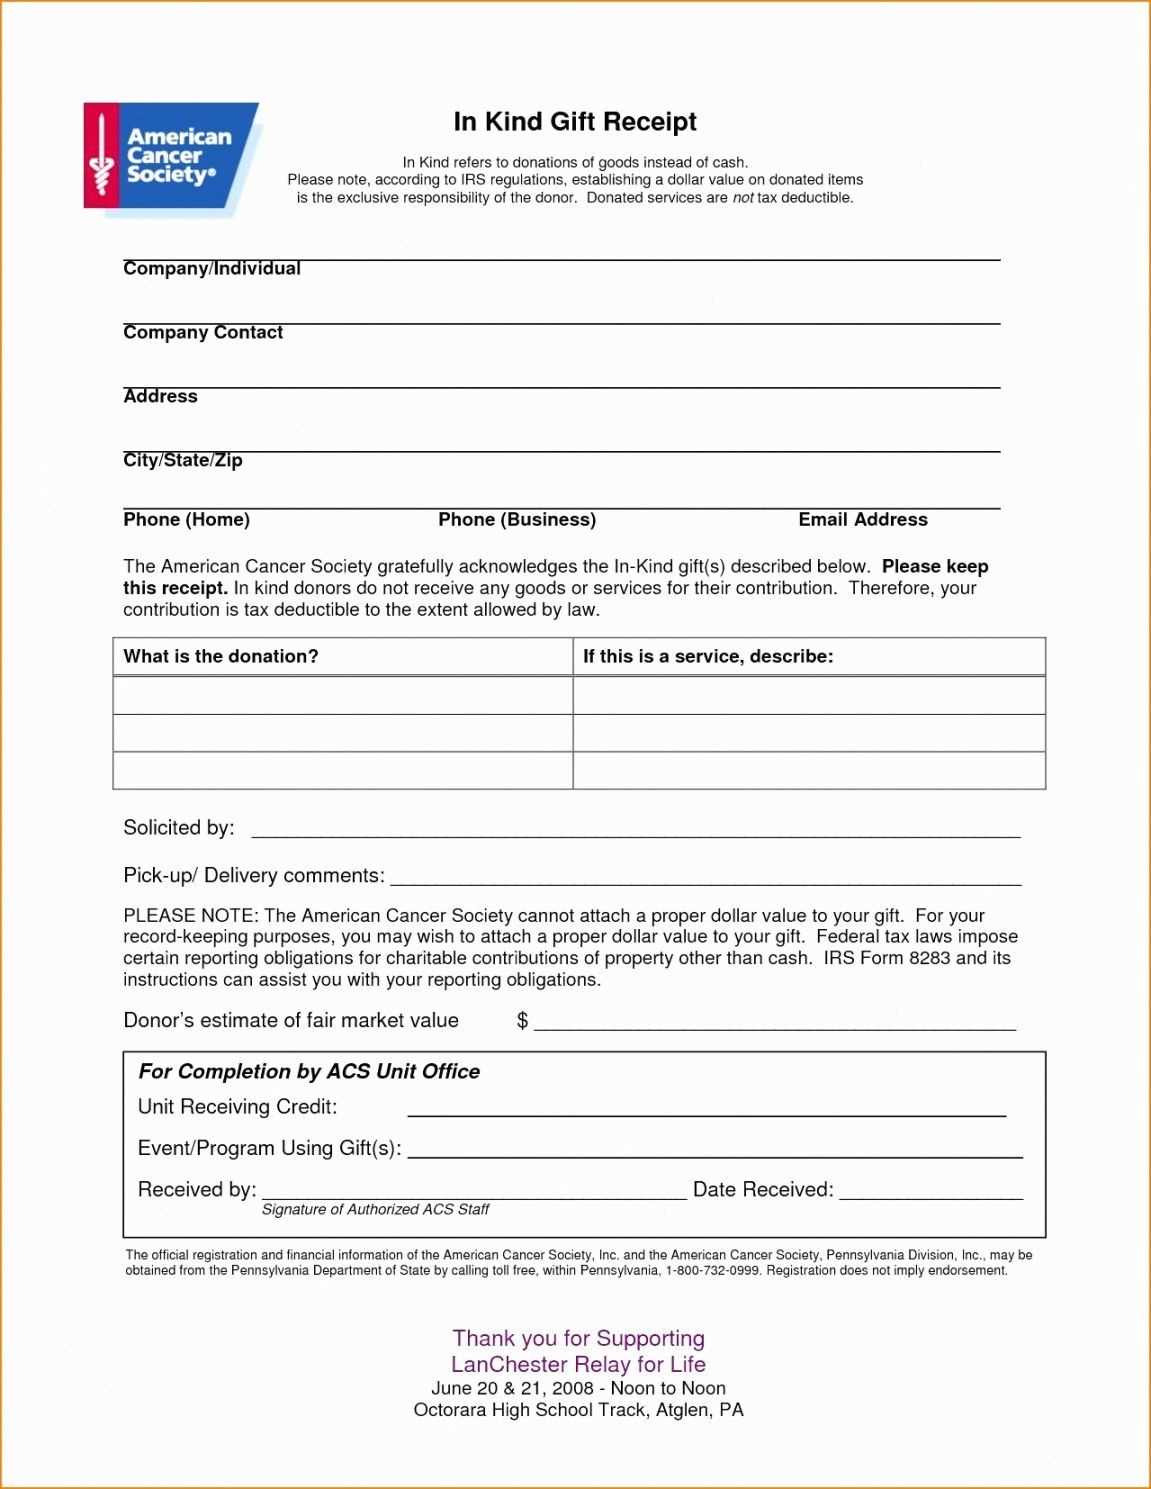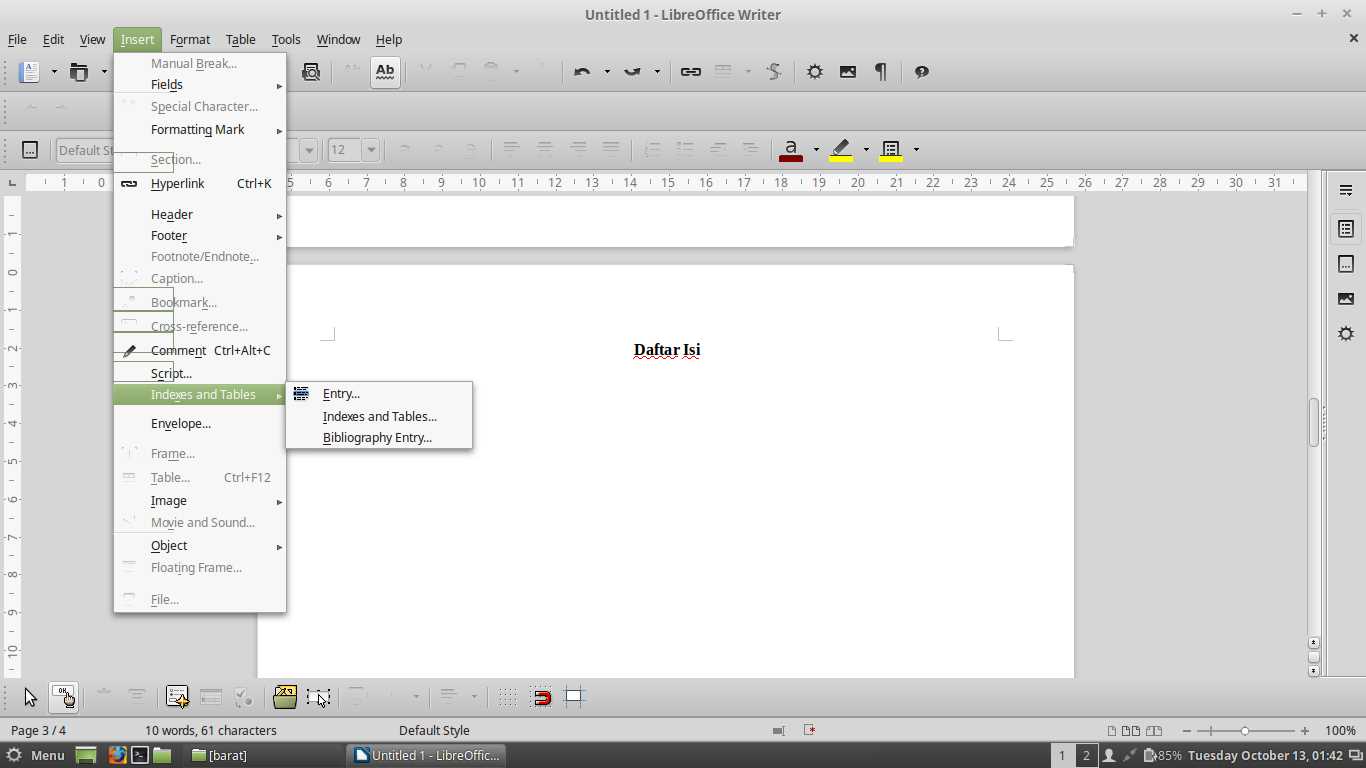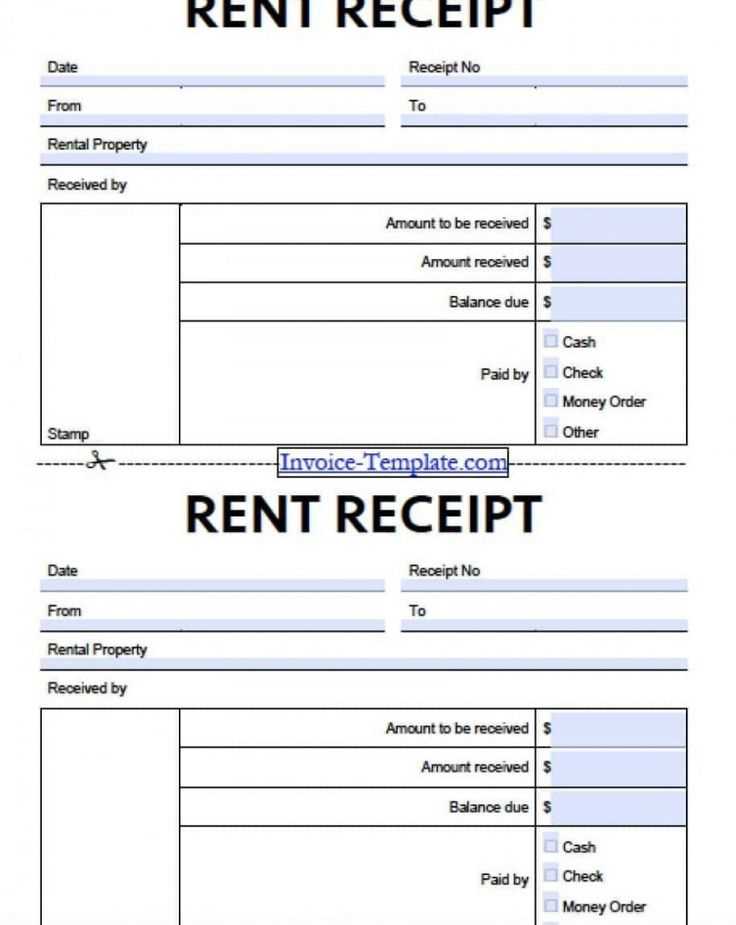
Need a simple and professional receipt template in Microsoft Office 2007? The built-in templates in Excel and Word offer a quick solution. Excel templates allow automatic calculations, while Word templates provide a clean, customizable layout. Choose the format that fits your needs and start generating receipts in minutes.
For Excel, open the application, go to File > New, and search for “receipt” in the template gallery. Many options include formulas for automatic tax and total calculations. Modify the template by adjusting columns, adding your logo, or inserting additional details like payment terms.
For a Word template, follow the same steps in Word’s template search. Word-based receipts work well for printable formats where customization focuses on layout rather than calculations. Adjust fonts, add branding elements, and format the text for clarity.
Both options let you create professional receipts without extra software. Save the customized template for future use and streamline your invoicing process effortlessly.
Office 2007 Receipt Template: Practical Guide
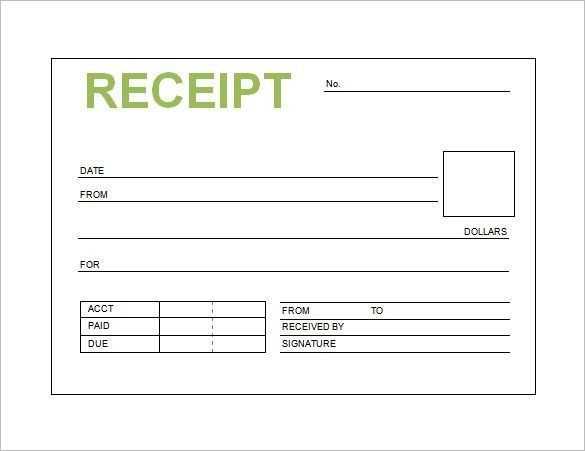
Use the Built-in Receipt Template
Open Microsoft Word 2007, click on the Office Button, select New, and search for “receipt” in the template gallery. Choose a suitable design and customize the fields to match your needs.
Modify the Layout for Better Readability
Adjust column widths in tables to ensure clarity. Use bold for headers like Item, Quantity, and Price. Set alignment to right for numeric values.
Automate Calculations
Insert a table and use formulas for totals. Click inside a cell, then go to Layout > Formula. Use =SUM(ABOVE) to sum item prices automatically.
Add a Company Logo
Click Insert > Picture, select your logo, and position it in the header. Resize it proportionally by holding Shift while dragging the corners.
Save as a Template for Future Use
Once customized, click Office Button > Save As, choose Word Template (.dotx), and store it in the Templates folder for quick access.
Export as a PDF
For a professional look, install the Save as PDF add-in from Microsoft, then go to Office Button > Save As > PDF to generate a non-editable receipt.
How to Find and Install a Receipt Template in Office 2007
Open Microsoft Word 2007 and click the Office Button in the top-left corner. Select New to open the template selection window.
Finding a Receipt Template
In the New Document window, locate the Microsoft Office Online section on the left. Type “receipt” in the search bar and press Enter. Browse the available templates and select one that suits your needs.
If there are no results, check your internet connection and try again. Office 2007 pulls templates from Microsoft’s online database, which requires an active connection.
Installing and Using the Template
Click your chosen template, then select Download. Once the template opens, save it by clicking the Office Button and selecting Save As. Choose a folder for easy access.
Customize the template by filling in your business details, receipt number, and transaction information. Modify fonts, colors, and layout as needed. Save the edited file as a reusable template by selecting Save As and choosing Word Template (*.dotx).
For frequent use, pin the template for quick access. Open the New Document window again, right-click the template, and choose Pin to Recent Templates.
Customizing Fonts, Layout, and Formulas in a Receipt Template
Adjusting Fonts for Better Readability
Modify fonts in Office 2007 by selecting the text and choosing a new typeface from the toolbar. Use a clear, professional font like Arial or Calibri for easy reading. Set font size to at least 10pt for body text and 12pt–14pt for headings. Apply bold formatting to totals and key sections for emphasis.
Refining Layout for Clarity
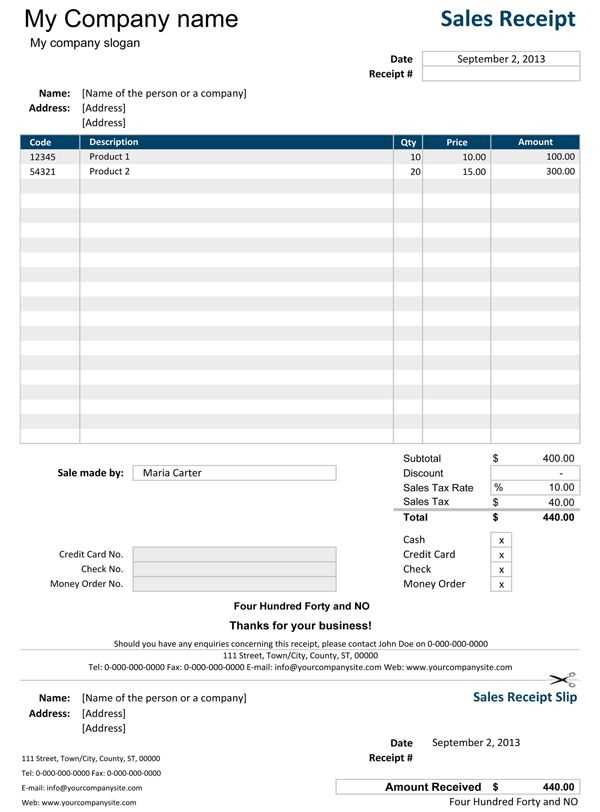
- Use cell merging to create structured sections. Select multiple cells, right-click, and choose “Merge Cells” to group related information.
- Adjust column width by dragging the edges or double-clicking to auto-fit content.
- Apply cell borders for separation. Go to “Borders” in the toolbar and select a suitable style.
- Align text properly. Use left alignment for descriptions, right alignment for prices, and center alignment for headers.
Implementing Formulas for Automation
Automate calculations to reduce errors. Use these key formulas:
- Subtotal:
=SUM(B2:B10)(Adjust range as needed to sum item prices.) - Tax Calculation:
=B11*0.08(Replace 0.08 with the correct tax rate.) - Total Amount:
=B11+B12(Add subtotal and tax.)
Apply currency formatting by selecting cells, right-clicking, and choosing “Format Cells” > “Currency”.
Use conditional formatting to highlight overdue balances. Select the amount cell, go to “Conditional Formatting” > “New Rule”, set a rule like “Cell Value
Save the customized template for future use. Click “Office Button” > “Save As” > “Excel Template” to keep formatting and formulas intact.
Saving, Printing, and Exporting Receipts in Office 2007
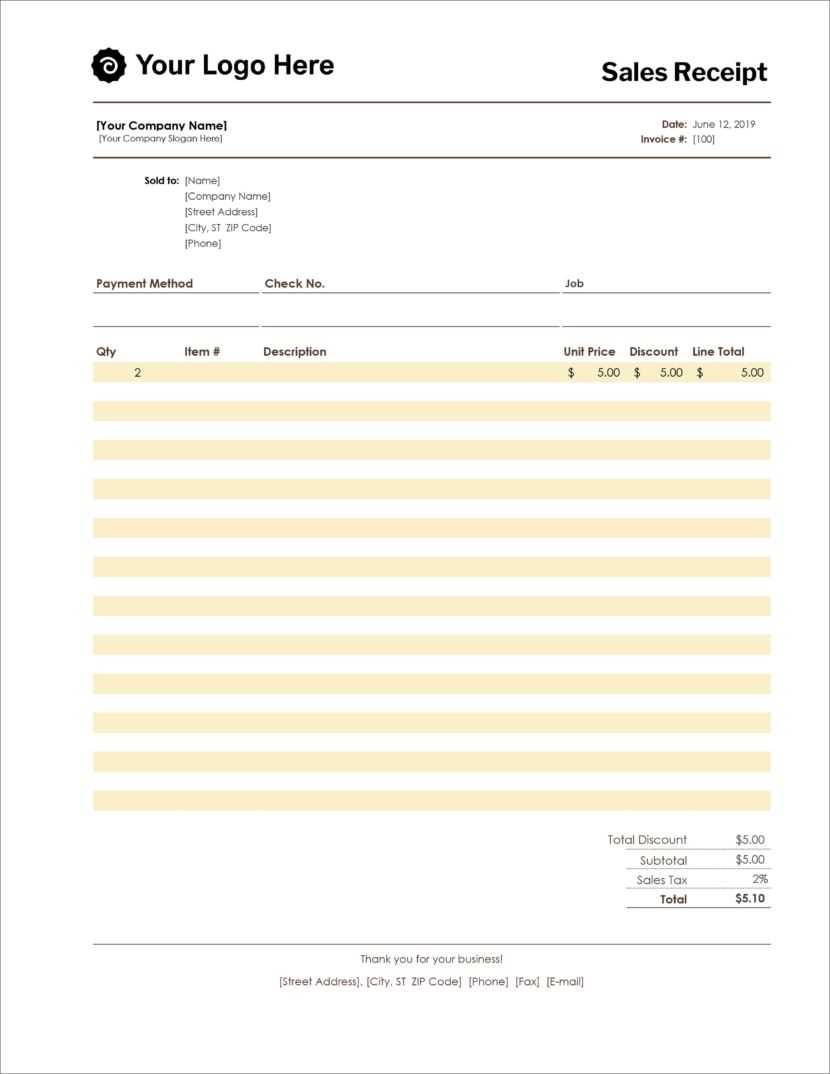
Save your receipt in Excel 2007 by clicking File > Save As. Choose Excel Workbook (.xlsx) for full functionality or Excel 97-2003 Workbook (.xls) for compatibility with older versions. If you need a static version, select PDF from the file format dropdown after installing the Microsoft Save as PDF add-in.
Printing Receipts
Adjust print settings under File > Print. Set margins, orientation, and scaling in Page Setup. Use Print Preview to ensure correct formatting. For multiple copies, adjust the quantity before confirming.
Exporting to Other Formats
To share a receipt without Excel, export it as a PDF. If you need a text-based format, select CSV under Save As, but note that formatting and formulas won’t be preserved. For Word integration, copy the table and paste it into a document using Paste Special > Formatted Text (RTF) to maintain structure.
For batch exports, consider using a macro to automate saving or printing multiple receipts at once. Enable the Developer tab under Excel Options to access VBA tools.
