To create a smooth and straightforward transaction process, use a fillable receipt form template. This type of form allows you to input transaction details quickly, ensuring accuracy and consistency for both buyers and sellers.
Choose a template that includes fields for the necessary information, such as date of transaction, items or services purchased, amount paid, and payment method. This structure makes it easy to capture all essential details without cluttering the form. You can adjust the template based on your specific needs, adding or removing fields as required.
To save time and reduce errors, make sure the form is fillable electronically. This allows both parties to easily complete the form on their computers or mobile devices, without the need for physical printing. Keep your receipts organized by saving them digitally and ensure they are easily accessible for future reference.
Here’s the corrected version:
To create a fillable receipt form, first ensure that the fields are clearly defined. Start by adding spaces for the essential information: date, receipt number, customer details, and itemized list of products or services. Make each section easily accessible with the correct input fields–text boxes for names, dropdowns for items, and numeric fields for prices.
Next, use proper labels above each input box to guide users. For example, label the date field as “Enter Date” and the amount as “Total Amount Due.” This ensures clarity for anyone filling out the form.
Ensure the form has a simple layout with appropriate spacing between fields. This helps users quickly identify what they need to fill in without confusion. Avoid making the form too cluttered by keeping it minimalistic and intuitive.
Finally, provide a section for the digital signature if required, along with a checkbox for agreement or acknowledgment. Test the form across different devices to ensure its compatibility and user-friendliness.
Fillable Receipt Form Template: Practical Guide

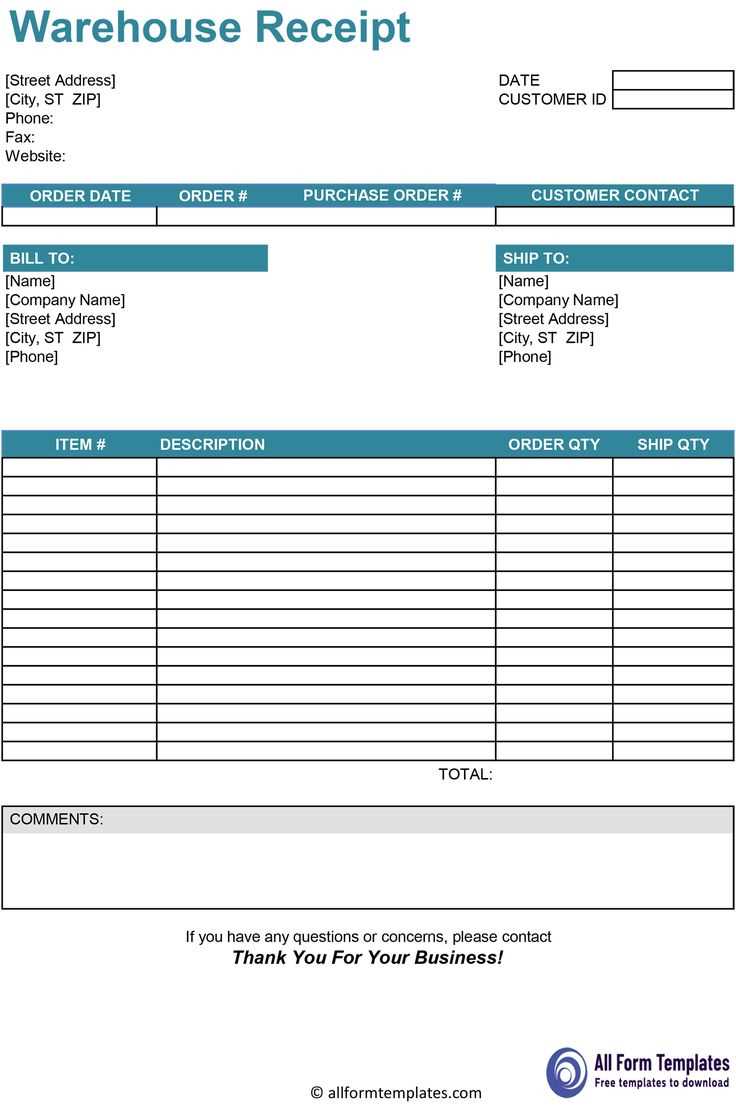
To create a fillable receipt form template, ensure it includes key fields such as the date, business name, recipient’s name, items or services purchased, total amount, payment method, and signature. This will help maintain clarity and prevent confusion when filling it out. Use a simple, clean design that allows users to easily input information.
Step-by-Step Template Creation
Start by setting up basic fields: Date, Receipt Number, and Business Information. These should be at the top, ensuring quick access to important details. Next, add the recipient’s name and address sections. Below these, list the items or services provided, with columns for quantity, description, and price.
Key Design Tips

Use clear fonts and space out sections for readability. Consider including drop-down menus for payment methods to reduce errors. Make sure fields are large enough to accommodate varying amounts of information. Lastly, leave space for signatures to validate the transaction.
Begin by identifying your business’s specific needs. Tailor the fields to capture only the information that is relevant to your transactions. For example, if your business involves selling products, include fields for product names, quantities, and prices. If you provide services, consider adding sections for service descriptions, hours worked, and rates.
- Choose the right field types: Use text fields for names, addresses, or other short responses. Include dropdown menus for predefined options such as payment methods or order status. Checkboxes can be useful for multiple choice selections, and date pickers are ideal for scheduling or appointment forms.
- Set default values: Pre-fill common fields such as your business name or address. This reduces the effort needed by the user and ensures consistency.
- Apply branding: Add your logo, colors, and font styles to align the form with your company’s visual identity. This enhances brand recognition and trust.
- Make it user-friendly: Organize the form in a logical order. Group related fields together, such as personal information, product details, and payment information. This will make it easier for customers to complete the form accurately.
- Test for functionality: Ensure all fields work as intended. Test the form with sample data to verify that calculations, dropdown menus, and file uploads function smoothly.
Customizing a fillable form isn’t just about adding fields, it’s about making it intuitive and aligned with your business needs. Streamline the process for both your team and your customers to ensure smooth transactions.
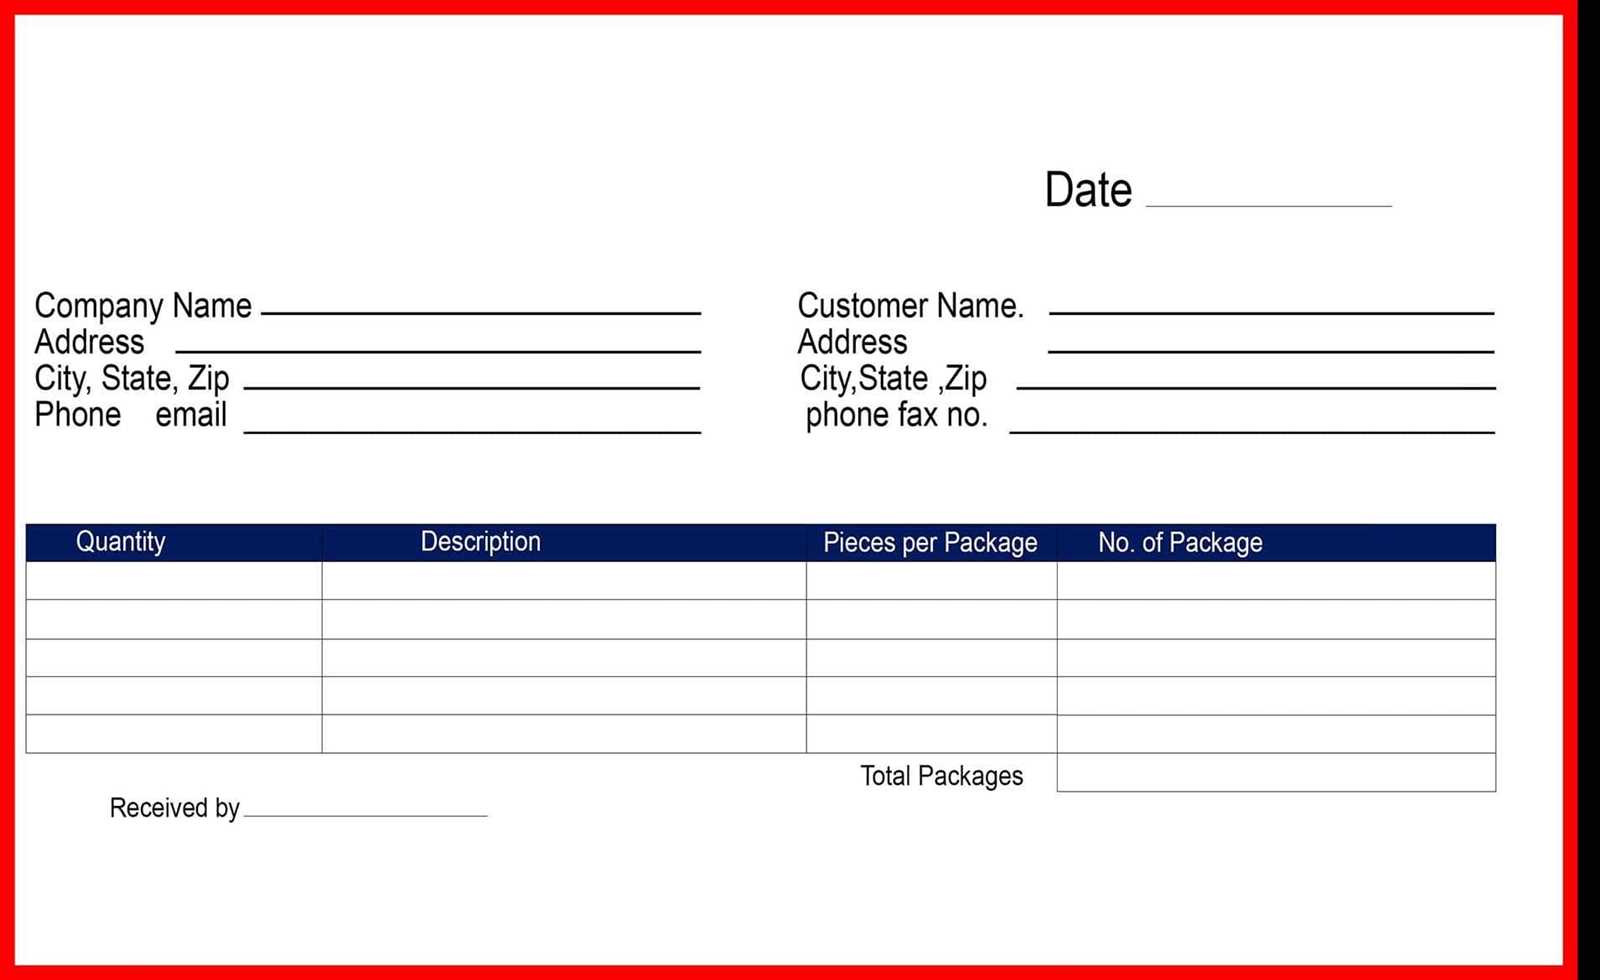
Each receipt template should contain several key details to ensure clarity and accuracy. First, include the business name, address, and contact details at the top. This helps identify the seller and provides a point of contact if the customer has questions.
Transaction Information

Clearly state the transaction date and time. Include a unique receipt or transaction number for easy reference. This makes it simple for both parties to track the purchase if any issues arise.
Itemized List of Products or Services

List each item or service purchased, along with the quantity, unit price, and total cost. This transparency ensures both the buyer and seller have the same understanding of the transaction details.
Next, include the total amount paid and specify the method of payment, whether it’s cash, credit card, or another method. This detail helps clarify how the payment was processed and can be useful for accounting purposes.
For clarity, add applicable taxes, discounts, or additional charges at the bottom of the receipt. These should be broken down so that the customer can easily understand how the final price is calculated.
Finally, consider adding a thank-you message or return policy information at the end. A friendly note can improve customer satisfaction and provide important details for any future concerns.
To create a fillable receipt form, these tools stand out for their ease of use and functionality. Whether you are building a form from scratch or converting an existing document, each of these options provides a simple yet robust solution.
| Tool | Key Features | Best For |
|---|---|---|
| Adobe Acrobat Pro DC | Form creation, editing, and automatic data entry. Supports PDF conversion and form field recognition. | Professional document creators and businesses that need secure, editable forms. |
| JotForm | Drag-and-drop form builder, customizable templates, cloud storage, and integrations with payment systems. | Small businesses, freelancers, and anyone looking for simple web-based forms. |
| Google Forms | Free, easy-to-use form builder with seamless integration with Google Sheets for data collection. | Individuals and teams requiring basic forms for surveys or simple receipts. |
| DocuSign | Focuses on secure document signing, with fillable form options. Suitable for legally binding forms. | Legal and financial professionals who need signature verification alongside form filling. |
| Formstack | Advanced form creation with workflow automation, analytics, and integrations with various platforms. | Businesses looking to streamline data collection and manage complex workflows. |
Each tool excels in different areas. Adobe Acrobat Pro DC is the go-to for those needing high security and precision, while JotForm is best for those seeking simplicity and cloud-based flexibility. Choose according to your needs, and start creating fillable forms quickly and efficiently.
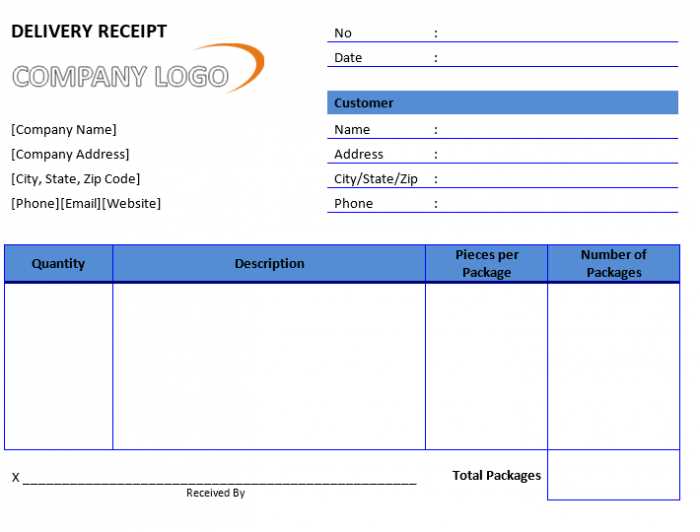
Use a clean and straightforward structure for your fillable receipt form. Begin by including a header section where the transaction title and date are clearly visible. Below that, list the details of the purchase, such as item names, quantities, and prices. Make sure the total amount is displayed prominently at the bottom for easy reference.
Custom fields allow for personalized information like customer name or address. Use text input fields for these details, so users can fill them out quickly. For added clarity, group related fields (e.g., customer information and item details) within separate sections or boxes.
Ensure that all fields are clearly labeled, with placeholder text where necessary. For example, in the amount field, you could add a hint like “Enter the amount paid” to guide the user. Avoid long drop-down menus; instead, stick to short lists or checkboxes for quicker selections.
Don’t forget to include a field for signatures, which can be a simple text box with a prompt like “Sign here.” This will help you collect all the necessary information in a neat, organized form.
Once the form is filled out, make sure the submit button is easy to locate. Consider adding a confirmation message after submission to reassure users that their receipt has been processed.