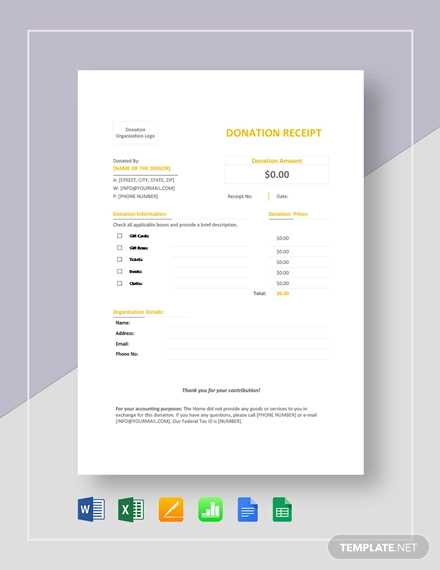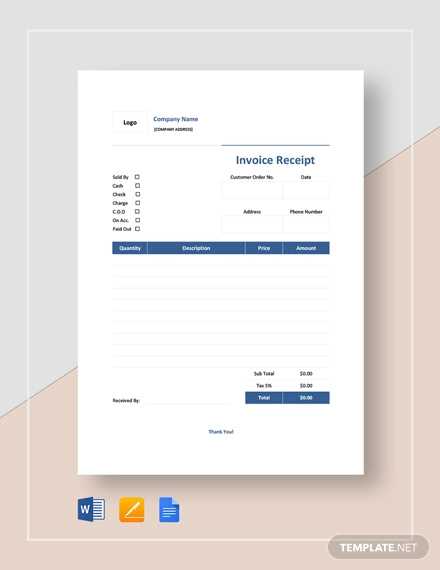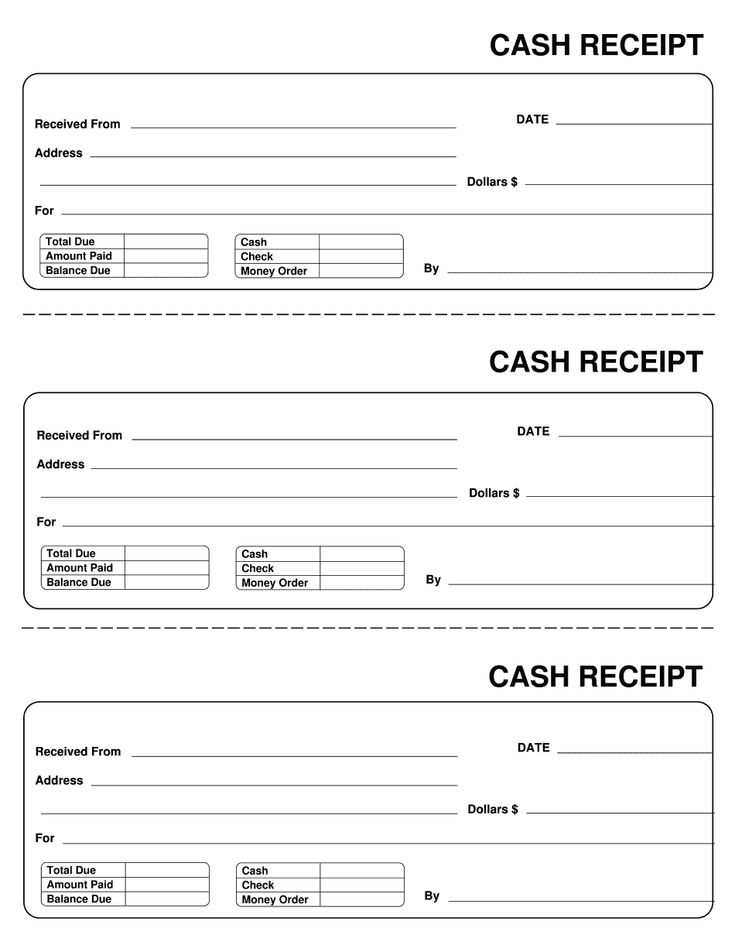
Use a Google Docs receipt template to streamline your invoicing process. This easy-to-edit format helps you create professional receipts in no time, without needing complex software. Simply open the template in Google Docs and personalize it with your details.
Start by adjusting the basic information–add your business name, address, and contact information at the top. The date and receipt number fields are already included, making it simple to track transactions. Don’t forget to specify the items or services purchased, along with their prices, and any applicable taxes or discounts.
Customizing the layout is straightforward. You can adjust fonts, colors, and spacing to match your brand style. Google Docs offers flexibility, allowing you to add a logo or extra details that suit your business. The template can be saved and reused, saving you time on future receipts.
This template can also be downloaded and printed directly from Google Docs, providing you with both a digital and paper record of each transaction. Once you’ve filled out the details, you can share the receipt with clients via email or Google Drive.
Receipt Template Google D: Practical Guide
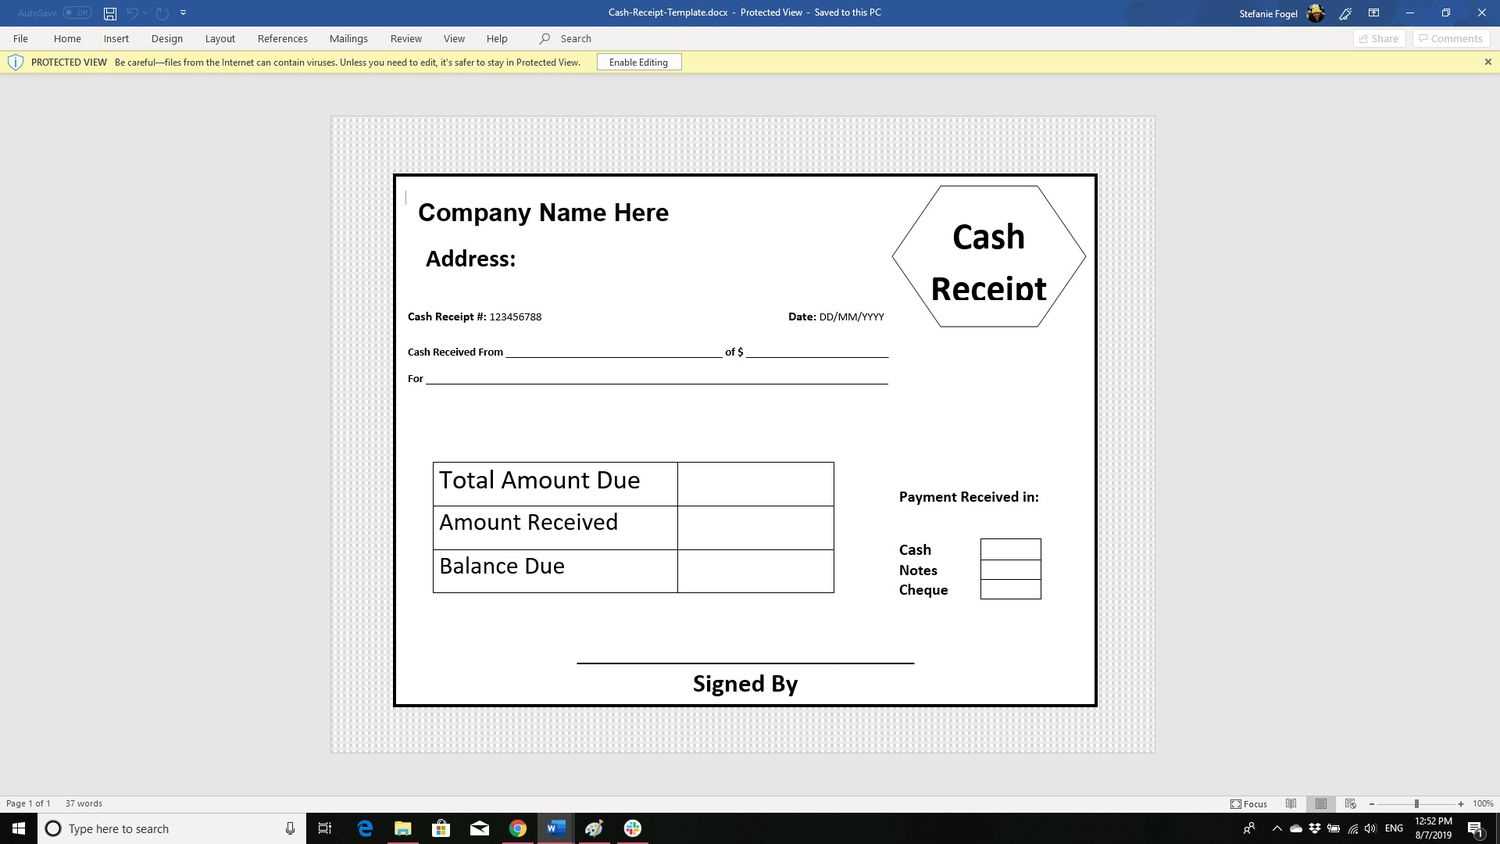
To create a functional and easy-to-use receipt template in Google Docs, follow these steps:
Step 1: Accessing Google Docs
Open Google Docs and sign in to your account. If you don’t have one, create an account for free. Once logged in, go to the “Template Gallery” at the top of the page.
Step 2: Selecting the Template
- Choose a “Receipt” template from the available options. If no receipt template is visible, search for it in the template search bar.
- Once you find the template, click on it to open a new document based on that template.
Step 3: Customizing the Template
- Modify the default text in the template to match your business or personal information. Replace the sample name, date, and amount fields with your own details.
- Add or remove fields as needed. For example, you might want to include a “Tax” section or a “Payment Method” field depending on your needs.
Step 4: Formatting for Clarity
- Ensure that the text is clear and easy to read by adjusting font sizes and spacing.
- Use bold or italic text for emphasis on key information such as the total amount or the receipt number.
Step 5: Saving and Sharing
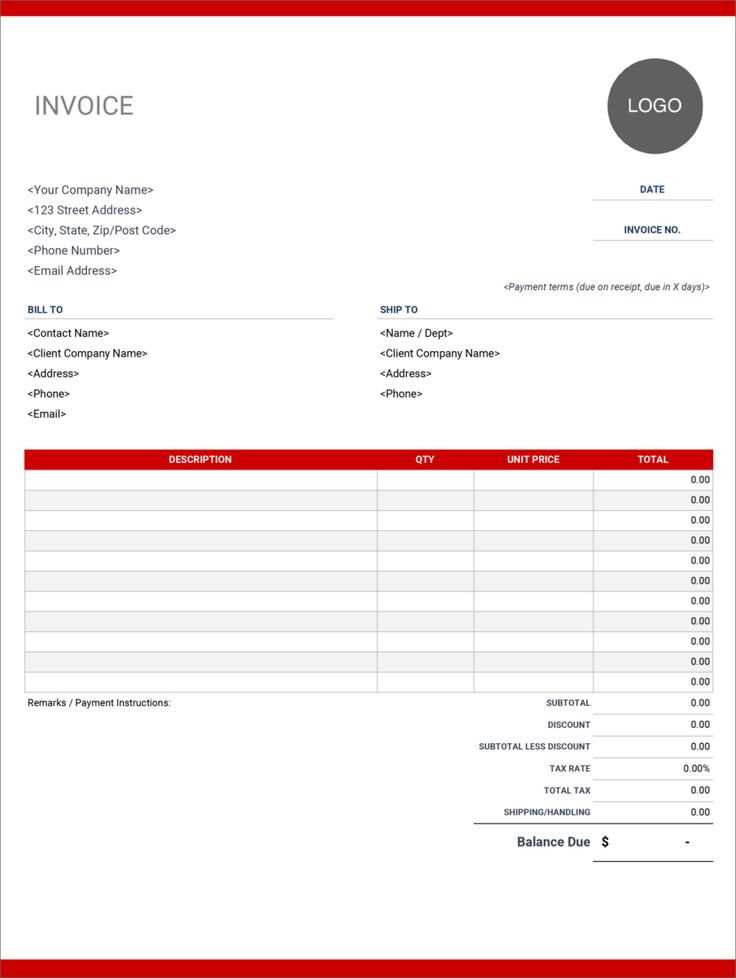
- Once you’re satisfied with the template, save it to your Google Drive for future use.
- You can also share the template directly with others by clicking the “Share” button and selecting the recipient’s email.
This template in Google Docs allows for flexibility in tailoring the receipt to your specific needs, ensuring that you can easily generate and distribute professional receipts.
How to Create a Custom Receipt Template in Google Docs
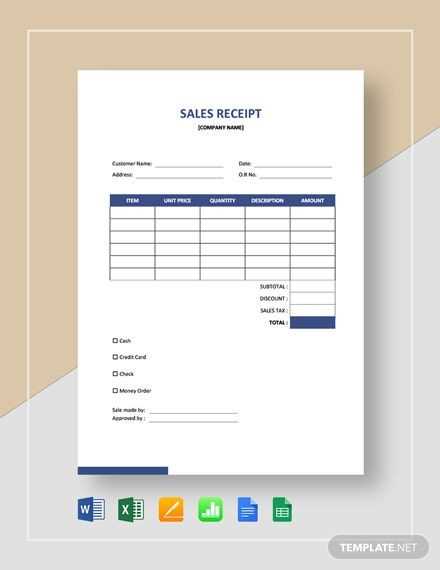
Open Google Docs and create a new document. Choose a blank page to begin. In the toolbar, select “Table” and insert a 2×2 table. This will serve as the foundation for your receipt layout, giving you a clean structure for information placement.
Next, modify the table by adjusting the cell sizes to accommodate the details you’ll include, such as the business name, address, and receipt number. Click on the table and right-click to access “Table properties” for precise control over cell dimensions.
Label the rows for key information like “Date,” “Item Description,” “Quantity,” and “Total.” You can also customize text alignment, such as centering headers and aligning numbers to the right for easy readability.
For branding, add your logo or business name at the top. Use the “Insert” menu and select “Image” if you want to place a logo, or simply type the business name and adjust font style and size to match your brand’s design.
To finish, customize the style of your template. You can use bold fonts for headings, adjust colors for background shading, or use lines between sections for a more structured look. Once you’re satisfied with the layout, save the template for future use. You can also share it directly with clients or team members by clicking “Share” in the upper-right corner.
Formatting and Layout Adjustments for a Professional Look
Align key elements such as the logo, company name, and contact information in a clear and structured way. Place your business details at the top or top-left of the receipt for easy identification. Keep the font consistent and legible, using a size that is large enough to be readable but not too overwhelming.
Use bold for headings like “Total Amount” or “Date” to guide the customer’s eyes to the important parts. Make sure to leave enough white space between sections to prevent clutter. Use lines or borders to separate different parts of the receipt, such as the item list, taxes, and total cost, to create a visual hierarchy.
For a neat presentation, ensure text alignment is uniform across the document. Consider right-aligning the price totals and tax details to help balance the layout. Avoid overcrowding the page; margins and padding around text can enhance readability and provide a polished look.
If your template includes a section for a promotional code or notes, position this towards the bottom to avoid distractions from key transactional information. Adjust the layout so each section of the receipt flows logically from one to the next without visual interruptions.
Sharing and Printing Options for Google Docs Receipts
Google Docs offers flexible options for sharing and printing receipts. To share a receipt, open the document, click on the “Share” button in the top right corner, and enter the email addresses of those you wish to send it to. You can choose whether they have view, comment, or edit access. For printing, simply click on “File” in the top left, then select “Print.” You can adjust the layout and page settings before printing.
Sharing Settings
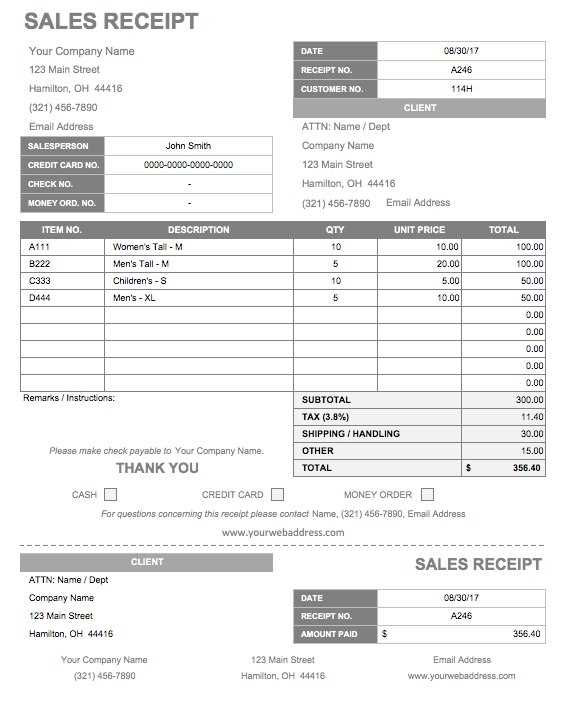
When sharing a Google Docs receipt, make sure to adjust the privacy settings. You can choose to share with specific people or make the document accessible via a link. For added security, consider limiting access to people within your organization. The link-sharing option lets you control whether users can only view or edit the document.
Printing Options
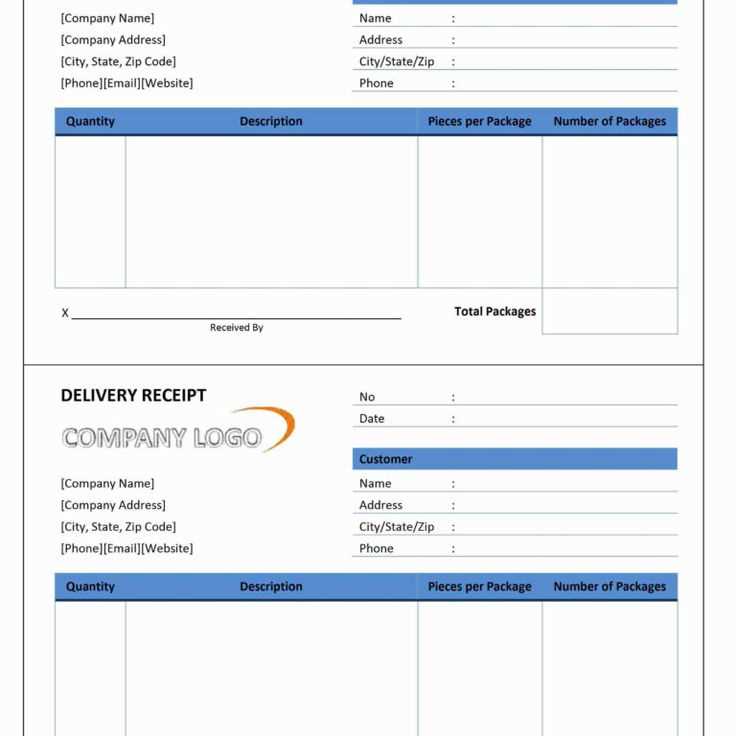
Before printing, ensure that the receipt’s formatting is correct. In the “Print” menu, you can preview the document and adjust margins, page size, and orientation. Google Docs allows printing directly to PDF as well, which is perfect for storing or emailing the receipt electronically.
