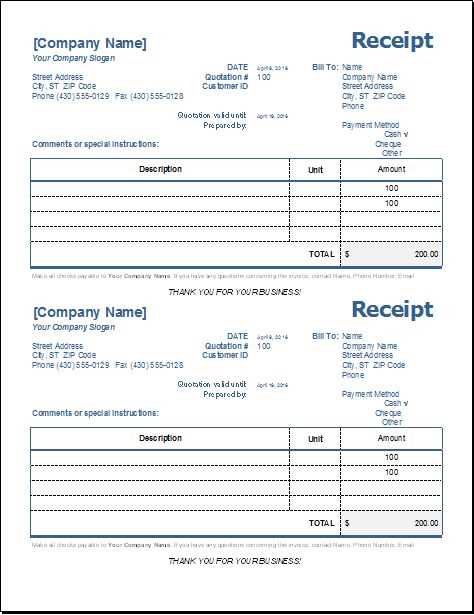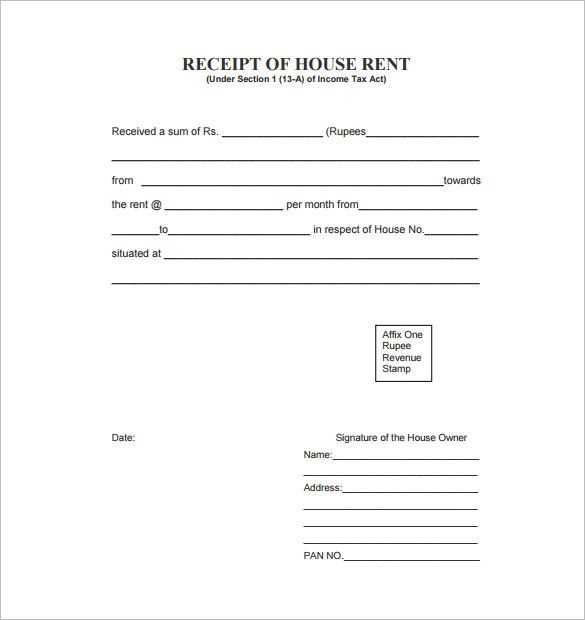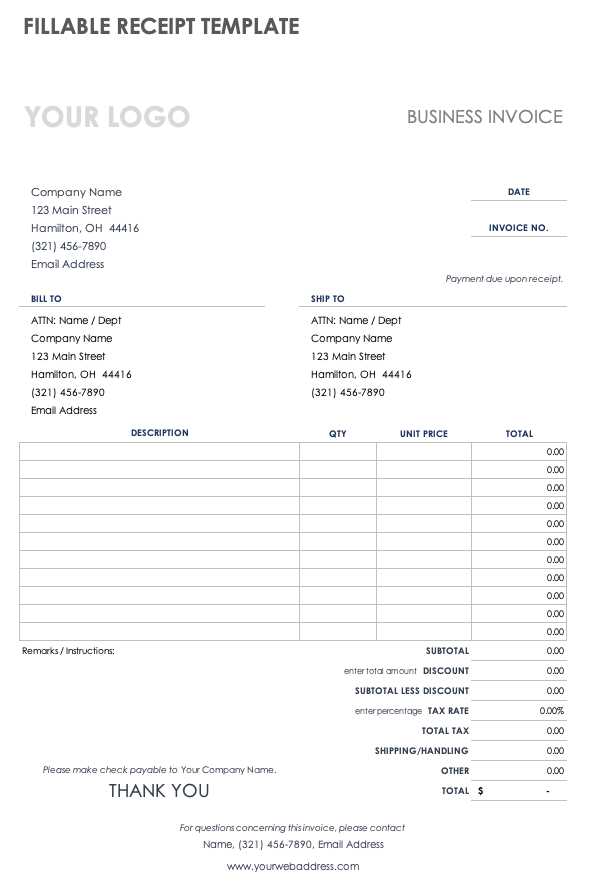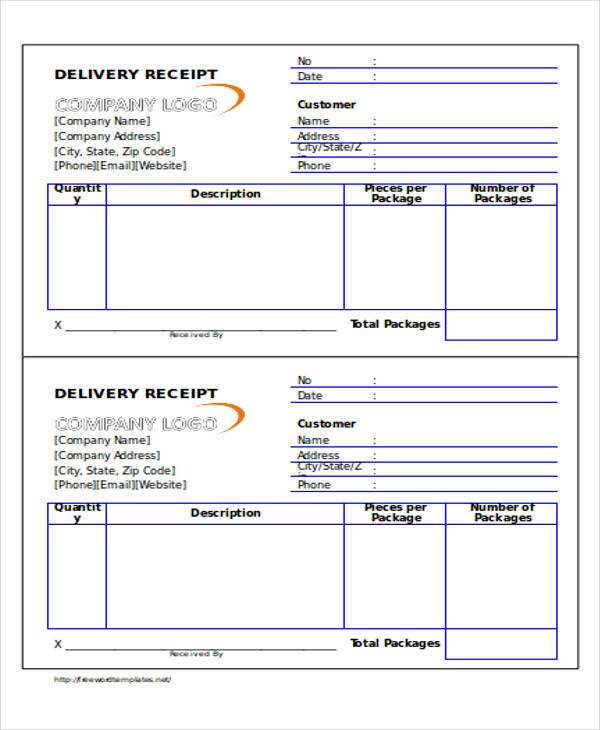
To create a hand receipt in Word, choose a template that includes all necessary fields like item descriptions, quantities, serial numbers, and signatures. This helps streamline the process and ensures consistency across receipts. Modify the template to fit specific needs, whether it’s for inventory tracking or equipment lending.
Start by structuring the document with clear headings for each section. Include a header with the title of the receipt and date. Then, create a table for the list of items, ensuring each row includes columns for item details, such as description, quantity, and condition. Add spaces for signatures and approval marks at the bottom for accountability.
Adjust the formatting as necessary for ease of use, ensuring the template is adaptable to different item categories or circumstances. Save it for repeated use, eliminating the need to manually set up each document. This method ensures accuracy and quick access to the right formats whenever needed.
Hand Receipt Template in Word: Practical Guide
To create a hand receipt template in Word, first open a blank document and choose a clean, professional font like Arial or Times New Roman. Set the page layout to include headers and footers for consistent formatting. Place the title “Hand Receipt” at the top, followed by fields such as date, recipient’s name, and signature lines. Add a table to clearly list the items being received, including columns for description, serial number, condition, and quantity.
For added clarity, adjust the table’s borders, cell padding, and text alignment. Make sure the document is easy to fill out by leaving adequate space for entries. Include a section for additional remarks or conditions related to the items. To ensure readability, use bold or italic text sparingly to highlight important headings or instructions.
Save the template as a .dotx file, allowing it to be reused and customized for future transactions. If multiple hand receipts are needed, consider creating a header for each item category, grouping them logically for quick reference. Finally, use Word’s “Protect Document” feature to lock specific fields, ensuring consistency and preventing accidental edits in areas like signatures and item details.
Creating a Customized Hand Receipt Template for Specific Needs
Begin by identifying the key elements you want to include in your hand receipt. These may vary based on the type of items, transactions, or department involved. Customize sections for item descriptions, quantities, and serial numbers to match your requirements. Use clear headings like “Item Description,” “Quantity Issued,” and “Condition of Item” for easy tracking.
Adjust Fields Based on Item Categories

Different items require different details. For example, when handling tools, include space for model numbers and specific condition notes. For equipment, it might be more important to track serial numbers and warranty details. Tailor your template to match the type of goods or assets you are managing.
Include Space for Acknowledgments
Ensure there is room for both the receiver and issuer to sign and date the document. This not only serves as a record of transaction but also as a confirmation of responsibility. Add a designated area for any additional notes that could be useful, such as return dates or maintenance schedules.
How to Format a Hand Receipt Template for Easy Use and Clarity

To ensure a hand receipt template is clear and easy to use, focus on structure and consistency. Organize information logically, making it simple to locate and understand.
- Use Clear Headings and Subheadings – Divide the template into sections for each relevant detail: item description, quantity, serial number, and the recipient’s information. This separation helps users find what they need quickly.
- Prioritize Readability – Use a clean font like Arial or Times New Roman with a readable size, typically 12 pt. Avoid excessive formatting and keep the layout simple. This allows the template to be legible even in printed form.
- Align Text Properly – Ensure text in tables or lists is consistently aligned. For example, right-align numerical data like quantities and serial numbers, while keeping text-based information left-aligned for clarity.
- Include Fields for Specific Information – Incorporate fields for critical details such as item description, condition, and date of issue. This ensures that all necessary data is included and easy to fill out.
- Leave Space for Signatures – Add space for both the person issuing the items and the recipient to sign. This confirms the transaction and reduces confusion over responsibility.
- Maintain Consistency – Keep formatting consistent throughout. Use the same font size, alignment, and spacing for each section to prevent confusion and maintain visual harmony.
- Test Template Usability – Once formatted, test the template by filling it out to ensure all fields are useful and adequately placed. Adjust the layout if needed to enhance usability.
Ensuring Accurate Data Entry and Tracking with Word Templates
To maintain precision in data entry, design your Word templates with clearly labeled fields for each required detail. Use tables and form fields to structure the layout, making it easier to input information in a consistent manner. This helps avoid errors caused by manual formatting or missing data.
Leverage Drop-Down Menus and Predefined Options

Incorporating drop-down menus within your Word template allows users to select from a predefined list of options. This reduces the risk of typographical errors and standardizes entries across documents, ensuring all data remains uniform and traceable.
Implement Data Validation for Consistency
Use Word’s form field options to set up basic validation rules, such as date formats or numeric entries, ensuring data adheres to specific standards. This prevents incorrect data from being entered in the wrong fields, which could complicate tracking and reporting.


