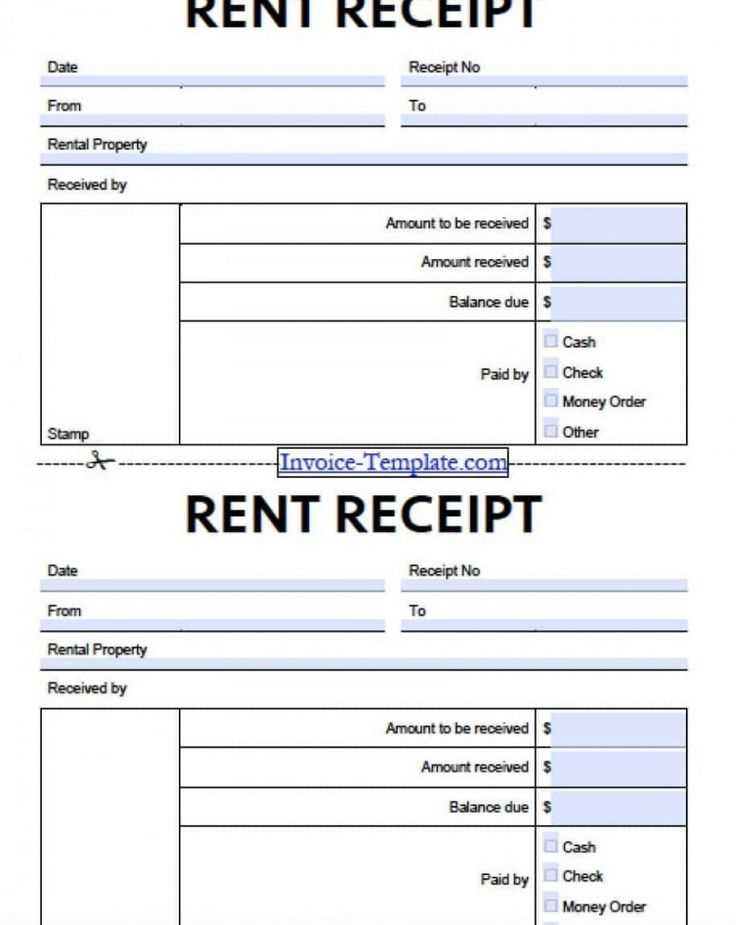
If you need a clear and simple receipt request template, start by including key details such as the date, the amount paid, and the name of the vendor. This ensures you can track transactions smoothly and avoid confusion later on.
For the template layout, structure it with sections for the recipient’s name, the transaction reference, and any relevant notes. Make sure the font is readable and the information is clearly separated to allow quick access to specific details when needed.
Consider adding a brief description or purpose of the purchase, so both parties are aligned. This can help in situations where the receipt might be required for returns or reimbursement.
Lastly, make the template flexible for customization. This way, it can be adapted for different types of transactions, from personal purchases to business-related expenses. A simple, clean design makes the template usable in various scenarios, whether for online or in-person exchanges.
Detailed Guide to Creating a Receipt Request Template
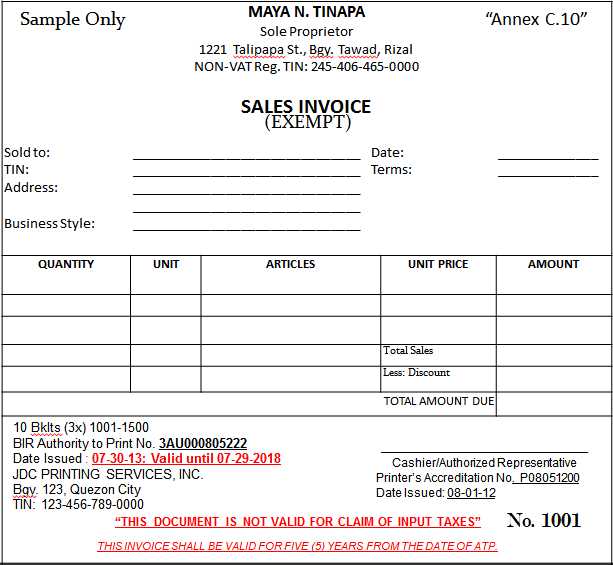
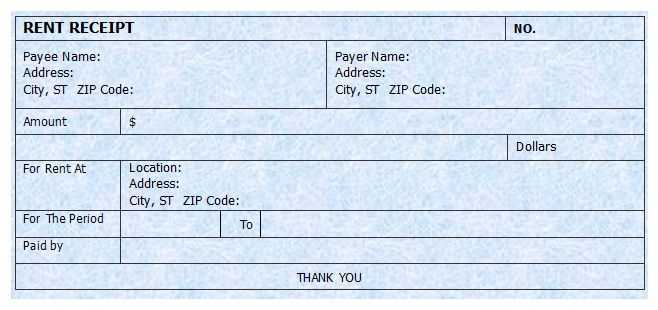
Begin with clear identification of the payer and payee. Include their full names, addresses, and contact details for easy reference. Ensure that the title of the document is concise and unambiguous, like “Receipt Request” or “Proof of Payment Request.” Position this title at the top of the template, making it prominent and easy to spot.
Organize Information Efficiently
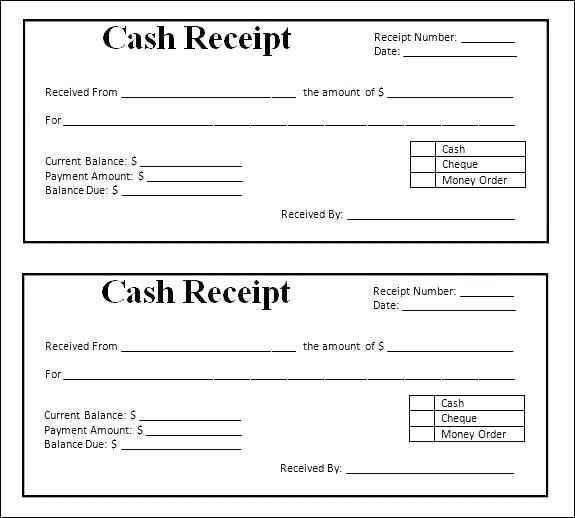
Next, create sections for the transaction details. Specify the date of the transaction and the amount requested for reimbursement or confirmation. Include a brief description of the payment or service provided. Use bullet points to list these elements clearly, avoiding clutter. Make sure to leave space for the payer’s signature to validate the request.
Provide Payment Methods and Instructions
Provide the recipient with specific instructions on how to submit the payment or proof of payment. Specify any accepted methods, such as bank transfers, checks, or online payment platforms. Include relevant account details or payment links. This ensures both parties are aligned and avoids confusion during the process.
Steps to Design a Customizable Receipt Template
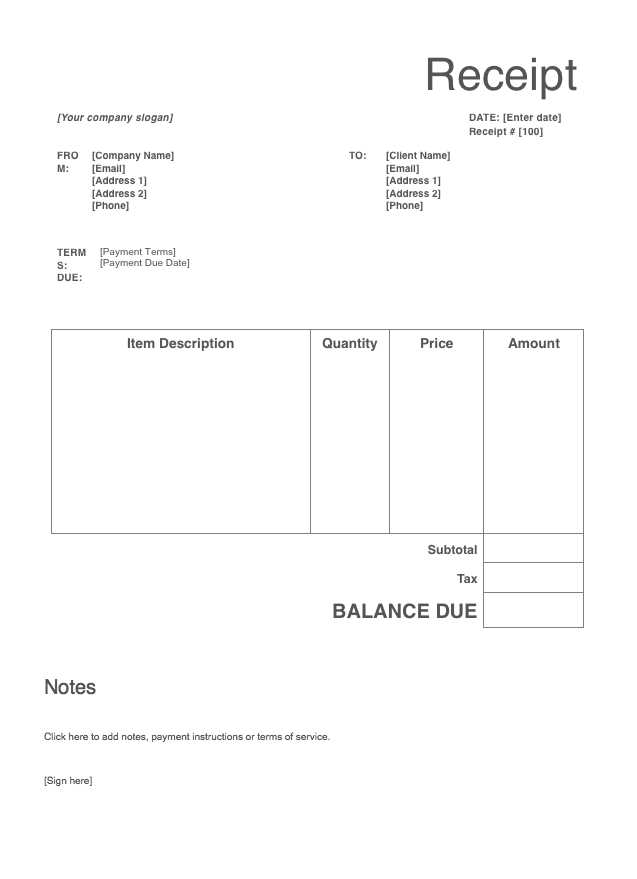
Choose a clear layout that fits your business needs. Divide the receipt into sections such as header, transaction details, and footer. Each part should be easily distinguishable to improve readability.
Header Section
Include your company name, logo, and contact information at the top. Ensure the font size and style match your branding for consistency. This is the first thing your customer will see, so make it professional and clean.
Transaction Details
Organize the transaction information logically. Include the purchase date, item names, quantities, and prices. Use tables for better alignment and ensure that the total is easy to spot. Adding taxes and discounts as separate lines enhances clarity.
Leave space for payment methods and any additional notes. Keep the formatting simple and avoid overcrowding the receipt with unnecessary details.
Key Elements to Include in a Receipt Request
To ensure clarity and avoid any confusion, be specific when asking for a receipt. Start by mentioning the exact transaction or service for which you need proof of purchase.
Transaction Information
- Purchase Date: Clearly state the date and time of the transaction. This helps to identify the transaction quickly.
- Transaction Amount: Specify the total amount paid, including any taxes or additional fees.
- Payment Method: Include how the payment was made (e.g., credit card, cash, bank transfer). This provides context for the transaction.
Business or Seller Information
- Business Name: Ensure the name of the business or seller is included for easy identification.
- Location or Contact Details: Mention the business location or include a contact number in case further clarification is needed.
By clearly stating these details, you make it easier for the recipient to provide the correct receipt, reducing the chances of errors or delays.
Common Mistakes to Avoid When Requesting Receipts
Don’t wait too long. Requesting a receipt immediately after a transaction helps prevent confusion and ensures the receipt includes all the correct details. Waiting too long might result in missing information or difficulty retrieving it from the vendor.
Clarify the type of receipt you need. Be clear about whether you need a printed receipt, digital copy, or an itemized list. Some businesses provide simplified receipts, which may not include necessary details for expense tracking or reimbursement purposes.
Check the receipt before leaving. Always verify that the receipt includes the correct purchase details, such as item descriptions, prices, taxes, and totals. This can save time if you need to address any discrepancies later.
Ensure your contact information is correct. If you’re requesting a digital receipt, make sure the business has the correct email or phone number to send it to you. Double-check this information to avoid delays in receiving your receipt.
Don’t forget to ask if it’s required. If you’re unsure whether you need a receipt for a purchase, ask before completing the transaction. Some businesses may automatically issue a receipt, while others may require you to request one explicitly.


