Customizing the response receipt template in Google Forms is straightforward. Begin by opening the form you want to edit, then click on the “Settings” gear icon in the top-right corner. From the options, select “Responses” and check the box for “Edit after submit” if you want respondents to modify their answers after submission. Next, look for the “Response receipt” section, where you can personalize the confirmation message they receive.
To modify the template, simply click on the “Response receipt” section and type the custom message you wish to send. You can include fields such as the responder’s name or responses to specific questions by using the built-in placeholders. This makes your receipt more personalized and relevant to the specific respondent.
Ensure your message is clear and concise to avoid confusion. Adding detailed instructions or additional information can help respondents review their submission or take further action if necessary. This small but effective customization helps create a better user experience and provides a sense of professionalism to your forms.
Guide to Modifying Google Forms Response Receipt Template
Open your Google Form and navigate to the “Responses” tab. Click on the three vertical dots (settings) in the upper right corner of the “Responses” section. Select “Response receipts” from the dropdown menu to enable email notifications for respondents.
Customizing the Receipt Message
To edit the response receipt template, click “Customize” beside the “Response receipts” option. You will be presented with a text box where you can personalize the message. You can add variables such as the form respondent’s name or specific answers from the form using placeholders like “Name” or “Response.” Be sure to keep the message clear and concise while adding any relevant instructions or information.
Formatting Your Template
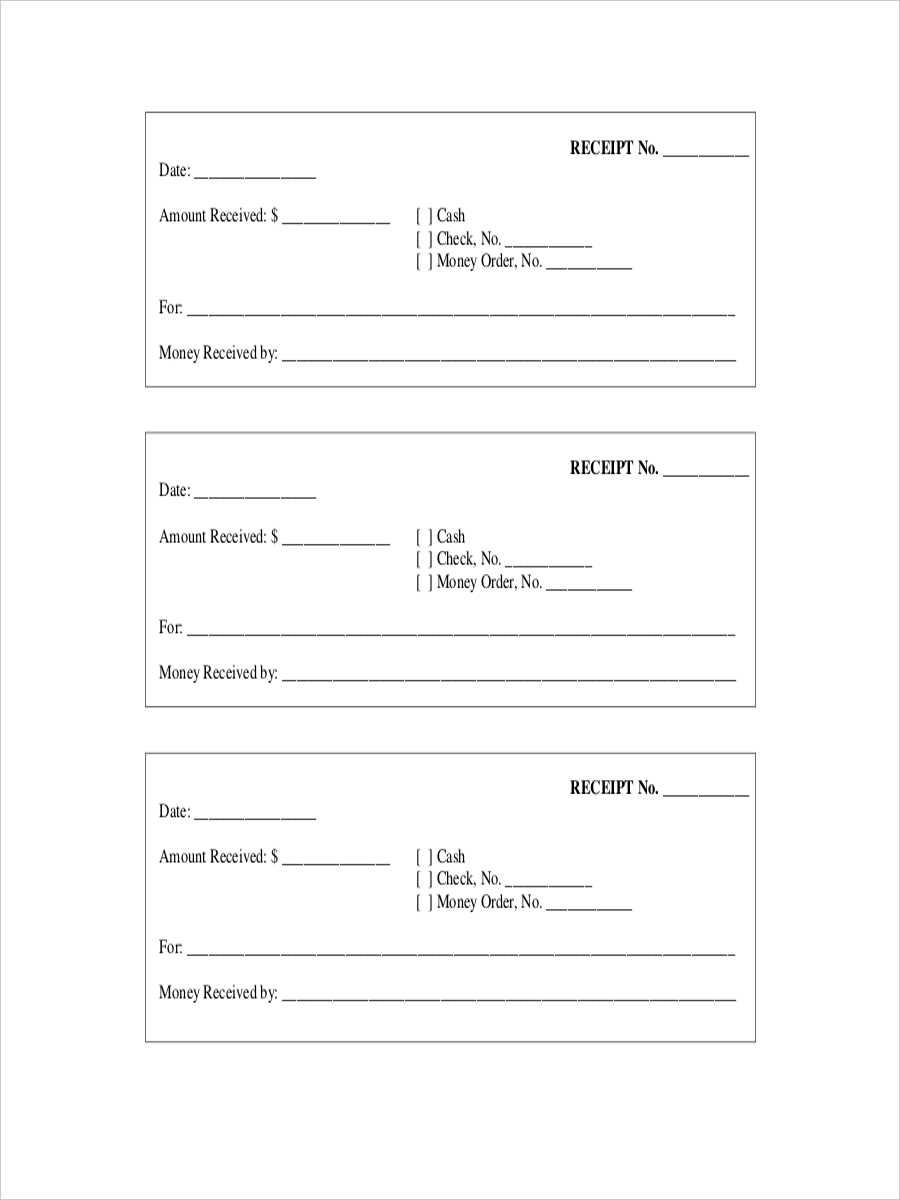
You can format the message with basic text features such as bold, italics, and bullet points to enhance clarity. Google Forms does not support complex HTML or multimedia files, so your formatting should be simple and readable. Save changes once you’re satisfied with the design of the message to ensure your respondents receive the updated template.
Customizing the Email Confirmation Layout
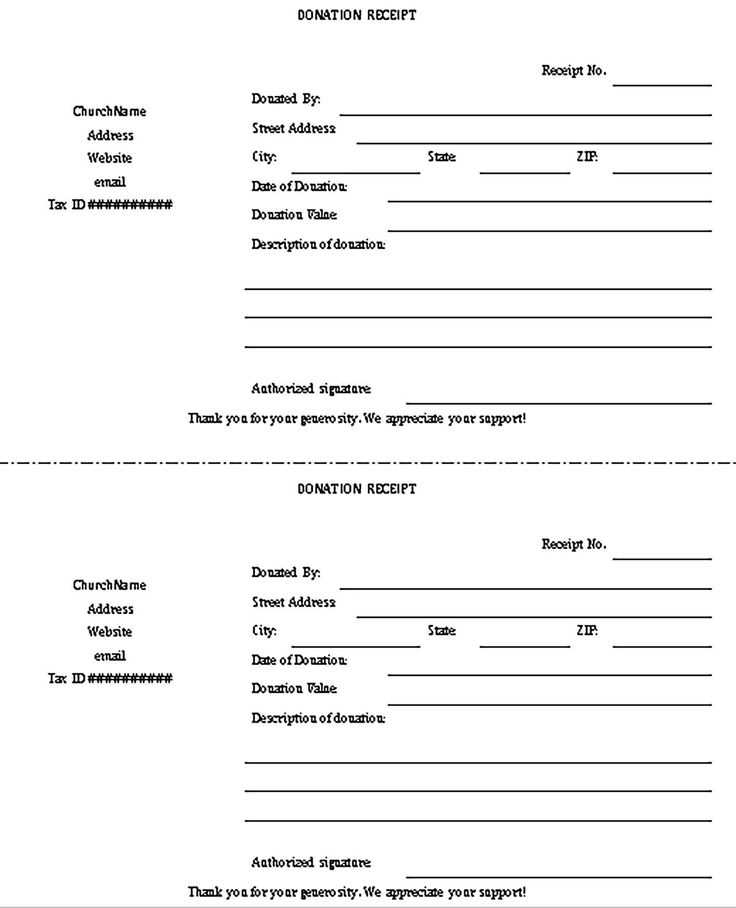
Adjust the layout of the email confirmation to better suit your brand by editing the message template. Start by accessing the “Response Receipts” section in Google Forms settings. Here, you can modify the subject line and the body text to reflect your preferred style.
To further personalize the email, you can add HTML elements such as bold text, links, or even custom images, which will help maintain brand consistency. Use basic HTML tags like , , or to enhance the visual appeal and clarity of your confirmation message.
Consider structuring the layout in a way that prioritizes key information such as the respondent’s answers, the form’s title, and any follow-up instructions. Adding a brief thank-you note or a call to action can improve the overall experience for your users.
Test your changes by sending a preview email to yourself. This allows you to check if the layout looks as intended across different devices and email clients. Make adjustments as needed to ensure everything appears correctly before going live.
Adding Personalized Data Fields to the Response Receipt
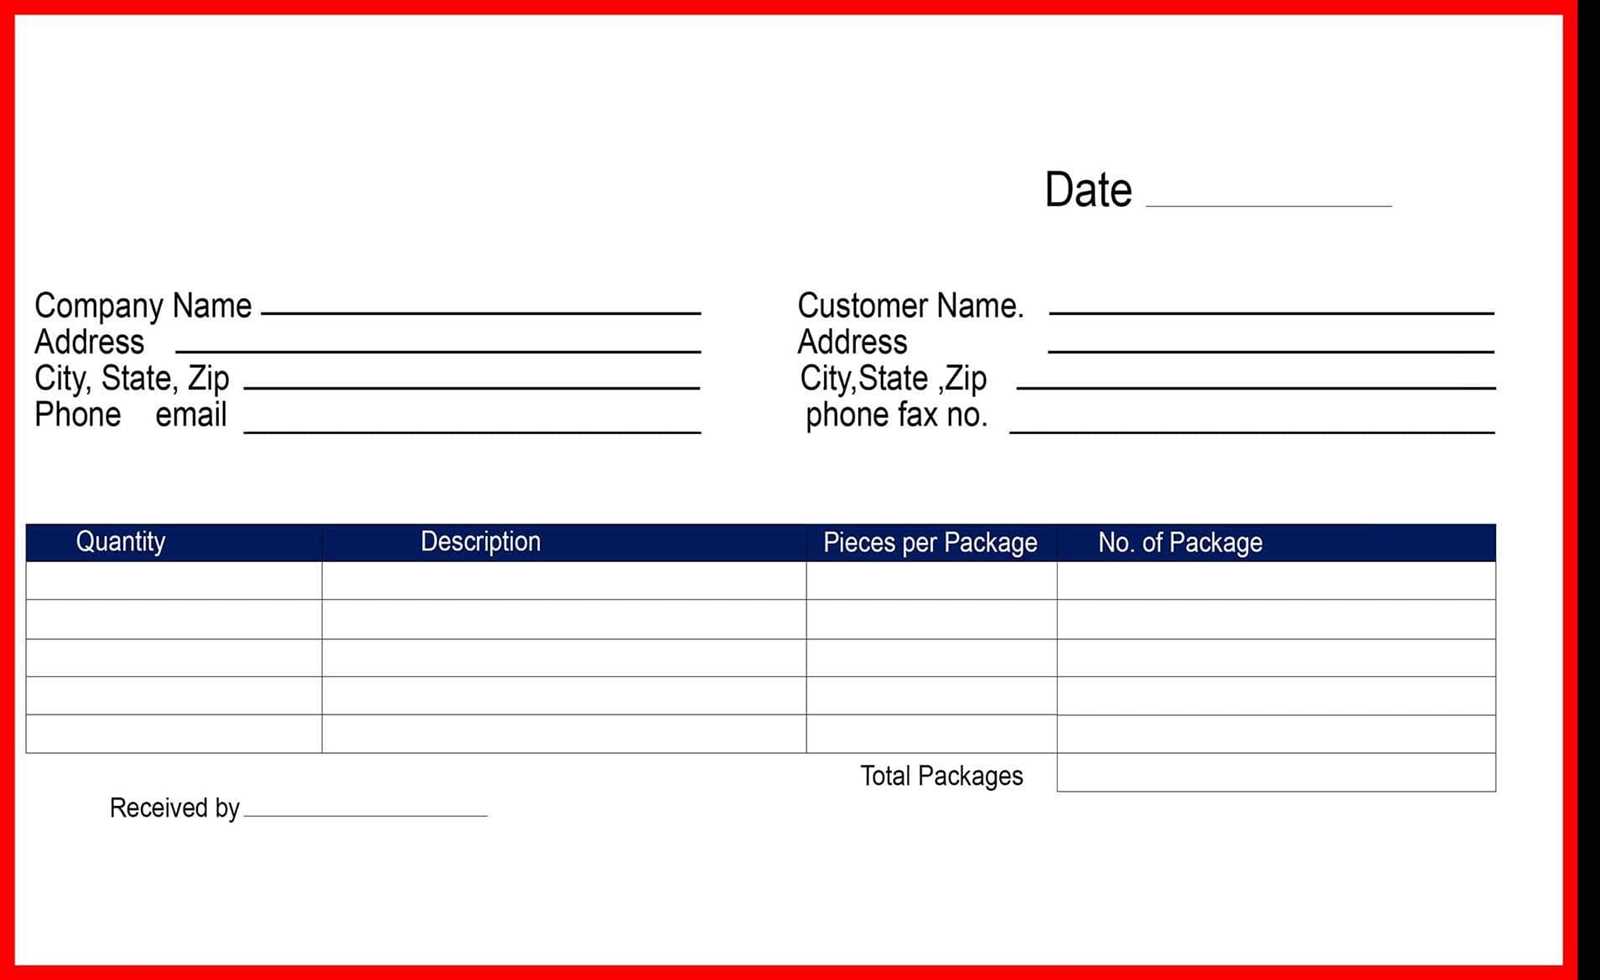
To enhance the user experience and make responses more tailored, you can include personalized data fields in your Google Forms response receipts. This can be done using the built-in features of Google Forms and some simple customization.
Follow these steps to add personalized data fields:
- Open your Google Form and go to the “Responses” section.
- Click on the “three dots” menu in the top-right corner and select “Response receipts.” Here, you’ll see the option to customize the message that is sent to respondents.
- Within the response receipt, include placeholders for personalized fields such as the respondent’s name, email, or answers. These placeholders are automatically linked to the form fields.
- For example, if you have a field for the respondent’s name, use {{Name}} to personalize the message. Google Forms will replace this placeholder with the actual data when the response is submitted.
This method makes the response more meaningful and helps build a connection with the respondent. Additionally, you can include dynamic fields like the submission timestamp or specific answers that align with your form’s content.
Make sure to test your form by submitting a response and checking how the receipt looks with the personalized data in place. Adjust the fields and message layout as needed for a cleaner presentation.
Using Third-Party Tools for Advanced Modifications
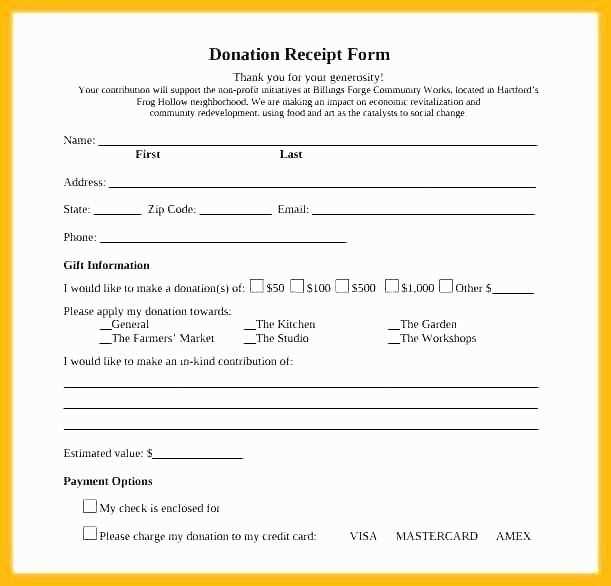
To achieve more control over Google Forms’ response receipt templates, consider integrating third-party tools that allow customization beyond the built-in options. Tools like Zapier, Integromat, and FormMule can automate workflows and tailor responses to fit specific needs.
Zapier for Seamless Integration
Zapier connects Google Forms with over 5,000 apps, enabling advanced customizations. By setting up Zaps, you can trigger automatic email replies or integrate responses with apps like Google Sheets, Mailchimp, or Slack. This streamlines the process, ensuring responses are instantly routed and formatted to meet your criteria.
FormMule for Custom Email Templates
FormMule offers powerful features for designing customized email notifications based on form responses. With this tool, you can adjust the appearance of your response receipts, include dynamic data from your form, and set conditional logic for different templates based on user input. It provides an added layer of personalization for recipients.
