Designing an order receipt template in HTML ensures your customers receive clear, professional confirmation of their purchases. A well-structured template not only improves communication but also adds a polished touch to your business. To achieve this, focus on a clean layout, logical data arrangement, and responsive design for various devices.
Start by including key details such as order number, purchase date, customer information, and a summary of items purchased. Group these sections logically, using simple HTML elements like <div> and <table> to keep the content organized. This structure makes it easier for customers to find important information at a glance.
To enhance usability, incorporate a consistent color scheme and legible fonts. Ensure that the total amount and payment details are prominently displayed. Additionally, adding a section for return policies or customer support contact enhances clarity and reduces follow-up inquiries.
For better compatibility, keep the template lightweight and avoid excessive styling within the HTML. Use external CSS for customization, ensuring the receipt looks great across different platforms. Testing the template on various devices and email clients will help maintain its reliability and readability.
Order Receipt Template HTML: Practical Guide
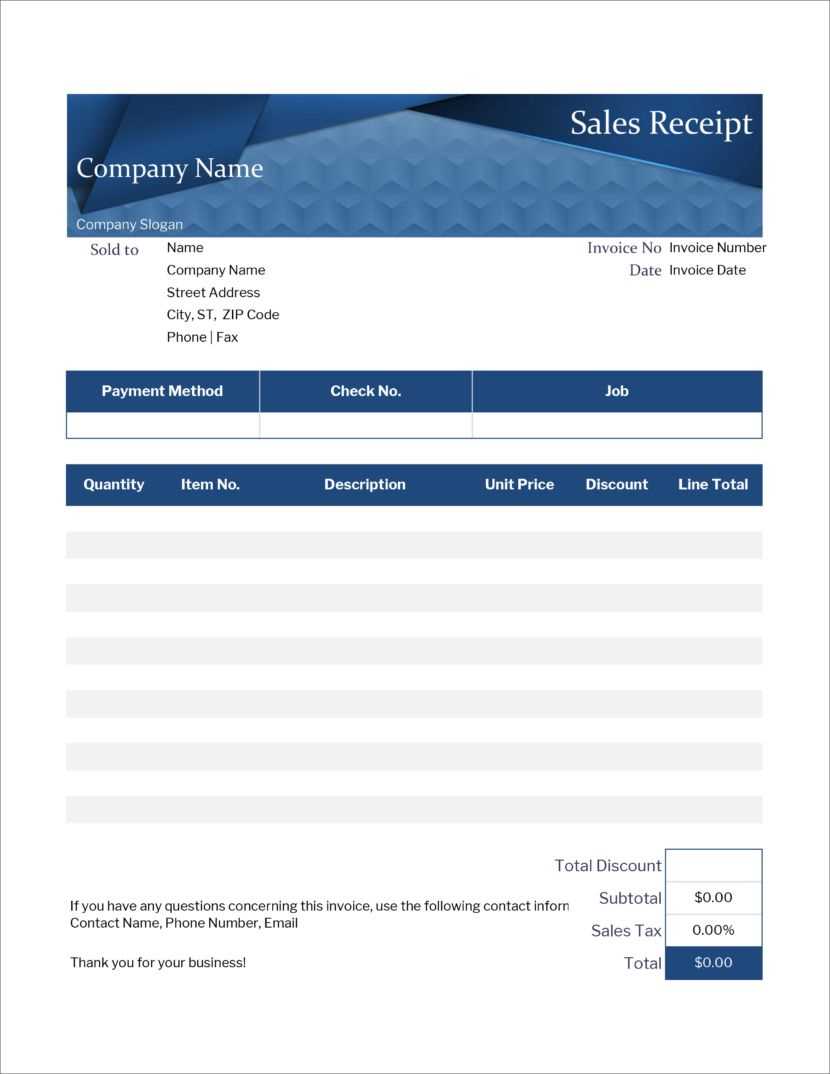
Structure your order receipt template with a clean and organized layout to ensure easy readability. Start with a header section that includes your company name, logo, and contact details. This provides instant recognition and makes it easy for customers to reach you if needed.
Follow the header with a customer information block. Display the recipient’s name, email, phone number, and shipping address. Use clear labels and consistent formatting to avoid confusion.
The core of the template is the order summary. Create a table with columns for item names, quantities, prices, and subtotals. Add a dedicated row for the total amount at the bottom, highlighted for emphasis. For tax or discount details, place them right above the total for better visibility.
Include a payment confirmation section indicating the payment method used and the transaction ID. This reassures the customer and helps with record-keeping.
End the receipt with a brief thank you message and support contact information. This small touch leaves a positive impression and provides quick access to assistance if required.
Structuring the Basic Layout for an Order Receipt
Begin by organizing the receipt into clear sections: header, order details, and summary. The header should include the company name, logo, and contact information. Use an <h1> tag for the company name to maintain hierarchy and readability.
Order Details Section
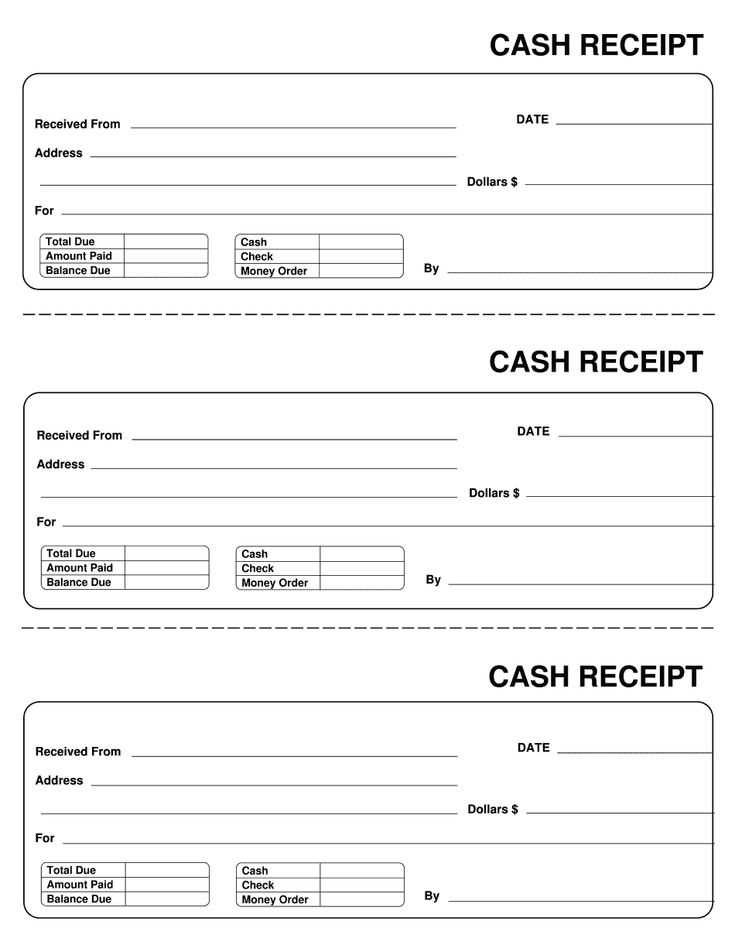
List the order information in a table for clarity. Use separate columns for item name, quantity, price, and subtotal. Apply <thead> and <tbody> tags to structure the table properly, ensuring the header row remains distinct.
Summary and Total
Place the summary at the bottom, including the subtotal, applicable taxes, and the final total. Use bold text for the total amount to draw attention. Add a payment status indicator and a brief thank-you note to enhance the user experience.
Ensure the layout is mobile-friendly by applying a responsive grid structure or using flexbox. This keeps the receipt readable on all devices without unnecessary scrolling or resizing.
Adding Dynamic Elements for Personalization
Incorporate customer-specific details such as order number, purchase date, and personalized greetings directly into your receipt template. Use placeholders that dynamically pull information from your database to create a customized experience for each recipient.
Implementing Conditional Content
Show or hide sections based on order details. For example, include a discount message only if the customer used a promo code or display shipping estimates based on their selected delivery method. This ensures each receipt remains relevant and concise.
Interactive Elements
Enhance engagement by adding clickable tracking links or buttons that guide customers to related products. Include a product image carousel if multiple items are purchased, helping to create a visually appealing, dynamic summary.
By focusing on these personalized elements, you’ll improve clarity, relevance, and customer satisfaction in every receipt.
Optimizing for Responsive and Printable Formats
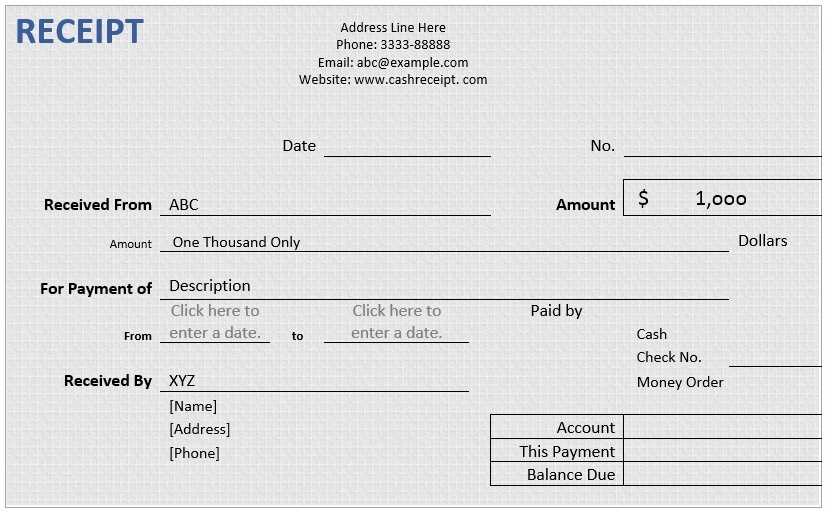
Ensure your order receipt template adjusts seamlessly to various screen sizes while also being print-friendly. Focus on flexible layouts and scalable elements that maintain readability across devices.
Use Media Queries for Responsive Design
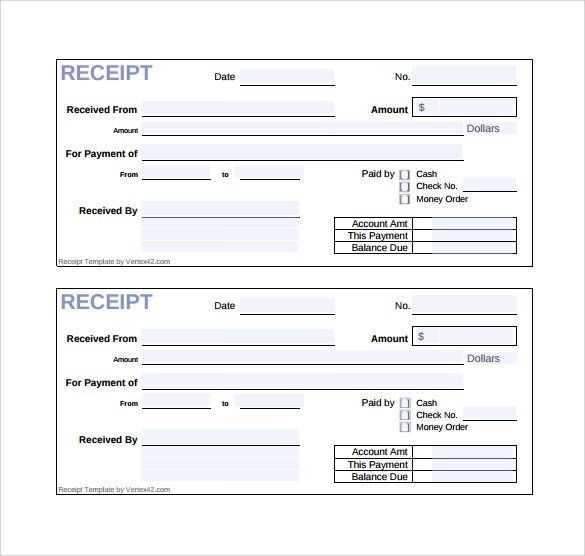
- Set breakpoints for common screen sizes to adjust font size, margins, and padding.
- Use percentage-based widths for containers instead of fixed pixel values.
- Hide unnecessary elements on smaller screens to avoid clutter.
Enhance Print Formatting

Prepare a dedicated print stylesheet to ensure a clean output on paper. Simplify the design, remove background colors, and adjust fonts for clarity.
- Set the
@media printrule to customize styles for print. - Use high-contrast colors for better legibility.
- Ensure essential information like order details and totals are always visible and well-aligned.
By combining responsive techniques with a well-structured print format, you create a versatile template that meets user needs on any device or in print form.
