Need a simple and professional way to generate printable receipts in HTML? The best approach is to create a structured, minimalistic template that looks good both on-screen and on paper. Using HTML, CSS, and JavaScript, you can format receipts for any business need–whether for e-commerce, restaurants, or retail.
Receipts should be clear, well-organized, and printer-friendly. To achieve this, use standard HTML elements like <table> for layout, avoid unnecessary colors, and ensure proper alignment of text. Applying @media print in CSS helps optimize the receipt for printing, hiding unnecessary elements like buttons and navigation menus.
For a smooth experience, consider adding a print button that triggers the browser’s print function using JavaScript. A simple window.print() function allows users to print the receipt instantly. Additionally, including a logo and basic styling improves readability and brand consistency.
Below, you’ll find a well-structured HTML receipt template ready for customization and integration into any project.
Print Receipt HTML Template
Use a clean, structured table for a well-organized receipt layout. Keep essential details visible: store name, date, time, purchased items, subtotal, tax, and total amount. Add a unique order ID for tracking.
Format prices and align numbers to the right for easy readability. Use `
` or `` for monospaced fonts if printing on thermal printers to maintain alignment.
Ensure the template is printer-friendly. Apply `@media print` in CSS to hide unnecessary elements and set margins for proper alignment. Use `window.print()` in JavaScript for a seamless printing experience.
Include a barcode or QR code for quick verification. Generate it dynamically using libraries like JsBarcode or QRCode.js.
Keep the design minimalistic to save ink and improve clarity. Stick to black-and-white colors and avoid heavy graphics. Use high-contrast fonts like Arial or Roboto for better legibility.
Test the template across multiple browsers and devices to ensure consistent output. Adjust `print-resolution` settings if needed for sharper prints.
Structuring a Receipt Template with HTML and CSS
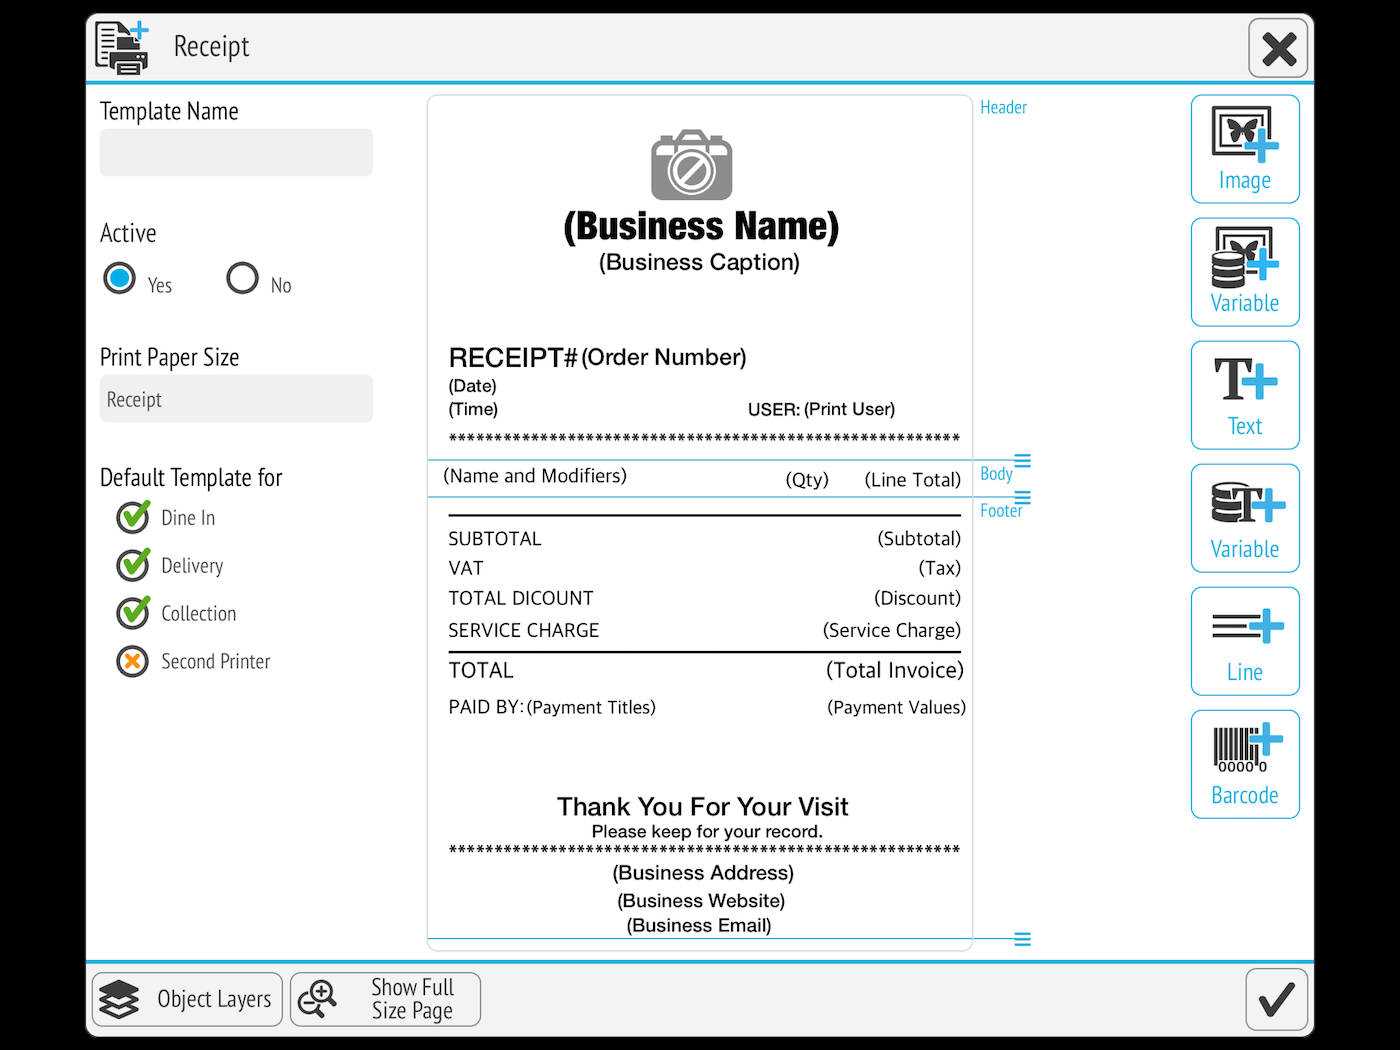
Use a clean and semantic structure to ensure readability and maintainability. Wrap the receipt in a <div class="receipt"> container and use well-defined sections for the header, items, and totals.
- Header: Include business name, logo (optional), and receipt details like date and receipt number inside a
<header> or a <div class="receipt-header">.
- Itemized List: Use a
<table> for product descriptions, quantities, and prices. Keep the structure simple with <thead> for headers and <tbody> for items.
- Totals: Place subtotal, taxes, and final amount inside a dedicated section. Align numerical values to the right using CSS for better readability.
Example structure:
<div class="receipt">
<div class="receipt-header">
<h1>Store Name</h1>
<p>Date: 2025-02-11</p>
<p>Receipt #12345</p>
</div>
<table class="receipt-items">
<thead>
<tr>
<th>Item</th>
<th>Qty</th>
<th>Price</th>
</tr>
</thead>
<tbody>
<tr>
<td>Product 1</td>
<td>2</td>
<td>$20.00</td>
</tr>
</tbody>
</table>
<div class="receipt-totals">
<p>Subtotal: $40.00</p>
<p>Tax: $4.00</p>
<p>Total: $44.00</p>
</div>
</div>
Apply CSS to style the receipt for printing and screen display. Use @media print rules to hide unnecessary elements like buttons and adjust the layout for paper size.
Adding Print Styles for Proper Formatting
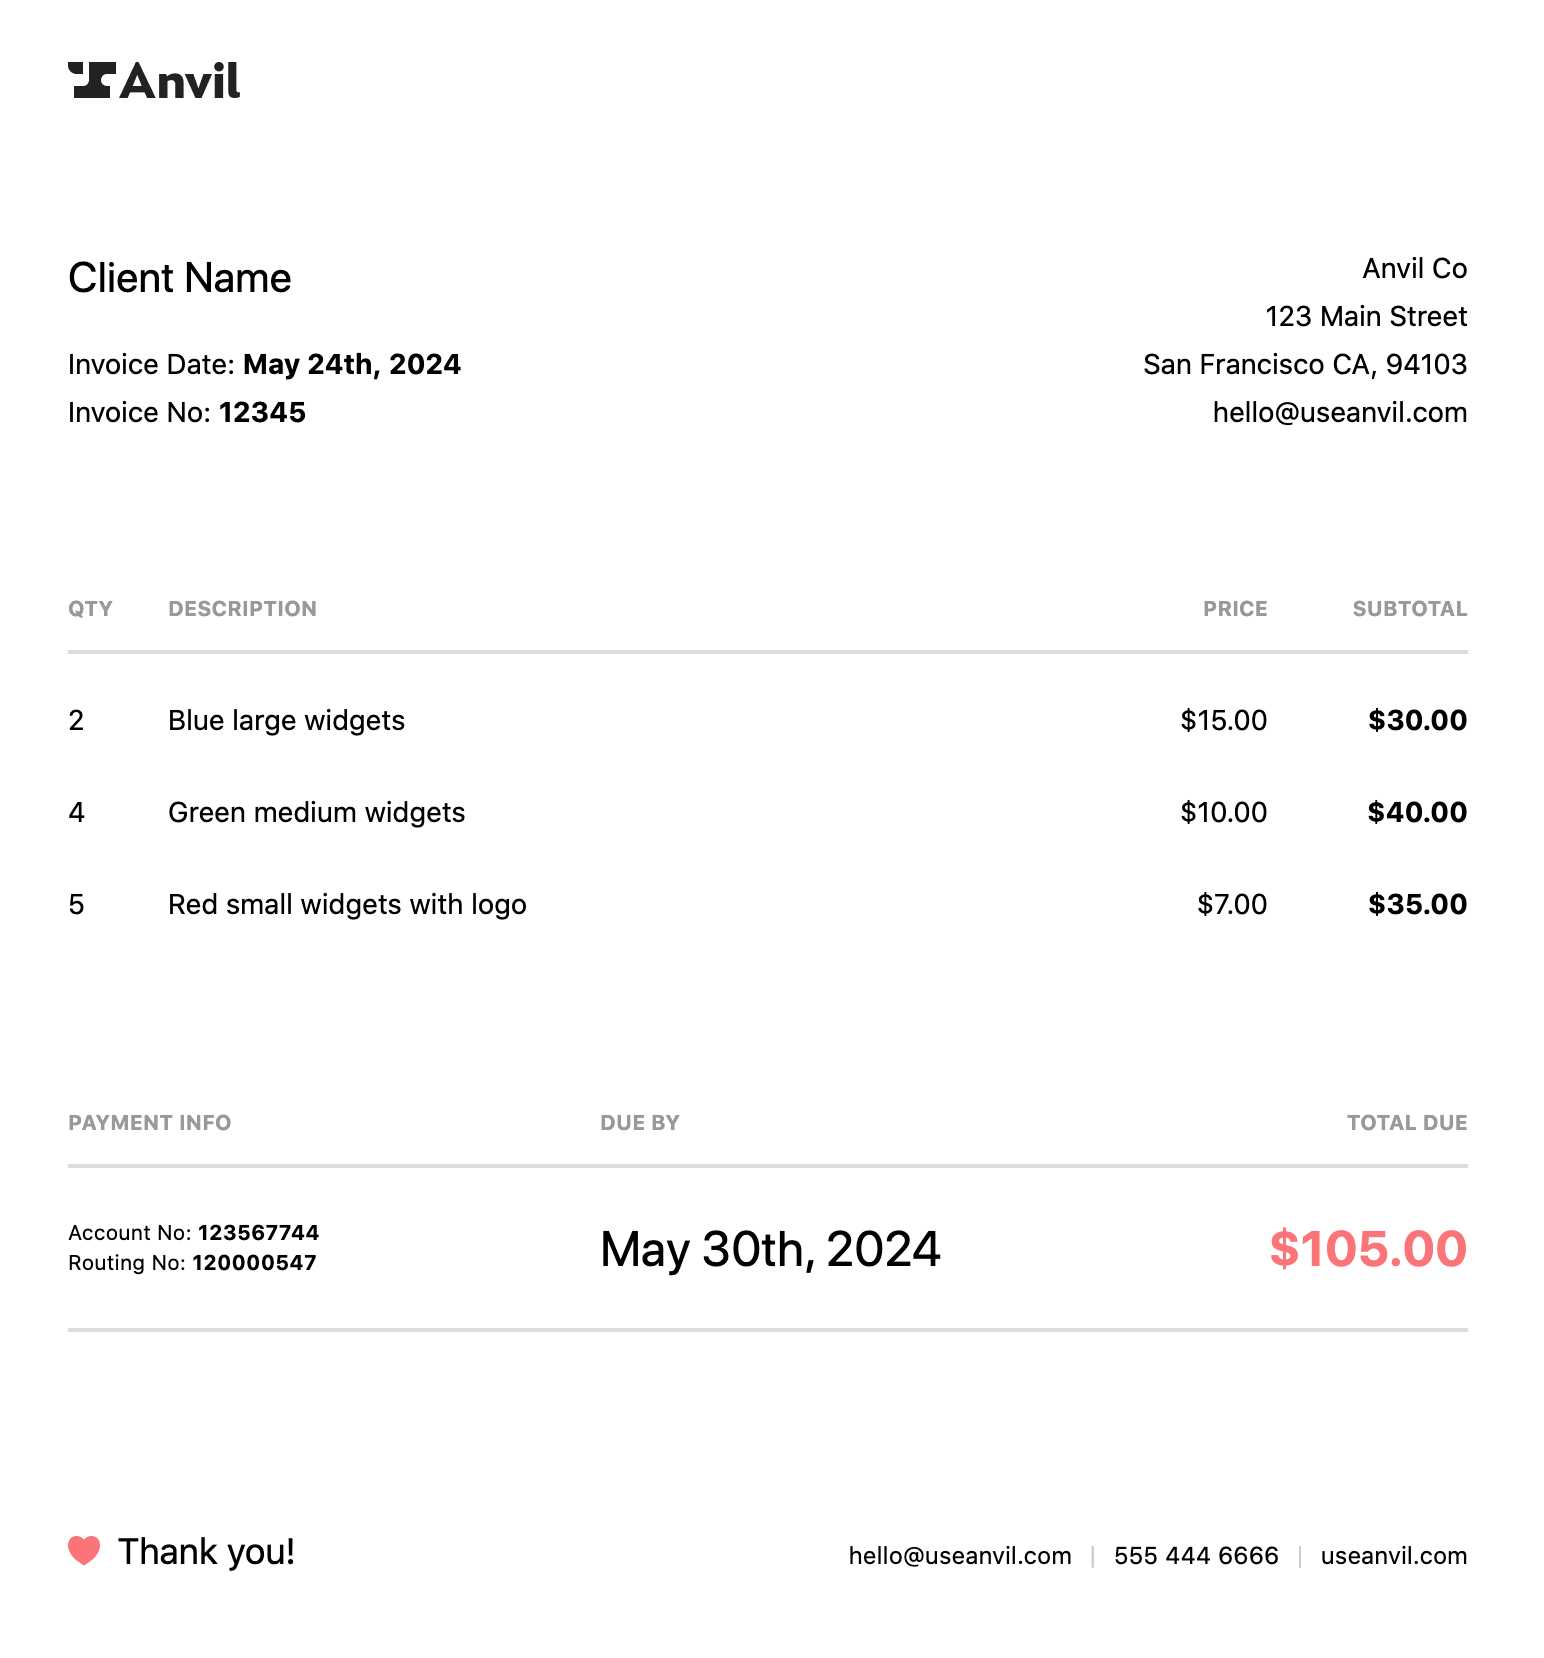
Use a separate print stylesheet to ensure receipts print cleanly without unnecessary elements. Add a print.css file and link it with media="print" in the <head> section. Alternatively, define styles within a <style> block using @media print.
Hide Unnecessary Elements
Remove buttons, navigation, and background images to keep the receipt focused. Use:
@media print {
nav, .no-print { display: none; }
}
Apply the no-print class to elements that should be hidden.
Adjust Layout for Printing
Ensure readable fonts and structured spacing. Use:
@media print {
body { font-size: 12pt; color: #000; }
.receipt { width: 80mm; margin: 0 auto; }
}
Set the width to match common receipt paper sizes. Use high contrast for legibility.
Test the print layout in multiple browsers to verify consistency.
Generating Dynamic Receipt Data with JavaScript
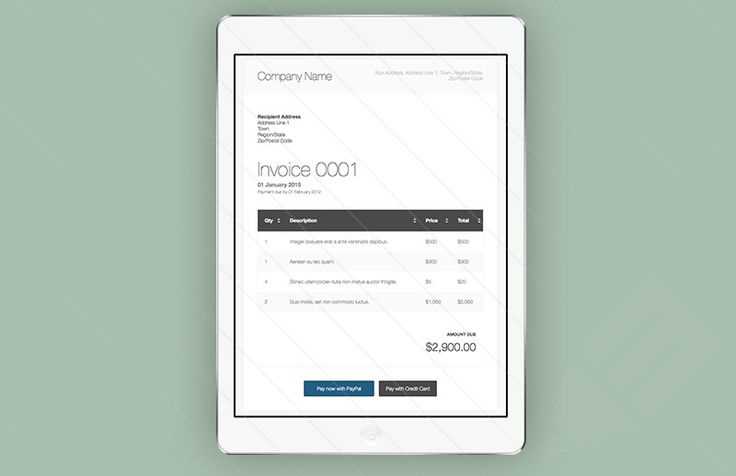
Use JavaScript to generate dynamic receipt data by pulling values from a form or an API and injecting them into an HTML template. This allows for real-time updates without reloading the page.
Creating a Receipt Template
Define a basic HTML structure with placeholders for dynamic content. Use id attributes to target elements where JavaScript will insert data.
<div id="receipt">
<p>Date: <span id="date"></span></p>
<p>Customer: <span id="customer"></span></p>
<table>
<thead>
<tr><th>Item</th><th>Price</th></tr>
</thead>
<tbody id="items"></tbody>
</table>
<p>Total: $<span id="total">0.00</span></p>
</div>
Injecting Dynamic Data
Use JavaScript to populate the receipt based on user input or fetched data. Loop through an array of items and update the DOM efficiently.
const receiptData = {
date: new Date().toLocaleDateString(),
customer: "John Doe",
items: [
{ name: "Product A", price: 10.99 },
{ name: "Product B", price: 5.49 },
],
};
document.getElementById("date").textContent = receiptData.date;
document.getElementById("customer").textContent = receiptData.customer;
const itemsContainer = document.getElementById("items");
let total = 0;
receiptData.items.forEach(item => {
const row = document.createElement("tr");
row.innerHTML = `${item.name} $${item.price.toFixed(2)} `;
itemsContainer.appendChild(row);
total += item.price;
});
document.getElementById("total").textContent = total.toFixed(2);
This approach ensures that receipts update dynamically, eliminating manual edits and improving efficiency.
