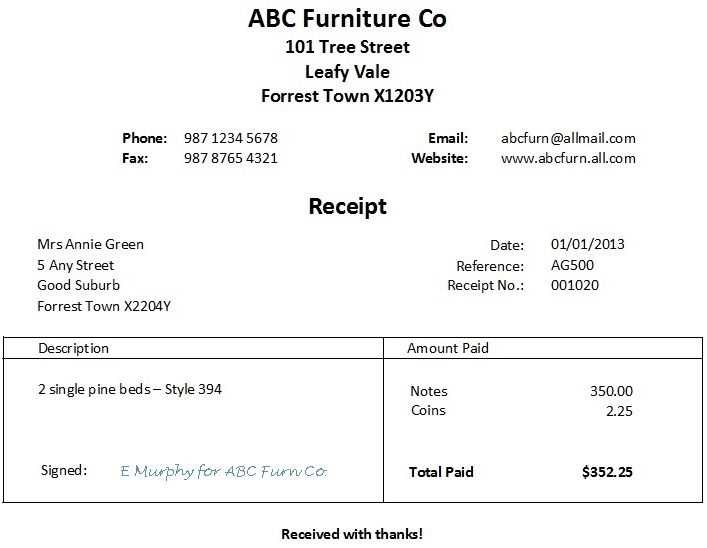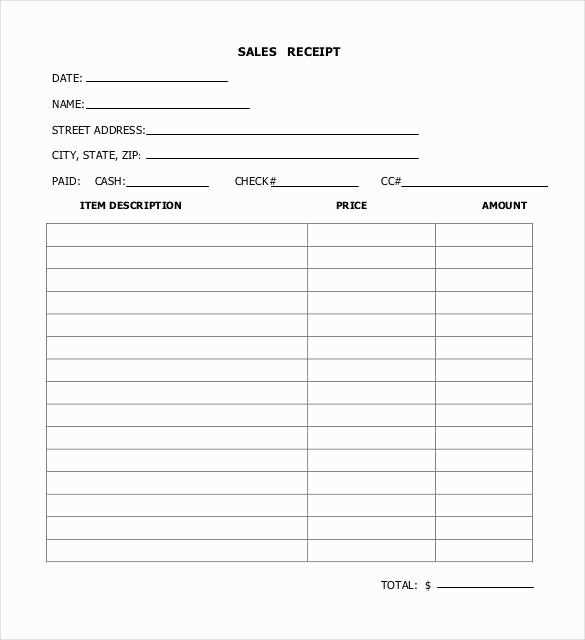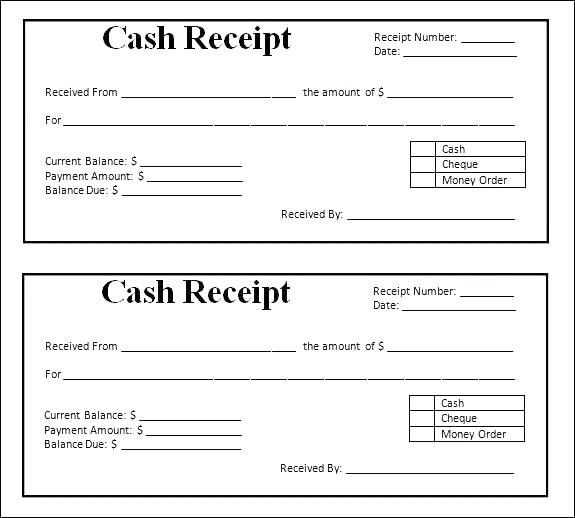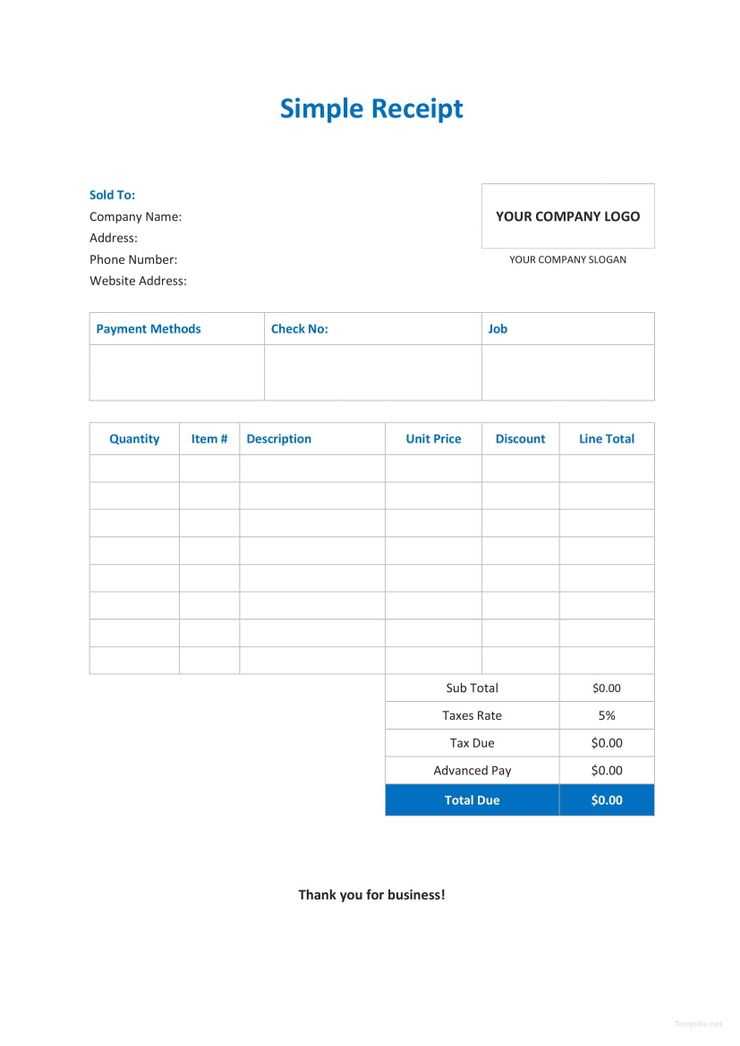
Need a quick and professional way to create sales receipts? Microsoft Word offers ready-made templates that simplify the process. These templates include pre-formatted sections for item descriptions, prices, taxes, and totals, making them ideal for businesses of any size.
Customizing a receipt is straightforward. Open a template, update business details, and adjust fields as needed. Many templates allow modifications to fonts, colors, and layouts to match your brand identity. Adding a company logo and contact information enhances professionalism and credibility.
Automation features in Word can further streamline receipt creation. Using built-in formulas, you can set up automatic calculations for subtotal, tax, and final amount. This reduces errors and saves time, especially for frequent transactions.
For businesses needing digital records, Word receipts can be easily saved as PDFs and emailed to customers. Integration with cloud storage ensures receipts are securely stored and accessible from multiple devices.
Choosing the right template depends on your needs. Basic designs work well for simple transactions, while detailed formats with itemized lists suit businesses requiring more transparency. Exploring available options helps find the perfect fit for your workflow.
Microsoft Word Sales Receipt Template

Choose a ready-made layout to save time and maintain a professional look. Word provides customizable templates with preformatted sections for itemized lists, totals, and business details. Adjust fonts, colors, and logos to match your brand.
Key Sections to Include
- Header: Business name, logo, and contact details.
- Customer Information: Name, address, and order reference.
- Itemized List: Product descriptions, quantities, and prices.
- Totals: Subtotal, taxes, and final amount.
- Payment Details: Method used and transaction ID.
Customization Tips
- Use table formatting for a clean, structured layout.
- Enable auto-calculations in Excel-linked templates for accuracy.
- Save as a PDF to ensure formatting consistency when sharing.
Update templates regularly to reflect pricing changes and legal requirements. Keep a digital archive for easy reference and auditing.
Adjusting Layout and Formatting for Business Needs
Customize column widths to ensure all details remain visible, especially when including item descriptions and terms. Use the table properties menu to set exact measurements, preventing misalignment when printing.
Modify font styles to improve readability. Bold totals and payment instructions, while keeping item details in a standard typeface. Maintain consistency across headings, labels, and amounts to enhance clarity.
Insert your company logo in the header for branding. Adjust its size to fit without distorting the document structure. Align it with business details for a professional appearance.
Set up automatic date fields to ensure accuracy. Use the “Insert Date” function with an auto-update option so that each receipt reflects the correct transaction date without manual adjustments.
Define clear section dividers by adjusting border styles. Thin lines separate itemized lists from totals without overwhelming the layout. Use shading sparingly to highlight key figures without distracting from other details.
Save a preformatted template to streamline future transactions. Lock sections that should remain unchanged, such as tax rates and legal disclaimers, while keeping editable fields accessible.
Integrating Automated Calculations and Tax Fields
Enable automatic price calculations by using table formulas. In a Microsoft Word sales receipt template, place the cursor in the total cell and use =SUM(ABOVE) to add up the amounts from the rows above. If you need to multiply quantity by unit price, use =PRODUCT(LEFT) in the corresponding column.
Adding Tax Fields

Insert a new row for tax calculation. To apply a fixed tax rate, use =SUM(ABOVE)*0.07 (for 7% tax). Adjust the percentage as needed. For variable rates, leave the tax percentage field editable and use a formula like =SUM(ABOVE)*B2, where B2 refers to the cell containing the tax rate.
Ensuring Accurate Totals
After adding a tax row, update the final amount by modifying the total cell formula to =SUM(ABOVE), ensuring all line items and tax are included. If calculations do not update automatically, press F9 to refresh fields.
Customizing Branding Elements for a Professional Look

Adjust the color scheme to match your company’s identity. Open the template, select the “Design” tab, and modify the theme colors to align with your brand palette. Consistency in color enhances recognition and ensures a polished appearance.
Replace the default font with one that reflects your business style. Click on “Home,” select “Font,” and choose a typeface that conveys professionalism. Sans-serif fonts work well for modern brands, while serif fonts suit traditional businesses.
Insert your company logo for instant brand recognition. Click “Insert,” choose “Pictures,” and upload your logo. Resize and position it at the top for maximum visibility without disrupting the layout.
Customize the footer to reinforce your brand presence. Add your website, tagline, or contact details by double-clicking the footer area. Use a subtle font size to keep it informative yet unobtrusive.
Modify table borders and shading for a refined look. Right-click the table, select “Table Properties,” and adjust the border style and fill color. Lighter shades improve readability, while bold outlines create a structured appearance.
Save the customized receipt as a template for future use. Click “File,” select “Save As,” and choose “Word Template” to preserve your design. This ensures consistency across all receipts and reduces formatting time.


