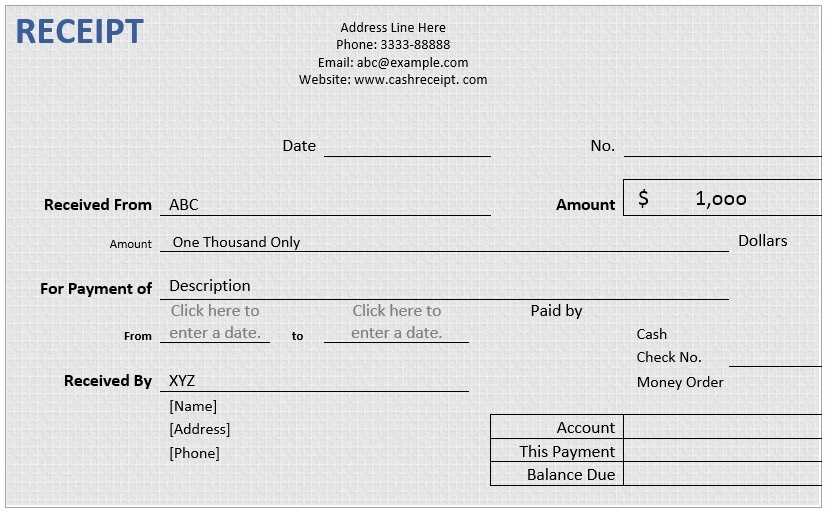
Choose a format that suits your needs. A receipt template can be a simple document, a spreadsheet, or a digital form. For printable receipts, use Word or Google Docs. If you need automatic calculations, Excel or Google Sheets work best. For professional invoices, consider PDF templates or online generators.
Include key details for clarity. A well-structured receipt should display the business name, contact information, date, itemized list, total amount, and payment method. If applicable, add a tax breakdown, discounts, or transaction ID.
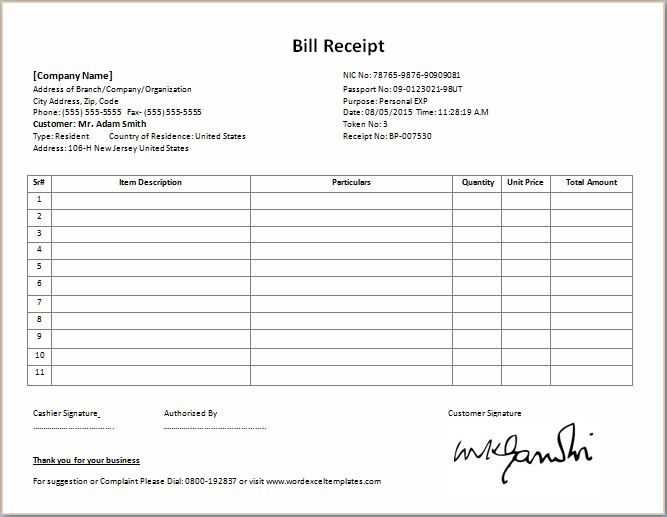
Use tables for better organization. A simple table helps separate product descriptions, quantities, and prices, making the receipt easier to read. In Excel, use formulas to automate calculations, ensuring accuracy.
Save and reuse your template. Once finalized, store your template in an easily accessible format. If using Word, save it as a template file (.dotx). In Excel, lock formulas to prevent accidental changes. For digital receipts, export as a fillable PDF or integrate with accounting software.
How to Make a Receipt Template
Use a spreadsheet or word processor to create a structured layout. Include key sections like seller and buyer details, itemized list, total amount, and payment method.
Essential Elements
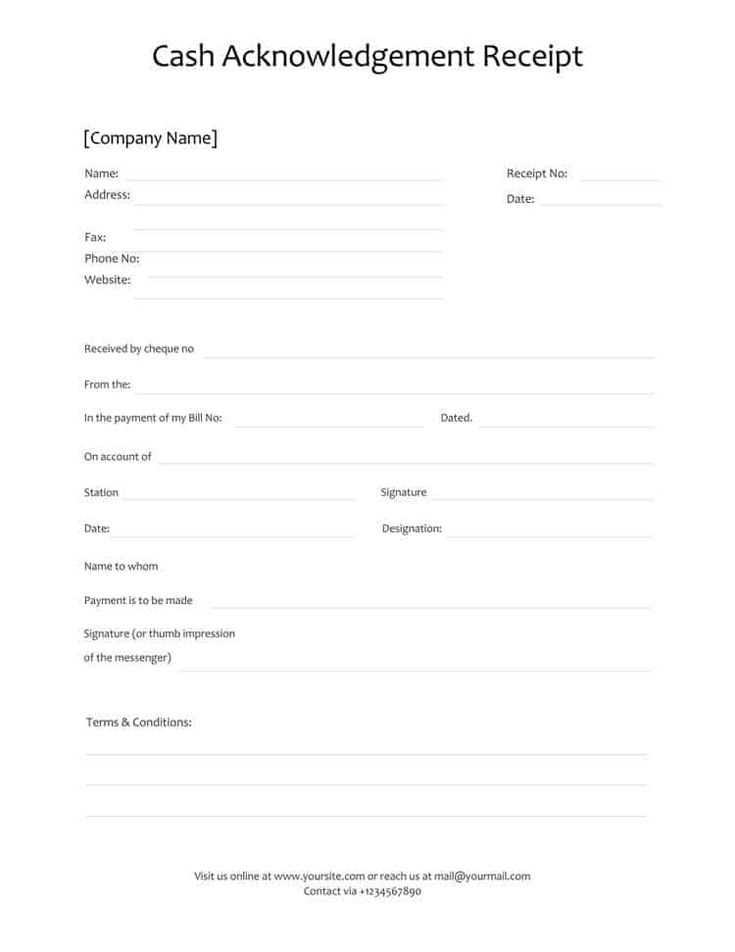
- Header: Add “Receipt” as the title and include a unique receipt number.
- Business Information: Include the name, address, phone number, and email.
- Customer Details: Record the buyer’s name and contact information.
- Transaction Date: Display the exact date of purchase.
- Itemized List: List each product or service with quantity, unit price, and total.
- Total Amount: Sum up all costs and specify currency.
- Payment Method: Indicate if paid by cash, card, or other means.
- Notes Section: Add refund policies or special terms.
Formatting Tips
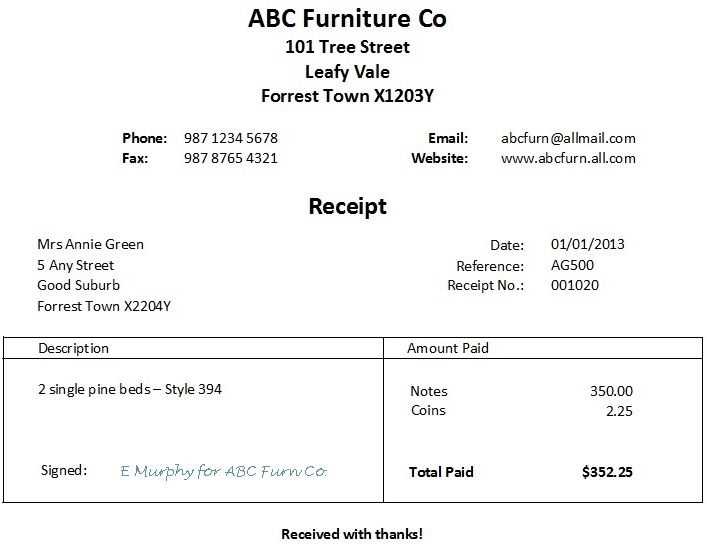
- Use tables: Keep item details organized.
- Apply bold headers: Highlight key sections.
- Leave spacing: Ensure readability.
- Save as a template: Make future receipts quicker to generate.
Convert the document to PDF for a professional look, or use digital receipt tools for automation.
Choosing the Right Layout for Your Receipt
Pick a structure that balances clarity and detail. A simple column layout with distinct sections for business information, itemized charges, taxes, and total keeps everything easy to read. Align text for quick scanning–left for descriptions, right for prices.
Use consistent spacing to separate key details. Group related information, such as subtotal, tax, and total, to minimize confusion. If the receipt includes payment details, place them at the bottom for quick reference.
Choose a font that prints well in both digital and paper formats. Stick to standard sizes–larger for totals, smaller for item descriptions. Avoid decorative fonts that reduce legibility.
If space is limited, prioritize necessary details. Exclude excessive branding or extra design elements that clutter the layout. Keep it structured, readable, and optimized for fast review.
Adding Essential Fields and Formatting
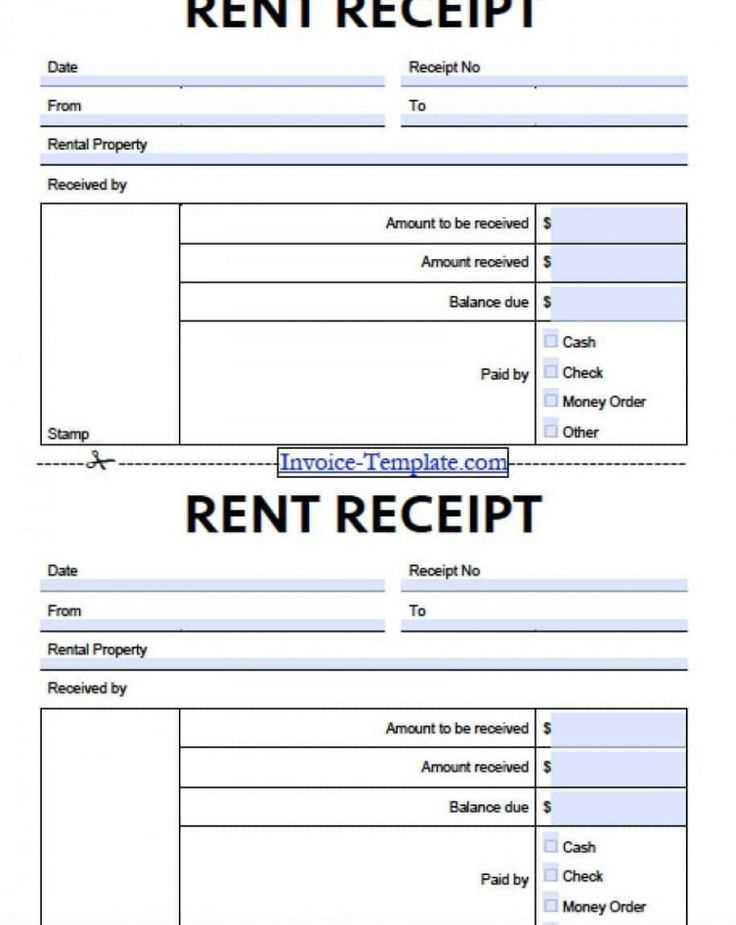
Include the business name, address, and contact details at the top. Align them for clarity and ensure the font is legible. Below, add the receipt number and date, placing them where they stand out.
List purchased items in a table with clear columns for description, quantity, unit price, and total cost. Use consistent spacing to improve readability. Separate sections for taxes, discounts, and the final amount help avoid confusion.
Choose a simple, professional font and maintain sufficient margins. Use bold text for headings and totals, and avoid excessive decoration. A signature or note on payment method adds credibility and completes the structure.
Saving, Printing, and Sharing the Template
Choose a file format that preserves layout and ensures compatibility. PDF works best for sharing, while Excel and Word allow edits. Save a master copy to avoid accidental changes.
Printing Without Formatting Issues
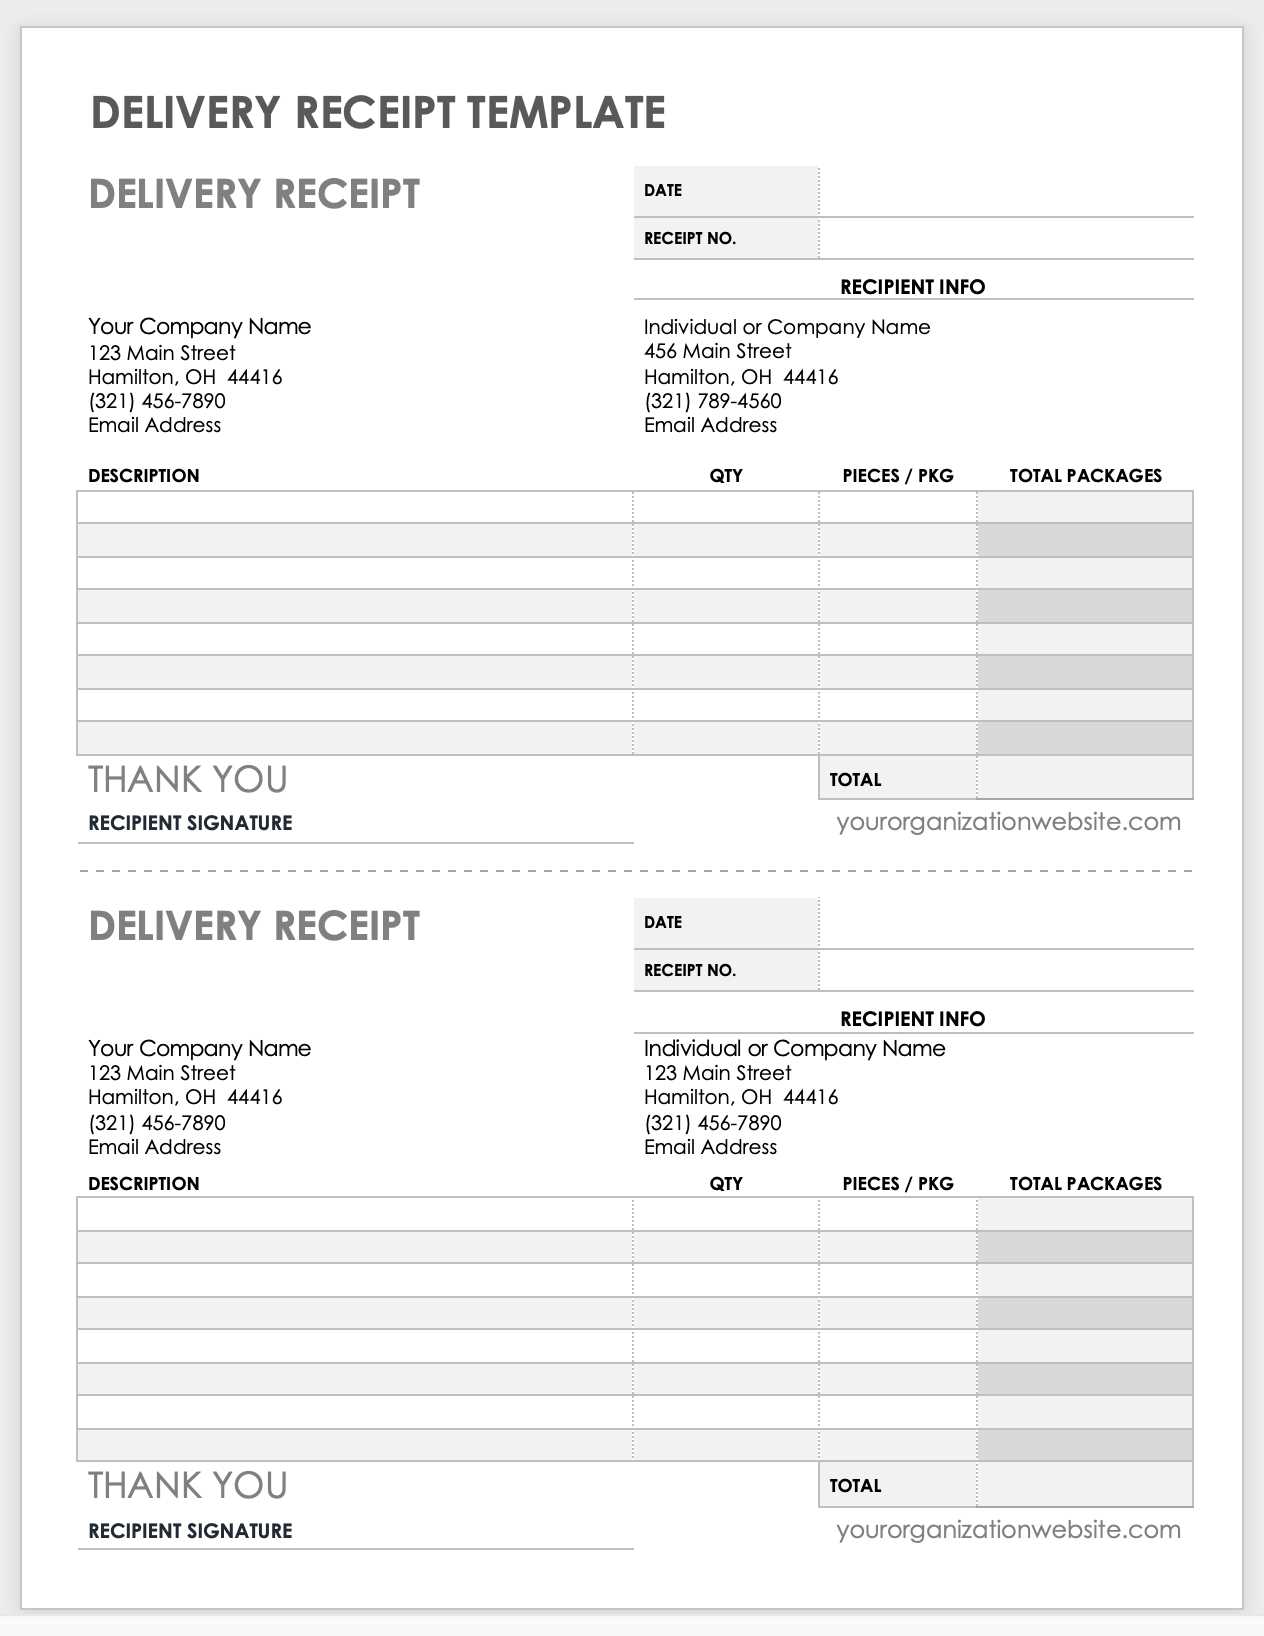
Set margins and scaling before printing to prevent cut-off sections. Use print preview to check alignment. Select a high-quality print setting for sharp text and clear lines.
Quick and Secure Sharing
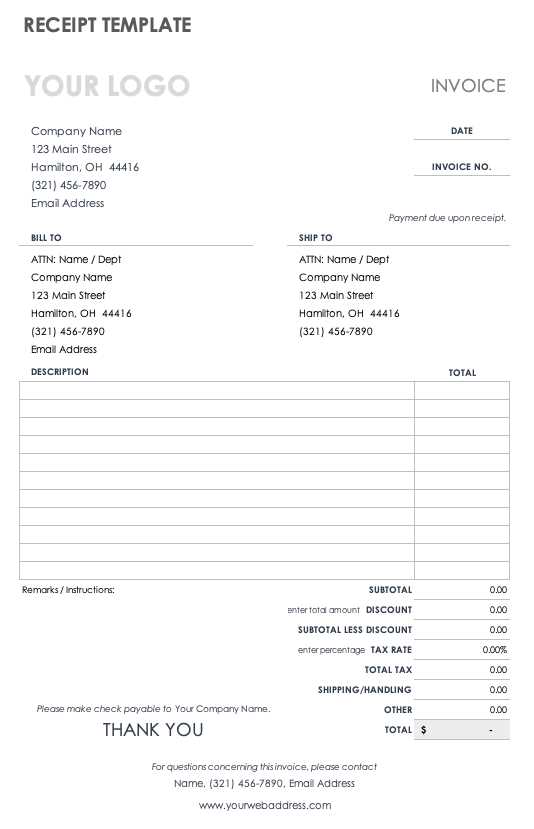
Email a PDF to maintain formatting across devices. Cloud storage services like Google Drive or Dropbox provide easy access. For instant sharing, generate a shareable link with view-only permissions.


